ES6以前的开源版本,默认情况下是没有账户体系,但是可以通过以下开源的插件进行用户权限管理。下面就以search-guard插件来实践下
1、安装search-guard 插件,对应我们的es版本
cd $ES_HOME
bin/elasticsearch-plugin install -b com.floragunn:search-guard-5:5.4.0-15
2、生成证书
访问
:https://search-guard.com/tls-certificate-generator/
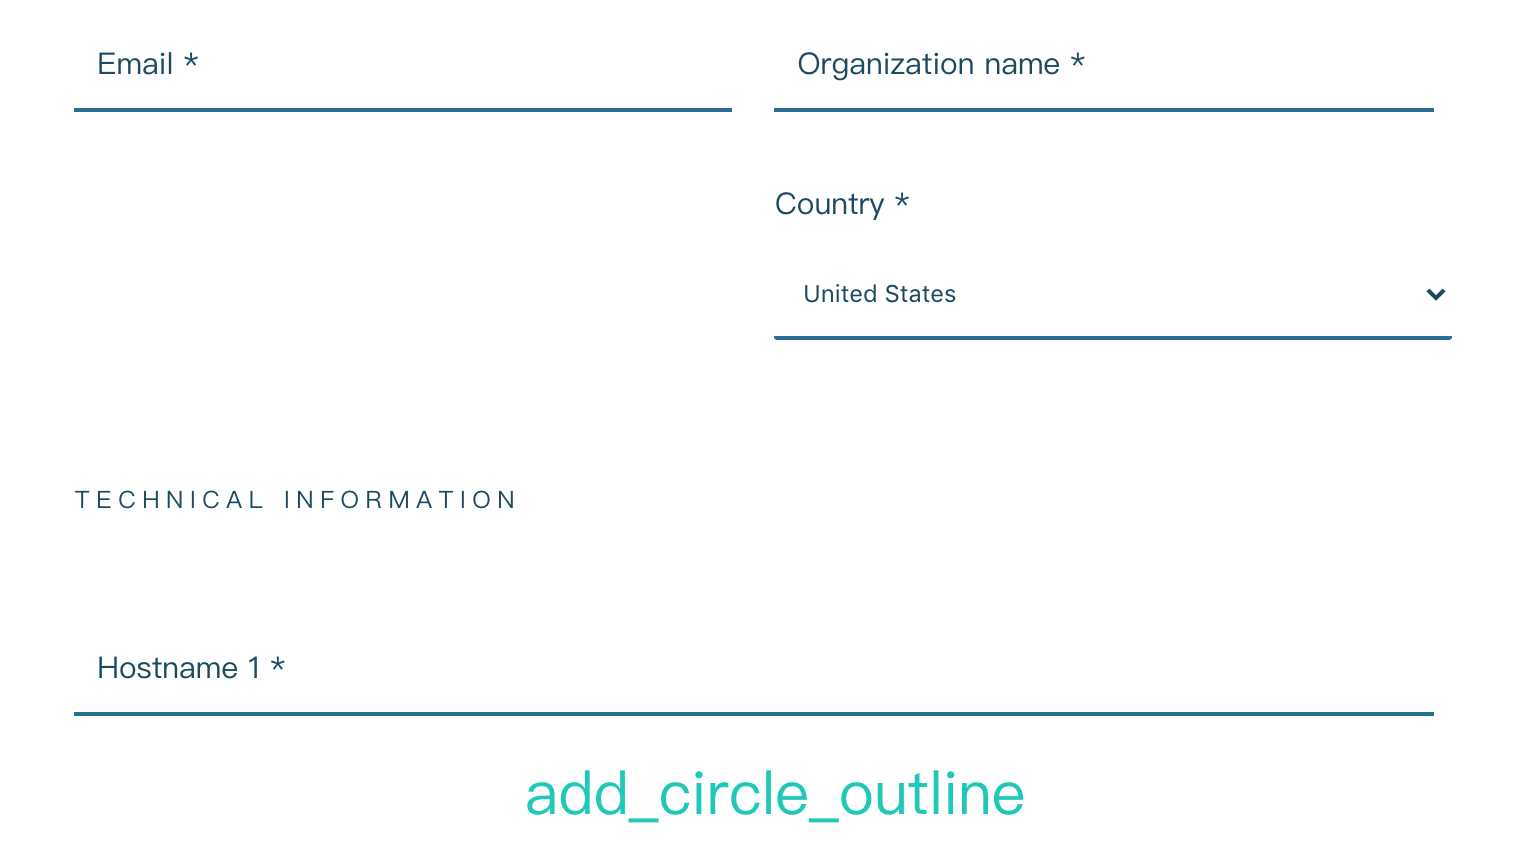
填写相关信息,发送,会生效相关信息到你邮箱
去邮箱下载过来,目录如下:
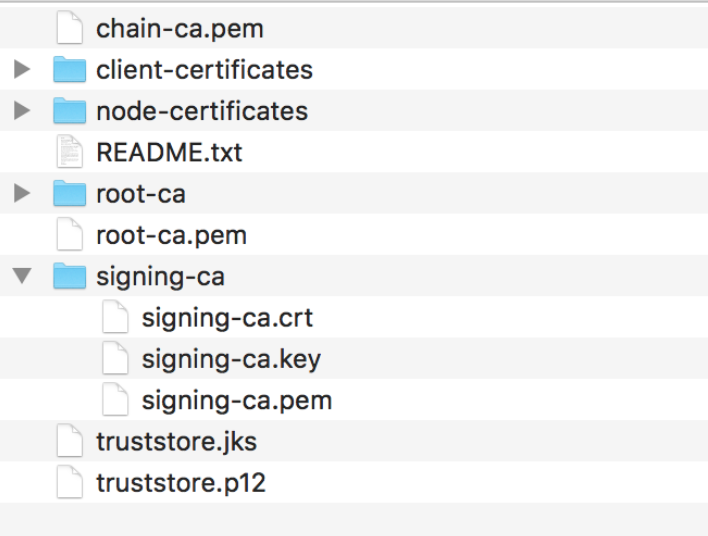
打开README.txt,其中有2种方式,我们选择一种
# Using the keystore- and truststore file

If you want to use keystore and truststore files, follow the steps here.
If you want to use certificates in PEM format, follow the steps above in section 'Using PEM certificates'.

## Copying the keystore and truststore files

For each node:

* Copy the file 'truststore.jks' to the config directory of your node
* Copy the file 'node-certificates/CN=[hostname]-keystore.jks' to the config directory of your node, where [hostname] is the hostname of your Elasticsearch node

## Configuring TLS on each node

For each node, add the following lines to elasticsearch.yml.
Replace [hostname] with the hostname of the node, and [keystore password for this node]
with the keystore password of the keystore of the node. All settings and
passwords for each node are listed further down in this README.

searchguard.ssl.transport.keystore_filepath: CN=[hostname]-keystore.jks
searchguard.ssl.transport.keystore_password: [keystore password for this node]
searchguard.ssl.transport.truststore_filepath: truststore.jks
searchguard.ssl.transport.truststore_password: e901ad3fc9a4e66d6687
searchguard.ssl.transport.enforce_hostname_verification: false
searchguard.ssl.http.enabled: true
searchguard.ssl.http.keystore_filepath: CN=[hostname]-keystore.jks
searchguard.ssl.http.keystore_password: [keystore password for this node]
searchguard.ssl.http.truststore_filepath: truststore.jks
searchguard.ssl.http.truststore_password: e901ad3fc9a4e66d6687

searchguard.authcz.admin_dn:
  - CN=sgadmin

After that, start the node.

## Using sgadmin with keystore- and truststore files

To initialize the Search Guard configuration, you need to execute the sgadmin command line tool.
This can be done on any machine that has access to the transport port of your Elasticsearch cluster,
for example, a node in the cluster:

On the node where you want to execute sgadmin on:
* Copy the file 'truststore.jks' to the directory 'plugins/search-guard-<version>/tools'
* Copy the file 'client-certificates/CN=sgadmin-keystore.jks' to the directory 'plugins/search-guard-<version>/tools'

Change to the 'plugins/search-guard-<version>/tools' and execute:

chmod 755 ./sgadmin.sh
./sgadmin.sh -ts truststore.jks -tspass e901ad3fc9a4e66d6687 -ks CN=sgadmin-keystore.jks -kspass bf7af9f7aa2e650c5c93 -nhnv -icl -cd ../sgconfig/

If the node does not listen on default transport port 9300 and/or has a hostname other than localhost,
you can add:

-h,--hostname [host]        Elasticsearch host (default: localhost)
-p,--port [port]            Elasticsearch transport port (default: 9300)


## Passwords

### Common passwords

Root CA password: 6c5d561f574fb1f9f4d535b1656b87b25f0a8224
Truststore password: e901ad3fc9a4e66d6687
Admin keystore and private key password: bf7af9f7aa2e650c5c93
Demouser keystore and private key password: 261f2834dff0795ee68b

## Host/Node specific passwords

Host: hz22-es-c1n1
hz22-es-c1n1 keystore and private key password: 2a2e910a4d8d83454deb
hz22-es-c1n1 keystore: node-certificates/CN=hz22-es-c1n1-keystore.jks
hz22-es-c1n1 PEM certificate: node-certificates/CN=hz22-es-c1n1.crtfull.pem
hz22-es-c1n1 PEM private key: node-certificates/CN=hz22-es-c1n1.key.pem
按照里面的提示修改配置完成后 重启es服务
如果没有报错说明没有问题,如果报错 具体看错误提示,基本应该是keystore这些信息配置的不对
3、初始化
任意节点执行初始化操作
cd $ES_HOME/plugins/search-guard-5/tools/

./sgadmin.sh -ts truststore.jks -tspass e901ad3fc9a4e66d6687 -ks CN=sgadmin-keystore.jks -kspass bf7af9f7aa2e650c5c93 -cn hz22-es-cluster1 -nhnv -cd ../sgconfig/ -p 9301 -h hz22-es-c1n1
提示成功,说明没有问题
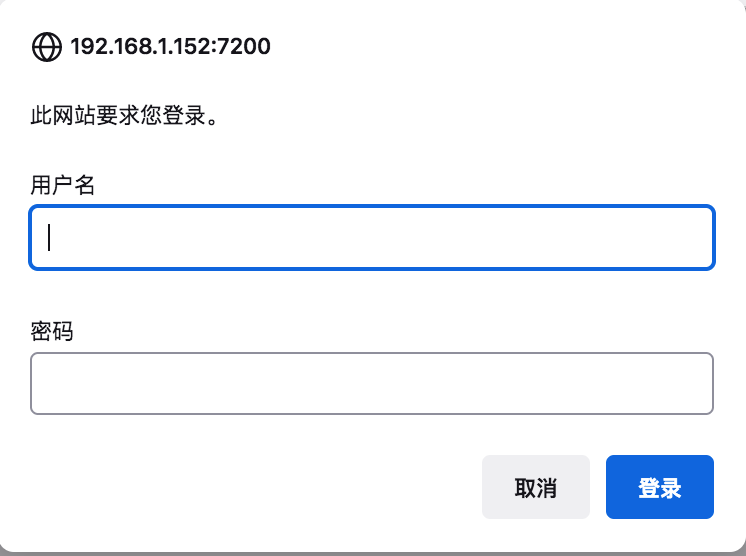
4、访问测试
默认有个admin,密码admin
curl --user admin:admin "https://192.168.1.152:7200" -k客户端访问
下载jar包依赖
https://search-guard.com/searchguard-elasicsearch-transport-clients/
客户端代码修改
相关文件放到 path.conf
public static void main(String[] args) throws UnknownHostException {
        Settings settings = Settings.builder()
                .put("path.home", ".")
                .put("path.conf", "E:\\workspace_idea\\es_test\\src\\main\\resources")
                .put("cluster.name", "es-cluster")
                .put("searchguard.ssl.transport.enabled", true)
                .put("searchguard.ssl.transport.keystore_filepath", "sgadmin-keystore.jks")
                .put("searchguard.ssl.transport.truststore_filepath", "truststore.jks")
                .put("searchguard.ssl.http.keystore_password", "password")
                .put("searchguard.ssl.http.truststore_password", "password")
                .put("searchguard.ssl.transport.keystore_password", "password")
                .put("searchguard.ssl.transport.truststore_password", "password")
                .put("searchguard.ssl.transport.enforce_hostname_verification", false)
                .build();

        TransportClient client = new PreBuiltTransportClient(settings, SearchGuardSSLPlugin.class)
                .addTransportAddress(new InetSocketTransportAddress(InetAddress.getByName("esnode1"), 9300))
                .addTransportAddress(new InetSocketTransportAddress(InetAddress.getByName("esnode2"), 9300))
                .addTransportAddress(new InetSocketTransportAddress(InetAddress.getByName("esnode3"), 9300));

        client.admin().cluster().nodesInfo(new NodesInfoRequest()).actionGet();

        //搜索数据
        GetResponse response = client.prepareGet("test", "name", "1").execute().actionGet();
        //输出结果
        System.out.println(response.getSourceAsString());
        //关闭client
        client.close();
    }
5、增加用户以及权限
searchguard 主要有5个配置文件在
plugins/search-guard-5/sgconfig 下:
1、sg_config.yml:主配置文件不需要做改动。
2、sg_internal_users.yml:本地用户文件,定义用户密码以及对应的权限。
3、sg_roles.yml:权限配置文件
4、sg_roles_mapping.yml:定义用户的映射关系
5、sg_action_groups.yml:定义权限
修改内置用户密码,然后再运行一次search guard 配置写入命令。
则先用
plugins/search-guard-5/tools/hash.sh生成hash字符串,生成密码:
cd $ES_HOME

plugins/search-guard-5/tools/hash.sh -p 123456
如果提示没有操作权限,则必须先把hash.sh文件的权限开放
chmod -R 777 plugins/search-guard-5/tools/hash.sh获得哈希生成后的密码
$2a$12$xoY/DeHFWKILD3J.588A5eVmvr5UZSnYSQi8v2EMNUMXm.NTLL2/u将字符串复制到sg_internal_users.yml文件的对应用户密码位置,在密码下面记得写入原密码的提示,难保你那天忘记了。
vim plugins/search-guard-5/sgconfig/sg_internal_users.yml

test1:
  hash: $2a$12$xoY/DeHFWKILD3J.588A5eVmvr5UZSnYSQi8v2EMNUMXm.NTLL2/u
  #password:123456
添加用户权限
vim plugins/search-guard-5/sgconfig/sg_roles_mapping.yml

sg_all_access:
  users:
    - admin
    - test1
重新写入配置
cd $ES_HOME/plugins/search-guard-5/tools/

./sgadmin.sh -ts truststore.jks -tspass e901ad3fc9a4e66d6687 -ks CN=sgadmin-keystore.jks -kspass bf7af9f7aa2e650c5c93 -cn hz22-es-cluster1 -nhnv -cd ../sgconfig/ -p 9301 -h hz22-es-c1n1
测试
curl --user test1:123456 "https://192.168.1.152:7200" -k
返回结果
{
  "name" : "hz22-es-c1n1",
  "cluster_name" : "hz22-es-cluster1",
  "cluster_uuid" : "VIDwM4qLSL2g11pjx2Ay-M_A",
  "version" : {
    "number" : "5.4.0",
    "build_hash" : "780f8c4",
    "build_date" : "2017-04-28T17:43:27.229Z",
    "build_snapshot" : false,
    "lucene_version" : "6.5.0"
  },
  "tagline" : "You Know, for Search"
}