1.技术要点
采用组合的方式来写自定义View,意思就是用多个Android原生View组合成一个全新的View,技术要点:
- 继承FrameLayout
- 需要写一个xml布局
- 需要用的LayoutInflater加载布局
2.具体代码
我们想要定义一个标准的ActionBar,让我们app的每个activity都是用这个ActionBar
首先设计他的布局
<?xml version="1.0" encoding="utf-8"?>
<RelativeLayout xmlns:android="http://schemas.android.com/apk/res/android"
    android:layout_width="match_parent"
    android:layout_height="match_parent"
    android:background="@color/colorPrimary">

    <Button
        android:id="@+id/bt_back"
        style="@android:style/Animation.InputMethod"
        android:layout_width="wrap_content"
        android:layout_height="wrap_content"
        android:layout_centerVertical="true"
        android:layout_marginLeft="10dp"
        android:background="@color/colorAccent"
        android:text="back" />


    <TextView
        android:id="@+id/tv_title"
        android:layout_width="wrap_content"
        android:layout_height="wrap_content"
        android:layout_centerInParent="true"
        android:text="title"
        android:textColor="@color/colorAccent"
        android:textSize="30sp" />

</RelativeLayout>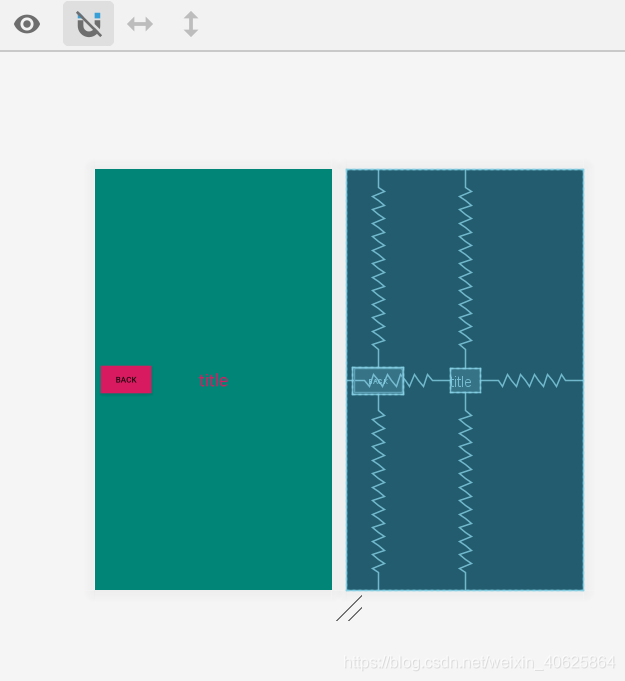
我们定义一个返回键Button,一个标题TextView,让他们组合成我们的控件TitleView
public class TitleView extends FrameLayout
{

    private Button back;

    private TextView title;

    public TitleView(@NonNull Context context, @Nullable AttributeSet attrs)
    {
        super(context, attrs);
        LayoutInflater.from(context).inflate(R.layout.title, this);
        back = findViewById(R.id.bt_back);
        title = findViewById(R.id.tv_title);
        back.setOnClickListener(new OnClickListener()
        {
            @Override
            public void onClick(View v)
            {
                ((Activity) getContext()).finish();
            }
        });
    }

    public void setBackText(String backText)
    {
        this.back.setText(backText);
    }

    public void setTitleText(String titleText)
    {
        this.title.setText(titleText);
    }

    public void setBackButtonOnClickListener(OnClickListener listener)
    {
        back.setOnClickListener(listener);
    }
}
使用LayoutInflater.from(context).inflate(R.layout.title, this); 加载R.layout.title布局,并将root设置为this,这样TitleView.java就与R.layout.title绑定了。
使用TitleView
<com.view.customview.TitleView
        android:id="@+id/tv_actionbar"
        android:layout_width="match_parent"
        android:layout_height="wrap_content"
        android:layout_alignParentTop="true" />
titleView = findViewById(R.id.tv_actionbar);
titleView.setBackText("去交通灯");
titleView.setTitleText("主页");
titleView.setBackButtonOnClickListener(new View.OnClickListener()
{
@Override
public void onClick(View v)
{
Intent intent = new Intent();
intent.setClass(MainActivity.this, LightActivity.class);
startActivity(intent);
}
});运行效果:

3.源码下载
https://github.com/messiwangzi/LightView
版权声明:本文为weixin_40625864原创文章,遵循CC 4.0 BY-SA版权协议,转载请附上原文出处链接和本声明。