环境
项目链接为:https://github.com/ultralytics/yolov5.
操作系统:MacOS
IDE:Pycharm
python版本:anaconda Pyhon3.7
pytorch版本:torch 1.8.1
准备
下载数据集:https://aistudio.baidu.com/aistudio/datasetdetail/79834
新建一个conda环境:
conda create -n yolo5 python=3.7
- pycharm打开yolov5-master,安装依赖项:
pip install -r requirements.txt
- 新主目录新建如下文件夹:
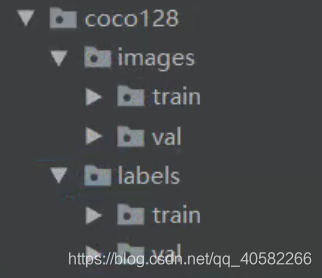
- 将下载的train按你的比例拆分为:
images/train:训练集
images/val:测试集
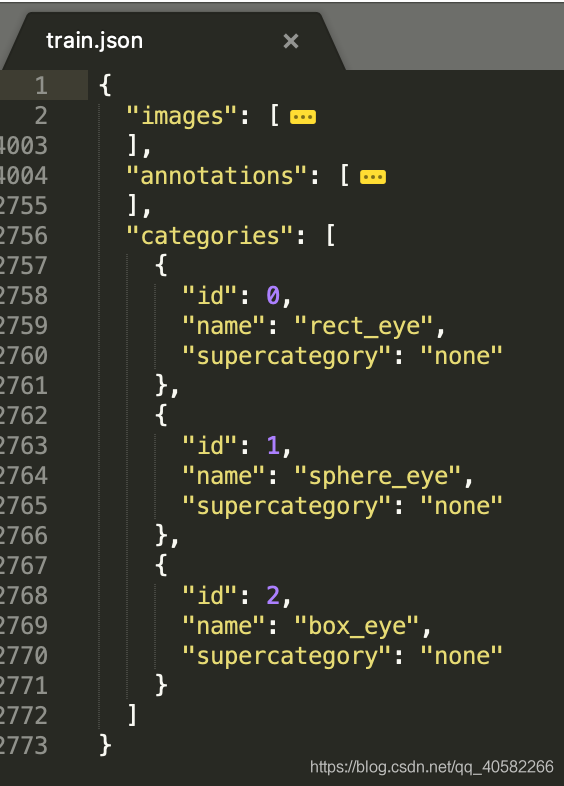
修改id:
- 下载的数据中,category_id从1开始,而yolo5中classes为list,从0开始检索,
因此需要把train.json中的categories下的id减1,并annotations字段中category_id减一 - 修改代码:
import json

def process_json(input_json_file, output_json_file):
    file_in = open(input_json_file, "r")
    file_out = open(output_json_file, "w")
    json_data = json.load(file_in)

    for i in json_data['annotations']:
         i['category_id'] -= 1

    # 将修改后的数据写回文件
    file_out.write(json.dumps(json_data))
    file_in.close()
    file_out.close()

process_json("./annotations/train.json", "./train.json")
(ps:辣鸡百度)
归一化
- 将下载的annotations的train.json归一化,并将生成的txt文件按拆分对应放入coco128/labels/train和val
- 新建make_txt.py归一化代码:
import os, sys, zipfile
import json

def convert(size, box):
    dw = 1. / (size[0])
    dh = 1. / (size[1])
    x = box[0] + box[2] / 2.0
    y = box[1] + box[3] / 2.0
    w = box[2]
    h = box[3]

    x = x * dw
    w = w * dw
    y = y * dh
    h = h * dh
    return (x, y, w, h)

# 打开标注文件
data = json.load(open('./annotations/train.json', 'r'))

# 保存的路径
ana_txt_save_path = "./coco128/labels/train"

for img in data['images']:
    filename = img["file_name"]
    img_width = img["width"]
    img_height = img["height"]
    img_id = img["id"]
    ana_txt_name = filename.split(".")[0] + ".txt"  # 对应的txt名字,与jpg一致
    print(ana_txt_name)
    f_txt = open(os.path.join(ana_txt_save_path, ana_txt_name), 'w')
    for ann in data['annotations']:
        if ann['image_id'] == img_id:
            box = convert((img_width, img_height), ann["bbox"])
            f_txt.write("%s %s %s %s %s\n" % (ann["category_id"], box[0], box[1], box[2], box[3]))
    f_txt.close()
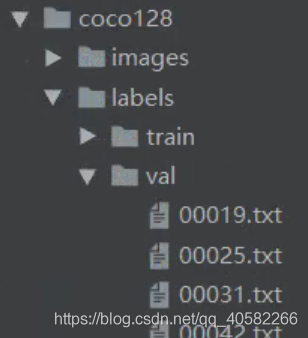
- move_labels.py拆分txt:
# 拆分labels/train 到 val
import os
import shutil

def move_labels2val(path1,path2):
    lalist = os.listdir(path1)
    valist = os.listdir(path2)
    for la in lalist:
        la_1 = la[0:5] + '.jpg'
        print(la_1)
        if la_1 in valist:
            shutil.move('./coco128/labels/train/' + la,'./coco128/labels[表情]al')

move_labels2val('./coco128/labels/train/', './coco128/images[表情]al')
- 结果如图:
至此,数据终于准备完毕 QwQ~
训练
- 进入data文件夹,修改coco128.yaml(也可新建xxx.yaml):
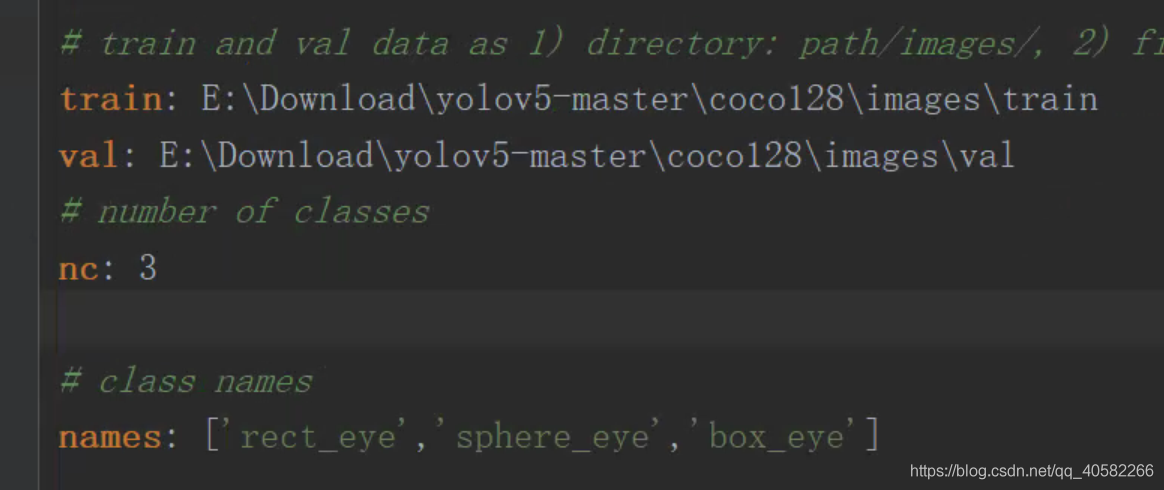
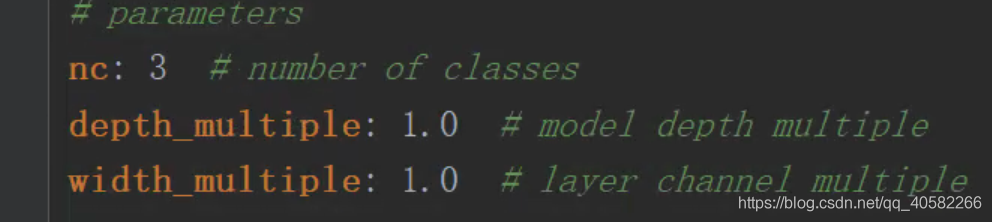
(可能有人会有疑问。。Mac撸的码,Win服务器train、detect的QwQ。这里names用到之前做的修改id操作,否则会报错) - 进入到models文件夹下,找到yolov5l.yaml(根据你选择的模型,下载的pt)做如下更改:
- 打开train.py,往下翻:
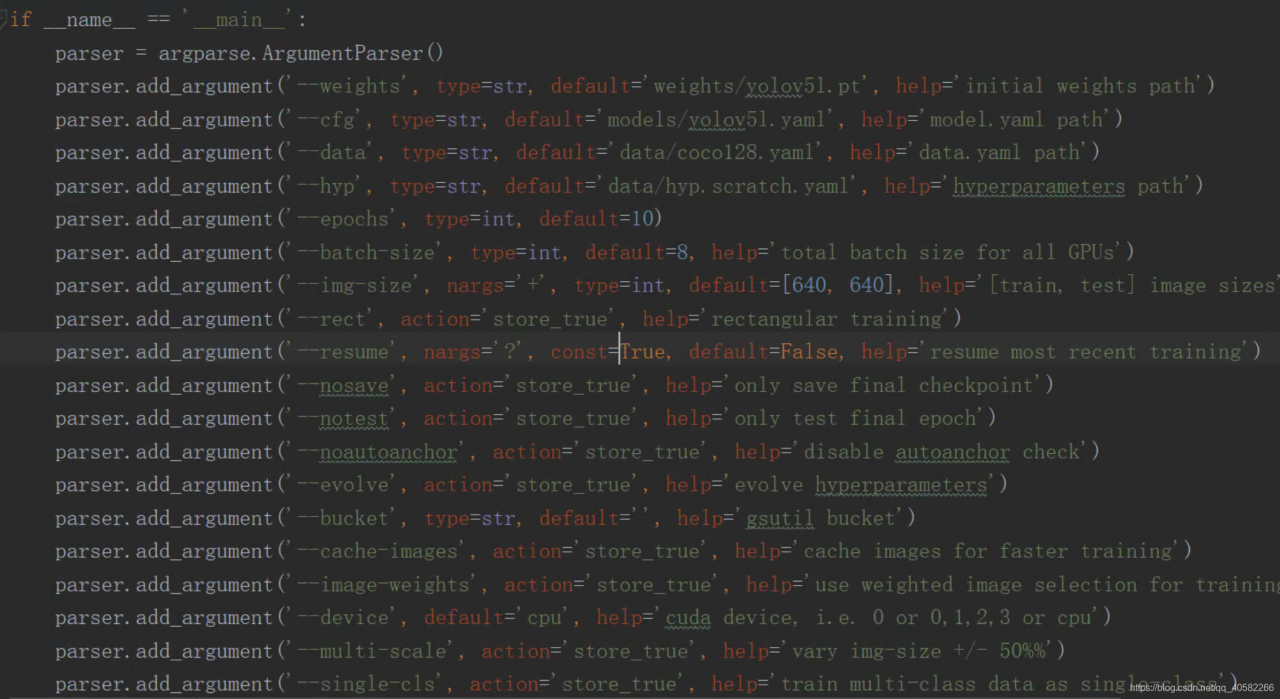
| 参数 | 意义 |
|---|---|
| weights | 预训练权重 |
| cfg | 需要训练的模型文件 |
| data | 数据文件夹 |
| epoch | 训练的epochs |
| batch-size | 默认为8 |
| device | CPU/GPU |
- 根据你的配置设置好,在terminal中执行python train.py即可开始训练啦!

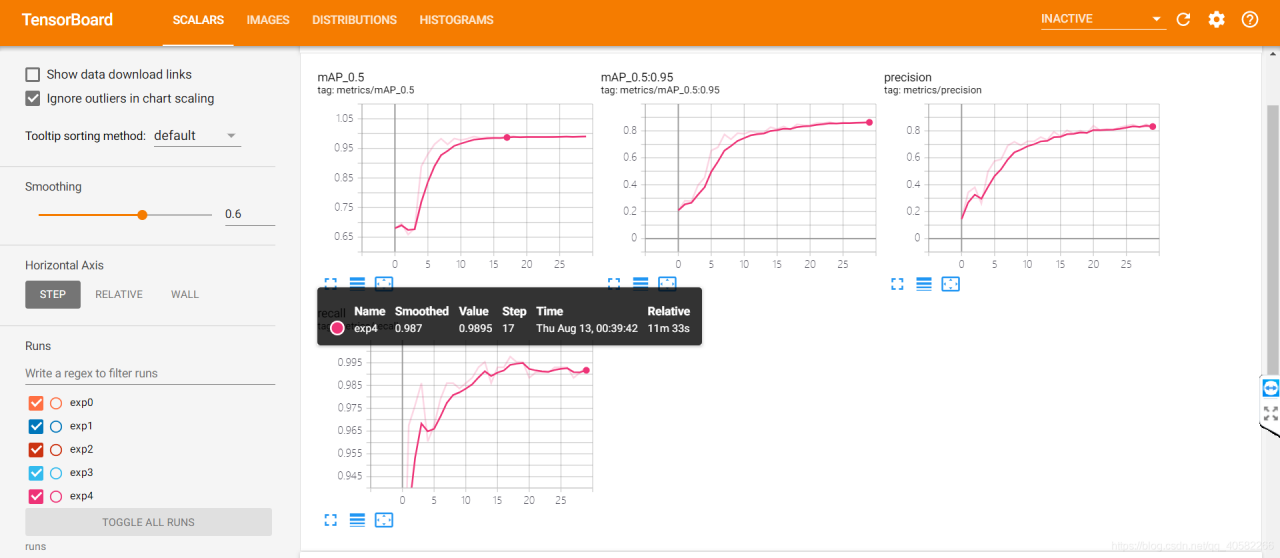
- 训练时,还可打开tensorboard可视化训练过程:
tensorboard --logdir runs
- 根据提示在浏览器上打开http://localhost:6006/查看:

- 接下来是蹂躏CPU的漫漫长夜,在此不可描述 = =
预测
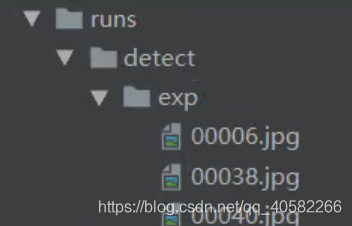
模型训练好后将在runs目录下生成训练过程和结果文件
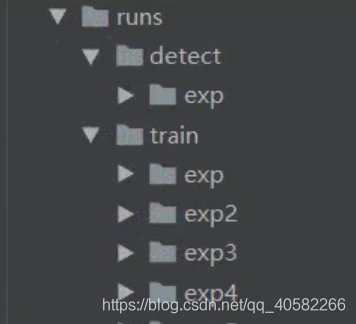
其中runs\exp0\weights中存放着模型训练好的权重文件,此时就可以使用该权重文件进行检测。将下载的val存放在data目录下,打开detect.py文件
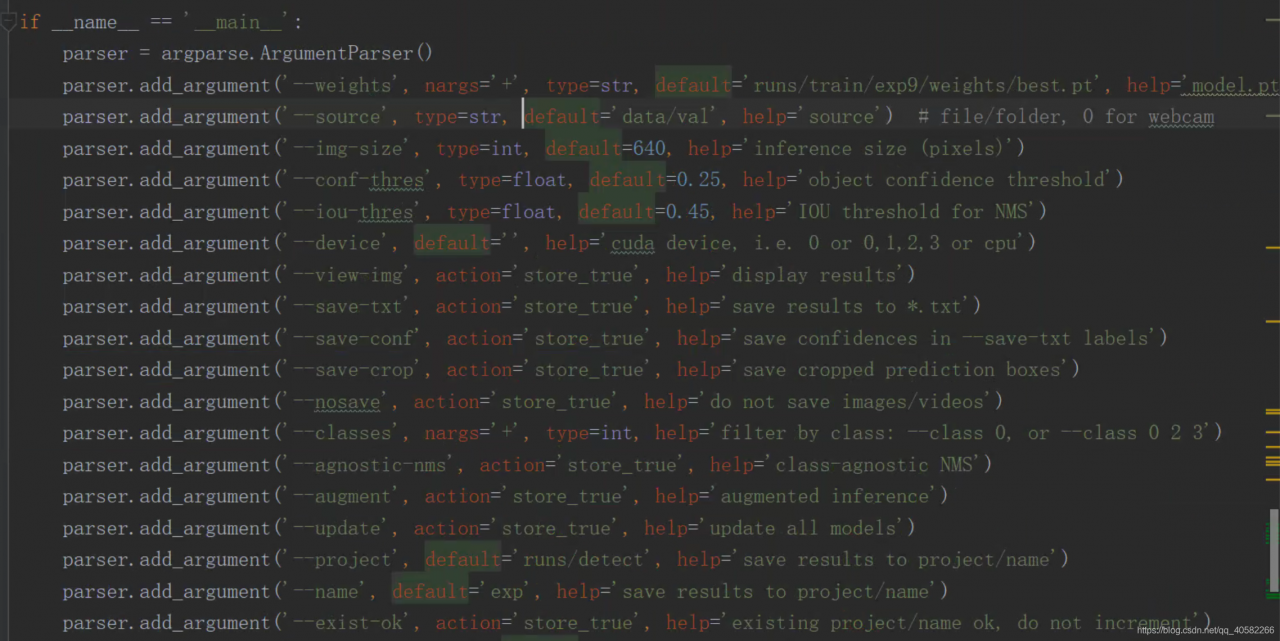
| 参数 | 意义 |
|---|---|
| weights | 训练好的权重 |
| source | 需要预测的文件 |
- 运行
python detect.py

可以边预测边查看结果啦~
激动人心的时刻到啦!
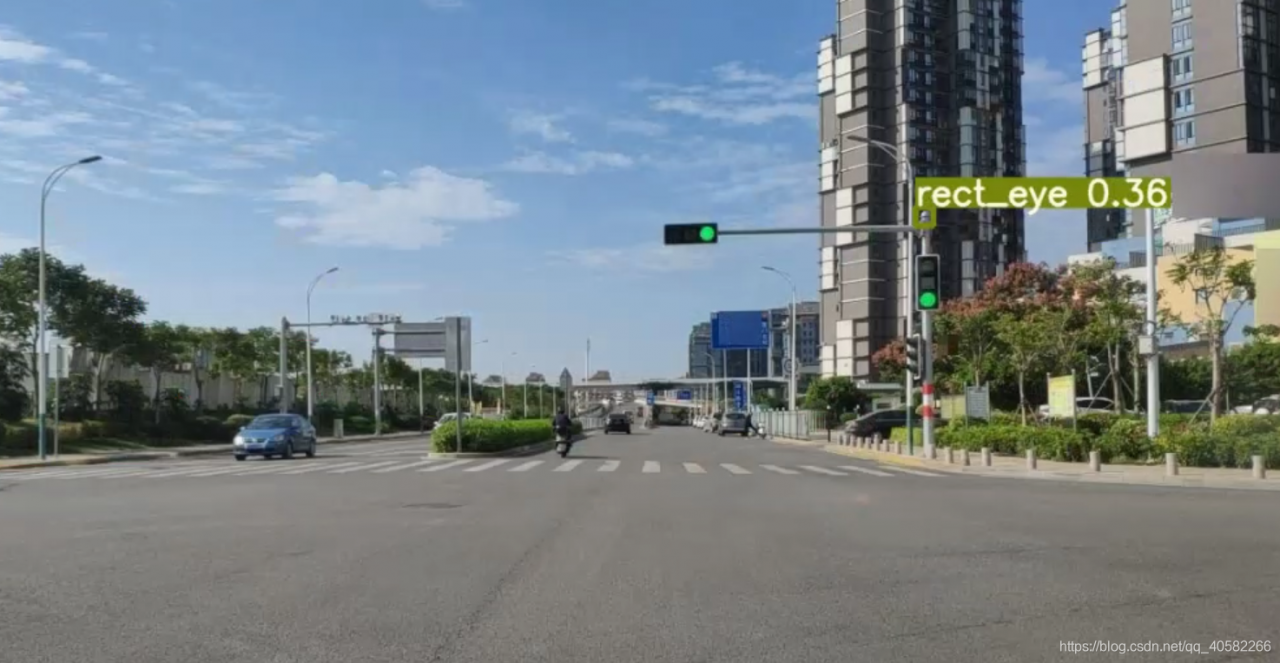
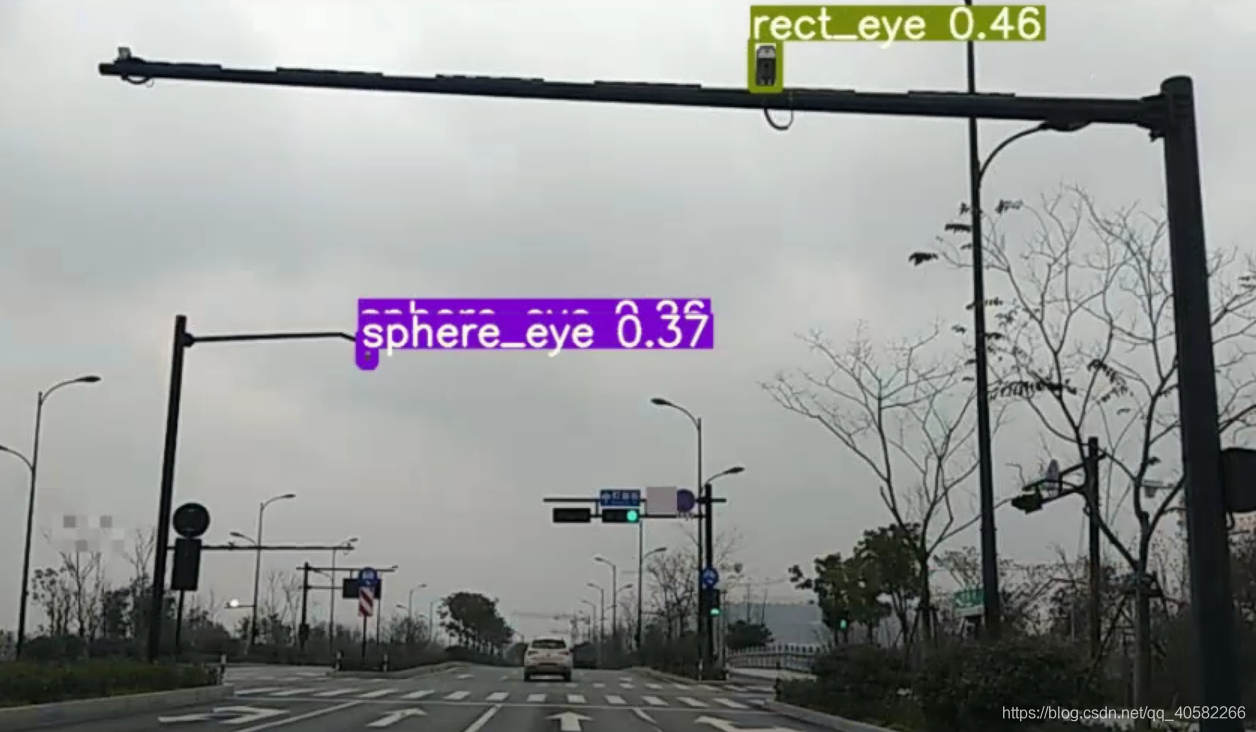
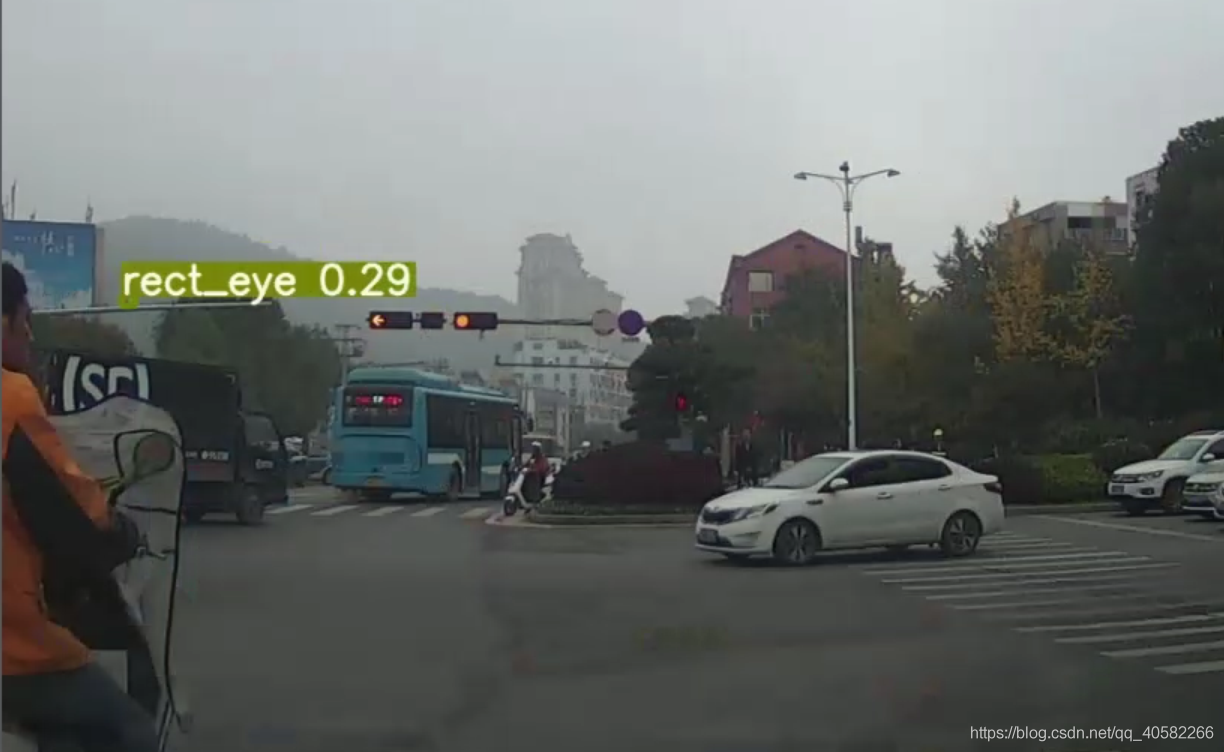
像素级的预测能力果然不是盖的QwQ~
总结
Yolov5的检测能力还是挺强的,准确度和速度都比较高,而且官方文档从训练到检测都写得很清楚,想训练自己的模型是非常容易的。由于是用的CPU,只train了一个epoch,模型准确率还不是很高,还是好好搬砖买块好显卡吧!QWQ !
版权声明:本文为qq_40582266原创文章,遵循CC 4.0 BY-SA版权协议,转载请附上原文出处链接和本声明。