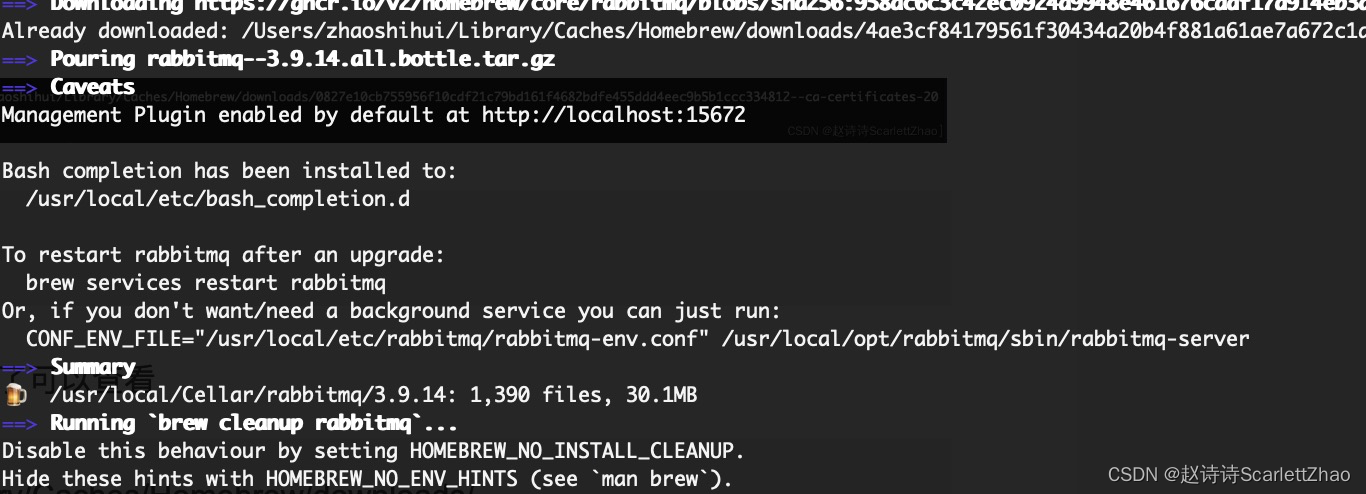
1.安装
brew install rabbitmq安装过程中,会报错
比如:
brew install ca-certificates缺什么下什么就好了,下载好了可以查看
cd /Users/zhaoshihui/Library/Caches/Homebrew/downloads/

ls
下载完成:
2.启动RabbitMQ
cd /usr/local/Cellar/rabbitmq
ls
cd 3.9.14/
sbin/rabbitmq-server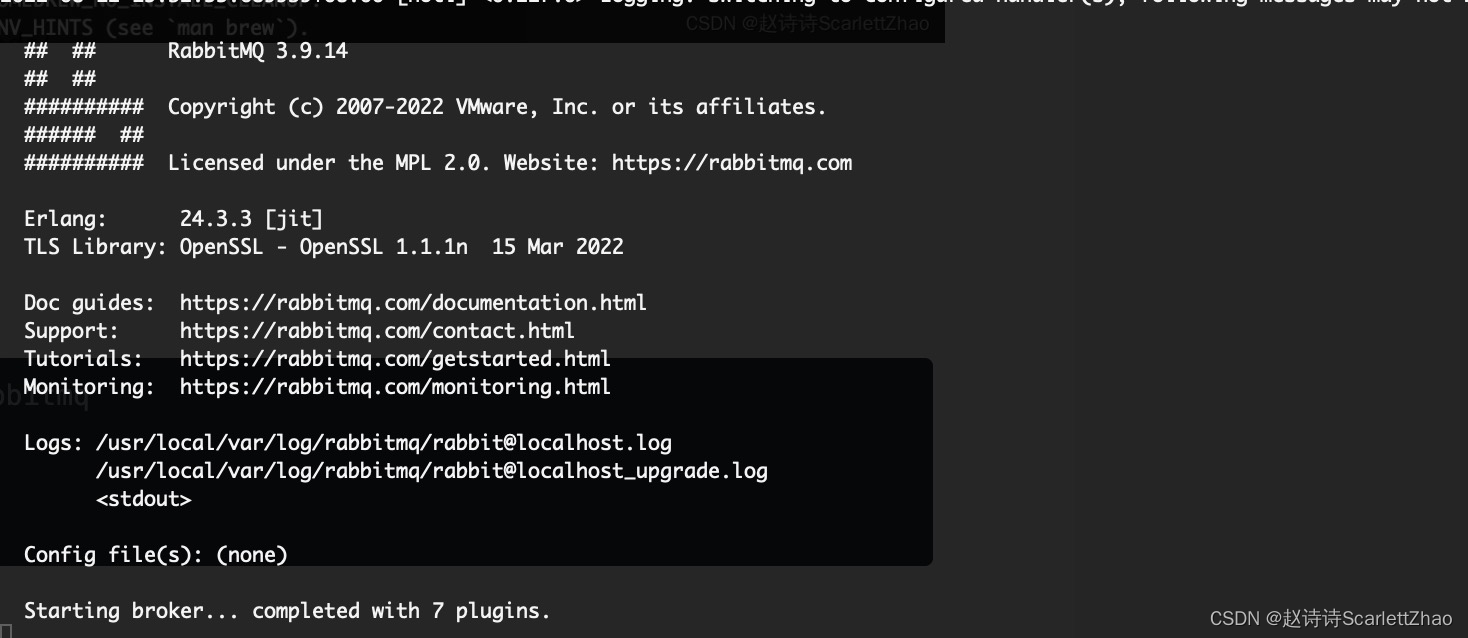
3.登录RabbitMQ管理界面
可以在浏览器访问http://localhost:15672/#/
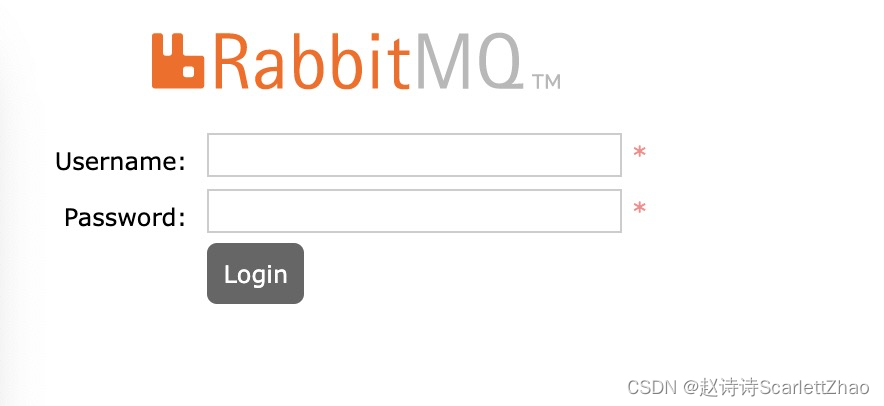
初始账户和密码都是guest
4.使用amqplib插件实现消息队列
1)安装:
npm install amqplib -S2)生产者
var http = require('http');
var amqp = require('amqplib/callback_api');


let server = http.createServer();


server.on("request", function (req, res) {

    res.writeHead(200, {'Content-Type': 'text/html;charset=utf8' });

    console.log(`收到客户端的请求了,请求路径是${req.url}`);

    var respText = '这是您输入的请求路劲::'+req.url;
    res.end(respText);


  if (req.url == "/") {
    res.write("首页");
  } else if (req.url == "/mq") {

        let url = {
            protocol: 'amqp',
            hostname: '127.0.0.1',
            port: 5672,
            username: 'guest',
            password: 'guest',
            vhost: '/'
        }


        amqp.connect(url,(connError, connection)=>{
            if(connError){
                throw connError;
            }

            connection.createChannel((channelError,channel)=>{
                if(channelError){
                    throw channelError;
                }
                const QUEUE = 'hello';
                channel.assertQueue(QUEUE);

                var i = 0;
                setInterval(() => {
                    i++;
                    channel.sendToQueue(QUEUE,Buffer.from('Server发送消息给scarlett....' + i.toString()));
                }, 1000);


            });
        });


  }


});


server.listen(8180, function () {
  console.log("服务器启动成功,可以通过http:127.0.0.1:8180/来进行访问");
});
3)消费者
const amqp = require('amqplib/callback_api');

let url = {
    protocol: 'amqp',
    hostname: '127.0.0.1',
    port: 5672,
    username: 'guest',
    password: 'guest',
    vhost: '/'
}
amqp.connect(url,(connError, connection)=>{
    console.log("正在监听队列...")

    if(connError){
        throw connError;
    }

    connection.createChannel((channelError, channel)=>{
        if(channelError){
            throw channelError;
        }
        const QUEUE = 'hello';
        channel.assertQueue(QUEUE);
        channel.consume(QUEUE,(msg)=>{
            console.log(`Message received:${msg.content.toString()}`)
            // channel.ack(msg);
        },{
            noAck: true  //一旦消息被发送出去,它就会退出队列
        })

    })
});版权声明:本文为ScarlettZhao0602原创文章,遵循CC 4.0 BY-SA版权协议,转载请附上原文出处链接和本声明。