Spring Boot,Spring Security实现OAuth2 + JWT认证
阅读此文,希望是对JWT以及OAuth2有一定了解的童鞋。
JWT认证,提供了对称加密以及非对称的实现。
涉及到源码中两个服务
spring-boot-oauth-jwt-server
spring-boot-oauth-jwt-resource-server
认证服务端
提供认证、授权服务
实现方式,主要复写AuthorizationServerConfigurerAdapter实现
认证服务1-对称加密方式
对称加密,表示认证服务端和认证客户端的共用一个密钥
实现方式
- AccessToken转换器-定义token的生成方式,这里使用JWT生成token,对称加密只需要加入key等其他信息(自定义)。
          @Bean
          public JwtAccessTokenConverter accessTokenConverter() {
              JwtAccessTokenConverter converter = new JwtAccessTokenConverter();
              converter.setSigningKey("123");
              return converter;
}- 告诉spring security token的生成方式
        @Override
            public void configure(AuthorizationServerEndpointsConfigurer endpoints) throws Exception {
                endpoints.tokenStore(tokenStore())
                         .accessTokenConverter(accessTokenConverter())
                         .authenticationManager(authenticationManager);
            }
以上对称加密的JWT方式的认证服务端就OK了,后面有对应的资源服务端的内容。
认证服务2-非对称加密方式(公钥密钥)
服务端生成公钥和密钥,每个客户端使用获取到的公钥到服务器做认证。
因此首先要生成一个证书,导出公钥再后续步骤
实现方式
生成JKS文件
keytool -genkeypair -alias mytest -keyalg RSA -keypass mypass -keystore mytest.jks -storepass mypass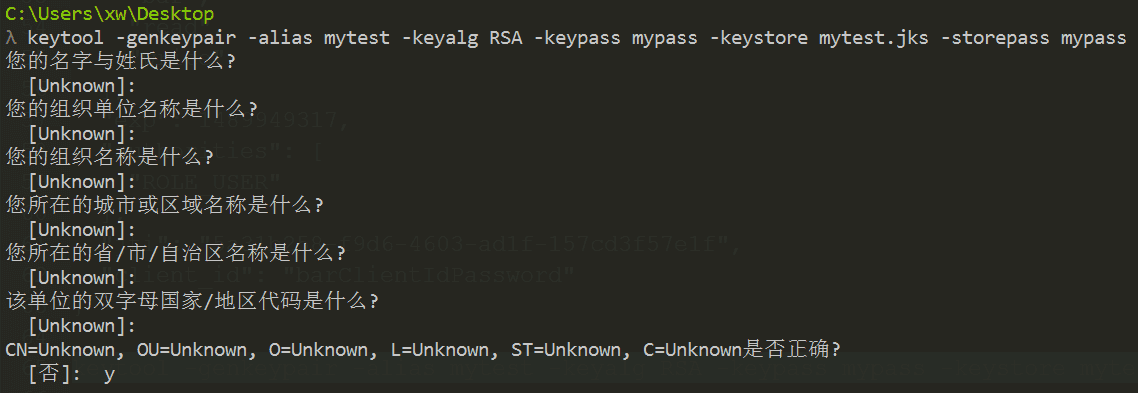
具体参数的意思不另说明。
导出公钥
keytool -list -rfc --keystore mytest.jks | openssl x509 -inform pem -pubkey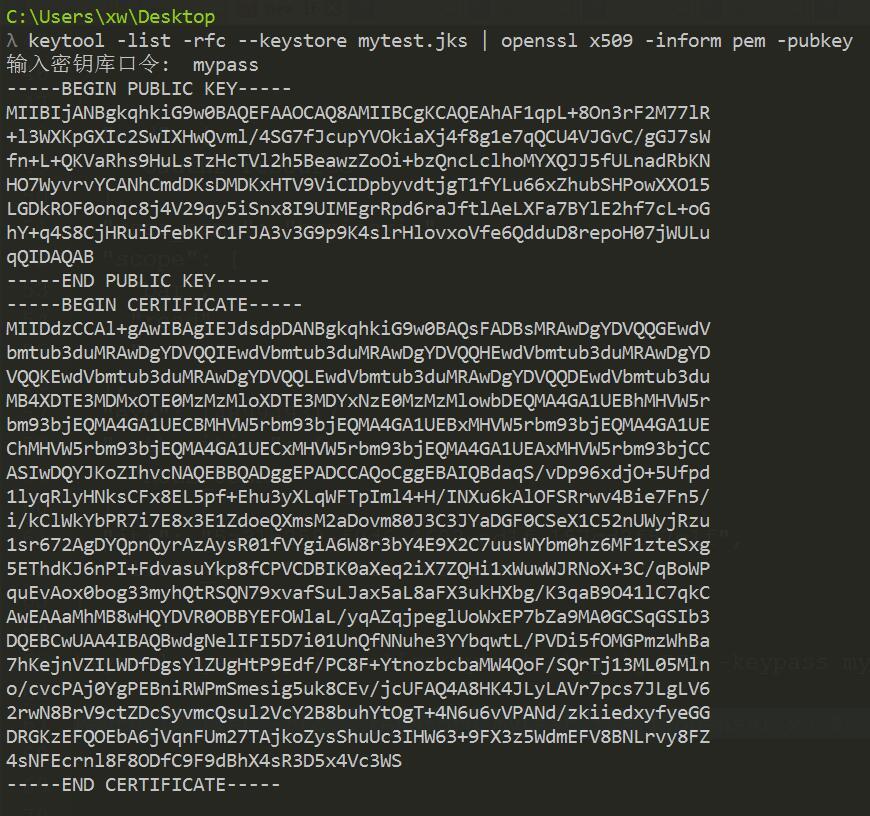
生成公钥文本
-----BEGIN PUBLIC KEY-----
MIIBIjANBgkqhkiG9w0BAQEFAAOCAQ8AMIIBCgKCAQEAhAF1qpL+8On3rF2M77lR
+l3WXKpGXIc2SwIXHwQvml/4SG7fJcupYVOkiaXj4f8g1e7qQCU4VJGvC/gGJ7sW
fn+L+QKVaRhs9HuLsTzHcTVl2h5BeawzZoOi+bzQncLclhoMYXQJJ5fULnadRbKN
HO7WyvrvYCANhCmdDKsDMDKxHTV9ViCIDpbyvdtjgT1fYLu66xZhubSHPowXXO15
LGDkROF0onqc8j4V29qy5iSnx8I9UIMEgrRpd6raJftlAeLXFa7BYlE2hf7cL+oG
hY+q4S8CjHRuiDfebKFC1FJA3v3G9p9K4slrHlovxoVfe6QdduD8repoH07jWULu
qQIDAQAB
-----END PUBLIC KEY-----
存储为public.txt。把 mytest.jks和public.txt放入resource目录下
- 这里我们要修改JwtAccessTokenConverter,把证书导入
        @Bean
        public TokenEnhancer accessTokenConverter() {
            final JwtAccessTokenConverter converter = new JwtAccessTokenConverter();
            KeyStoreKeyFactory keyStoreKeyFactory =
                    new KeyStoreKeyFactory(new ClassPathResource("mytest.jks"), "mypass".toCharArray());
            converter.setKeyPair(keyStoreKeyFactory.getKeyPair("mytest"));

            converter.setAccessTokenConverter(new CustomerAccessTokenConverter());
            return converter;
        }
以上,就可以实现非对称加密了
额外信息(这部分信息不关乎加密方式)
- 自定义生成token携带的信息
有时候需要额外的信息加到token返回中,这部分也可以自定义,此时我们可以自定义一个TokenEnhancer
TokenEnhancer 接口提供一个 enhance(OAuth2AccessToken var1, OAuth2Authentication var2) 方法,用于对token信息的添加,信息来源于 OAuth2Authentication
这里我们加入了用户的授权信息。
            @Override
            public OAuth2AccessToken enhance(OAuth2AccessToken accessToken, OAuth2Authentication authentication) {
                final Map<String, Object> additionalInfo = new HashMap<>();
                User user = (User) authentication.getUserAuthentication().getPrincipal();
                additionalInfo.put("username", user.getUsername());
                additionalInfo.put("authorities", user.getAuthorities());
                ((DefaultOAuth2AccessToken) accessToken).setAdditionalInformation(additionalInfo);
                return accessToken;
            }
同样要告诉spring security,我们把这个TokenEnhancer加入到TokenEnhancer链中(链,所以可以好多个)
        // 自定义token生成方式
        TokenEnhancerChain tokenEnhancerChain = new TokenEnhancerChain();
        tokenEnhancerChain.setTokenEnhancers(Arrays.asList(customerEnhancer(), accessTokenConverter()));
endpoints.tokenEnhancer(tokenEnhancerChain);- 自定义token信息中添加的信息
JWT中,需要在token中携带额外的信息,这样可以在服务之间共享部分用户信息,spring security默认在JWT的token中加入了user_name,如果我们需要额外的信息,需要自定义这部分内容。
JwtAccessTokenConverter是我们用来生成token的转换器,所以我们需要配置这里面的部分信息来达到我们的目的。
JwtAccessTokenConverter默认使用DefaultAccessTokenConverter来处理token的生成、装换、获取。DefaultAccessTokenConverter中使用UserAuthenticationConverter来对应处理token与userinfo的获取、转换。因此我们需要重写下UserAuthenticationConverter对应的转换方法就可以
        @Override
        public Map<String, ?> convertUserAuthentication(Authentication authentication) {
            LinkedHashMap response = new LinkedHashMap();
            response.put("user_name", authentication.getName());
            response.put("name", ((User) authentication.getPrincipal()).getName());
            response.put("id", ((User) authentication.getPrincipal()).getId());
            response.put("createAt", ((User) authentication.getPrincipal()).getCreateAt());
            if (authentication.getAuthorities() != null && !authentication.getAuthorities().isEmpty()) {
                response.put("authorities", AuthorityUtils.authorityListToSet(authentication.getAuthorities()));
            }

            return response;
        }
告诉JwtAccessTokenConverter ,把我们的方式替换默认的方式
        @Bean
        public TokenEnhancer accessTokenConverter() {
            final JwtAccessTokenConverter converter = new JwtAccessTokenConverter();
            converter.setSigningKey("123");
            converter.setAccessTokenConverter(new CustomerAccessTokenConverter());
            return converter;
        }
资源服务端
实现方式,主要复写ResourceServerConfigurerAdapter实现
资源服务1-对称加密方式
此处配置与认证服务基本一致,不同的是,资源服务器配置是在ResourceServerConfigurerAdapter做配置,其他的看源码吧,大差不差。
资源服务2-非对称加密方式(公钥)
把 public.txt放入resource目录下
修改JwtAccessTokenConverter如下:
        @Bean
        public JwtAccessTokenConverter accessTokenConverter() {
            JwtAccessTokenConverter converter = new JwtAccessTokenConverter();
            Resource resource = new ClassPathResource("public.txt");
            String publicKey = null;
            try {
                publicKey = inputStream2String(resource.getInputStream());
            } catch (final IOException e) {
                throw new RuntimeException(e);
            }
            converter.setVerifierKey(publicKey);
            converter.setAccessTokenConverter(new CustomerAccessTokenConverter());
            return converter;
        }
然后就可以跑起来了。
效果验证
token获取
code获取:
http://127.0.0.1:8081/oauth/authorize?client_id=clientId&response_type=code&redirect_uri=http://127.0.0.1:8082/login/myredirect_uri:需要与配置在认证服务器中的一致。
client_id:client_id也是预先在认证服务器中,这里是保存在数据库里的
response_type:写死code
浏览器进入后的页面。
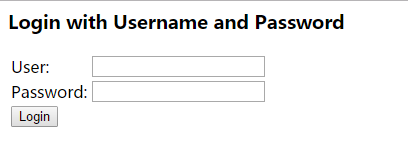
输入账号密码,这个也是保存在数据库,默认是保存在内存中。
授权之后就可以获得code
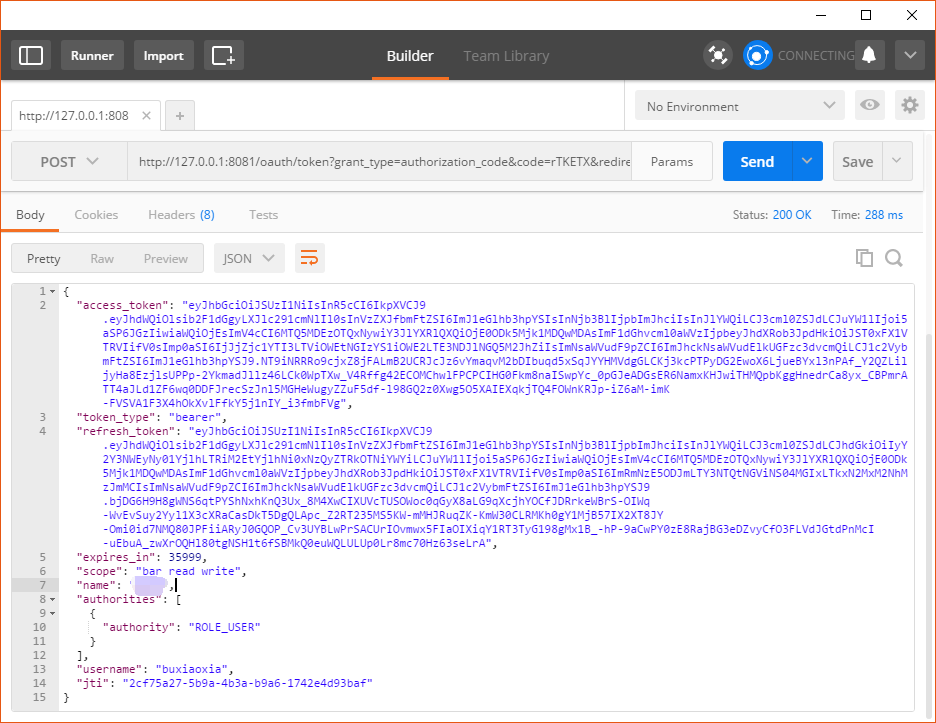
http://127.0.0.1:8082/login/my?code=rTKETX根据这个code,POST下获取token
http://127.0.0.1:8081/oauth/token?grant_type=authorization_code&code=rTKETX&redirect_uri=http://127.0.0.1:8082/login/my&client_id=clientId&client_secret=secret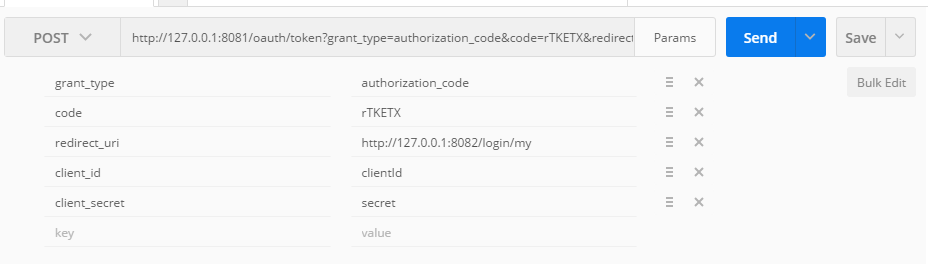
grant_type:这里写死authorization_code
code:上面得到的rTKETX
redirect_uri:同上不变
client_id:同上不变
client_secret:对应的密码
结果返回如下:
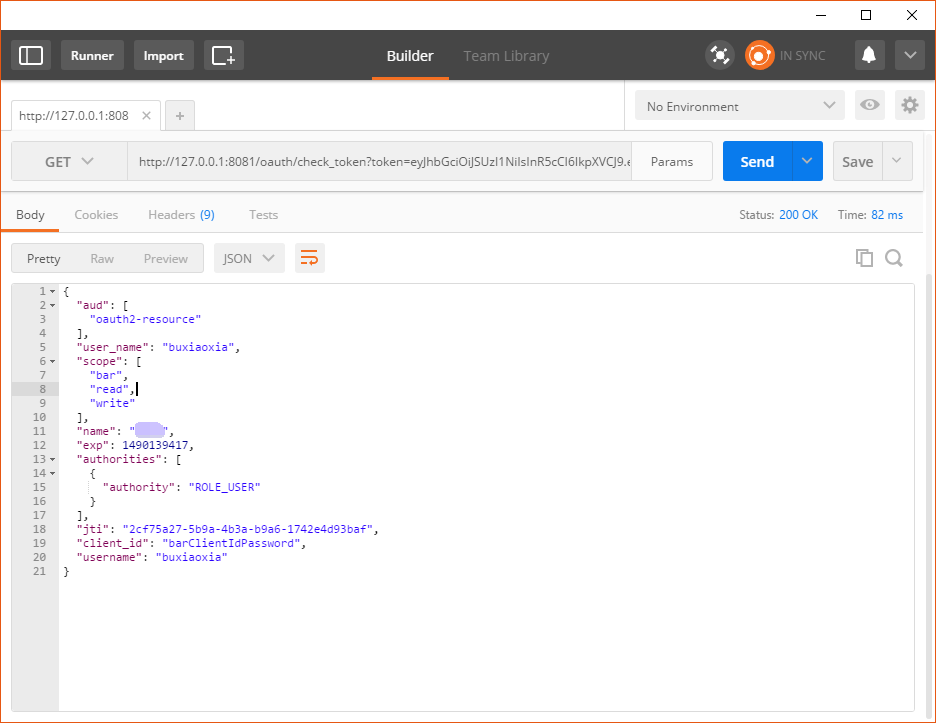
token验证
http://127.0.0.1:8081/oauth/check_token?token=eyJhbGciOiJSUzI1NiIsInR5cCI6IkpXVCJ9...
用户信息获取
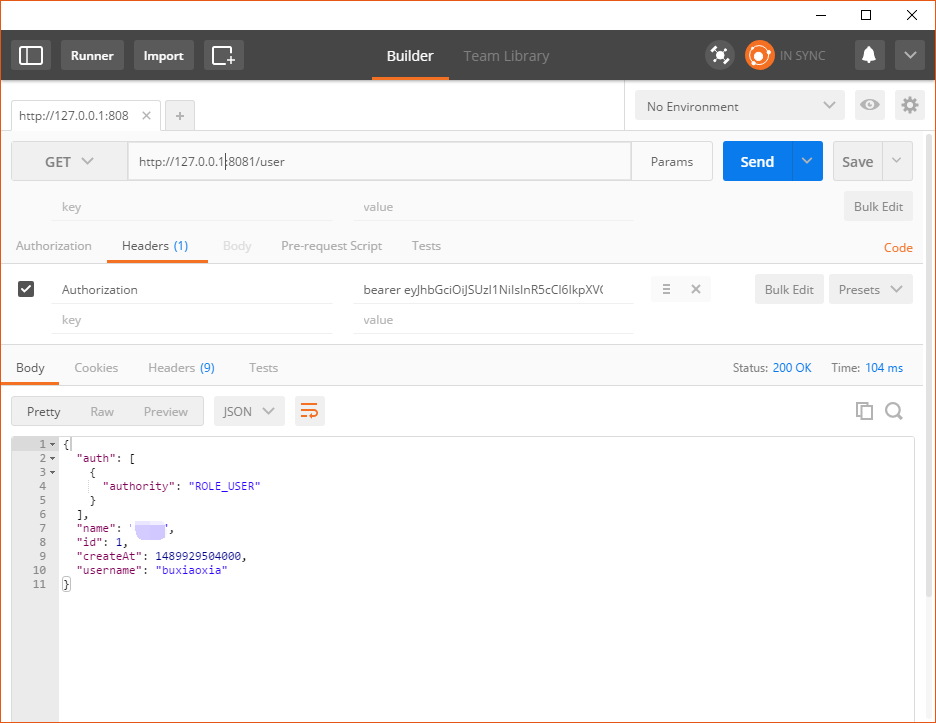
资源服务端就不展示了…