OK!这次的方式是通过Renderer Texture和Material来配合实现摄像机内容映射到Canvas的UI元素中,炒鸡简单。
适用于任何场景。
首先:摄像机映射
新建一个Camera

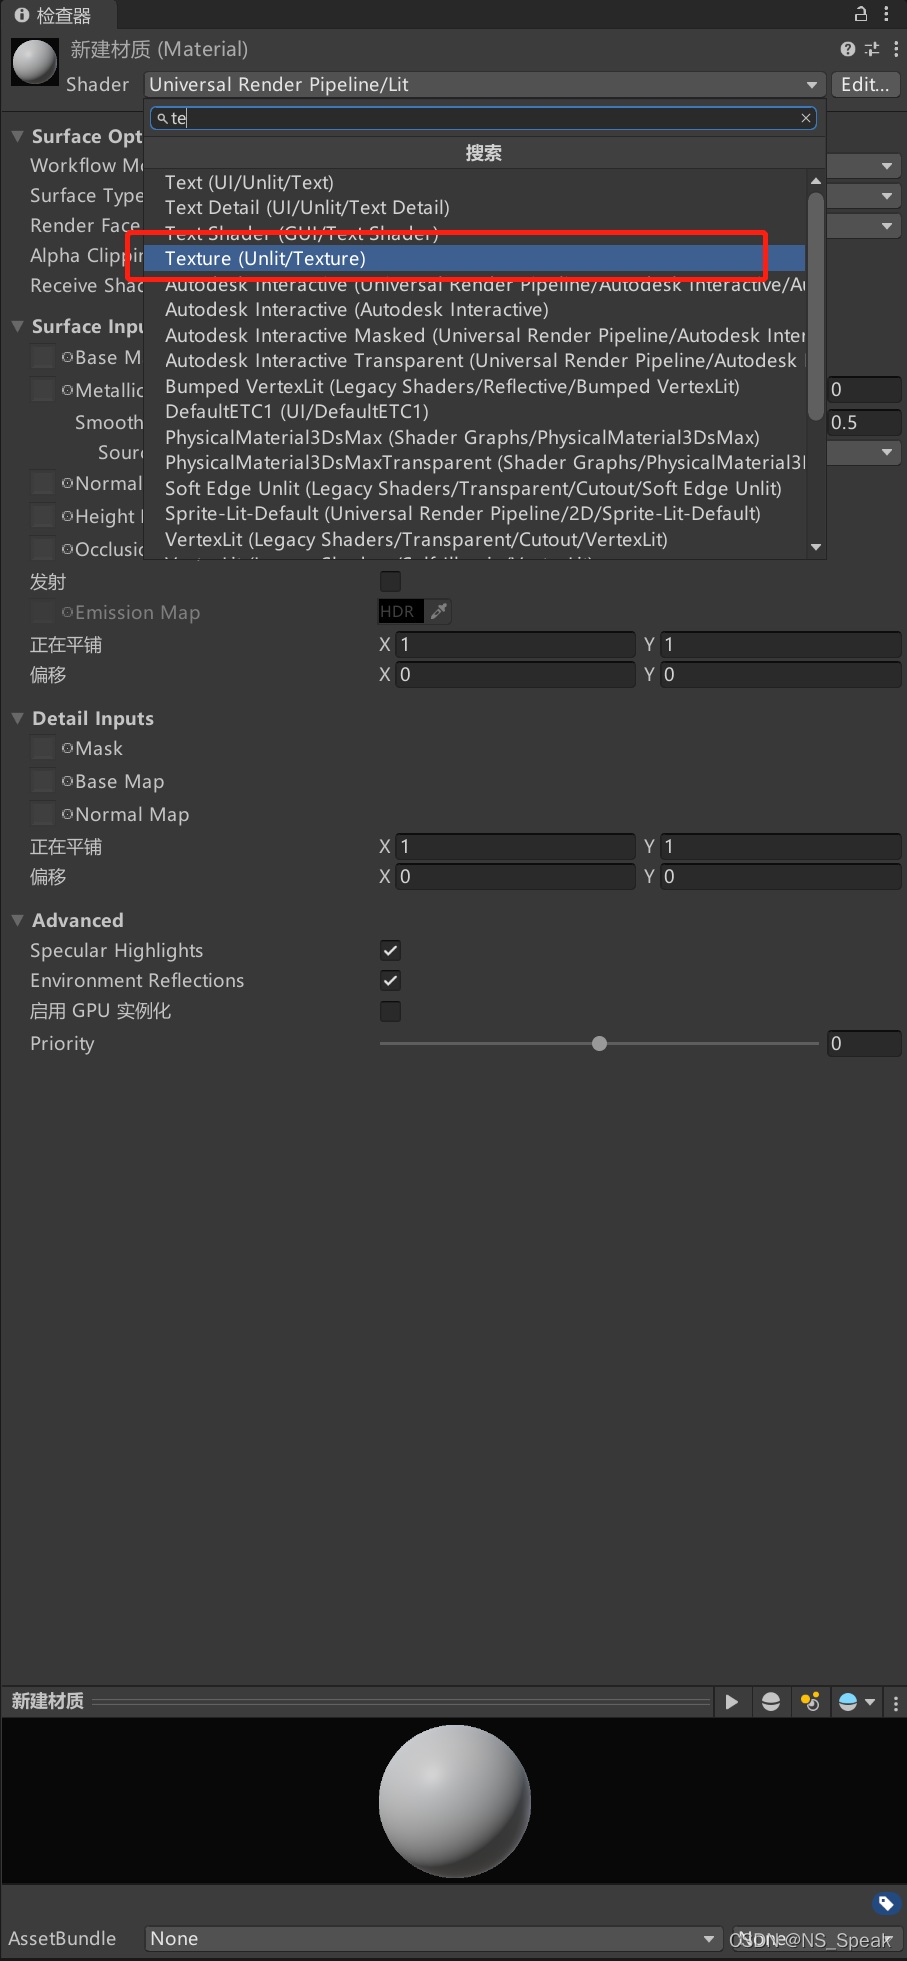
新建一个Material。将Shader属性更改为Texture
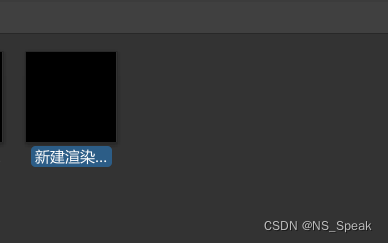
再新建一个RenderTexture
然后将这个RenderTexture放到Material的纹理中去
 然后在UI中新建Image。

材质区域放Material即可完成映射。

剩下的自行调整咯~~
其次:摄像机跟随,参考以下代码:
将脚本挂在相机即可,Player是被跟随的物体,Deviation为偏移量,自行调整。
using System.Collections;
using System.Collections.Generic;
using UnityEngine;

public class FZcamera : MonoBehaviour
{

    public Transform playerTransform; // 移动的物体
    public Vector3 deviation; // 偏移量

    void Start()
    {
        //deviation = transform.position - playerTransform.position; // 初始物体与相机的偏移量=相机的位置 - 移动物体的偏移量
    }

    void Update()
    {
        transform.position = playerTransform.position + deviation; // 相机的位置 = 移动物体的位置 + 偏移量

    }
}版权声明:本文为u011723630原创文章,遵循CC 4.0 BY-SA版权协议,转载请附上原文出处链接和本声明。