
Fanout广播模型:
- 可以有多个消费者
- 每个消费者都有自己的队列(queue)
- 每个队列都要绑定到交换机(exchange)
- 生产者发送的消息,只能发送到交换机,交换机决定要发给哪个队列,生产者无法决定
- 交换机把消息发送给绑定过的所有队列
- 队列的消费者都能拿到消息,实现一条消息被多个消费者消费
代码实现:
1.创建生产者
import com.rabbitmq.client.Channel;
import com.rabbitmq.client.Connection;
import utils.RabbitMQUtils;


/**
 * 生产者
 */
public class Provider {
    public static void main(String[] args) throws Exception {
        //获取连接对象
        Connection connection = RabbitMQUtils.getConnection();
        Channel channel = connection.createChannel();
        //将通道声明指定的交换机
        //参数1:交换机名称
        //参数2:交换机类型 fanout 广播类型
        channel.exchangeDeclare("logs","fanout");
        //发布消息
        channel.basicPublish("logs","",null,"fanout message".getBytes());
        //释放资源
        RabbitMQUtils.closeConnectionAndChanel(channel,connection);
    }
}
2.创建消费者1
import com.rabbitmq.client.*;
import utils.RabbitMQUtils;

import java.io.IOException;

/**
 * 消费者1
 */
public class Customer1 {
    public static void main(String[] args) throws Exception {
        //获取连接对象
        Connection connection = RabbitMQUtils.getConnection();
        //获取通道对象
        Channel channel = connection.createChannel();
        //通道绑定交换机
        channel.exchangeDeclare("logs","fanout");
        //获取临时队列
        String queue = channel.queueDeclare().getQueue();
        //绑定交换机和队列
        //参数1:队列名称
        //参数2:交换机名称
        //参数3:路由key 在fanout模型中用不上
        channel.queueBind(queue,"logs","");
        //消费消息
        channel.basicConsume(queue,true,new DefaultConsumer(channel){
            @Override
            public void handleDelivery(String consumerTag, Envelope envelope, AMQP.BasicProperties properties, byte[] body) throws IOException {
                System.out.println("消费者1:"+new String(body));
            }
        });
    }
}
3.创建消费者2
import com.rabbitmq.client.*;
import utils.RabbitMQUtils;

import java.io.IOException;

/**
 * 消费者2
 */
public class Customer2 {
    public static void main(String[] args) throws Exception {
        //获取连接对象
        Connection connection = RabbitMQUtils.getConnection();
        //获取通道对象
        Channel channel = connection.createChannel();
        //通道绑定交换机
        channel.exchangeDeclare("logs","fanout");
        //获取临时队列
        String queue = channel.queueDeclare().getQueue();
        //绑定交换机和队列
        //参数1:队列名称
        //参数2:交换机名称
        //参数3:路由key 在fanout模型中用不上
        channel.queueBind(queue,"logs","");
        //消费消息
        channel.basicConsume(queue,true,new DefaultConsumer(channel){
            @Override
            public void handleDelivery(String consumerTag, Envelope envelope, AMQP.BasicProperties properties, byte[] body) throws IOException {
                System.out.println("消费者2:"+new String(body));
            }
        });
    }
}
4.创建消费者3
import com.rabbitmq.client.*;
import utils.RabbitMQUtils;

import java.io.IOException;

/**
 * 消费者3
 */
public class Customer3 {
    public static void main(String[] args) throws Exception {
        //获取连接对象
        Connection connection = RabbitMQUtils.getConnection();
        //获取通道对象
        Channel channel = connection.createChannel();
        //通道绑定交换机
        channel.exchangeDeclare("logs","fanout");
        //获取临时队列
        String queue = channel.queueDeclare().getQueue();
        //绑定交换机和队列
        //参数1:队列名称
        //参数2:交换机名称
        //参数3:路由key 在fanout模型中用不上
        channel.queueBind(queue,"logs","");
        //消费消息
        channel.basicConsume(queue,true,new DefaultConsumer(channel){
            @Override
            public void handleDelivery(String consumerTag, Envelope envelope, AMQP.BasicProperties properties, byte[] body) throws IOException {
                System.out.println("消费者3:"+new String(body));
            }
        });
    }
}
5.分别启动3个消费者,再启动生产者
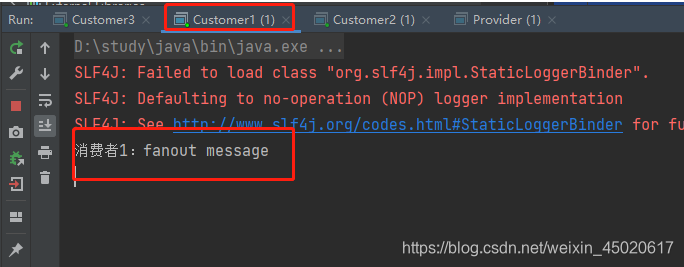

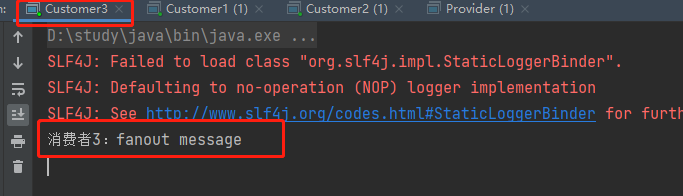
都消费到了消息。
更多:
RabbitMQ学习笔记一:了解及在Linux下安装RabbitMQ
版权声明:本文为weixin_45020617原创文章,遵循CC 4.0 BY-SA版权协议,转载请附上原文出处链接和本声明。