Thingsboard极精简编译教程(不要改动TB任何源代码)
一、准备一台纯净电脑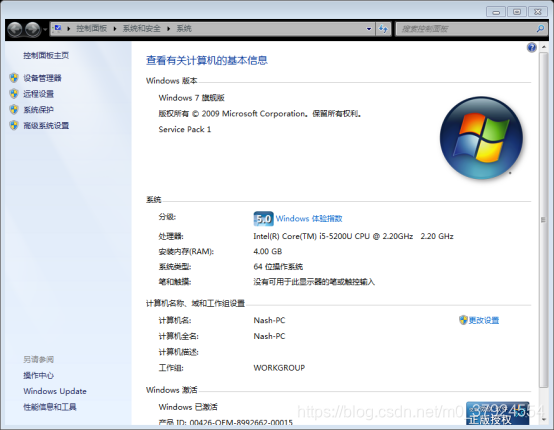
二、 需要的工具,源代码等下载
Thingsboard源代码
https://github.com/thingsboard/thingsboard github地址,选择最后一个发行版本。这里是thingsboard-2.4.3 https://github.com/thingsboard/thingsboard/archive/v2.4.3.zip
JDK 下载
jdk-8u211-windows-x64
Postgresql 数据库
postgresql-10.12-1-windows-x64
Git
Git-2.23.0-64-bit
Maven
apache-maven-3.6.3-bin
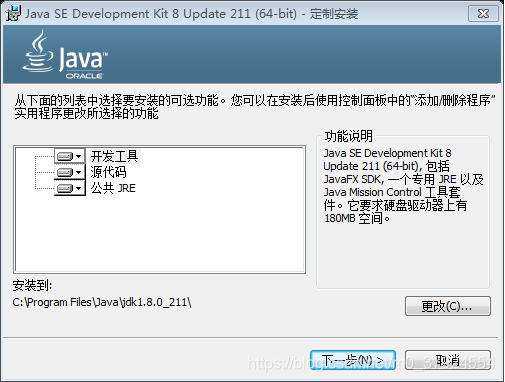
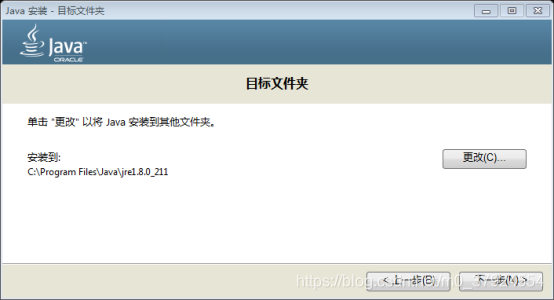
三、安装JDK
原则上一直点下一步,不做过多的配置。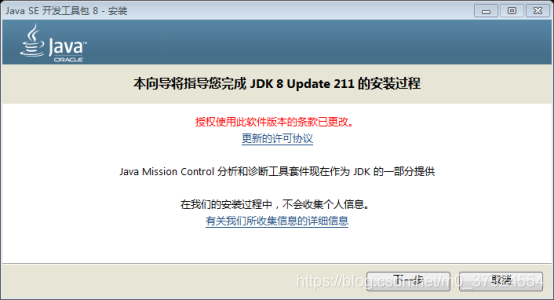


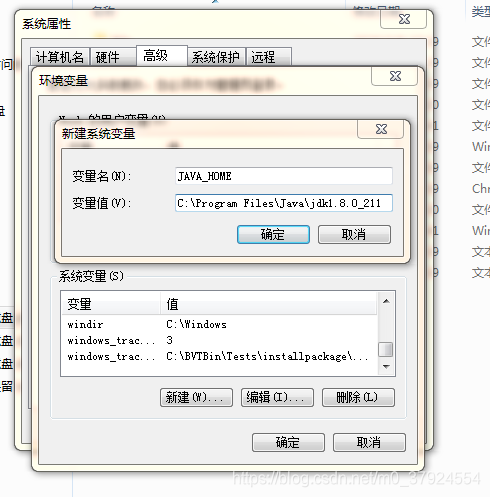
系统变量→寻找 Path 变量→编辑
在变量值最后输入 %JAVA_HOME%\bin(注意原来Path的变量值末尾有没有“ ; “号,如果没有,先输入” ; “号再输入上面的代码)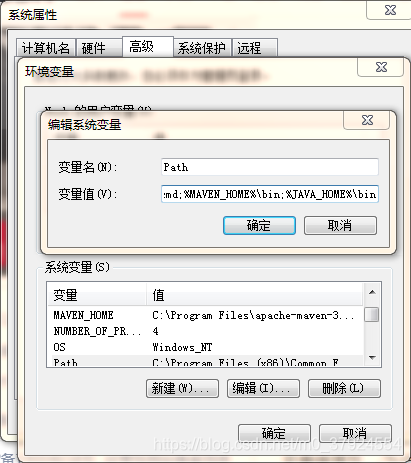
四、安装git
在前端编译过程中需要用git下载一个插件。
五、安装maven
下载地址:
https://maven.apache.org/download.cgi
1.文件解压
2.C:\Program Files\apache-maven-3.6.3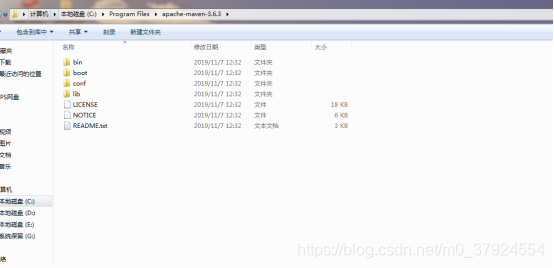
3. 新建环境变量 MAVEN_HOME,赋值 C:\Program Files\apache-maven-3.6.3
4.编辑环境变量Path,追加%MAVEN_HOME%\bin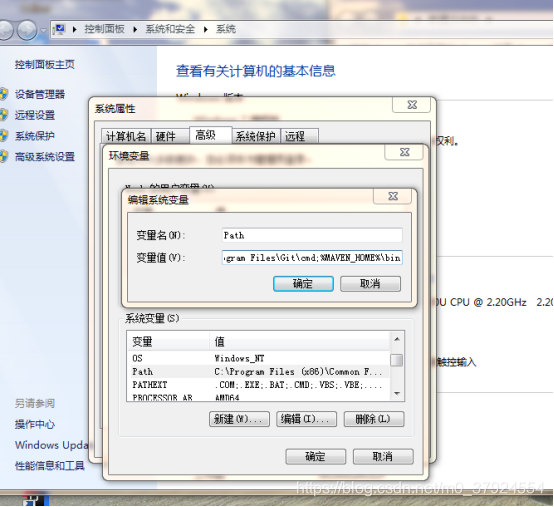
Maven 添加阿里镜像(速度快)
打开
C:\Program Files\apache-maven-3.6.3\conf\setting.xml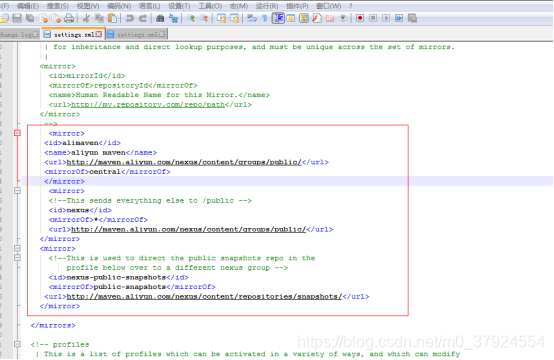
<mirror>
	 <id>alimaven</id>
	 <name>aliyun maven</name>
	 <url>http://maven.aliyun.com/nexus/content/groups/public/</url>
	 <mirrorOf>central</mirrorOf>
	 </mirror>
	  <mirror>
      <!--This sends everything else to /public -->
      <id>nexus</id>
      <mirrorOf>*</mirrorOf>
      <url>http://maven.aliyun.com/nexus/content/groups/public/</url>
    </mirror>
    <mirror>
      <!--This is used to direct the public snapshots repo in the
          profile below over to a different nexus group -->
      <id>nexus-public-snapshots</id>
      <mirrorOf>public-snapshots</mirrorOf>
     <url>http://maven.aliyun.com/nexus/content/repositories/snapshots/</url>
    </mirror>
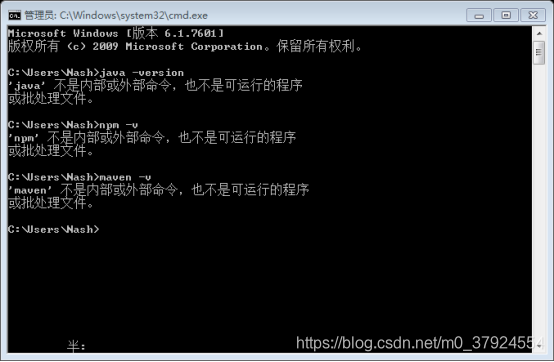
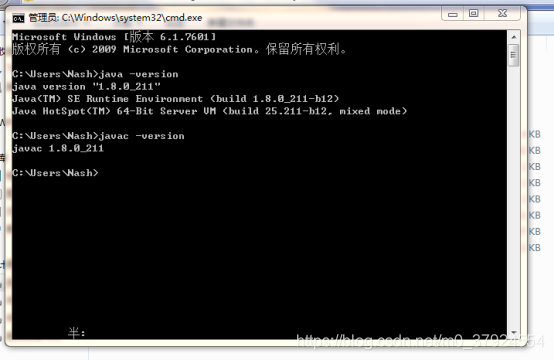
5.至此,maven已经完成了安装,我们可以通过DOS命令检查一下我们是否安装成功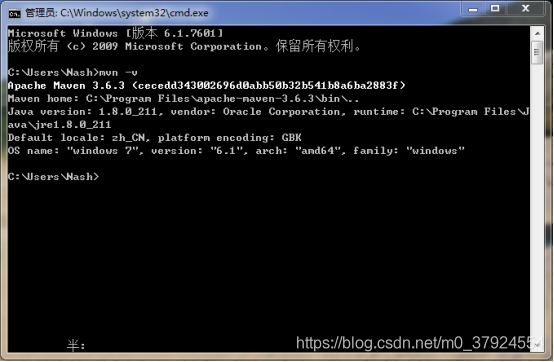
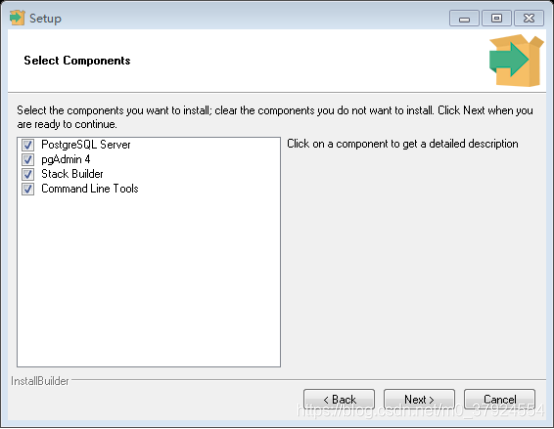
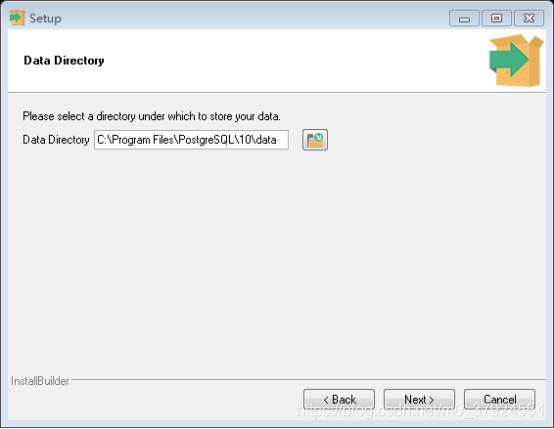
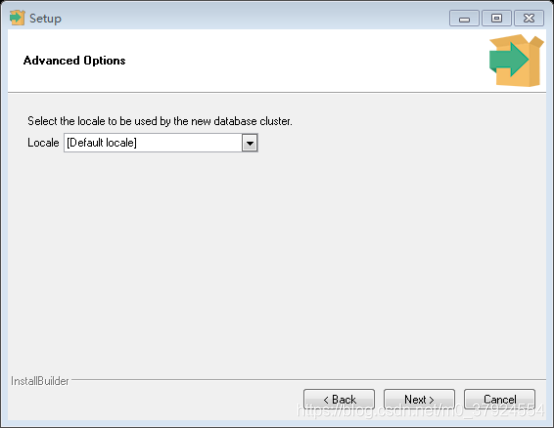
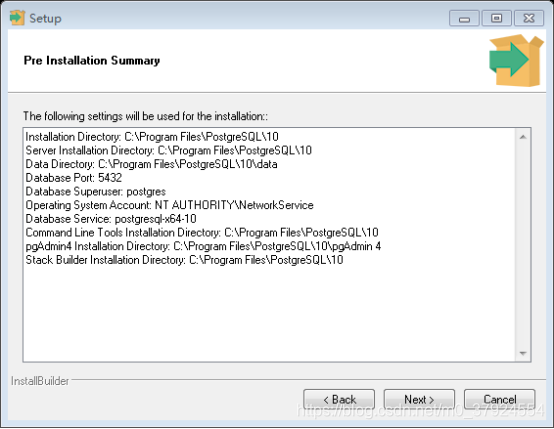
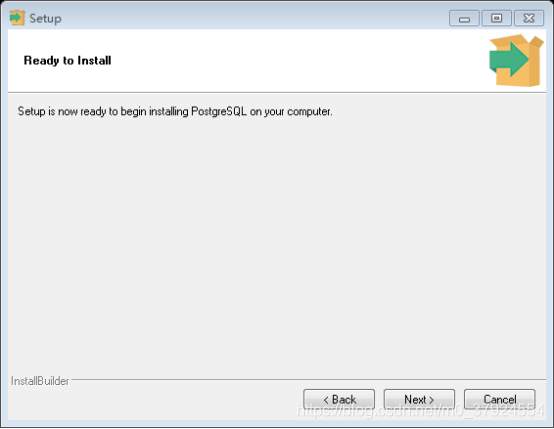
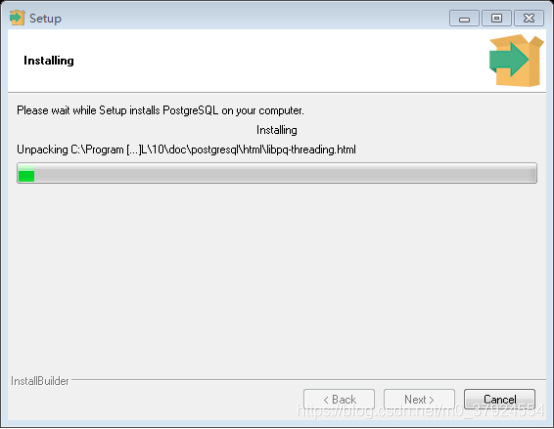
六、安装数据库
postgresql-10.12-1-windows-x64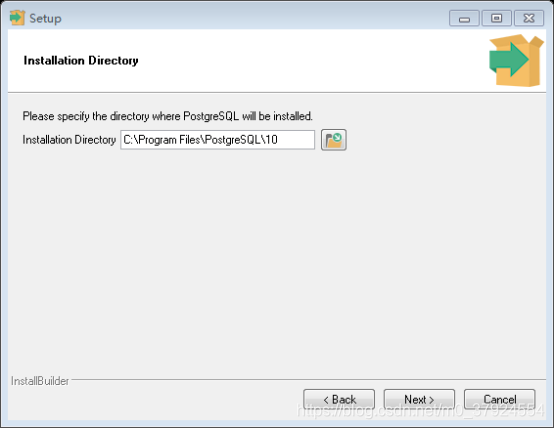
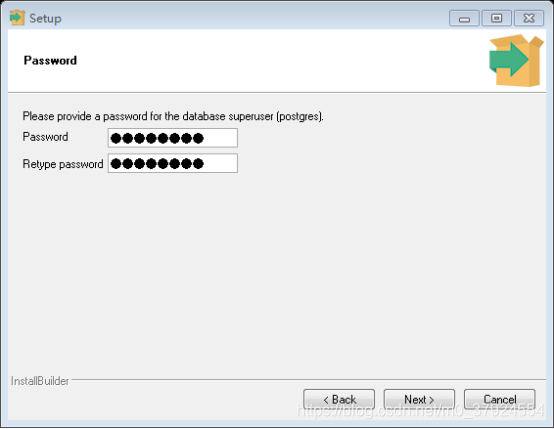
密码:postgres (tb配置的默认密码)如果填入其它的密码,需要去修改tb配置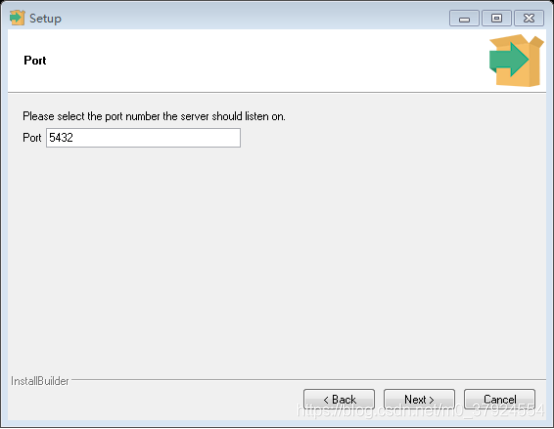
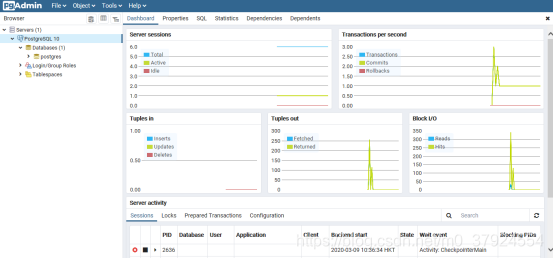
打开pgadmin(开始->所有程序->postsql10->pgadmin 4)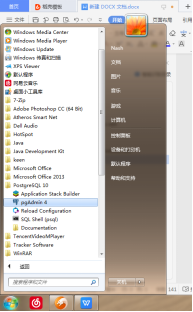
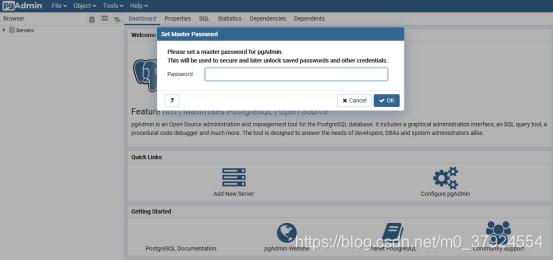
创建数据库 thingsboard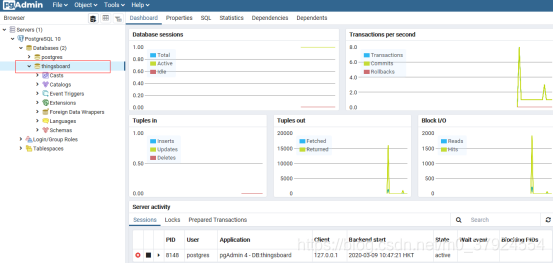
八、编译 打包
解压缩源代码到 D盘(建议路径不要有中文)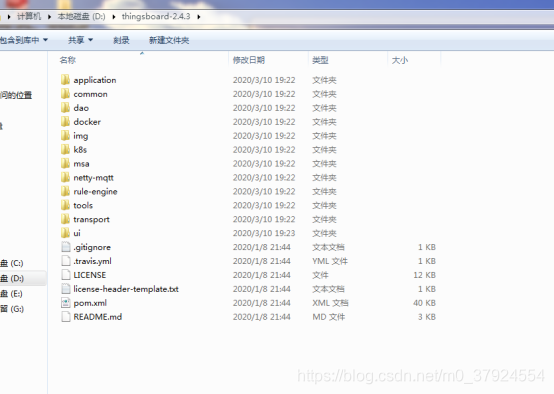
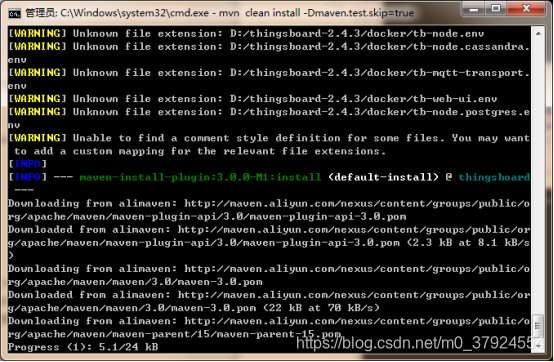
mvn clean install -Dmaven.test.skip=true 这条命令不编译测试用例,但是在application中依赖测试用例,所以会报错,采用下面这个命令
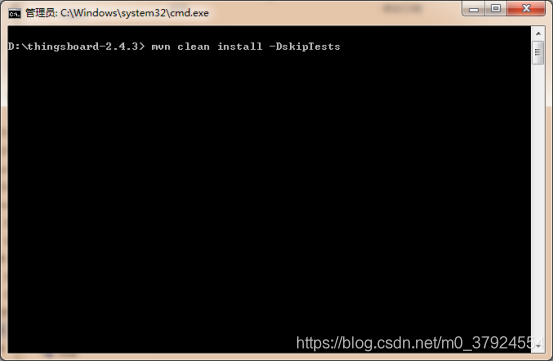
mvn clean install -DskipTests
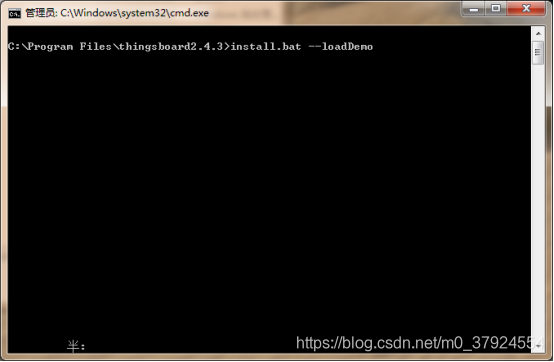
以管理员 打开cmd,进入解压缩的 tb目录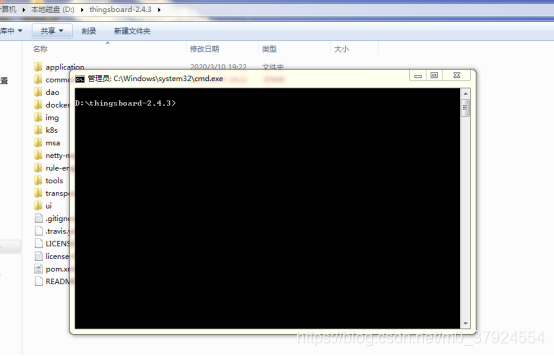
继续等待 这里是在下载npm依赖。等待时间会很长,要有耐心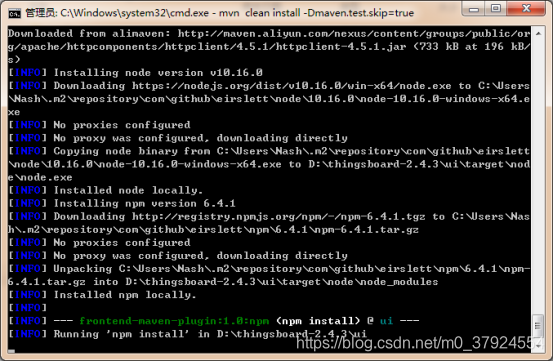
如果担心卡死,可以到这里看看有没有变化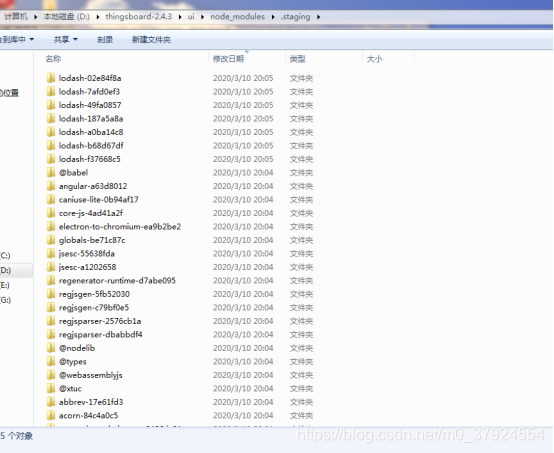
等 这个文件夹有内容 就快好了
终于等到了 build UI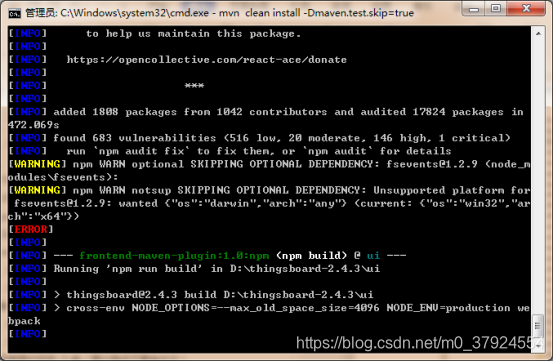
不用管这些错误,不是你的错。Mvn程序还在运行。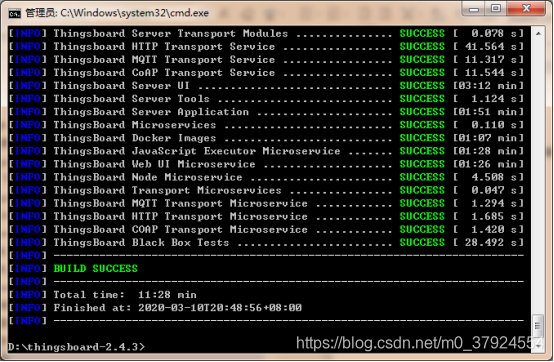
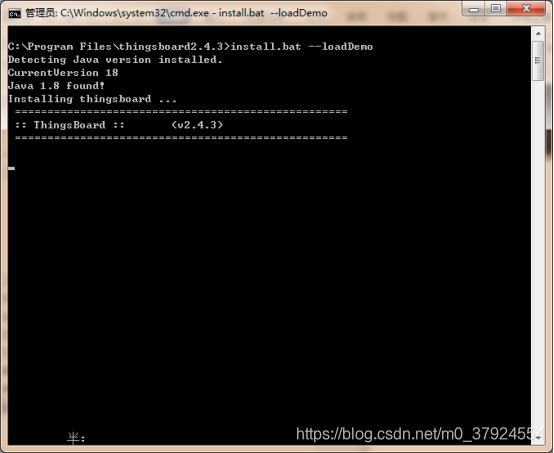
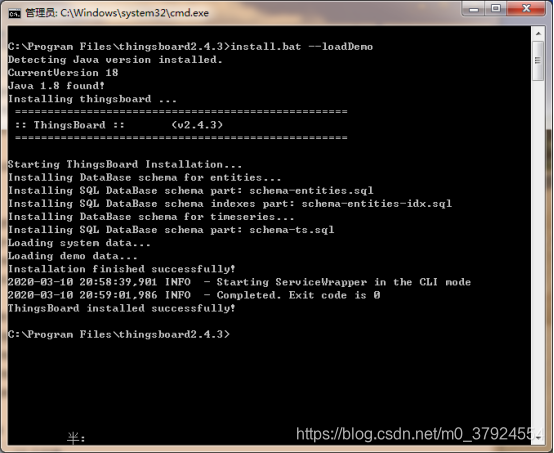
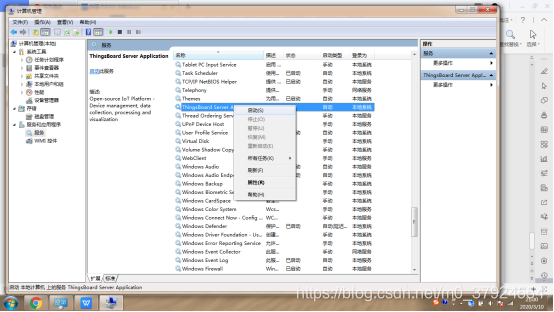
九、安装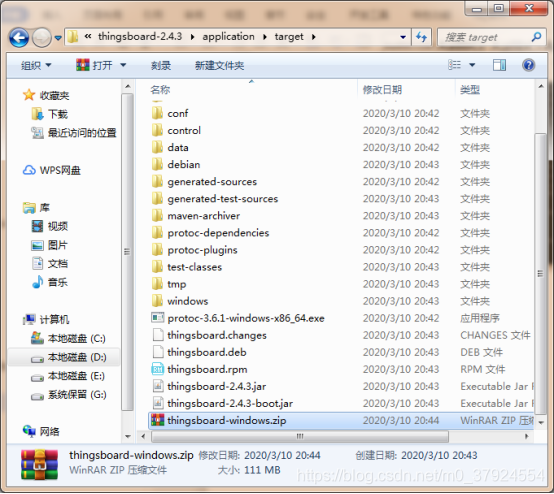
安装包解压缩到