文章目录
前言
Spring框架是Java平台上的一种开源应用框架,提供具有控制反转特性的容器。尽管Spring框架自身对编程模型没有限制,但其在Java应用中的频繁使用让它备受青睐,以至于后来让它作为EJB(EnterpriseJavaBeans)模型的补充,甚至是替补。一、Spring Boot是什么?
Spring Boot是由Pivotal团队提供的全新框架,其设计目的是用来简化新Spring应用的初始搭建以及开发过程。该框架使用了特定的方式来进行配置,从而使开发人员不再需要定义样板化的配置。
二、简单网站 HelloSpringBoot搭建
1.创建hellospringboot工程文件
1) 选择Spring Initializr

点击next
2) 填写Group和Artifact,并选择Java version为8,点击next
3) 选择Web–>spring web
点击next
4) 为项目创建名称和项目保存位置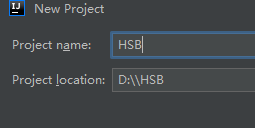
5) 如下为创建完成后的项目文件结构
首次使用springboot创建配置文件时可能会加载较长时间,耐心等待即可
2.编写Demo Application代码
代码如下:
import org.springframework.boot.SpringApplication;
import org.springframework.boot.autoconfigure.SpringBootApplication;
import org.springframework.web.bind.annotation.RequestMapping;
import org.springframework.web.bind.annotation.RequestMethod;
import org.springframework.web.bind.annotation.RestController;


@RestController
@SpringBootApplication
public class DemoApplication {

    @RequestMapping(value = "/hello",method = RequestMethod.GET)
    public String hello(){
        return  "helloword Spring Boot!这是一个用Spring Boot开发的网站。";
    }

    public static void main(String[] args) {

        SpringApplication.run(DemoApplication.class, args);
    }

}
1)@RestController和 @RequestMapping是Spring MVC的注解
2)@SpringBootApplication注解,该注解是一个复合注解,包括@ComponentScan、@SpringBootConfiguration、@EnableAutoConfiguration三个注解。该注解一般是放在应用程序的入口类上,@SpringBootApplication注解会去扫描被该注解标注的类所在包及其子包下被特定注解标注的类,并把它们纳入spring容器管理。
pom.xml的依赖:
<?xml version="1.0" encoding="UTF-8"?>
<project xmlns="http://maven.apache.org/POM/4.0.0" xmlns:xsi="http://www.w3.org/2001/XMLSchema-instance"
         xsi:schemaLocation="http://maven.apache.org/POM/4.0.0 https://maven.apache.org/xsd/maven-4.0.0.xsd">
    <modelVersion>4.0.0</modelVersion>
    <parent>
        <groupId>org.springframework.boot</groupId>
        <artifactId>spring-boot-starter-parent</artifactId>
        <version>2.5.4</version>
        <relativePath/> <!-- lookup parent from repository -->
    </parent>
    <groupId>hellospringboot</groupId>
    <artifactId>demo</artifactId>
    <version>0.0.1-SNAPSHOT</version>
    <name>demo</name>
    <description>Demo project for Spring Boot</description>
    <properties>
        <java.version>1.8</java.version>
    </properties>
    <dependencies>
        <dependency>
            <groupId>org.springframework.boot</groupId>
            <artifactId>spring-boot-starter-web</artifactId>
        </dependency>

        <dependency>
            <groupId>org.springframework.boot</groupId>
            <artifactId>spring-boot-starter-test</artifactId>
            <scope>test</scope>
        </dependency>
    </dependencies>

    <build>
        <plugins>
            <plugin>
                <groupId>org.springframework.boot</groupId>
                <artifactId>spring-boot-maven-plugin</artifactId>
            </plugin>
        </plugins>
    </build>

</project>
3.运行Demo Application
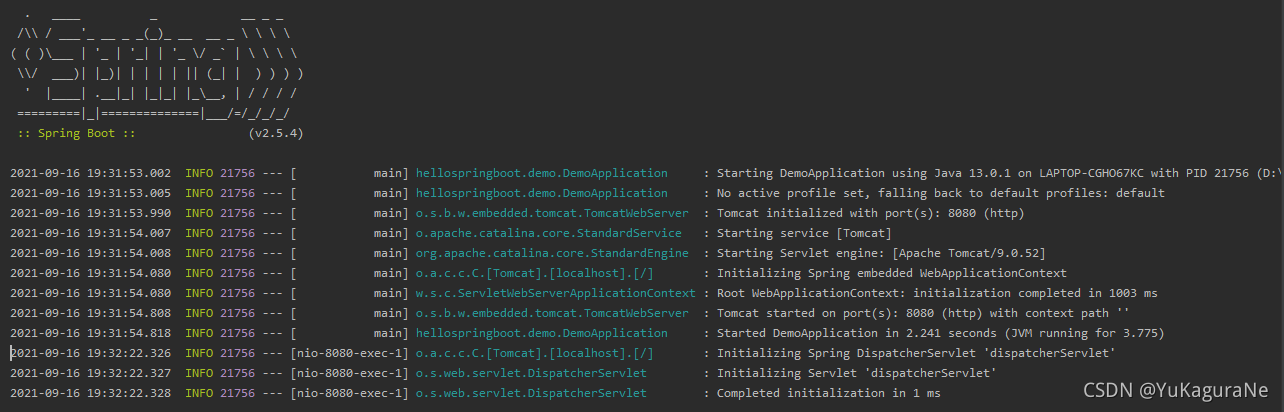
网站端口为8080
浏览器输入 http://localhost:8080/hello
即可查看运行结果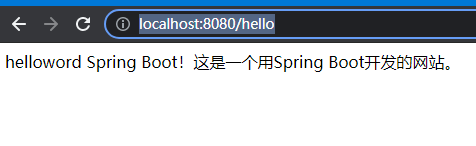
可以看到成功运行
如无法正常运行,如8080端口被占用可以参考文章8080端口被占用解决方法
总结
通过简单的HelloSpringBoot网站显示,可以知道SpringBoot基于Spring4.0设计,不仅继承了Spring框架原有的优秀特性,而且还通过简化配置来进一步简化了Spring应用的整个搭建和开发过程。另外SpringBoot通过集成大量的框架使得依赖包的版本冲突,以及引用的不稳定性等问题得到了很好的解决。