最近在做红外图像和可见光图像的配准算法,在查阅许多论文和复现代码后,通过对比发现基于canny边缘检测和特征检测的配准方法效果最好,在这里记录下方法的思想,流程以及我自己的复现代码和结果供大家参考。
一:配准思想
针对红外与可见光图像系统配准过程中受成像原理影响, 造成图像差异大、特征点难以配准的问题,可以提取红外和可见光异源图像中稳定性较好的边缘轮廓。 对预处理后的图像上使用 Canny算法提取红外和可见光的边缘,然后在边缘图上进行ORB特征提取并做粗略匹配,对粗略匹配的配对结果进行 RANSAC 提纯,获得准确 的红外可见光图像变换关系。实验表明,使用该方法可以准确地实现红外与可见光图像之间的配准(不局限于一张可见光和一张红外图像,两张都是可见光或红外图像效果也不错),在一定噪声和尺度变化下都具有不错的效果。
二:算法流程
(1)可见光图像和红外图像的预处理(去噪和平滑之类的预处理的操作,非必须);
(2)可见光图像和红外图像的canny边缘检测,这一步是算法的核心步骤之一,可以通过opencv中的Trackbar来找到最佳的边缘图;
(3)通过(2)步得到可见光和红外图像的canny边缘图,分别对其做ORB特征点检测(SURF和SIFT特征检测也可以)和特征点初步配对,并对初步配对结果做RANSAC提纯,获得准确的可见光和红外图像之间的变换关系;
(4)通过(3)获得的变换关系完成可见光和红外图像的配准。
三:代码复现
(1)canny边缘检测(我使用的是建立Trackbar,这样可以找到最佳的边缘图)
Mat g_src;
int T_value = 50;
int T_max = 255;
void myCannyTrackbar() {
	namedWindow("Canny", WINDOW_AUTOSIZE);
	createTrackbar("阈值大小", "Canny", &T_value, T_max, Callcanny);
	Callcanny(0, 0);
}
void Callcanny(int, void*) {
	Mat gauss, gray, edge, dst;
	GaussianBlur(g_src, gauss, Size(3, 3), 0, 0, 4);
	cvtColor(gauss, gray, CV_BGR2GRAY);
	Canny(gray, edge, T_value / 2, T_value, 3, false);
	g_src.copyTo(dst, edge);
	imshow("Canny", dst);
}
int main(int argc,char** argv) {
	const string path = "D:/VS2015/image/Visible.bmp";//将这里换成你的图片保存的路径即可
	g_src = imread(path);
	if (!g_src.data) {
		cout << "could not load the image" << endl;
		return -1;
	}
	double t1 = cv::getTickCount();
	myCannyTrackbar();
	double t2 = cv::getTickCount();
	double t = (t2 - t1) / cv::getTickFrequency();
	cout << "time cost " << t << endl;
	waitKey(0);
	destroyAllWindows();
	return 0;
}
(2)可见光和红外图像的配准算法
void mycanny(Mat src, Mat &dst, int T_value) {
	Mat gauss, gray;
	GaussianBlur(src, gauss, Size(3, 3), 0, 0, 4);
	cvtColor(gauss, gray, CV_BGR2GRAY);
	Canny(gray, dst, T_value / 2, T_value, 3, false);
}
void align(Mat source, Mat target, Mat &dst, int T_source_value, int T_target_value) {
	// get images edge
	Mat source_canny, target_canny;
	mycanny(source, source_canny, T_source_value);
	mycanny(target, target_canny, T_target_value);
	// Variables to store keypoints and descriptors
	std::vector<KeyPoint> keypoints1, keypoints2;
	Mat descriptors1, descriptors2;

	// Detect ORB features and compute descriptors.
	Ptr<Feature2D> orb = ORB::create(MAX_FEATURES);
	orb->detectAndCompute(source_canny, Mat(), keypoints1, descriptors1);
	orb->detectAndCompute(target_canny, Mat(), keypoints2, descriptors2);

	// Match features.
	std::vector<DMatch> matches;
	Ptr<DescriptorMatcher> matcher = DescriptorMatcher::create("BruteForce-Hamming");
	matcher->match(descriptors1, descriptors2, matches, Mat());

	// Sort matches by score
	std::sort(matches.begin(), matches.end());

	// Remove not so good matches
	const int numGoodMatches = matches.size() * GOOD_MATCH_PERCENT;
	matches.erase(matches.begin() + numGoodMatches, matches.end());


	// Draw top matches
	Mat imMatches;
	drawMatches(source_canny, keypoints1, target_canny, keypoints2, matches, imMatches);
	//imwrite("matches.jpg", imMatches);


	// Extract location of good matches
	std::vector<Point2f> points1, points2;

	for (size_t i = 0; i < matches.size(); i++)
	{
		points1.push_back(keypoints1[matches[i].queryIdx].pt);
		points2.push_back(keypoints2[matches[i].trainIdx].pt);
	}

	// Find homography
	Mat Homo = findHomography(points1, points2, RANSAC);

	// Use homography to warp image
	warpPerspective(source, dst, Homo, target.size());
}
int main(int argc, char *argv[])
{
Mat Visible= imread("D:/VS2015/image/Visible.bmp"); //待配准图像
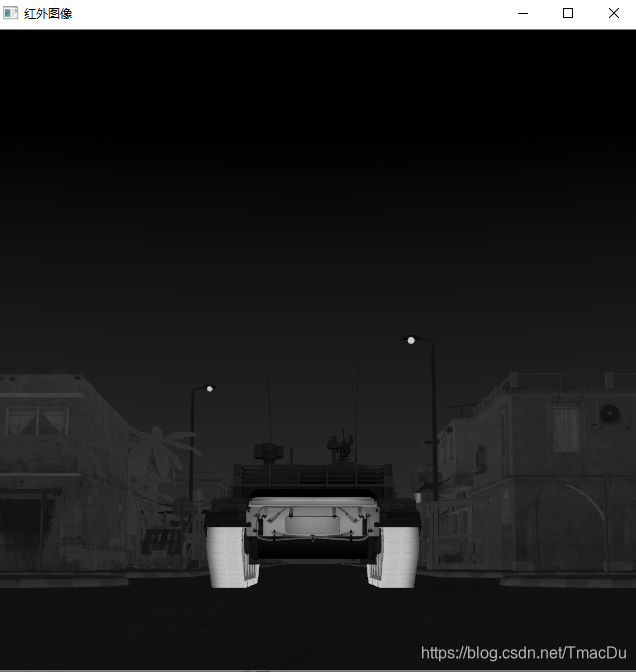
Mat Infrared = imread("D:/VS2015/image/Infrared.bmp"); //目标图像
if (Visible.empty() || Infrared.empty()) {
cout << "could not load the image..." << endl;
return -1;
}
imshow("可见光图像", Visible);
imshow("红外图像", Infrared);
Mat dst;
align(Visible, Infrared, dst,50,30);
if (dst.data) {
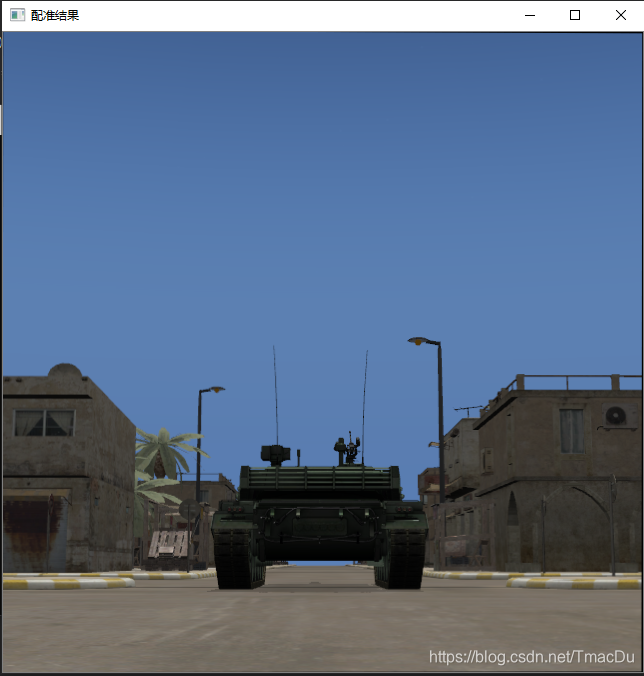
imshow("配准结果", dst);
}
waitKey();
destroyAllWindows();
return 0;
}
四:实验结果
(1)canny边缘检测
I)可见光图像canny边缘检测(T_value=50时效果最佳)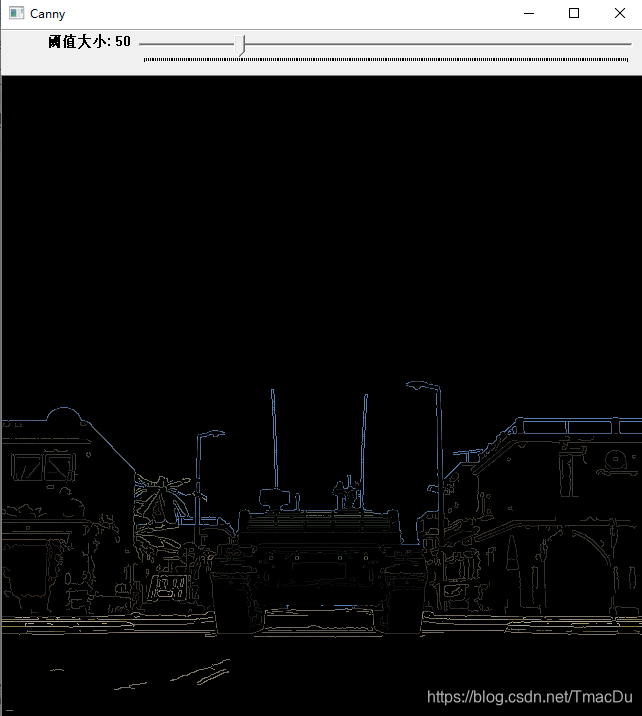
II)红外图像canny边缘检测(T_value=30时效果最佳)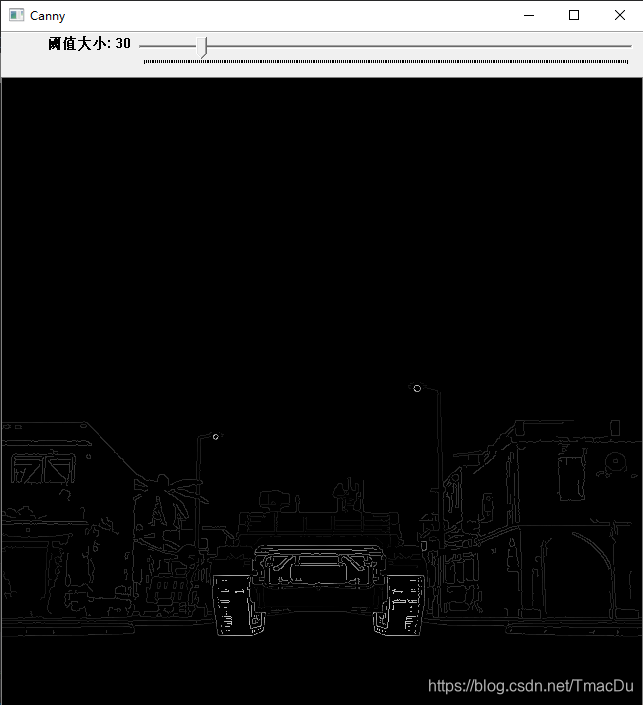
(2)配准结果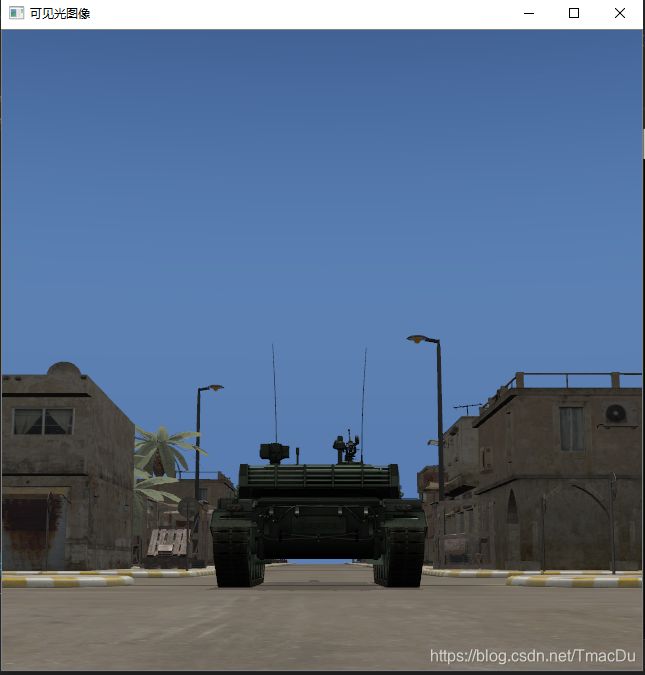
以上就是可见光和红外图像的配准算法啦,如果有不当之处欢迎大家指出来,非常乐意和大家交流学习计算机视觉相关知识!