一.创建springboot项目
1 打开idea,点击create new project选项。
2 选择spring initializr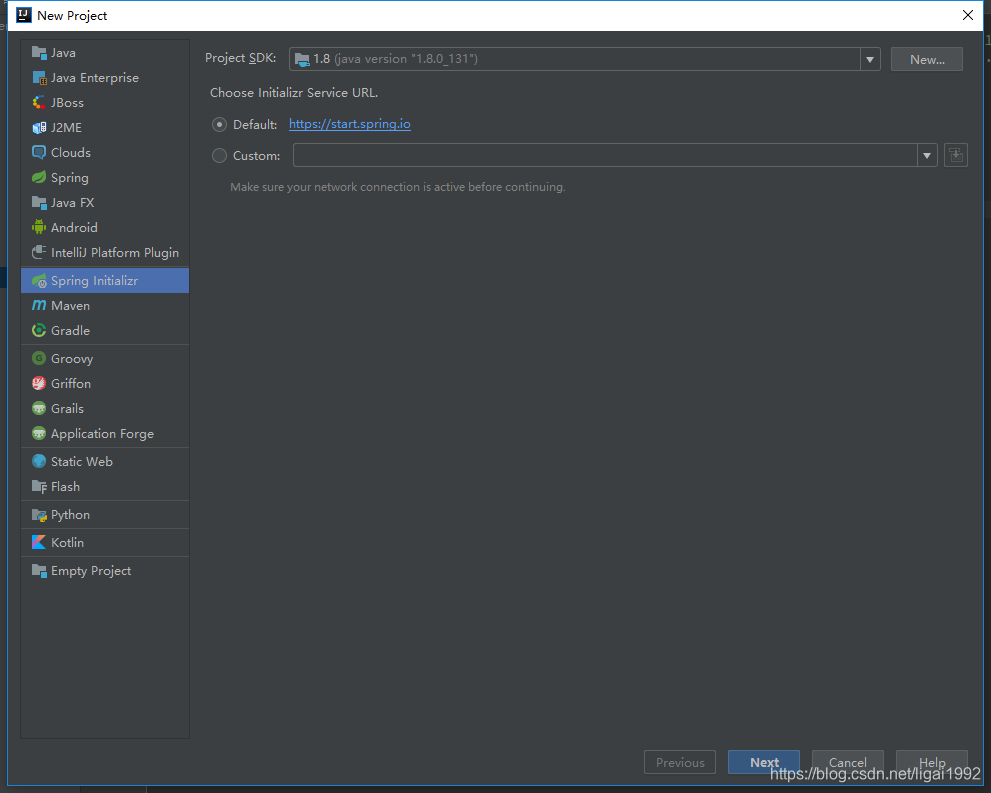
3 点击next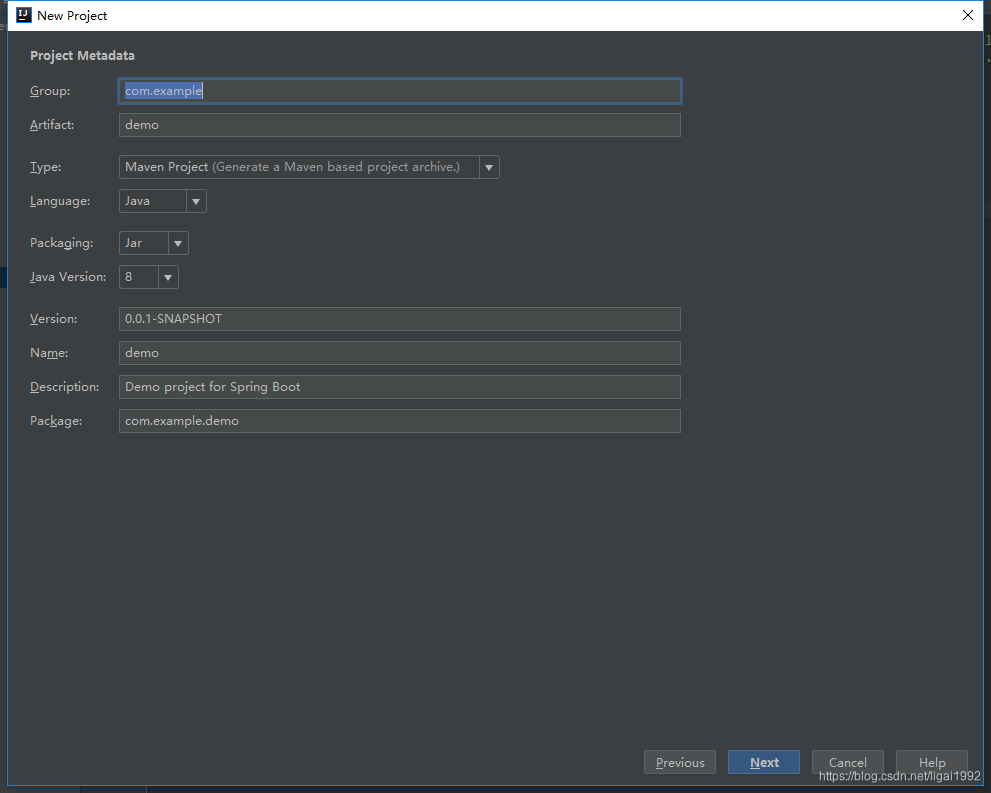
4 注意artifact不能有大写字母,必须全部为小写。配置好后点击next
5 选择web —> spring web选项,注意springboot的版本最好是选择最新版本之前的几个版本,up主在实际使用过程中发现最新版本的springboot很容易出现其他第三方jar包不兼容的情况。点击next
6 这里是配置项目所在文件夹位置点击finish后idea会创建一个新的springboot项目。
二.Maven的配置
如果上面3步骤中的Type:Maven Project没有变更的话,该项目为Maven项目,如果没有配置好resposity和镜像地址,下载依赖包会相当的浪费时间,idea工具里自带maven,我们需要的做的只要配置好。
找到maven配置,在idea工具的plugin里有maven包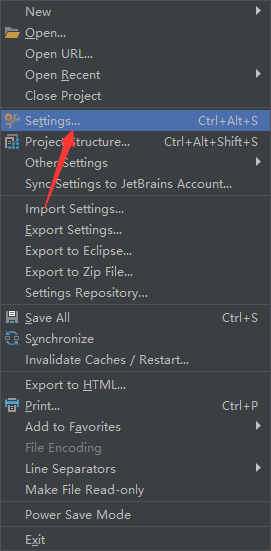
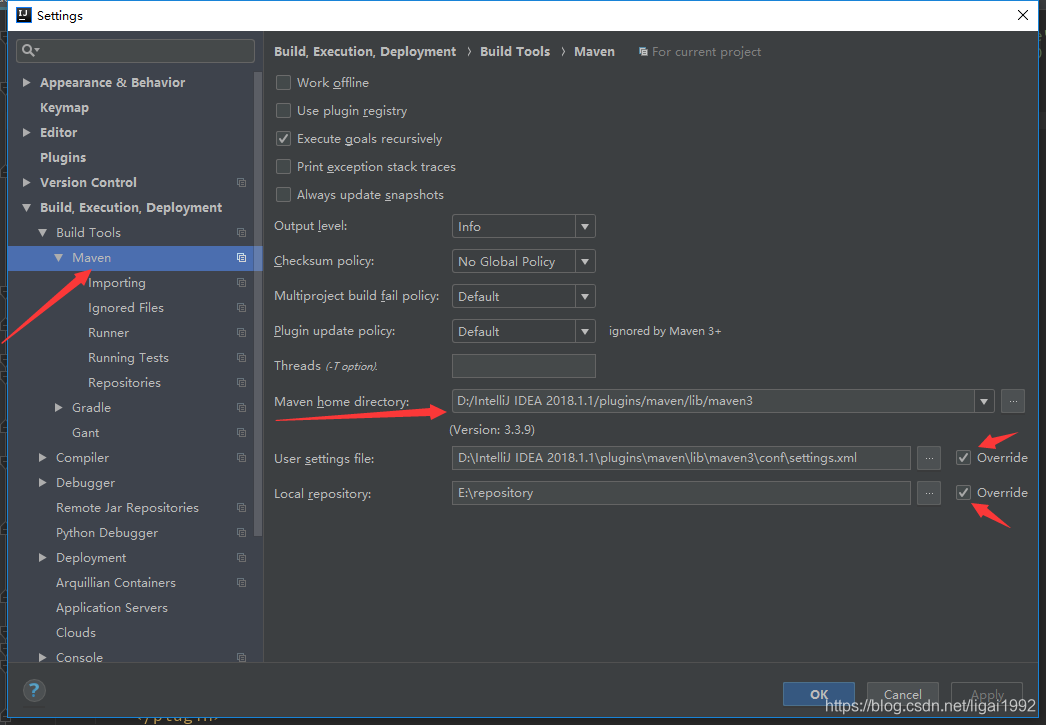
并且找到配置好的maven的settings.xml打开编辑,在mirrors标签中添加镜像地址,可以让下载依赖包速度提升。
	<mirror>
	    <id>alimaven</id>
	    <name>aliyun maven</name>
	    <url>http://maven.aliyun.com/nexus/content/groups/public/</url>
	    <mirrorOf>central</mirrorOf>
	</mirror>
	<mirror>
	    <id>central</id>
	    <name>Maven Repository Switchboard</name>
	    <url>http://repo1.maven.org/maven2/</url>
	    <mirrorOf>central</mirrorOf>
	</mirror>
	<mirror>
	    <id>repo2</id>
	    <mirrorOf>central</mirrorOf>
	    <name>Human Readable Name for this Mirror.</name>
	    <url>http://repo2.maven.org/maven2/</url>
	</mirror>
	<mirror>
	    <id>ibiblio</id>
	    <mirrorOf>central</mirrorOf>
	    <name>Human Readable Name for this Mirror.</name>
	    <url>http://mirrors.ibiblio.org/pub/mirrors/maven2/</url>
	</mirror>
	<mirror>
	    <id>jboss-public-repository-group</id>
	    <mirrorOf>central</mirrorOf>
	    <name>JBoss Public Repository Group</name>
	    <url>http://repository.jboss.org/nexus/content/groups/public</url>
	</mirror>
	<mirror>
	    <id>google-maven-central</id>
	    <name>Google Maven Central</name>
	    <url>https://maven-central.storage.googleapis.com
	    </url>
	    <mirrorOf>central</mirrorOf>
	</mirror>
	<!-- 中央仓库在中国的镜像 -->
	<mirror>
	    <id>maven.net.cn</id>
	    <name>oneof the central mirrors in china</name>
	    <url>http://maven.net.cn/content/groups/public/</url>
	    <mirrorOf>central</mirrorOf>
	</mirror>
三.整合logback日志
很方便的是,springboot2已经整合了logback日志,我们不需要在pom.xml中额外添加相关依赖。
所以直接在src/main/resource文件夹下添加logback-spring.xml或logback.xml,然后添加配置
<?xml version="1.0" encoding="UTF-8"?>
<configuration>
    <!--输出到控制台-->
    <appender name="STDOUT" class="ch.qos.logback.core.ConsoleAppender">
        <!-- 输出的日志内容格式化-->
        <layout class="ch.qos.logback.classic.PatternLayout">
            <!--
                %p:用来展示日志的级别信息   %d:展示当前时间   %m:展示主线程级别信息   %n:换行
            -->
            <pattern>[%p] %d{yyyy-MM-dd HH:mm:ss} %m %n</pattern>
        </layout>
    </appender>

    <!-- 输出到文件 -->
    <property name="LOG_FILE" value="d:/logs" />
    <appender name="FILE" class="ch.qos.logback.core.rolling.RollingFileAppender">
        <rollingPolicy class="ch.qos.logback.core.rolling.TimeBasedRollingPolicy">
            <!-- 每日归档日志文件 -->
            <fileNamePattern>${LOG_FILE}/%d{yyyy-MM-dd}.log</fileNamePattern>
            <!-- 保留 N 天的归档日志文件 -->
            <maxHistory>15</maxHistory>
            <!-- 日志文件上限 N G,超过后会删除旧的归档日志文件 -->
            <totalSizeCap>1GB</totalSizeCap>
        </rollingPolicy>
        <encoder>
            <pattern>%-4relative [%thread] %-5level %logger{35} - %msg%n</pattern>
        </encoder>
    </appender>

    <!-- 子日志 -->
    <logger name="com.lg.shirodemo" level="info" />

    <!--项目中的根日志 只能出现一次-->
    <root level="INFO">
        <!--根日志输出位置-->
        <appender-ref ref="stdout"/>
    </root>
</configuration>
四.整合mybatis
mybaitis是比较常用的orm框架,在用到mybatis之前,我们需要配置jdbc、jdbc连接池、数据库连接驱动,这里我们使用springboot2默认的hikariCP,以及mysql8的connector,所以我们的pom.xml只需要配置如下几个:
<?xml version="1.0" encoding="UTF-8"?>
<project xmlns="http://maven.apache.org/POM/4.0.0" xmlns:xsi="http://www.w3.org/2001/XMLSchema-instance"
         xsi:schemaLocation="http://maven.apache.org/POM/4.0.0 https://maven.apache.org/xsd/maven-4.0.0.xsd">
    <modelVersion>4.0.0</modelVersion>
    <parent>
        <groupId>org.springframework.boot</groupId>
        <artifactId>spring-boot-starter-parent</artifactId>
        <version>2.1.12.RELEASE</version>
        <relativePath/> <!-- lookup parent from repository -->
    </parent>
    <groupId>com.lg</groupId>
    <artifactId>shirodemo</artifactId>
    <version>0.0.1-SNAPSHOT</version>
    <name>shirodemo</name>
    <description>Demo project for Spring Boot</description>

    <properties>
        <java.version>1.8</java.version>
    </properties>

    <dependencies>
        <dependency>
            <groupId>org.springframework.boot</groupId>
            <artifactId>spring-boot-starter-web</artifactId>
        </dependency>

        <dependency>
            <groupId>org.springframework.boot</groupId>
            <artifactId>spring-boot-starter-jdbc</artifactId>
        </dependency>

        <dependency>
            <groupId>org.mybatis.spring.boot</groupId>
            <artifactId>mybatis-spring-boot-starter</artifactId>
            <version>1.3.2</version>
        </dependency>

        <dependency>
            <groupId>mysql</groupId>
            <artifactId>mysql-connector-java</artifactId>
            <scope>runtime</scope>
        </dependency>

        <dependency>
            <groupId>org.springframework.boot</groupId>
            <artifactId>spring-boot-starter-test</artifactId>
            <scope>test</scope>
        </dependency>
    </dependencies>

    <build>
        <plugins>
            <plugin>
                <groupId>org.springframework.boot</groupId>
                <artifactId>spring-boot-maven-plugin</artifactId>
            </plugin>
        </plugins>
        <resources>
            <resource>
                <directory>src/main/java</directory>
                <includes>
                    <include>**/*.xml</include>
                </includes>
                <filtering>false</filtering>
            </resource>
        </resources>
    </build>
</project>
这里需要注意的是,如果你把mybatis的xml文件放在了src/main/java下,则需要配置
<resources>
    <resource>
        <directory>src/main/java</directory>
        <includes>
            <include>**/*.xml</include>
        </includes>
        <filtering>false</filtering>
    </resource>
</resources>
如果你是放在src/main/resource文件夹下则不需要加,因为默认会去resource文件夹下读取
然后application.yml文件配置如下:
server:
  port: 8080

spring:
  datasource:
    url: jdbc:mysql://localhost:3306/ligai?useUnicode=true&characterEncoding=utf-8&serverTimezone=UTC
    username: root
    password: root
    driver-class-name: com.mysql.cj.jdbc.Driver

mybatis:
  mapper-locations: classpath:com/lg/shirodemo/table/mapper/*.xml
最后项目的整体结构为:
最后在SpringbootApplication.java类中加上
@MapperScan("com.lg.shirodemo.table.mapper")
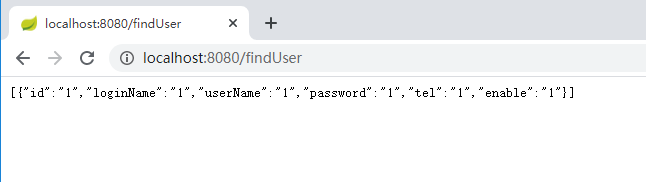
到这里,与代码逻辑无关的配置基本结束,里面的controller,service,usermapper都是比较简单的,这里就不展示了,启动后,简单的查询: