前端搭建(HTML+CSS+JS)游戏官网(或其它)页面------实例与代码(示例:游戏官网界面)
注意:网页中的示例图片均出自米哈游–原神官网设计,如侵权,联系博主立马进行删除。
目标:网页实现前端图片+文字显示(轮播图片+文字)。代码重点:轮播等等。
头部logo部分
HTML代码:
<div class="navbar">
		<div class="logo"><a href="html.html"><img src="logo.png"></a></div>
		<div class="word"><span><a href="web2.html">公司简介</a></span></div>
		<div class="word1"><span><a href="web3.html">社会招聘</a></span></div>
		<span class="word1"><a href="web4.html">加入我们</a></span>
		<span class="word1"><a href="web5.html">联系我们</a></span>
		<span class="word1"><a href="web6.html">米哈游成长关爱平台</a></span>
	</div>
CSS代码:
.navbar{
	width: 100%;
	height: 100px;
	background-color:#fff;
    border-bottom: 3px solid #4cd7e8;
    margin-bottom: 0px;
    position: relative;
    text-align: center;
	cursor: pointer;
}
.navbar .logo{
	width: 214px;
	height: 94px;
	float: left;
	margin-left: 250px;
	padding-top:10px;
}
.word{
	padding-left:150px;
	padding-top:  50px;
	font-size: 20px;
	float: left;
}
a{
	text-decoration: none;
	color: aqua;
}
.word1{
	padding-left:50px;
	padding-top: 50px;
	font-size: 20px;
	float: left;
}
头部主要作用是给用户起到一个导航和了解的作用。
(重点)轮播图
HTML代码:
<div id= "parent">
<div id="uls">
<ul id="img_ul">
<li><img src="1.jpg"/></li>
<li><img src="2.jpg"/></li>
<li><img src="3.jpg"/></li>
</ul>
<ul id='litCir_ul'></ul>
</div>
<div id="buttons">
<span id="left"><</span>
<span id="right">></span>
</div>
</div>
CSS代码:
#parent{
    position: relative;
    margin: 50px auto;
    padding: 0;
    width: 1500px;
    height: 600px;
}

#uls{
    position: relative;
    margin: 0;
    padding: 0;
    width: 1500px;
    height: 600px;
    overflow: hidden;
}

#img_ul{
    position: absolute;
    margin: 0;
    padding: 0;
    left: 0;
    top: 0;
    width: 6000px;           /*多留出一张图片的宽度!*/
    list-style: none;
}
#img_ul li{
    float: left;
    margin: 0;
    padding: 0;
    width: 1500px;
    height: 600px;
}
#img_ul li img{
    width: 1500px;
    height: 600px;
}

#litCir_ul{
    position: absolute;
    margin: 0;
    padding: 0;
    right: 10px;
    bottom: 10px;
    list-style: none;
}
#litCir_ul li{
    margin: 0;
    padding: 0;
    float: left;
    width: 20px;
    height: 20px;
    text-align: center;
    line-height: 20px;
    border-radius: 50%;
    margin-left:10px ;
    cursor: pointer;
}
li.active{
    background-color: white;
}
li.quiet{
    background-color: #1e90ff;
}

#buttons{
    margin: 0;
    padding: 0;
    display: none;
}
#buttons span{
    position: absolute;
    width: 40px;
    height: 40px;
    top: 50%;
    margin-top: -20px;
    line-height: 40px;
    text-align: center;
    font-weight: bold;
    font-family: Simsun;
    font-size: 30px;
    border: 1px solid #fff;
    opacity: 0.3;
    cursor: pointer;
    color: #fff;
    background: black;
}
#left{
    left: 5px;
}
#right{
    left: 100%;
    margin-left: -45px;
}
JS代码:
var parent = document.getElementById("parent");
    var img_ul = document.getElementById("img_ul");
    var litCir_ul = document.getElementById("litCir_ul");
    var buttons = document.getElementById("buttons");
    var cLis =litCir_ul.children;

    var len = img_ul.children.length;     //图片张数
    var width = parent.offsetWidth;       //每张图片的宽度
    var rate = 15;                        //一张图片的切换速度, 单位为px
    var times = 1;                        //切换速度的倍率
    var gap = 4000;                       //自动切换间隙, 单位为毫秒
    var timer = null;                     //初始化一个定时器
    var picN = 0;                         //当前显示的图片下标
    var cirN = 0;                         //当前显示图片的小圆点下标
    var temp;


	for (var i=0; i<len; i++){
        var a_li = document.createElement("li");
        a_li.className = 'quiet';
        litCir_ul.appendChild(a_li);
    }


    litCir_ul.children[0].className = "active";
	function Roll(distance){                                         //参数distance:滚动的目标点(必为图片宽度的倍数)
		clearInterval(img_ul.timer);                                     //每次运行该函数必须清除之前的定时器!
		var speed = img_ul.offsetLeft < distance ?  rate : (0-rate);     //判断图片移动的方向

		img_ul.timer = setInterval(function(){                           //设置定时器,每隔10毫秒,调用一次该匿名函数
			img_ul.style.left = img_ul.offsetLeft + speed + "px";        //每一次调用滚动到的地方 (速度为 speed px/10 ms)
			var leave = distance - img_ul.offsetLeft;                    //距目标点剩余的px值

			/*接近目标点时的处理,滚动接近目标时直接到达, 避免rate值设置不当时不能完整显示图片*/
			if (Math.abs(leave) <= Math.abs(speed)) {
				clearInterval(img_ul.timer);
				img_ul.style.left = distance + "px";
			}
		},10);
		}


		img_ul.appendChild(img_ul.children[0].cloneNode(true));
		function autoRun(){
			picN++;
			cirN++;
			if(picN > len){                  //滚动完克隆项后
				img_ul.style.left = 0;       //改变left至真正的第一项处
				picN = 1;                    //从第二张开始显示
			}
			Roll(-picN*width);

			if(cirN > len-1){                //判断是否到了最后一个圆点
				cirN = 0;
			}
			for(var i=0; i<len; i++){
				cLis[i].className = "quiet";
			}
			cLis[cirN].className = "active";
		}


		for(var i=0; i<len; i++){
			cLis[i].index = i;
			cLis[i].onmouseover = function(){
				for(var j=0; j<len; j++){
					cLis[j].className = "quiet";
				}
				this.className = "active";
				temp = cirN;
				picN = cirN = this.index;
				times = Math.abs(this.index - temp);  //距离上个小圆点的距离
				rate = rate*times;                    //根据距离改变切换速率
				Roll(-this.index * width);
				rate = 15;
			}
		}
		parent.onmouseover = function(){
			clearInterval(timer);
			buttons.style.display = 'block';
		}
		parent.onmouseout = function(){
			timer = setInterval(autoRun, gap);
			buttons.style.display = 'none';
		}
		buttons.children[0].onclick = function(){
			picN--;
			cirN--;
			if(picN < 0){                               //滚动完第一项后
				img_ul.style.left = -len*width + "px";  //改变left至克隆的第一项处
				picN = cirN = len-1;
			}
			Roll(-picN*width);
			//bug处理
			if(cirN < 0){
				cirN = len-1;
			}
			for(var i=0; i<len; i++){
				cLis[i].className = "quiet";
			}
			cLis[cirN].className = "active";
		}
		/*下一张*/
		buttons.children[1].onclick = autoRun;
var next=document.getElementsByClassName("next")[0];
next.onclick=text;
注意:轮播图中的图片数量与大小可以修改。修改图片大小时,在CSS代码中更改“#parent” ,“#uls”,“#img_ul li”,“#img_ul li img”的宽和高,必须保持其一致性,并且“#img_ul”中的宽度设置为(图片数量+1)*图片宽度(以保证空出一张图片的位置作为交替缓冲区)。
轮播实现效果:当鼠标移动到轮播图片上时,图片会自动进行轮播效果(自动播放的速度可在JS代码函数中调整)。在图片的最左/右侧,可点击进行图片的左右切换。并且在图片的右下角有对应图片数量的小圆角,也可进行图片的任意切换
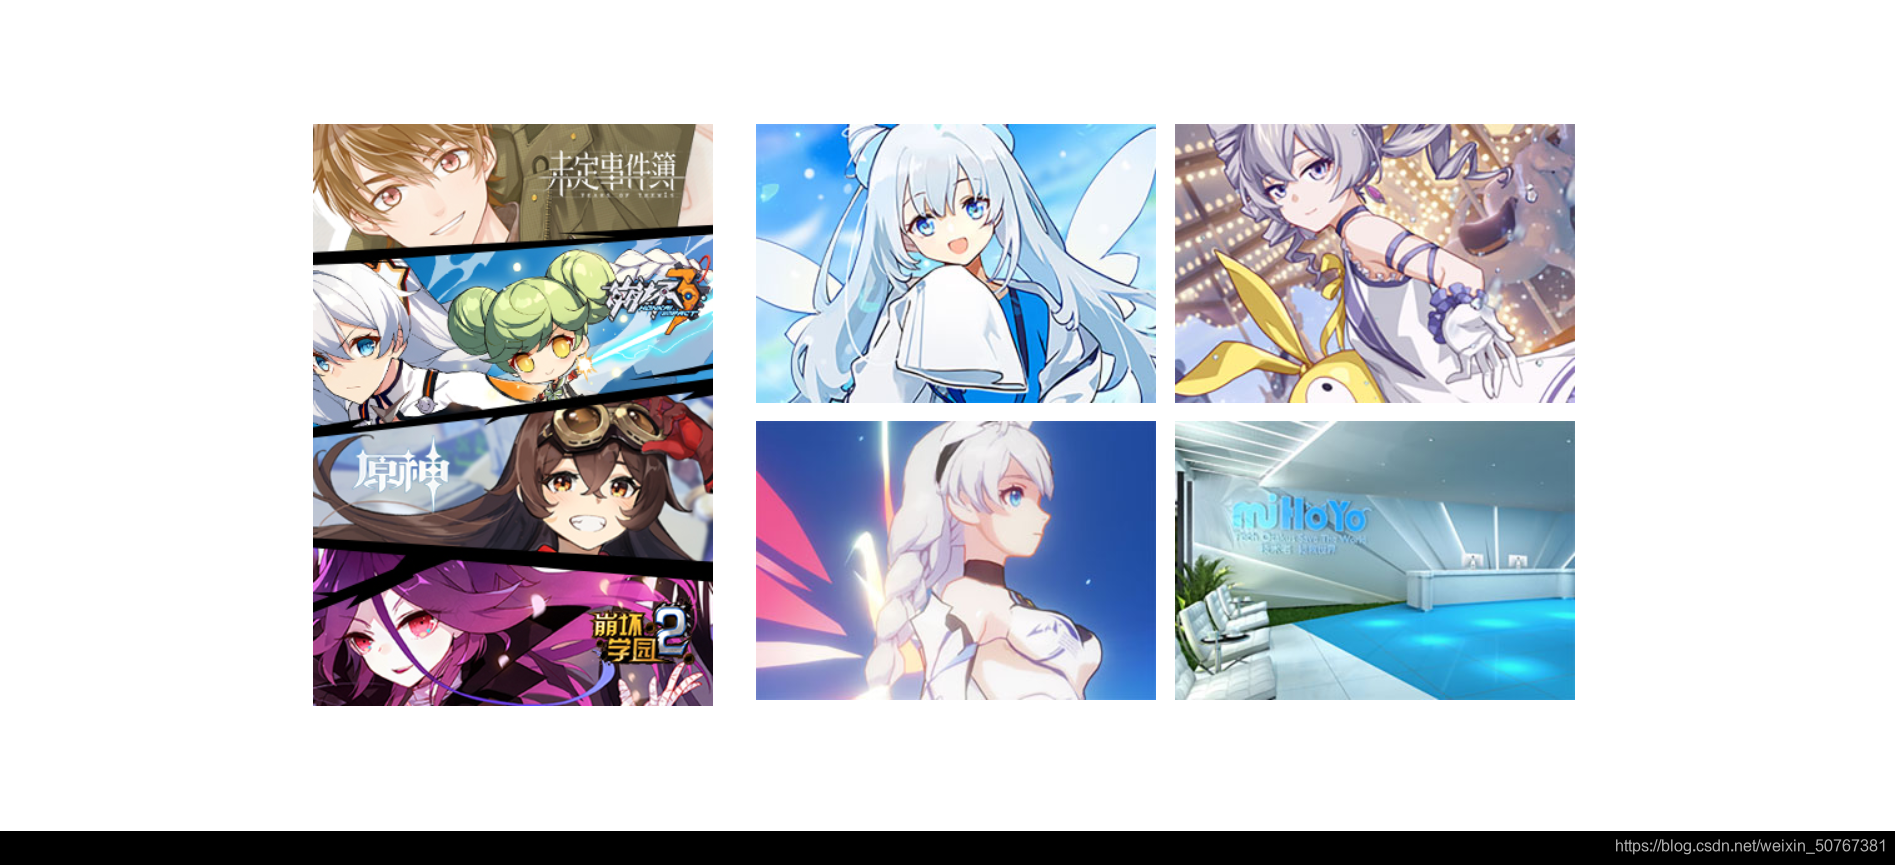
中央板块部分:
HTML代码:
<div id="text">
		<div class="smallbox"></div>
	<ul class="imges">
		<img src="index-nav-8.jpg">
		</ul>
	</div>
	<div class="box1">
		<ul class="imges">
		<img src="index-nav-9.jpg">
		</ul>
	</div>
	<div class="box2">
	<ul class="imges">
		<img src="index-nav-11.jpg">
		</ul>
	</div>
	<div class="box3">
	<ul class="imges">
		<img src="index-nav-10.jpg">
		</ul>
	</div>
	<div class="box4">
	<ul class="imges">
		<img src="index-nav-12.jpg">
		</ul>
	</div>
CSS代码:
#text{
	width: 320px;
	height: 466px;
	background-color: aqua;
	margin-top: 100px;
	left: 250px;
	float: left;
	position: relative;
}
#text.smallbox{
	width: 320px;
	height: 50px;
	background-color: rgba(0,0,0,1.00);
	float: left;
}

.box1{
	width: 320px;
	height: 223px;
	background-color: aqua;
	margin-top: 100px;
	margin-left: 285px;
	float: left;
}
.box2{
	width: 320px;
	height: 223px;
	background-color: aquamarine;
	float: left;
	margin-top: 100px;
	margin-left: 15px;
}
.box3{
	width: 320px;
	height: 223px;
	background-color: antiquewhite;
	float: left;
	margin-top: 15px;
	margin-left: 285px;
}
.box4{
	width: 320px;
	height: 223px;
	background-color: aquamarine;
	float: left;
	margin-top: 15px;
	margin-left: 15px;
}
.imges{
	cursor: pointer;
	transition:  0.5s;
}
.imges:hover{
	transform: scale(1.1);
}
页脚部分
HTML代码
<div class="foot">
	<div class="pulogo"><img src="页脚logo.png"></div>
		<div class="ad">
		<a>隐私政策 | 关于我们 | 联系我们 | 加入我们</a>
		</div>
		<div class="cg">
		<span>xxxxxxxxxxxxxxxxxxxxxxxxxxxxxxxxxxxxxxxxxxxxxxxxxxxxxxxxxxxxxxxx
			<br>
			xxxxxxxxxxxxxxxxxxxxxxxxxxxxxxxxxxxxxxxxx
			<br>
			xxxxxxxxxxxxxxxxxxxxxxxxxxxxxxxxxxxxxxxxxxxxxxxxxxxxxxxxxxxxxxxxxxxxxxxxxxxxxxxxxxxxxxxxx
			<br>
			xxxxxxxxxxxxxxxxxxxxxxxxxxxxxxxxxxxxxxxxxxxxxxxxxxxxxxxxxxxxxxxxxxxxxxxxxxxxxxxxxxxxxxxxxxxxxxxxxx
			<br>
			xxxxxxxxxxxxxxxxxxxxxxxxxxxxxxxxxxxxxxxxxxxxxxxxxxxxxxxxxxxxxxxx
			</span>
		</div>
	       <div class="litle">
		<img src="img/1.jpg">
		</div>
		  <div class="litle">
		<img src="img/2.jpg">
		</div>
		  <div class="litle">
		<img src="img/3.jpg">
		</div>
		  <div class="litle">
		<img src="img/4.jpg">
		</div>
		  <div class="litle">
		<img src="img/5.jpg">
		</div>
		  <div class="litle">
		<img src="img/6.jpg">
		</div>
	</div>
CSS代码
.foot{
	width: 1520px;
	height: 401px;
	background-color: black;
	margin-top: 100px;
	float: left;
}
.pulogo{
	width: 216px;
	height: 76px;
	margin-left: 60px;
	margin-top: 162.5px;
	float: left;
}
.ad{
	width: 820.24px;
	height: 52px;
	margin-top: 50px;
	margin-left: 470px;
	font-size: 20px;
	color: #fff;
	cursor: pointer;
}
.cg{
	width:802.24px;
	height: 120px;
	margin-left: 470px;
	margin-top: 10px;
	font-size: 20px;
	color: #aaa;
	cursor: pointer;
}
.litle{
	padding-left: 15px;
	padding-top: 80px;
	float: left;
	cursor: pointer;
}
注:代码中所有xxxx内容均为可自己修改补充的内容。
最后给各位大佬们看看运行效果: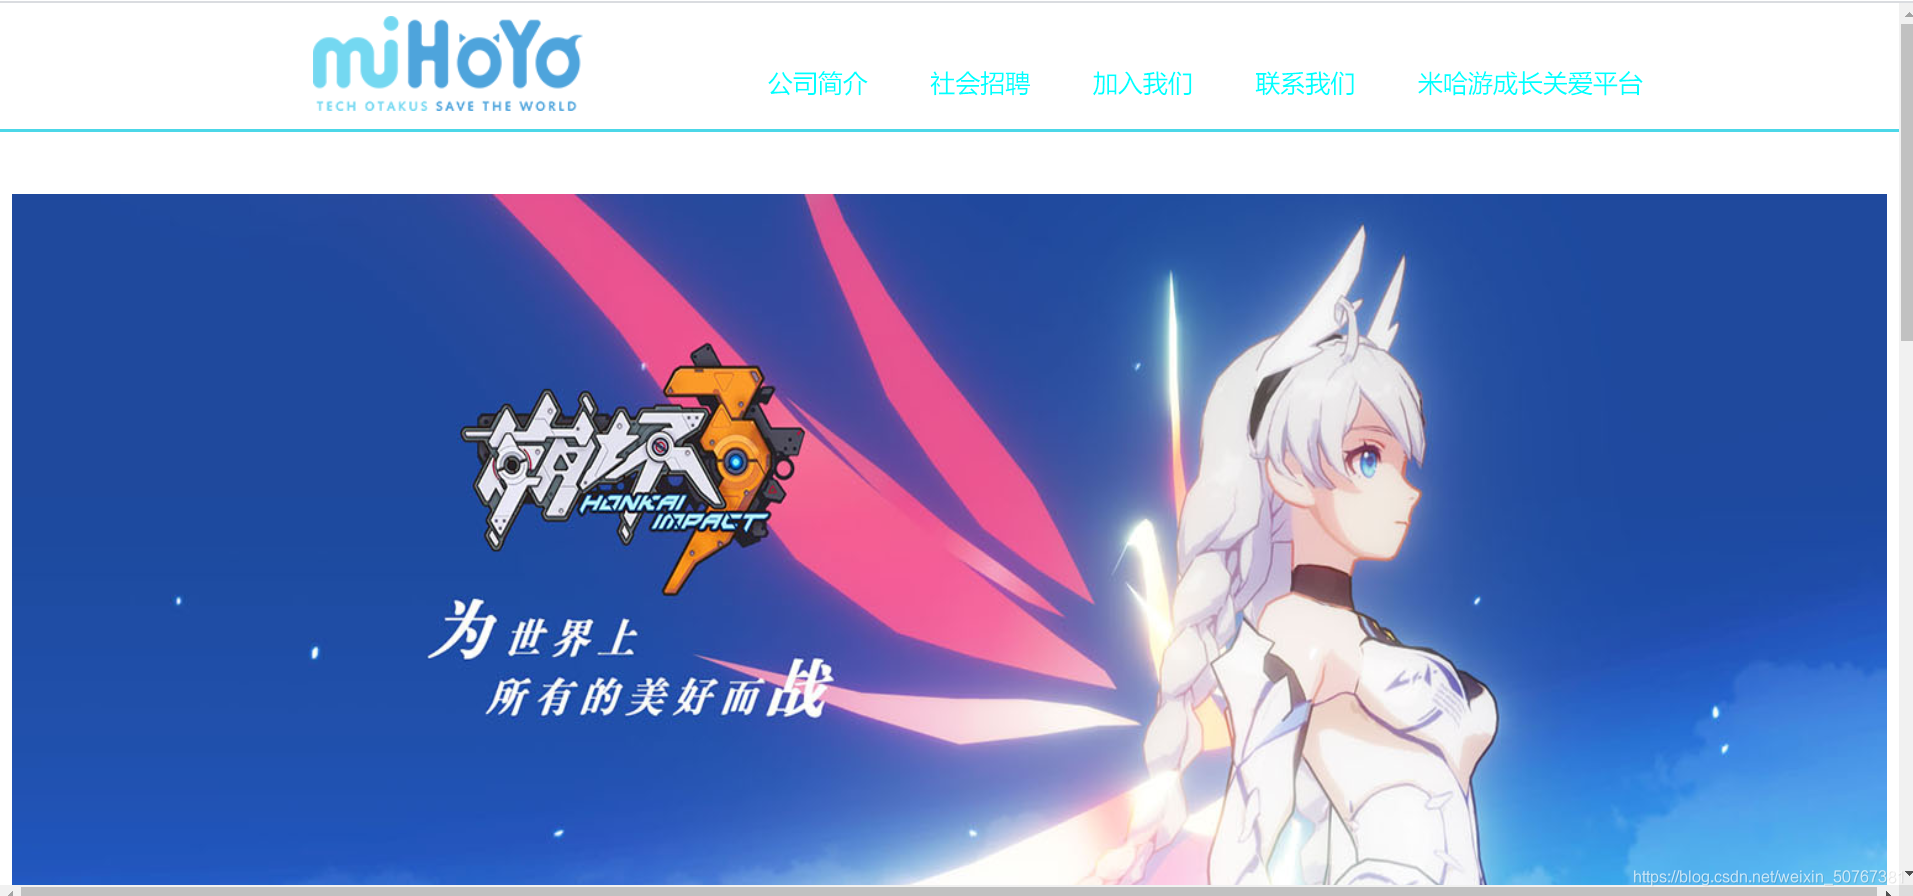
再次重申!!!!本实例所有的loge与图片均来自米哈游–原神,如侵权必删!
最后希望各位大佬有什么问题能多多交流!
版权声明:本文为weixin_50767381原创文章,遵循CC 4.0 BY-SA版权协议,转载请附上原文出处链接和本声明。