一、准备工作
1. 在需要被监控的项目中添加
- 引入依赖 pom.xml
	<!--进入监控功能-->
        <dependency>
            <groupId>org.springframework.boot</groupId>
            <artifactId>spring-boot-starter-actuator</artifactId>
        </dependency>

        <dependency>
            <groupId>de.codecentric</groupId>
            <artifactId>spring-boot-admin-starter-client</artifactId>
            <version>2.5.1</version>
        </dependency>
- 添加配置
#management 是所有actuator的配置
management:
  endpoints:
    enabled-by-default: true #默认开启所有监控端点
    web:
      exposure:
        include: '*' # 以web方式暴露所有端点
spring:
  boot:
    admin:
      client:
        url: http://localhost:8888
2. 新建一个监控项目
- 引入web开发场景即可
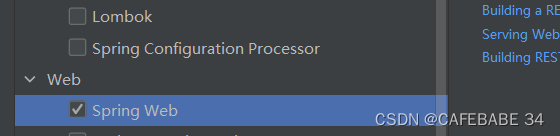
- 添加pom.xmll
	<!--添加依赖-->
        <dependency>
            <groupId>de.codecentric</groupId>
            <artifactId>spring-boot-admin-starter-server</artifactId>
            <version>2.5.1</version>
        </dependency>
- 添加注解 @EnableAdminServer
@EnableAdminServer
@SpringBootApplication
public class Boot05AdminserverApplication {

    public static void main(String[] args) {
        SpringApplication.run(Boot05AdminserverApplication.class, args);
    }

}
- 配置启动端口防止和被监控的项目重复
server.port=8888
二、官方文档
链接: https://codecentric.github.io/spring-boot-admin/2.5.1/#getting-started.
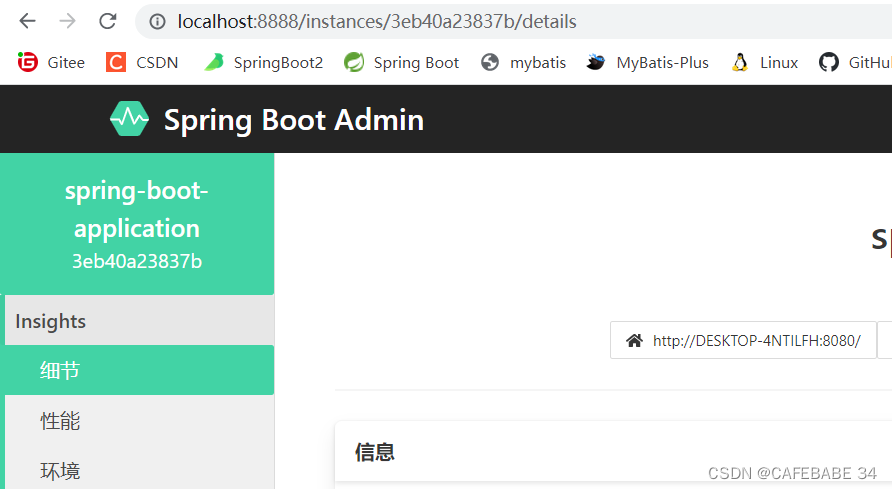
三、测试结果
- 访问 localhost:8888
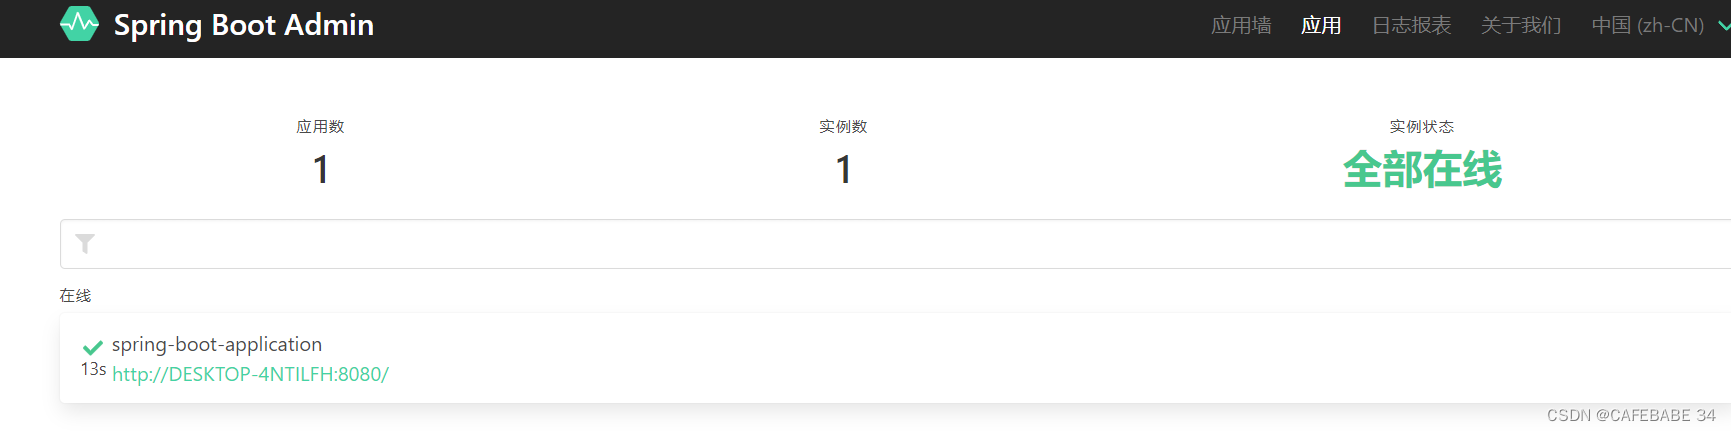
- 应用墙
版权声明:本文为hznb_369原创文章,遵循CC 4.0 BY-SA版权协议,转载请附上原文出处链接和本声明。