一、下载安装Vmvare Fusion
下载地址:https://www.vmware.com/products/fusion/fusion-evaluation.html
二、下载Centos镜像
http://mirrors.aliyun.com/centos/7.9.2009/isos/x86_64/
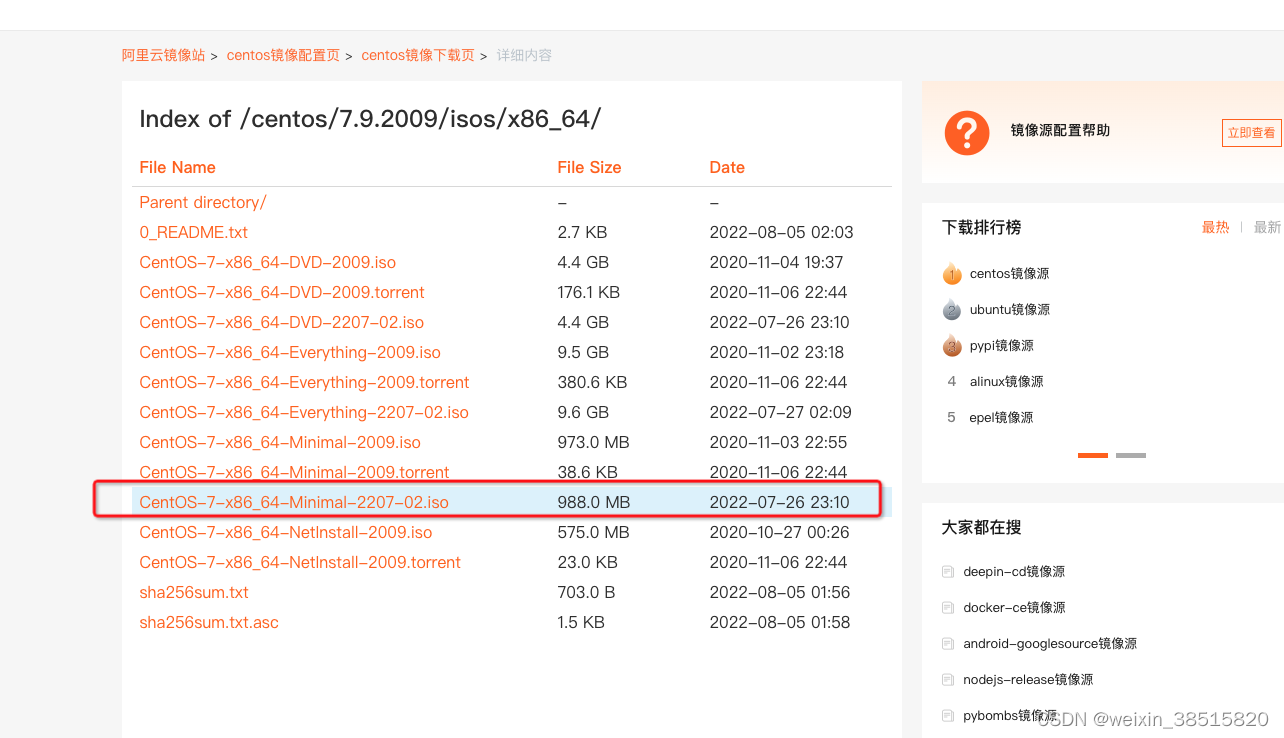
http://mirrors.aliyun.com/centos/7.9.2009/isos/x86_64/CentOS-7-x86_64-Minimal-2207-02.iso?spm=a2c6h.25603864.0.0.37966aea6eLrlS
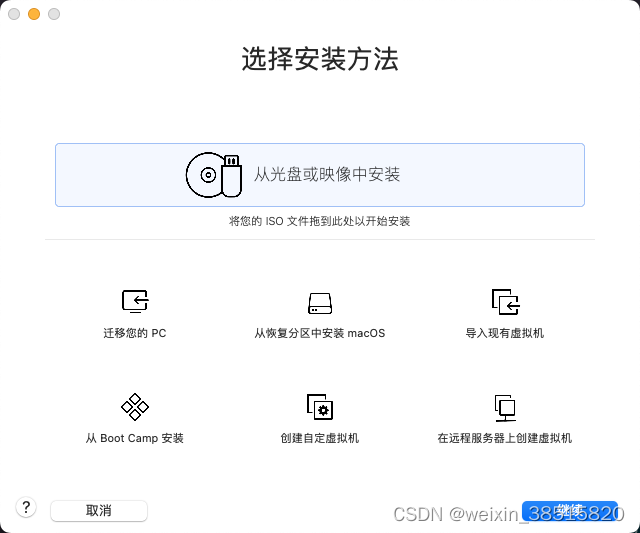
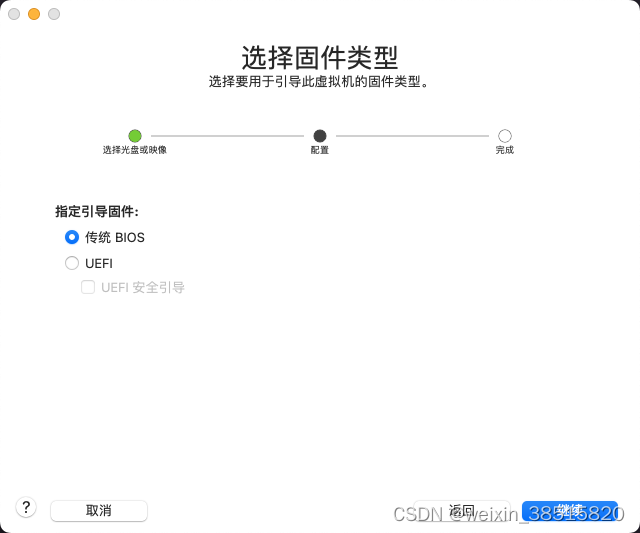
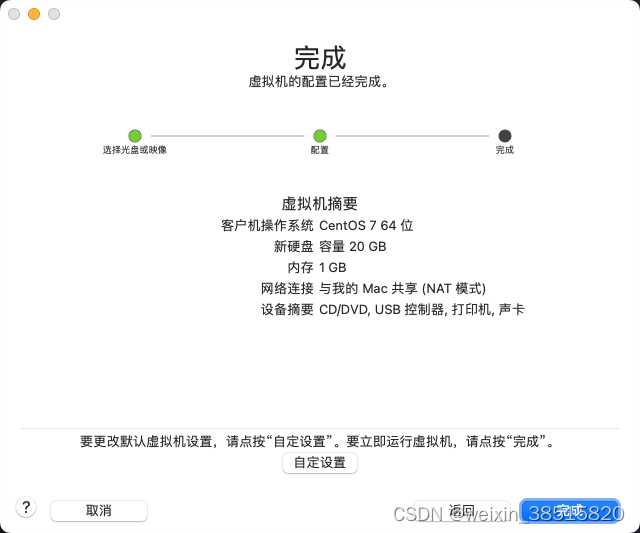
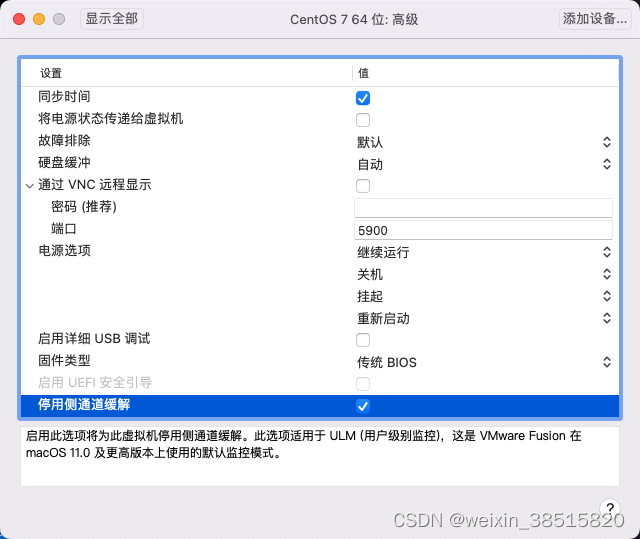
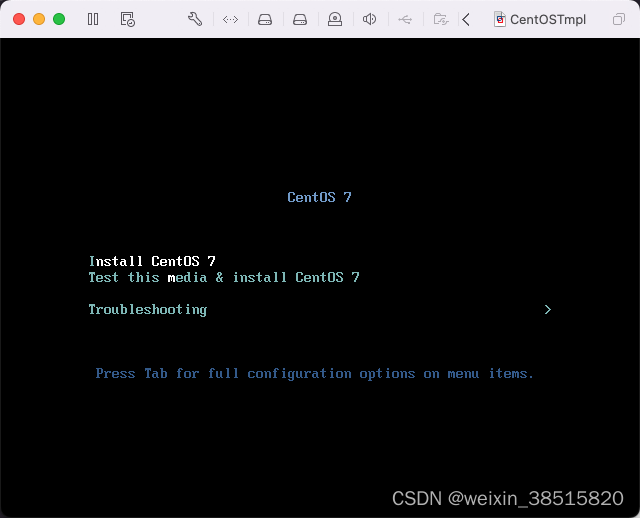
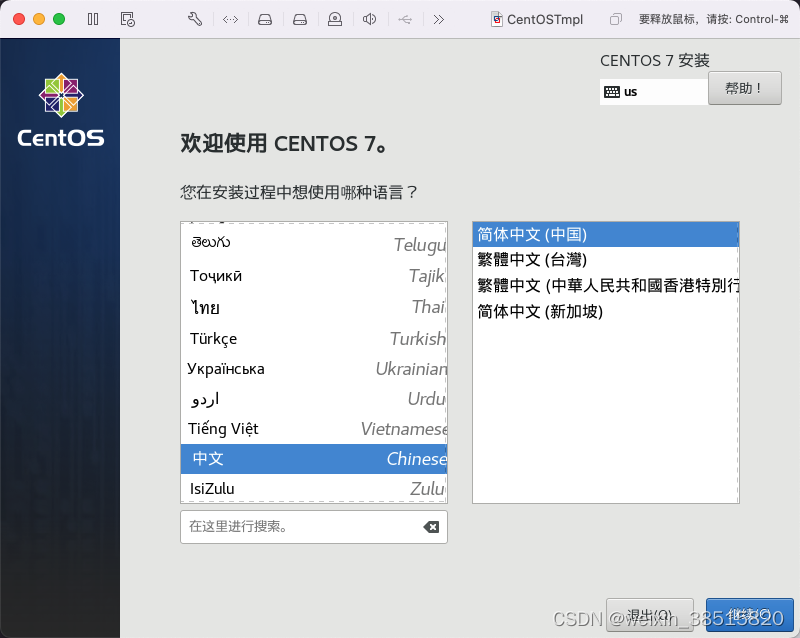
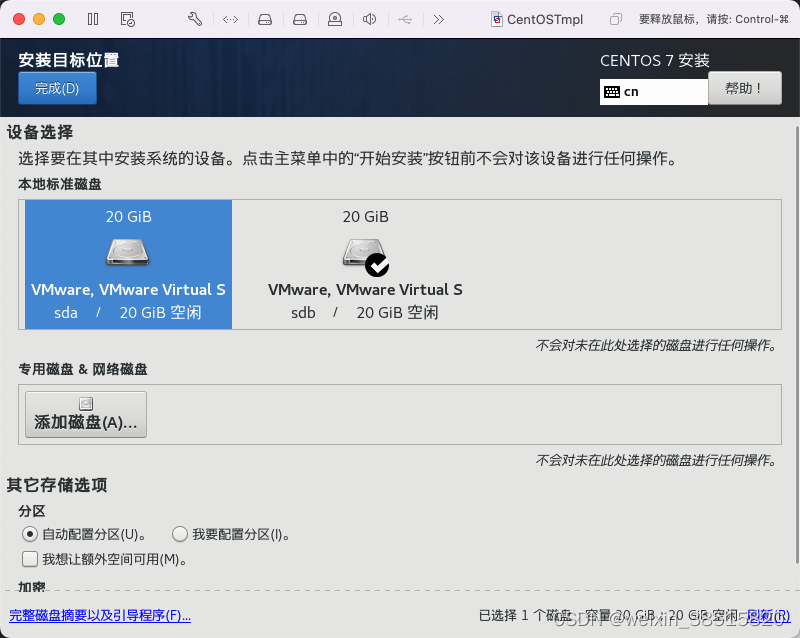
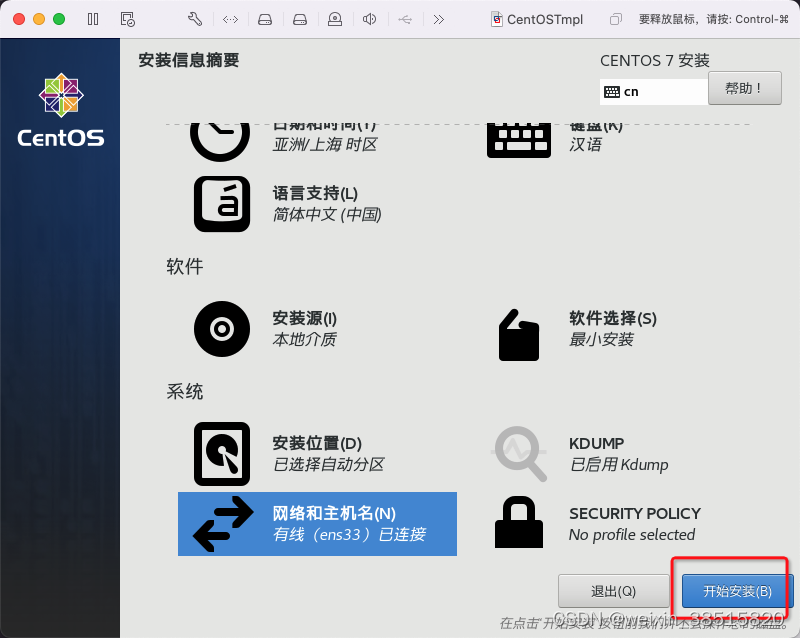
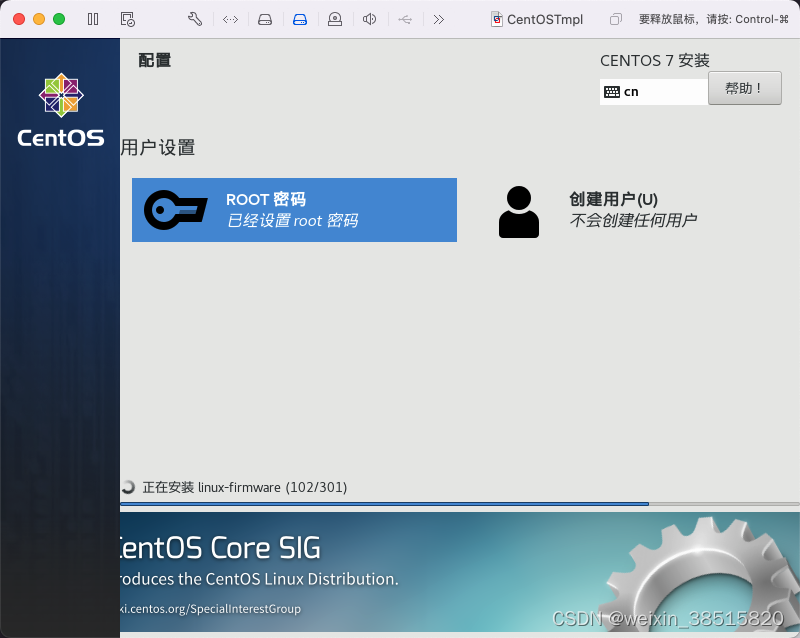
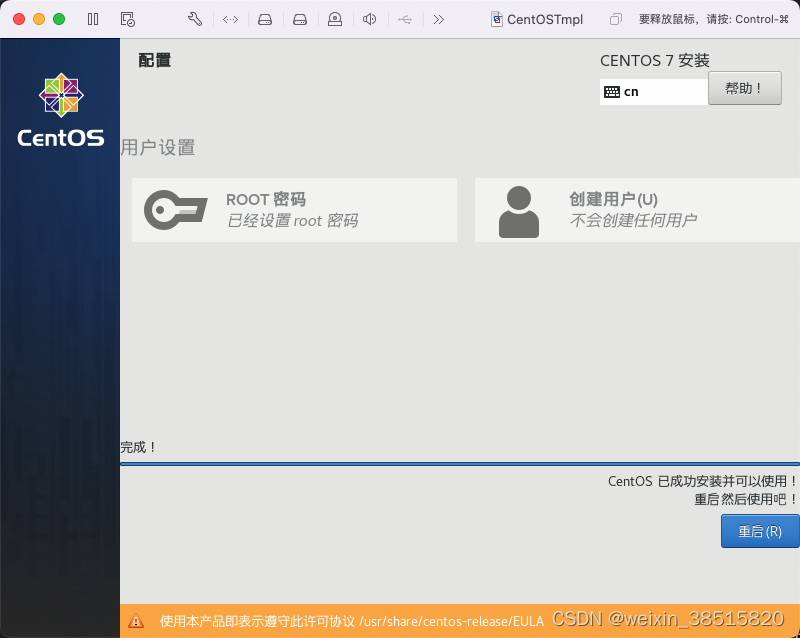
三、安装Centos


安装基础软件包
yum install net-tools vim -y
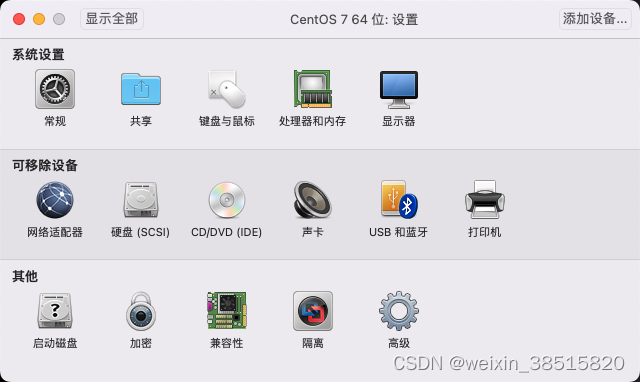
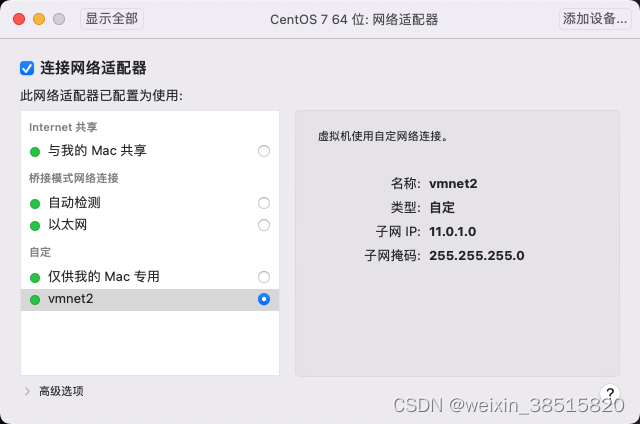
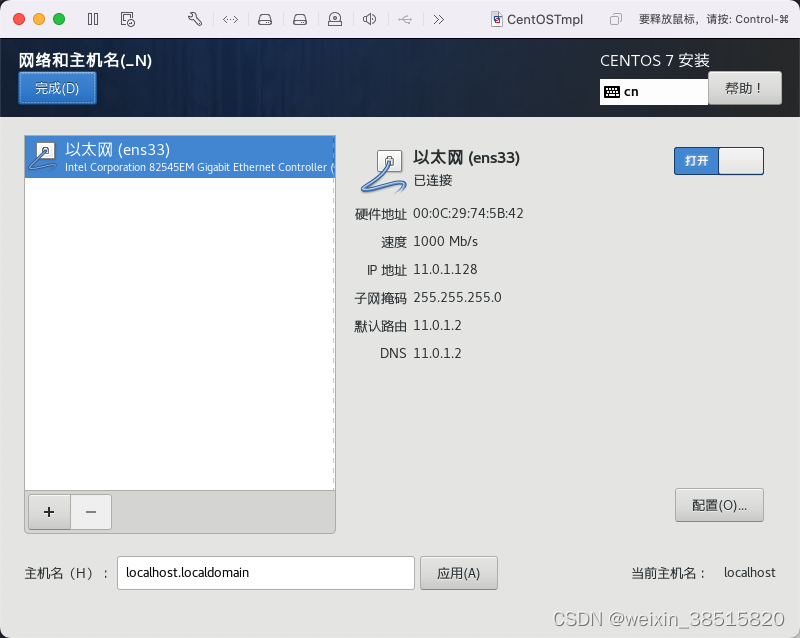
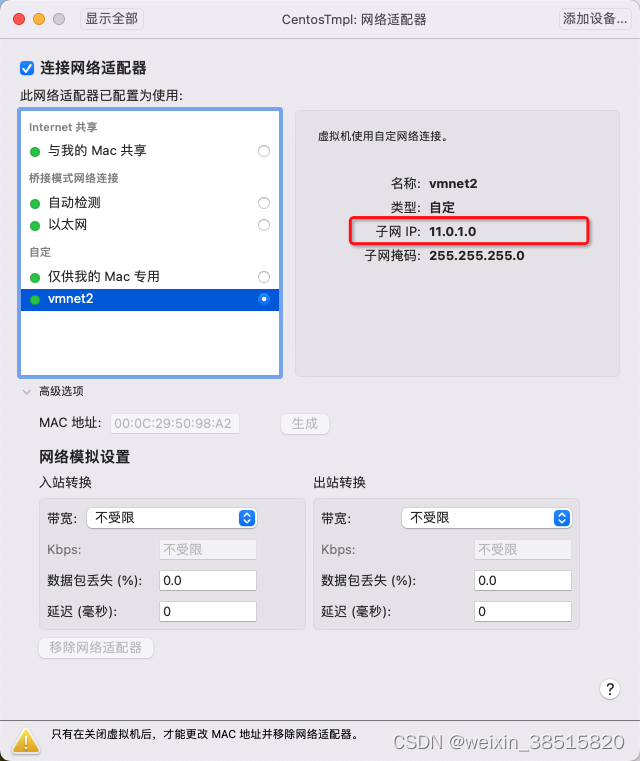
四、配置Vmware网络环境
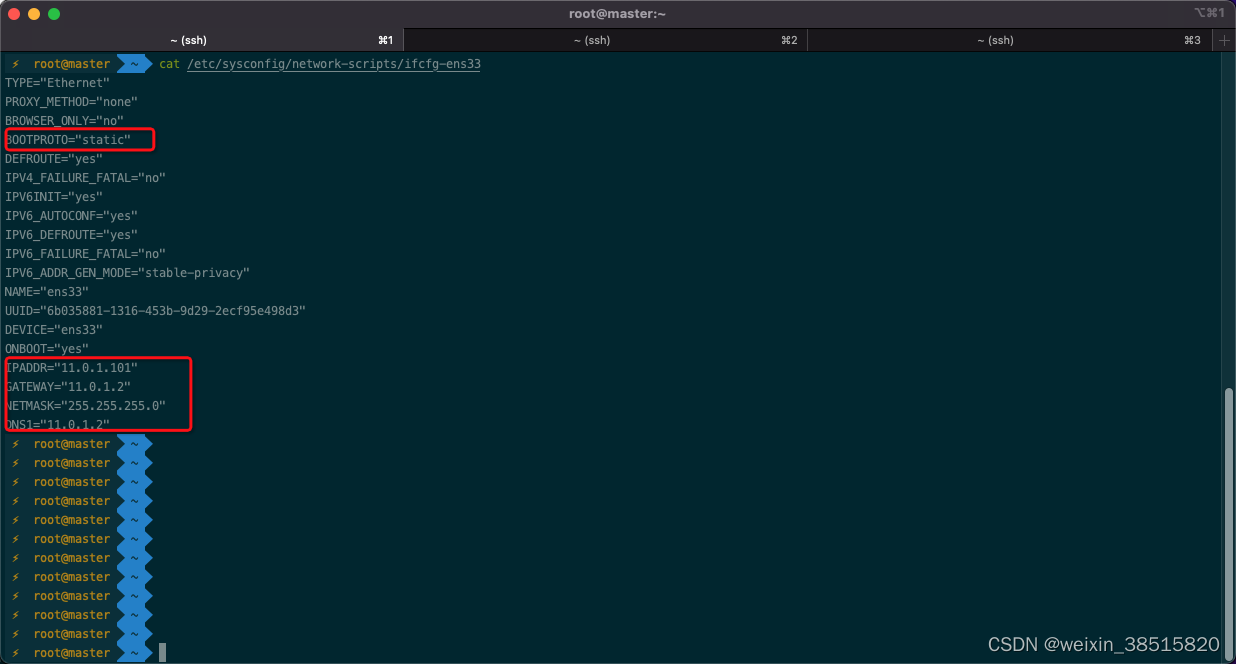
# 修改网卡:静态地址
vi /etc/sysconfig/network-scripts/ifcfg-ens33
IPADDR: 静态IP地址
GATEWAY: 上图中子网ip,最后一位改为.2
NETMASK: 255.255.255.0
DNS1: 与网关一致
关闭selinux
sed -i 's/SELINUX=enforcing/SELINUX=disabled/g' /etc/selinux/config
重启系统
reboot now
升级系统,由centos7.6升级到centos7.9
yum update -y
关闭swap
# 临时关闭
swapoff -a
# 永久关闭
vim /etc/fstab
注释最后一行(有swap)
修改内核参数
modprobe br_netfilter

echo "modprobe br_netfilter" >> /etc/profile

cat > /etc/sysctl.d/k8s.conf <<EOF
net.bridge.bridge-nf-call-ip6tables = 1
net.bridge.bridge-nf-call-iptables = 1
net.ipv4.ip_forward = 1
EOF

sysctl -p /etc/sysctl.d/k8s.conf
关闭firewalld防火墙
systemctl stop firewalld ; systemctl disable firewalld
配置时间同步
 #安装ntpdate命令
yum install ntpdate -y
#跟网络时间做同步
ntpdate cn.pool.ntp.org
#把时间同步做成计划任务
crontab -e
* */1 * * * /usr/sbin/ntpdate   cn.pool.ntp.org
#重启crond服务
service crond restart
配置repo源
# 备份
cp -r /etc/yum.repos.d/ /etc/yum.repos.d.bak
# 设置国内阿里云yum仓库
curl -o /etc/yum.repos.d/CentOS-Base.repo https://mirrors.aliyun.com/repo/Centos-7.repo
curl -o /etc/yum.repos.d/epel.repo http://mirrors.aliyun.com/repo/epel-7.repo

# 使用阿里云yum k8s仓库
cat <<EOF > /etc/yum.repos.d/kubernetes.repo
[kubernetes]
name=Kubernetes
baseurl=http://mirrors.aliyun.com/kubernetes/yum/repos/kubernetes-el7-x86_64
enabled=1
gpgcheck=0
repo_gpgcheck=0
gpgkey=http://mirrors.aliyun.com/kubernetes/yum/doc/yum-key.gpg
        http://mirrors.aliyun.com/kubernetes/yum/doc/rpm-package-key.gpg
EOF
重新建立yum索引
yum clean all && yum makecache && yum install -y epel-release
安装containerd
1.安装依赖
 yum install -y yum-utils device-mapper-persistent-data lvm2

2.添加yum源
yum-config-manager --add-repo http://mirrors.aliyun.com/docker-ce/linux/centos/docker-ce.repo

3.安装containerd
yum install containerd -y

4.生成配置文件
containerd config default > /etc/containerd/config.toml

5.替换 containerd 默认的 sand_box 镜像,编辑 /etc/containerd/config.toml
 k8s.gcr.io >> registry.aliyuncs.com/google_containers
 sandbox_image = "registry.aliyuncs.com/google_containers/pause:xxx"

6.设置开机自启动并且重启containerd
systemctl enable containerd && systemctl restart containerd
安装kubeadm并下载所需镜像
1.查询版本列表
yum list kubeadm --showduplicates | sort -r

2.安装指定版本
yum install -y kubelet-1.25.0-0 kubeadm-1.25.0-0 kubectl-1.25.0-0 --disableexcludes=kubernetes

3.启动kubelet
systemctl enable --now kubelet && systemctl start kubelet

4.设置cri
crictl config runtime-endpoint unix:///run/containerd/containerd.sock
crictl config image-endpoint unix:///run/containerd/containerd.sock

5.列出所需镜像
kubeadm config images list --image-repository registry.aliyuncs.com/google_containers --kubernetes-version v1.25.0

6.下载所需镜像
kubeadm config images pull --image-repository registry.aliyuncs.com/google_containers --kubernetes-version v1.25.0
版权声明:本文为weixin_38515820原创文章,遵循CC 4.0 BY-SA版权协议,转载请附上原文出处链接和本声明。