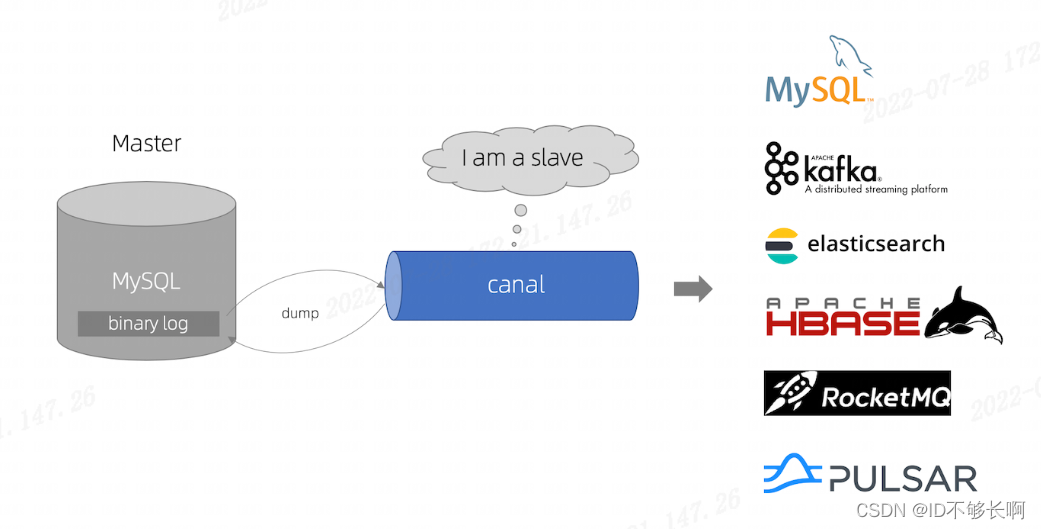
Canal [kə'næl],译意为水道/管道/沟渠,主要用途是基于 MySQL 数据库增量日志解析,提供增量数据订阅和消费
工作原理:
Canal的工作原理相对简单,就是把自己伪装成MySQL slave,模拟MySQL slave的交互协议向MySQL Mater发送 dump协议,MySQL mater收到Canal发送过来的dump请求,开始推送binary log给Canal,然后Canal解析binary log,再发送到存储目的地,比如MySQL,Kafka,Elastic Search等等。
设计思路:
我们在保证缓存与数据库双写的最终一致性的时候,我们可以采用这样的思路:用户对数据库进行修改的时候,利用Canal将binlog增量数据发送到RabbitMQ,然后再从队列中将消息解析,得到缓存的RedisKey,并进行删除。
缓存设计:
利用SpringAOP,自定义一个注解作为切入点,这个注解所在的方法就会进行缓存处理。
自定义的注解
/**
 * Copyright (C), 2017-2022, 湖南兴盛优选电子商务有限公司.
 *
 * @author: zhangjie 张杰
 * @create: 2022-07-25 15:02
 * @Description:
 */
@Target({ElementType.METHOD})
@Retention(RetentionPolicy.RUNTIME)
@Documented
public @interface Cache {

    //过期时间,默认是60s
    long expire() default 1 * 60 * 1000;
    //缓存标识 key
    String name() default "";
}
缓存切面
@Component
@Slf4j
@Aspect
public class CacheAspect {
    @Autowired
    private RedisTemplate<String, String> redisTemplate;

    @Pointcut("@annotation(cn.xsyxzhangjie.redis.cache.Cache)")
    public void pt() {
    }

    @Around("pt()")
    public Object around(ProceedingJoinPoint pjp) {
        try {
            Signature signature = pjp.getSignature();
            //类名
            String className = pjp.getTarget().getClass().getSimpleName();
            //调用的方法名
            String methodName = signature.getName();

            Class[] parameterTypes = new Class[pjp.getArgs().length];
            Object[] args = pjp.getArgs();
            //参数
            String params = "";
            for (int i = 0; i < args.length; i++) {
                if (args[i] != null) {
                    params += JSON.toJSONString(args[i]);
                    parameterTypes[i] = args[i].getClass();
                } else {
                    parameterTypes[i] = null;
                }
            }
            Method method = pjp.getSignature().getDeclaringType().getMethod(methodName, parameterTypes);
            //获取Cache注解
            Cache annotation = method.getAnnotation(Cache.class);
            //缓存过期时间
            long expire = annotation.expire();
            //缓存名称
            String name = annotation.name();

            //拼接得到RedisKey
            String redisKey = name + "::"   + params;

            //从redis获取缓存
            String redisValue = redisTemplate.opsForValue().get(redisKey);
            if (StringUtils.isNotEmpty(redisValue)) {
                log.info("用到了缓存~~~,{},{}", className, methodName);
                UserInfo result = JSON.parseObject(redisValue, UserInfo.class);
                return result;
            }
            Object proceed = pjp.proceed();
            redisTemplate.opsForValue().set(redisKey, JSON.toJSONString(proceed), Duration.ofMillis(expire));
            log.info("存入缓存~~~ {},{}", className, methodName);
            return proceed;
        } catch (Throwable throwable) {
            throwable.printStackTrace();
        }
        return "读取缓存出错";
    }
}
查询和修改的接口:
查询和修改接口
@RestController
@RequestMapping("/redisTest")
public class RedisTestController {
@Autowired
private RedisTemplate redisTemplate;
@Autowired
private UserInfoService userInfoService;
//缓存切点
@Cache(expire = 5 * 60 * 1000, name = "findUser")
@GetMapping("/findUser")
public UserInfo findUser(@RequestParam String id) {
return userInfoService.findUserById(id);
}
@GetMapping("/updateInfo")
public int updateInfo(@RequestParam String id,@RequestParam String name) {
return userInfoService.updateNameById(id,name);
}
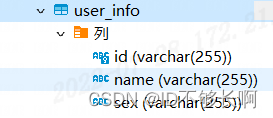
}数据库所用表:
队列配置类:
@Configuration
public class CacheConfig {

    @Autowired
    ConnectionFactory connectionFactory;

    public static final String CACHE_EXCHANGE_NAME = "compensate.exchange";
    public static final String CACHE_QUEUE_NAME = "compensate.queue";
    public static final String CACHE_ROUTING_KEY = "compensate";

    @Bean("cacheExchange")
    public DirectExchange cacheExchange() {
        return ExchangeBuilder
                .directExchange(CACHE_EXCHANGE_NAME)
                .durable(true)
                .build();
    }

    @Bean("cacheQueue")
    public Queue cacheQueue() {
        return QueueBuilder.durable(CACHE_QUEUE_NAME).build();
    }

    //声明交换机的绑定关系
    @Bean
    public Binding cacheQueueBindingCacheExchange() {
        return BindingBuilder.bind(cacheQueue()).to(cacheExchange()).with(CACHE_ROUTING_KEY);
    }

    @Bean
    public SimpleRabbitListenerContainerFactory consumerBatchContainerFactory() {
        SimpleRabbitListenerContainerFactory factory = new SimpleRabbitListenerContainerFactory();
        factory.setConnectionFactory(connectionFactory);
        //配置手动确认
        factory.setAcknowledgeMode(AcknowledgeMode.MANUAL);
        factory.setConcurrentConsumers(1);
        factory.setMaxConcurrentConsumers(1);
        return factory;
    }
}
消费者:
@Configuration
public class CacheConfig {
@Autowired
ConnectionFactory connectionFactory;
public static final String CACHE_EXCHANGE_NAME = "compensate.exchange";
public static final String CACHE_QUEUE_NAME = "compensate.queue";
public static final String CACHE_ROUTING_KEY = "compensate";
@Bean("cacheExchange")
public DirectExchange cacheExchange() {
return ExchangeBuilder
.directExchange(CACHE_EXCHANGE_NAME)
.durable(true)
.build();
}
@Bean("cacheQueue")
public Queue cacheQueue() {
return QueueBuilder.durable(CACHE_QUEUE_NAME).build();
}
//声明交换机的绑定关系
@Bean
public Binding cacheQueueBindingCacheExchange() {
return BindingBuilder.bind(cacheQueue()).to(cacheExchange()).with(CACHE_ROUTING_KEY);
}
@Bean
public SimpleRabbitListenerContainerFactory consumerBatchContainerFactory() {
SimpleRabbitListenerContainerFactory factory = new SimpleRabbitListenerContainerFactory();
factory.setConnectionFactory(connectionFactory);
//配置手动确认
factory.setAcknowledgeMode(AcknowledgeMode.MANUAL);
factory.setConcurrentConsumers(1);
factory.setMaxConcurrentConsumers(1);
return factory;
}
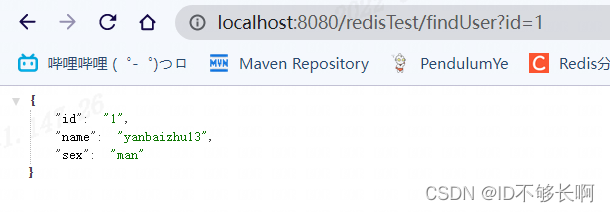
}测试:
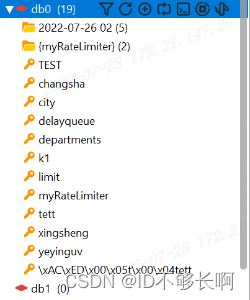
发起一个查询请求,会生成一个RedisKey

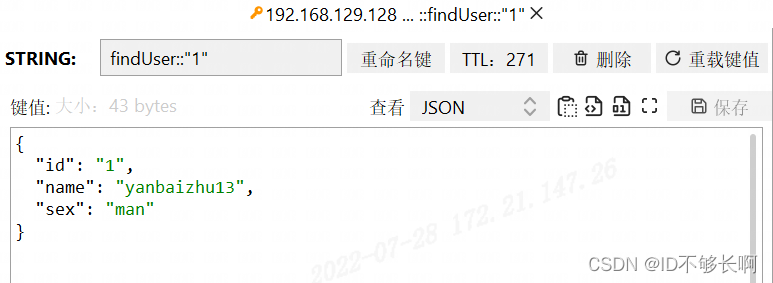
当我们发起一个修改请求时,这个RedisKey会异步的被删除。

因为有消费者这边删除消息缓存失败的情况,所以应该
- MQ消息默认设置为持久化,为队列设置镜像队列。
- 消费者默认设置手动确认autoAck=false,并设置死信队列。
Canal server接收到的binlog数据直接投递到MQ参考文档:Canal Kafka RocketMQ QuickStart · alibaba/canal Wiki · GitHub
版权声明:本文为zhangjie602原创文章,遵循CC 4.0 BY-SA版权协议,转载请附上原文出处链接和本声明。