使用springboot向导创建springboot项目,选择国内的下载地址
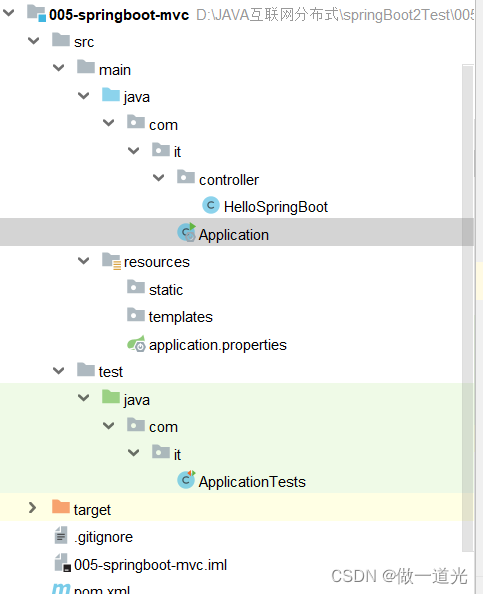
项目结构
1.pom.xml文件保持默认不需要更改
<?xml version="1.0" encoding="UTF-8"?>
<project xmlns="http://maven.apache.org/POM/4.0.0" xmlns:xsi="http://www.w3.org/2001/XMLSchema-instance"
         xsi:schemaLocation="http://maven.apache.org/POM/4.0.0 https://maven.apache.org/xsd/maven-4.0.0.xsd">
    <modelVersion>4.0.0</modelVersion>
    <parent>
        <groupId>org.springframework.boot</groupId>
        <artifactId>spring-boot-starter-parent</artifactId>
        <version>2.7.3</version>
        <relativePath/> <!-- lookup parent from repository -->
    </parent>
    <groupId>com.it</groupId>
    <artifactId>005-springboot-mvc</artifactId>
    <version>1.0.0</version>
    <name>005-springboot-mvc</name>
    <description>Demo project for Spring Boot</description>
    <properties>
        <java.version>1.8</java.version>
    </properties>
    <dependencies>
        <!--web的起步依赖-->
        <dependency>
            <groupId>org.springframework.boot</groupId>
            <artifactId>spring-boot-starter-web</artifactId>
        </dependency>

        <dependency>
            <groupId>org.springframework.boot</groupId>
            <artifactId>spring-boot-starter-test</artifactId>
            <scope>test</scope>
        </dependency>
    </dependencies>

    <build>
        <plugins>
            <plugin>
                <groupId>org.springframework.boot</groupId>
                <artifactId>spring-boot-maven-plugin</artifactId>
                <version>2.7.3</version>
            </plugin>
        </plugins>
    </build>

</project>
2.新建controller包下的HellSpringBoot类
package com.it.controller;

import org.springframework.stereotype.Controller;
import org.springframework.web.bind.annotation.RequestMapping;
import org.springframework.web.bind.annotation.ResponseBody;

@Controller
public class HelloSpringBoot {

    @RequestMapping("/hello")
    @ResponseBody
    public String helloSpringBoot(){
        return "欢迎使用springboot框架";
    }

}
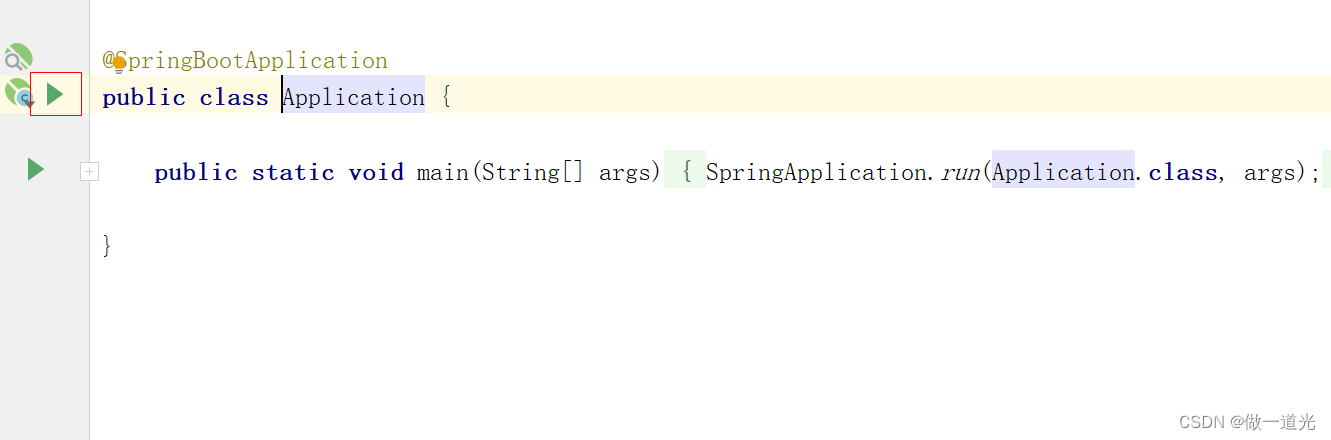
3.运行Application的主函数,自动生成Application的服务器,运行时会弹出一个services的提示,点击提示选择第一个选项show run configxxxxxxxx...
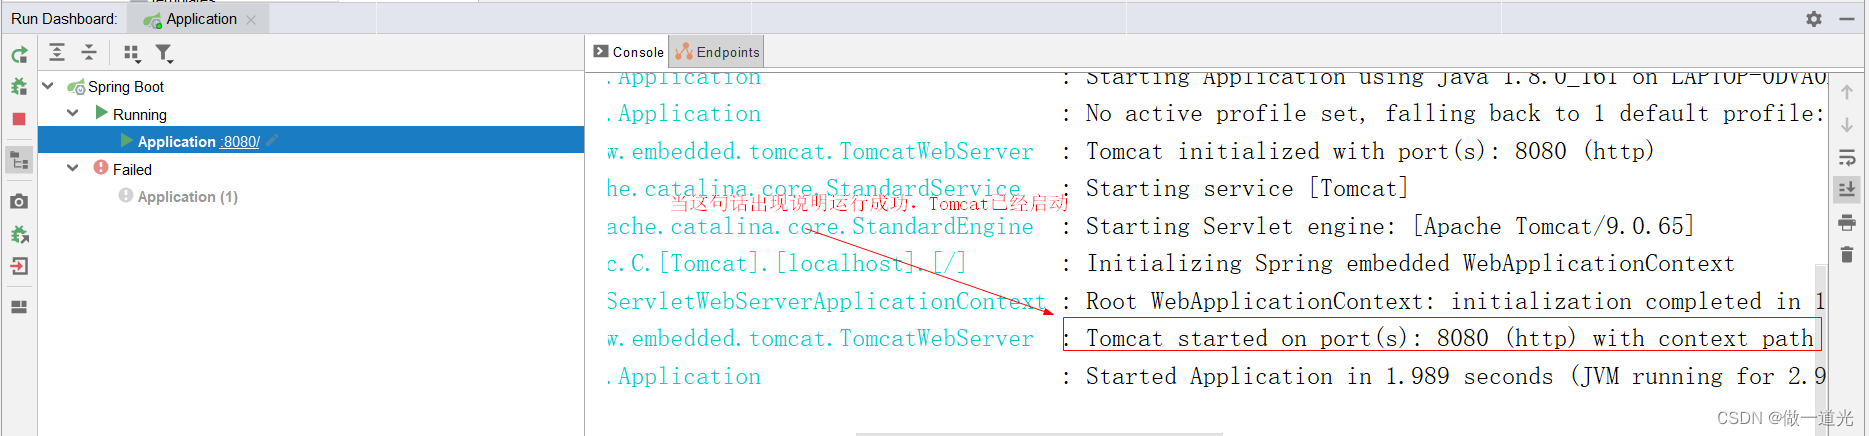
4.查看运行的结果
5.打开浏览器输入
http://localhost:8080/hello
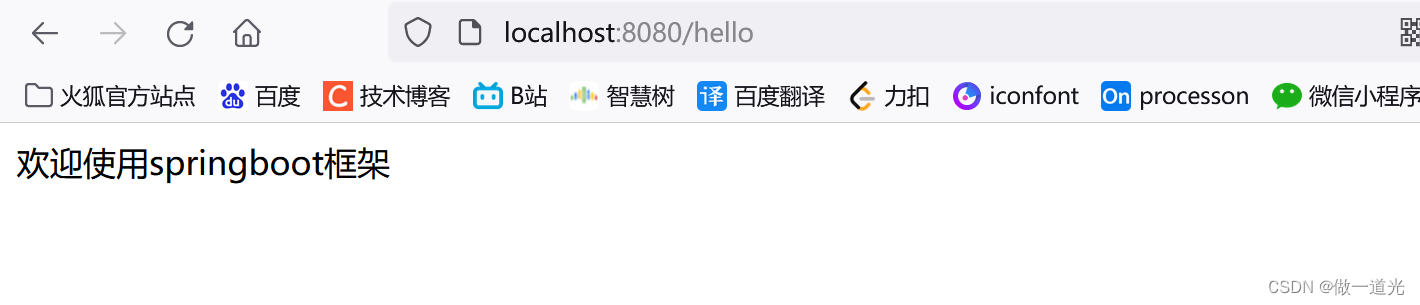
相比较ssm框架简直非常的方便快捷
版权声明:本文为weixin_59334478原创文章,遵循CC 4.0 BY-SA版权协议,转载请附上原文出处链接和本声明。