前言
最近新发现的一种染色标准化方法,基于histomicstk这个库,标准化效果个人感觉比vahadane方法要好一点,当然也有缺点,就是计算量比较大,很难在dataloader部分在线标准化。
一、安装histomicstk
linux上比较方便,可以直接pip安装。
$ python -m pip install histomicstk --find-links https://girder.github.io/large_image_wheels
如果想源代码安装 HistomicsTK,可以执行以下操作:
$ git clone https://github.com/DigitalSlideArchive/HistomicsTK/
$ cd HistomicsTK/
$ python -m pip install setuptools-scm "Cython>=0.25.2" "scikit-build>=0.8.1" "cmake>=0.6.0" "numpy>=1.12.1"
$ python -m pip install -e .
Windows系统上稍微有点麻烦;
1、需要运行以下命令:
$ pip install large-image
$ pip install cmake
$ git clone https://github.com/DigitalSlideArchive/HistomicsTK/
$ cd HistomicsTK/
$ python -m pip install setuptools-scm "Cython>=0.25.2" "scikit-build>=0.8.1" "cmake>=0.6.0" "numpy>=1.12.1"
2、运行 pip 安装 libtiff
3、运行pip安装大映像源tiff以安装典型的瓷砖源。您可能需要其他源,这将需要其他库。
4、安装Visual Studio 15 2017社区版
5、安装C++构建工具。在“工具”下>获取工具和功能…>C++桌面开发“,请确保选中前 8 个框。
6、运行以下命令:
$ python -m pip install -e .
$ pip install girder-client
要从 OSX 上的源代码安装:
注意:这需要由OSX用户确认和扩展。可能有一些关于可用库的假设。
使用自制软件安装 libtiff 和 openslide 或其他库,具体取决于所需的磁贴。
运行以下程序:
$ python -m pip install histomicstk large-image-source-tiff large-image-source-openslide
二、使用步骤
1.引入库
代码如下(示例):
import histomicstk.preprocessing.color_normalization.deconvolution_based_normalization as deconvolution_based_normalization
2.读入数据
代码如下(示例),我用的是cv2读入,大家可以用其他的读入方式。
def read_image(path):
    img = cv2.imread(path)
    img = cv2.cvtColor(img, cv2.COLOR_BGR2RGB) # opencv default color space is BGR, change it to RGB
    # img=np.array(img)
    p = np.percentile(img, 90)
    img = np.clip(img * 255.0 / p, 0, 255).astype(np.uint8)

    return img

def read_target(path):
    target = cv2.imread(path)
    target = cv2.cvtColor(target, cv2.COLOR_BGR2RGB) # opencv default color space is BGR, change it to RGB
    # img=np.array(img)
    p = np.percentile(target, 90)
    target = np.clip(target * 255.0 / p, 0, 255).astype(np.uint8)

    return target
3.函数调用
调用也很简单:
def stain_normalization(img,target):
	stain_unmixing_routine_params = {
        'stains': ['hematoxylin','eosin'],
        'stain_unmixing_method':'macenko_pca',

    }
    tissue_rgb_normalized = deconvolution_based_normalization(
        img,
        im_target=target,
        stain_unmixing_routine_params=stain_unmixing_routine_params

    )
    return tissue_rgb_normalized
标准化结果
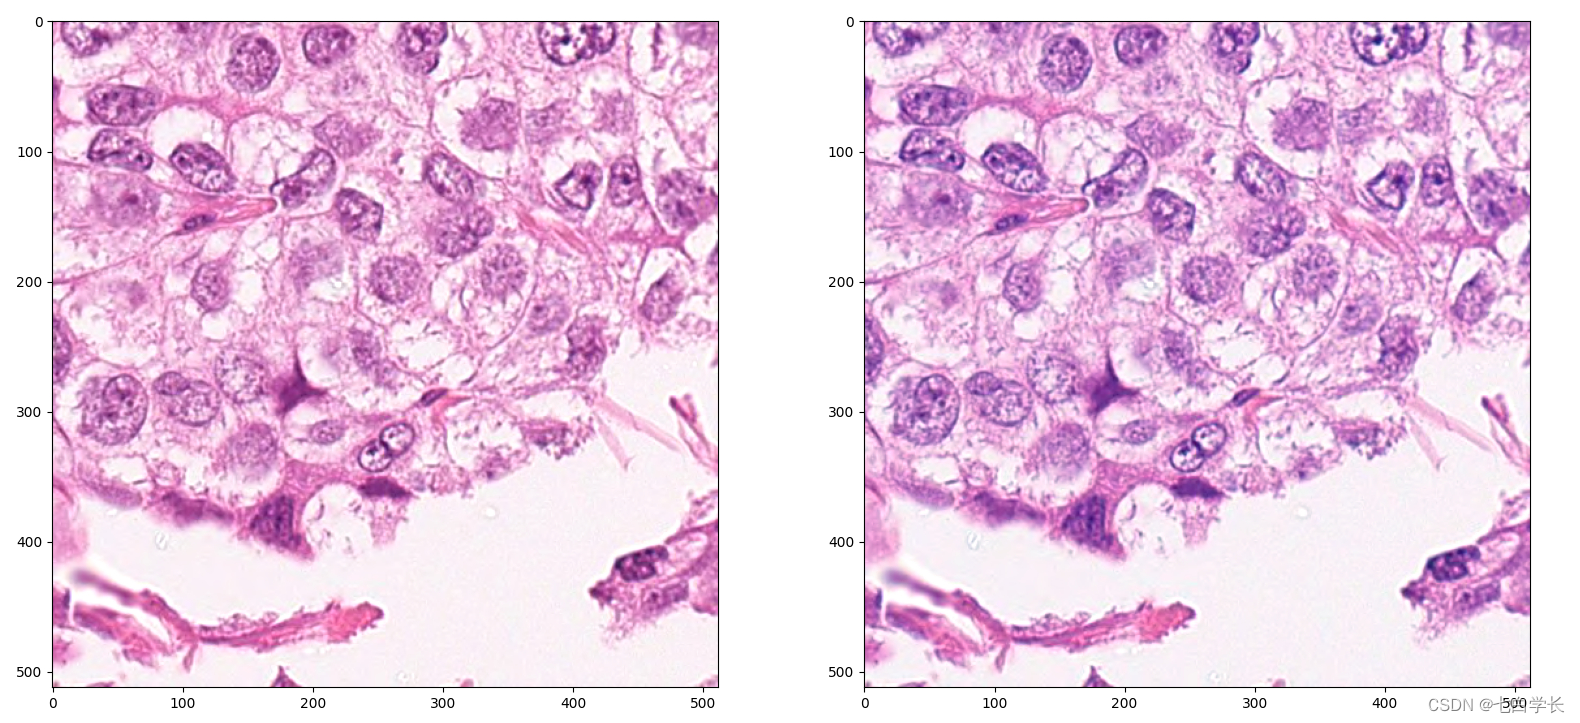
总结
histomicstk的标准化效果很好,但是缺点也很明显,运算量大,吃cpu。但是如果可以线下标准化的话,将会是个不错的选择
版权声明:本文为wangshuhuan1原创文章,遵循CC 4.0 BY-SA版权协议,转载请附上原文出处链接和本声明。