注意:
转置卷积 (不是卷积的逆运算,是卷积运算)
代码(code):
import torch.nn as nn
import cv2
from torchvision import transforms
from torch.utils.tensorboard import SummaryWriter

img = cv2.imread("1.jpg")
width = img.shape[1]
height = img.shape[2]
img = cv2.resize(img, (250, 250))

tran_tensor = transforms.ToTensor()
img = tran_tensor(img)
print("img.shape: ", img.shape)
print("type(img): ", type(img))

img = img.view(1, 3, 250, 250)

writer = SummaryWriter("logs")

Conv = nn.Conv2d(in_channels=3, out_channels=3, kernel_size=3, stride=2)
ConvTrans = nn.ConvTranspose2d(in_channels=3, out_channels=3, kernel_size=51)

img = img.reshape(3, 250, 250)
writer.add_image("input", img, 0)

# Transposed convolution
img = img.reshape(1, 3, 250, 250)
output_ConvTrans = ConvTrans(img)
print("output_ConvTrans.shape: ", output_ConvTrans.shape)
output_ConvTrans = output_ConvTrans.reshape(3, 300, 300)
writer.add_image("output_ConvTrans", output_ConvTrans, 1)

# Convolution
output_Conv = Conv(img)
print("output_Conv.shape: ", output_Conv.shape)
output_Conv = output_Conv.reshape(3, 124, 124)
writer.add_image("output_Conv", output_Conv, 2)

writer.close()
运行结果(result):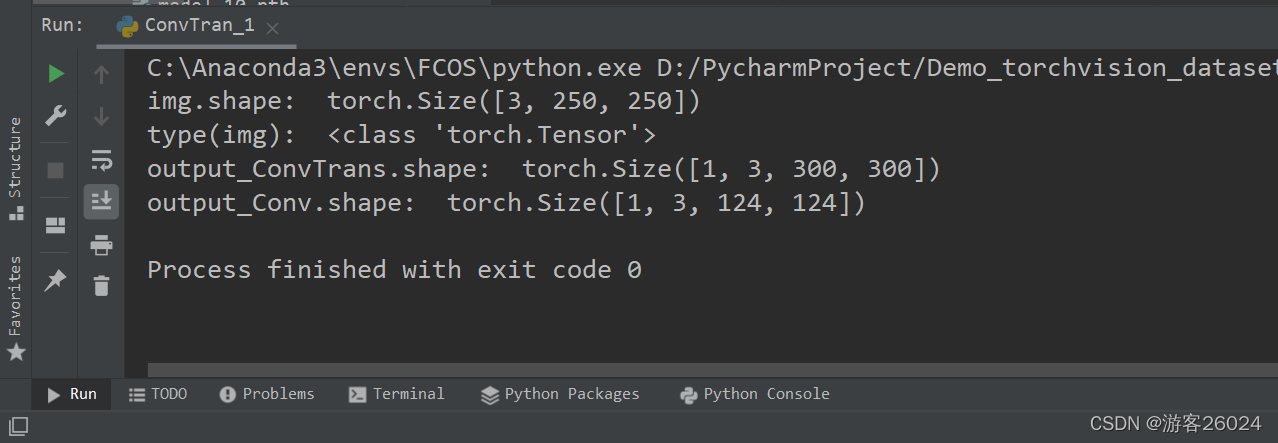

可视化(Tensorboard):
转置卷积的特征图与原图对比

The feature map of the transposed convolution is compared with the original image

卷积的特征图与原图对比

The feature map of the convolution is compared with the original image

版权声明:本文为XiaoyYidiaodiao原创文章,遵循CC 4.0 BY-SA版权协议,转载请附上原文出处链接和本声明。