如果饿了就吃,困了就睡,渴了就喝,人生就太无趣了
作者:可耳
更新时间 : 2020年04月07日
源码地址:https://github.com/keer123456789/springbootstudy/tree/master/sercurity_demo_2
1 Spring Security 配置
1.1 创建SecurityConfig配置类
此类继承WebSecurityConfigurerAdapter,并使用@EnableWebSecurity进行注解,开启Spring Security,代码如下:
@Configuration
@EnableWebSecurity
public class SecurityConfig extends WebSecurityConfigurerAdapter {

}
1.2 介绍详细信息
要指定Web安全细节,通过重载WebSecurityConfigurerAdapter其中的三个configure()方法进行配置
| 方法 | 描述 |
|---|---|
| configure(WebSecurity) | 通过重载,配置SpringSecurity的Filter链 |
| configure(HttpSecurity) | 通过重载,配置如何使用拦截器保护请求 |
| configure(AuthenticationManagerBuilder) | 通过重载,配置user-detail服务 |
2 用户信息
2.1 添加用户信息
根据1.2介绍,添加用户信息应该重写configure(AuthenticationManagerBuilder)方法,代码如下:
	@Override
    protected void configure(AuthenticationManagerBuilder auth) throws Exception {
        auth.inMemoryAuthentication()
                .withUser("user").password("123456").roles("USER").and()
                .withUser("admin").password("654321").roles("USER","ADMIN");
    }
inMemoryAuthentication()使用内存存储用户信息withUser(),password(),roles()分别配置用户名,密码,角色and()连接用户配置
2.2 配置用户信息详细方法
| 方法 | 描述 |
|---|---|
| accountExpired(boolean) | 定义账号是否过期 |
| accountLocked(boolean) | 定义账号是否锁定 |
| and() | 连接配置 |
| authorities(GrantedAuthority…) | 授予用户一个或多个权限 |
| authorities(List<? extends GrantedAuthority>) | 授予用户一个或多个权限 |
| authorities(String…) | 授予用户一个或多个权限 |
| credentialsExpired(boolean) | 定义凭证是否过期 |
| disabled(boolean) | 定义账号是否已经被禁用 |
| password(String ) | 定义账号密码 |
| roles(String… ) | 授予用户一个或多个权限 |
其中roles()和authorities()作用相同,但是roles()是authorities()的简写方式,roles()都会给值添加一个ROLE_的前缀,2.1中的代码和下面代码等价:
	@Override
    protected void configure(AuthenticationManagerBuilder auth) throws Exception {
        auth.inMemoryAuthentication()
                .withUser("user").password("123456").authorities("ROLE_USER").and()
                .withUser("admin").password("654321").authorities("ROLE_USER","ROLE_ADMIN");
    }
3 登录测试
3.1 添加访问接口
@RestController
@RequestMapping("/security")
public class Controller {
    protected Logger logger= LoggerFactory.getLogger(this.getClass());

    @RequestMapping(value = "hello",method = RequestMethod.GET)
    public String hello() {
        return "hello_world";
    }
}
3.2 访问接口
浏览器访问:http://127.0.0.1:8080/security/hello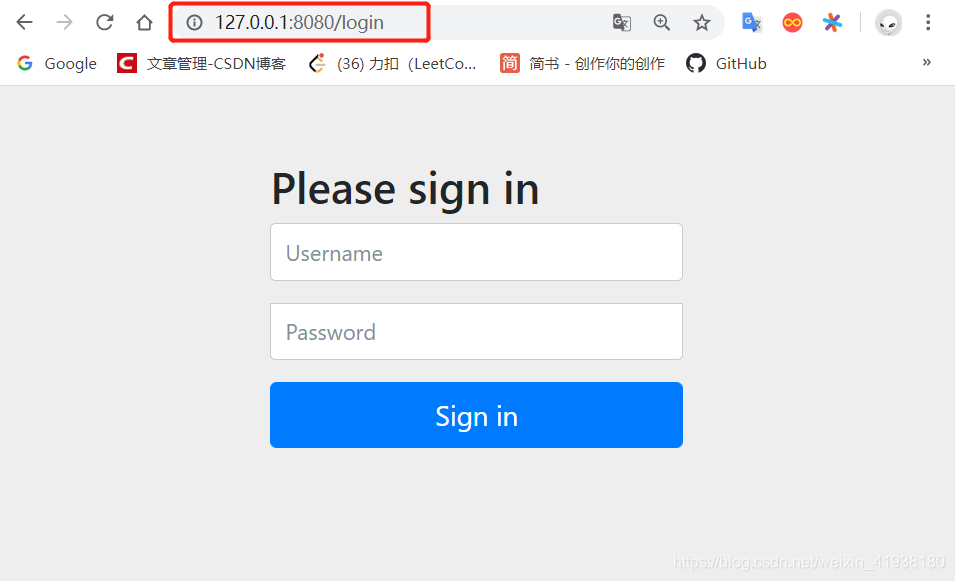
3.3 密码异常
输入账号密码后,会出现登录不进去的问题,后台日志:

在 SpringSecurity 5.x 中,密码需要经过加密,也就是需要一个编码器 PasswordEncorder的实例。
修改上述代码:添加BCryptPasswordEncoder编码器对密码进行编码。
@Configuration
@EnableWebSecurity
public class SecurityConfig extends WebSecurityConfigurerAdapter {

    @Bean
    public PasswordEncoder passwordEncoder() {

        return new BCryptPasswordEncoder();
    }

    @Autowired
    private PasswordEncoder passwordEncoder;

    @Override
    protected void configure(AuthenticationManagerBuilder auth) throws Exception {
        auth.inMemoryAuthentication()
                .withUser("user").password(passwordEncoder.encode("123456")).roles("USER").and()
                .withUser("admin").password(passwordEncoder.encode("654321")).roles("USER","ADMIN");
    }
}
再次访问http://127.0.0.1:8080/security/hello,输入账号密码即可成功访问。
4 权限控制
Spring Security支持方法方法级别的权限控制。
4.1 添加@EnableGlobalMethodSecurity注解
@Configuration
@EnableWebSecurity
@EnableGlobalMethodSecurity(prePostEnabled=true)
public class SecurityConfig extends WebSecurityConfigurerAdapter {

	//other configures……
}
4.2 在相应方法上添加权限控制
在Controller中添加新的访问接口:
	/**
     * 拥有ADMIN权限的用户才能访问
     * @return
     */
    @PreAuthorize("hasAnyRole('ADMIN')")
    @RequestMapping(value = "/admin",method = RequestMethod.GET)
    public String helloAdmin() {
        return "hello, admin";
    }

    /**
     * 拥有ADMIN或USER权限的用户才能访问
     * @return
     */
    @PreAuthorize("hasAnyRole('ADMIN','USER')")
    @RequestMapping(value = "/user",method = RequestMethod.GET)
    public String helloUser() {
        return "hello, user";
    }
4.3 登录测试
- 启动项目,访问http://127.0.0.1:8080/security/user,输入
admin ,654321,和user , 123456,都可以访问成功。 - 重启项目,http://127.0.0.1:8080/security/admin,输入
user , 123456,会返回403错误。再次重启,输入admin ,654321,可以正常访问。
参考文档
https://blog.csdn.net/m_sicily/article/details/102804608
https://docs.spring.io/spring-security/site/docs/5.3.2.BUILD-SNAPSHOT/reference/html5/