目录
Spring Boot 入门
Spring Boot 是由 Pivotal 团队提供的全新框架,其设计目的是用来简化新 Spring 应用的初始搭建以及开发过程。
对于开发人员来讲,其主要的优点在于整合了很多框架,并进行了很多配置项的默认配置,使得开发人员不再需要定义样板化的配置,从而更快速地运行应用。
Spring Boot 特性1. 依赖管理
Spring Boot 自动管理依赖性和配置。针对很多 Spring 应用程序常见的应用功能,Spring Boot 能自动提供相关配置。每个Spring Boot版本都提供了它所支持的依赖项列表。
因此,我们无需在配置中指定依赖项的版本。当我们更新 Spring Boot 版本时,Spring Boot 会以一致的方式自动升级所有依赖项。
- 依赖管理的优点
通过在一个地方指定 Spring Boot 版本来提供依赖信息的集中化。它避免了不同版本的 Spring Boot 库的不匹配。(如果需要,Spring Boot 还可以覆盖依赖项版本。)
解读 String Boot 的 pom 依赖
我们要使用这个特性,有两种方式:
(1)第一种是继承 spring-boot-starter-parent
<parent>
    <groupId>org.springframework.boot</groupId>
    <artifactId>spring-boot-starter-parent</artifactId>
    <version>2.3.5.RELEASE</version>
    <relativePath/> <!-- lookup parent from repository -->
</parent>
通过查看 spring-boot-starter-parent-version.pom 源码,可得 parent 的基本功能有:
- 默认 Java 编译版本
- 指定编码格式
- 资源过滤:自动过滤出 application*.yaml、application*.properties 等资源文件
- 打包相关配置
- 依赖管理,可在项目中对公共依赖省略
version标签。
继承spring-boot-starter-parent其实也算是继承自spring-boot-dependencies。parent 里面增加了一些插件,然后指定了 maven 编译版本。
依赖覆盖
继承 parent 配置,可以通过 property 覆盖内部的依赖。如,在项目中升级 spring-boot-starter-jdbc 版本。
<properties>
    <spring-boot-starter-jdbc.version>2.2.1.RELEASE</spring-boot-starter-jdbc.version>
</properties>
(2)第二种是依赖 spring-boot-dependencies,通过 dependencyManagement 进行依赖管理
一般情况下,企业都有自己的 parent 依赖包,然后所有的项目都必须继承对应的 parent 包,或者是项目有需要继承的自定义 pom 文件。这时候我们就可以通过这种方式使用 Spring Boot,即直接依赖 spring-boot-dependencies 并定义好版本号,再接下来在引用依赖时也就不用写版本号了。
但是关于打包的插件、编译的 JDK 版本、文件的编码格式等等这些配置,在没有 parent 的时候,这些统统要自己去配置。
<dependencyManagement>
    <dependencies>
        <dependency>
            <groupId>org.springframework.boot</groupId>
            <artifactId>spring-boot-dependencies</artifactId>
            <version>${spring-boot.version}</version>
            <type>pom</type>
            <scope>import</scope>
        </dependency>
    </dependencies>
</dependencyManagement>
这两种方式,我们在使用 spring-boot-starter 引入插件依赖时都不需要指定版本。
Spring Boot 特性2. Spring-Boot-Starter
Spring Boot 能够最大地降低项目开发的复杂度,各种各样的 starter 是其中一项重要特性。Spring-Boot-Starter 是在 Spring Boot 组件中被提出来的一种概念,是一种对依赖的整合,这样就可以一次性添加到项目的 Maven 或 Gradle 构建中;
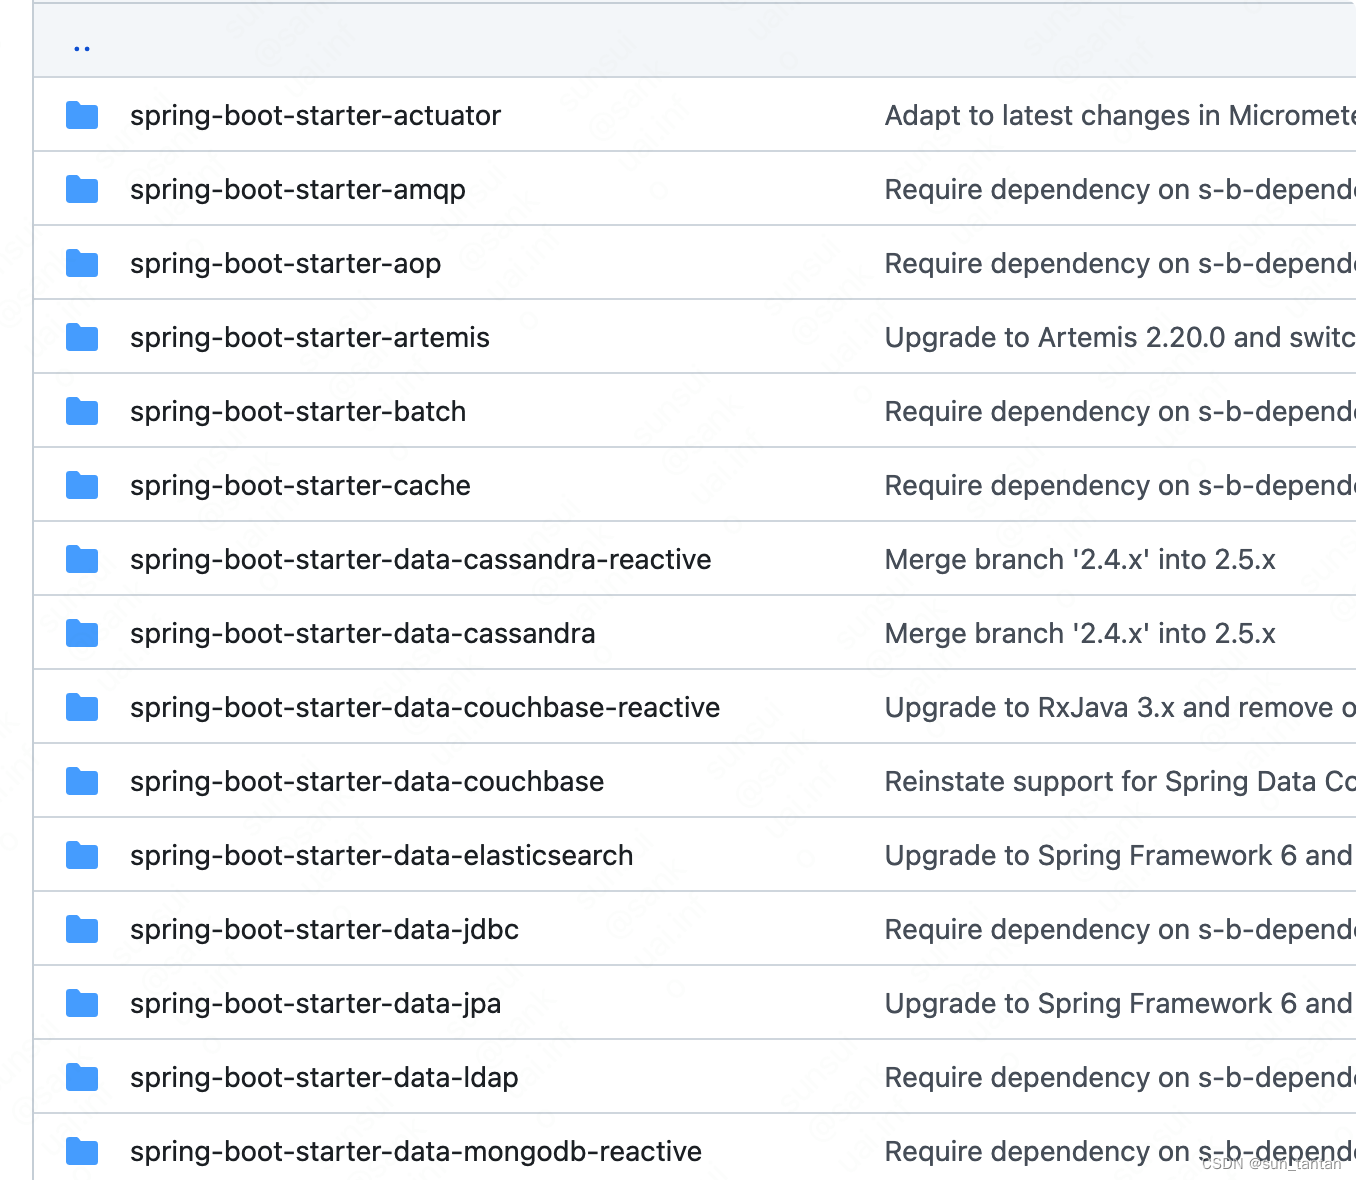
Spring Boot 为我们提供的 starter( 完整地址 ):
命名规范官方提供的依赖命名为 spring-boot-starter-{xxx} ,而第三方提供的依赖需命名为 {xxx} -spring-boot-starter 。
以常见的 spring-boot-starter-web 为例,我们引入的 pom 为:
<dependency>
    <groupId>org.springframework.boot</groupId>
     <artifactId>spring-boot-starter-web</artifactId>
 </dependency>
查看其 maven 依赖:
web 的 starter 为我们提供了 web、webmvc、json 和 tomcat 等能力,所以这也是我们可以不用配置 tomcat 信息就可以直接运行的原因。
自定义 spring-boot-starter 实现
自定义的 spring-boot-starter 功能
- 假设现有 beijing 和 shanghai 两个地区可提供存储服务,调用方可任选其一,我们需要在
application.yaml中通过配置来自动装配这些信息。
每个组件的 starter 实现各有差异,但是它们基本上都会使用到两个相同的内容:
ConfigurationProperties:存储调用方的配置信息、设置配置的默认值AutoConfiguration:使得配置信息自动加载生效
创建步骤
- 首先创建一个 Spring Boot 项目,命名为
mystarter-spring-boot-starter - 编写业务内容
public interface MyCache {
    void setCache();
}

public class BeijingCache implements MyCache {

    @Override
    public void setCache() {
        System.out.println("BeijingCache setCache");
    }
}

public class ShanghaiCache implements MyCache {

    @Override
    public void setCache() {
        System.out.println("ShanghaiCache setCache");
    }
}
- 增加 pom 依赖,一个 starter 项目必须依赖
spring-boot-starter
 <dependency>
    <groupId>org.springframework.boot</groupId>
     <artifactId>spring-boot-starter</artifactId>
 </dependency>

<!-- 使得使用方配置 application.yaml 时会有提示-->
<dependency>
    <groupId>org.springframework.boot</groupId>
    <artifactId>spring-boot-configuration-processor</artifactId>
    <optional>true</optional>
</dependency>
- 编写配置文件
MyCacheProperties
Properties 文件对应了调用方在 application.yaml 中的配置值,我们定义一个 MyCacheProperties 来自动装配这些配置信息。
@ConfigurationProperties 注解定义了配置的前缀为 “mycache”。
@ConfigurationProperties(prefix = "mycache")
@Data
public class MyCacheProperties {

    private MyCacheInfo beijingCacheInfo = new MyCacheInfo();

    private MyCacheInfo shanghaiCacheInfo = new MyCacheInfo();

    @Data
    public static class MyCacheInfo {

        private String userName;

        private String token;
    }
}
- 创建
MyCacheConfiguration
其中 @EnableConfigurationProperties 注解的作用:使 @ConfigurationProperties 修饰的类作为 component 被注入生效,两者结合使用
@Configuration
@EnableConfigurationProperties(MyCacheProperties.class)
public class MyCacheConfiguration {

    @Autowired
    private MyCacheProperties properties;

    @Bean
    public MyCache getBeijingCache() throws Exception {
        MyCacheProperties.MyCacheInfo myCacheInfo = properties.getBeijingCacheInfo();
        if (myCacheInfo.getUserName() == null || myCacheInfo.getToken() == null) {
            return null;
        }
        return new BeijingCache();
    }

    @Bean
    public MyCache getShanghaiCache() throws Exception {
        MyCacheProperties.MyCacheInfo myCacheInfo = properties.getShanghaiCacheInfo();
        if (myCacheInfo.getUserName() == null || myCacheInfo.getToken() == null) {
            return null;
        }
        return new ShanghaiCache();
    }

}
- 配置
spring.factories使得MyCacheConfiguration生效
在 resource/META-INF 目录下创建 spring.factories 文件
org.springframework.boot.autoconfigure.EnableAutoConfiguration=\
com.example.mystarter.MyCacheConfiguration
这一步的原理为:
在 Spring Boot 的启动类上含有 @SpringBootApplication 注解,里面包含了 @EnableAutoConfiguration 自动配置注解。
开启了自动配置以后,Spring Boot 会寻找并加载所有 jar 包下的 META‐INF/spring.factories 文件,并将其配置的 EnableAutoConfiguration 类加载到容器中。spring.factories 这部分将在下章详细解释。
mvn clean install本地打包生效
接下来是调用方的使用
- 引入依赖
<dependency>
    <groupId>com.example</groupId>
    <artifactId>mystarter-spring-boot-starter</artifactId>
    <version>0.0.1-SNAPSHOT</version>
</dependency>
- 配置信息
mycache:
  beijing-cache-info:
    token: 123
    user-name: root
- 调用方法
@SpringBootApplication()
public class MyCacheTestApplication {
    public static void main(String[] args) {
        ConfigurableApplicationContext context = SpringApplication.run(WhidsSsApplication.class, args);
        BeanFactory factory = context.getBeanFactory();
        MyCacheConfiguration cacheConfiguration = factory.getBean(MyCacheConfiguration.class);
        try {
            MyCache beijingCache = cacheConfiguration.getBeijingCache();
            beijingCache.setCache();
        } catch (Exception e) {
            e.printStackTrace();
        }
    }
}
- 输出结果
BeijingCache setCache
- 如果
application.yaml中配置为
mycache:
  shanghai-cache-info:
    token: 123
    user-name: root
那么将会报错 java.lang.NullPointerException