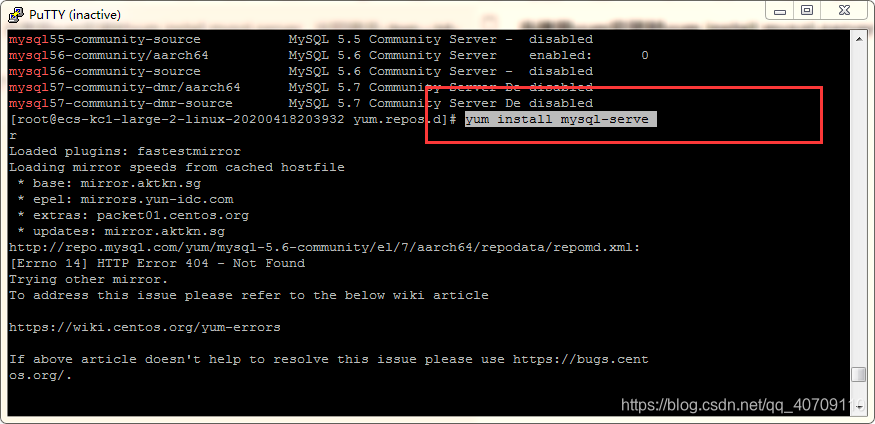
当使用yum安装时yum install mysql-server ,出现错误
错误截图:
错误信息:
[root@ecs-kc1-large-2-linux-20200418203932 yum.repos.d]# yum install mysql-serve r
Loaded plugins: fastestmirror
Loading mirror speeds from cached hostfile
- base: mirror.aktkn.sg
- epel: mirrors.yun-idc.com
- extras: packet01.centos.org
- updates: mirror.aktkn.sg
http://repo.mysql.com/yum/mysql-5.6-community/el/7/aarch64/repodata/repomd.xml: [Errno 14] HTTP Error 404 - Not Found
Trying other mirror.
To address this issue please refer to the below wiki article
https://wiki.centos.org/yum-errors
If above article doesn’t help to resolve this issue please use https://bugs.cent os.org/.
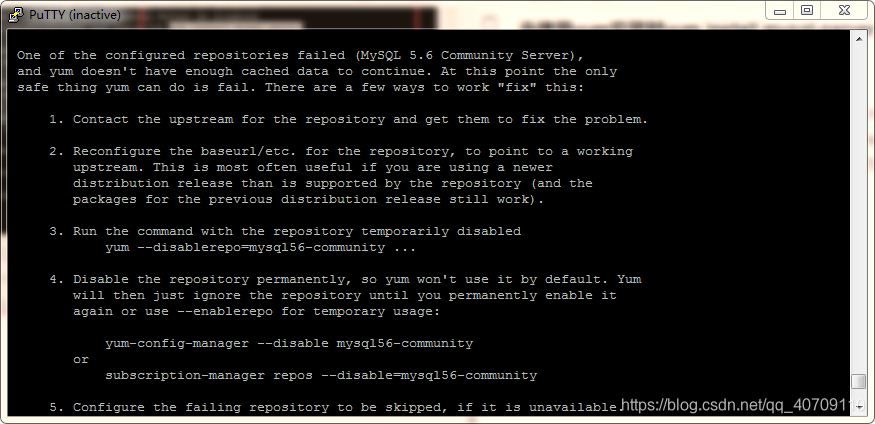
One of the configured repositories failed (MySQL 5.6 Community Server),
and yum doesn’t have enough cached data to continue. At this point the only
safe thing yum can do is fail. There are a few ways to work “fix” this:
1. Contact the upstream for the repository and get them to fix the problem.
2. Reconfigure the baseurl/etc. for the repository, to point to a working
upstream. This is most often useful if you are using a newer
distribution release than is supported by the repository (and the
packages for the previous distribution release still work).
3. Run the command with the repository temporarily disabled
yum --disablerepo=mysql56-community ...
4. Disable the repository permanently, so yum won't use it by default. Yum
will then just ignore the repository until you permanently enable it
again or use --enablerepo for temporary usage:
yum-config-manager --disable mysql56-community
or
subscription-manager repos --disable=mysql56-community
5. Configure the failing repository to be skipped, if it is unavailable.
Note that yum will try to contact the repo. when it runs most commands,
so will have to try and fail each time (and thus. yum will be be much
slower). If it is a very temporary problem though, this is often a nice
compromise:
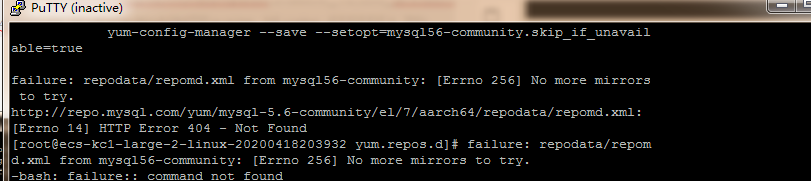
yum-config-manager --save --setopt=mysql56-community.skip_if_unavail able=true
failure: repodata/repomd.xml from mysql56-community: [Errno 256] No more mirrors to try.
http://repo.mysql.com/yum/mysql-5.6-community/el/7/aarch64/repodata/repomd.xml: [Errno 14] HTTP Error 404 - Not Found
[root@ecs-kc1-large-2-linux-20200418203932 yum.repos.d]# failure: repodata/repom d.xml from mysql56-community: [Errno 256] No more mirrors to try.
-bash: failure:: command not found
[root@ecs-kc1-large-2-linux-20200418203932 yum.repos.d]# http://repo.mysql.com/y um/mysql-5.6-community/el/7/aarch64/repodata/repomd.xml: [Errno 14] HTTP Error 4 04 - Not Found
-bash: http://repo.mysql.com/yum/mysql-5.6-community/el/7/aarch64/repodata/repom d.xml:: No such file or directory
分析错误:
我的云服务器是Armv8架构的华为鲲鹏920服务器,AArch64是ARMv8的一种执行状态。
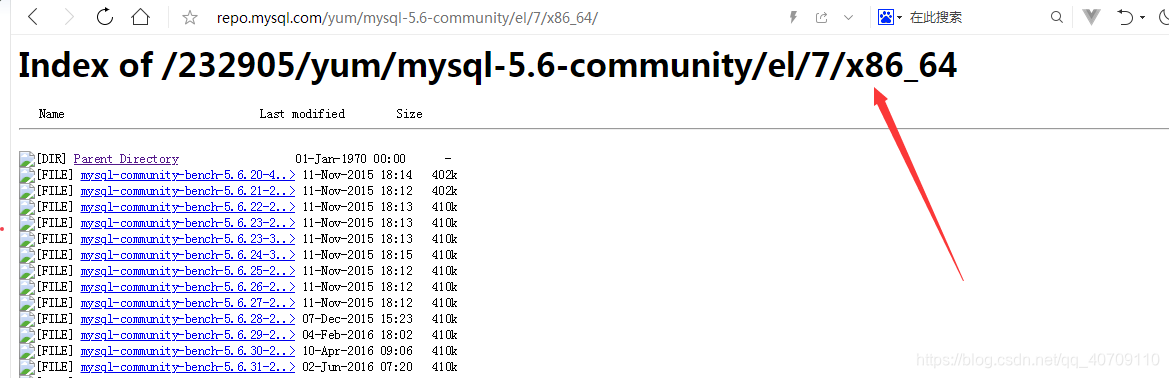
http://repo.mysql.com/yum/mysql-5.6-community/el/7/aarch64/repodata/repomd.xml
但是网上可以查到的并没有armv8架构下的mysql,只有x86架构下的包,因此找不到页面
解决思路:
查找arm架构下的mysql源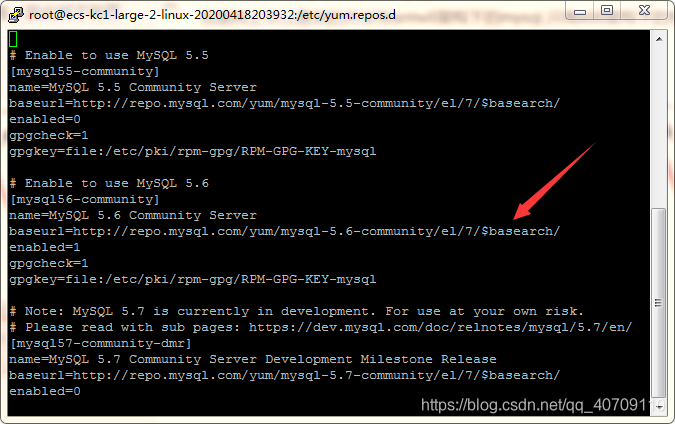
0.安装依赖
yum install gcc gcc-c++ make cmake libaio-devel openssl-devel zlib-devel ncurses-devel bison -y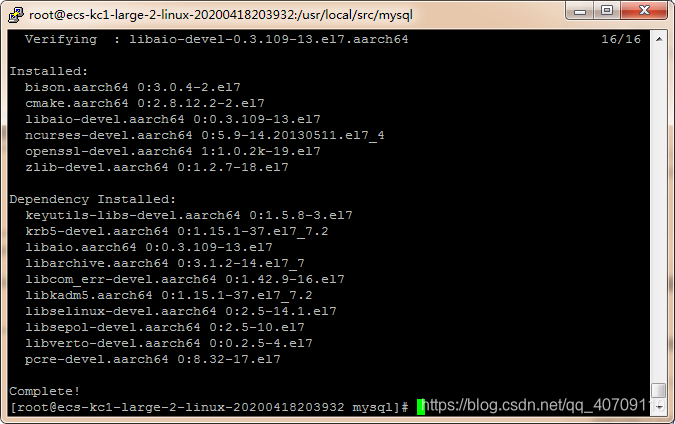
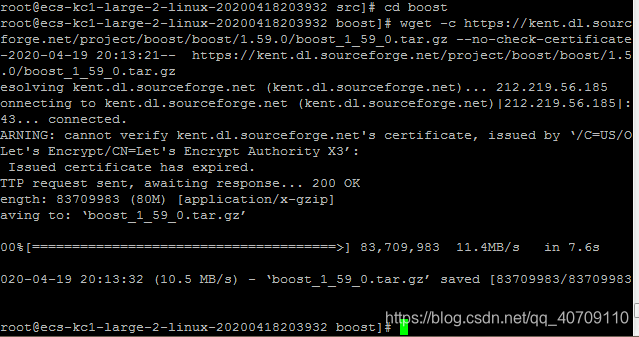
下载 解压boost

wget -c https://kent.dl.sourceforge.net/project/boost/boost/1.59.0/boost_1_59_0.tar.gz --no-check-certificate
tar -zxvf boost_1_59_0.tar.gz
1. 获取源代码
github上(https://github.com/mysql/mysql-server)提供mysql社区版的源代码压缩包,可以直接下载,各版本的列表可以通过:
https://github.com/mysql/mysql-server/releases获取
wget -c https://downloads.mysql.com/archives/get/p/23/file/mysql-5.6.44.tar.gz
2.将源码下载在文件夹下
mkdir /usr/local/src/mysql && cd /usr/local/src/mysql
wget -c https://downloads.mysql.com/archives/get/p/23/file/mysql-5.6.44.tar.gz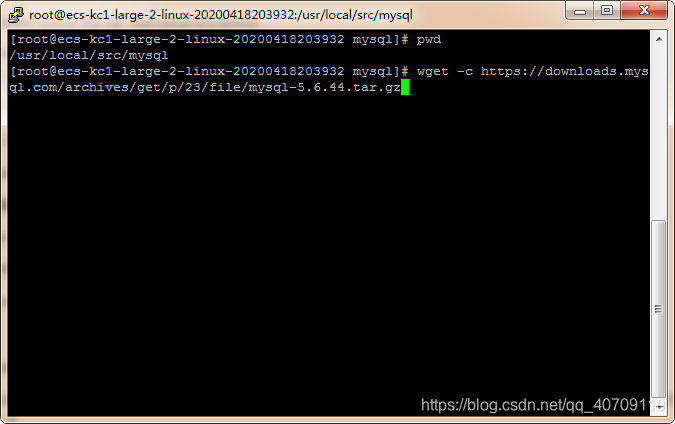
下载源码成功:
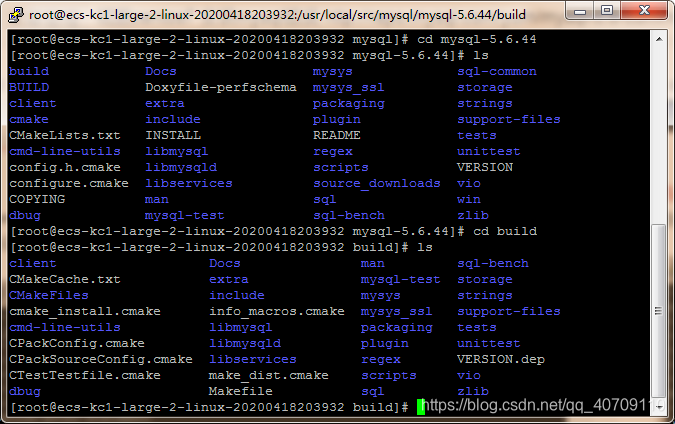
3.解压源码
tar -zxvf mysql-5.6.44.tar.gz
4. 进入MySQL解压目录,建立编译目录并进入编译目录:
mkdir build && cd build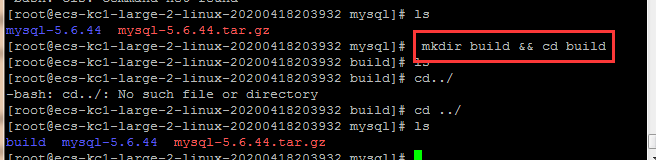
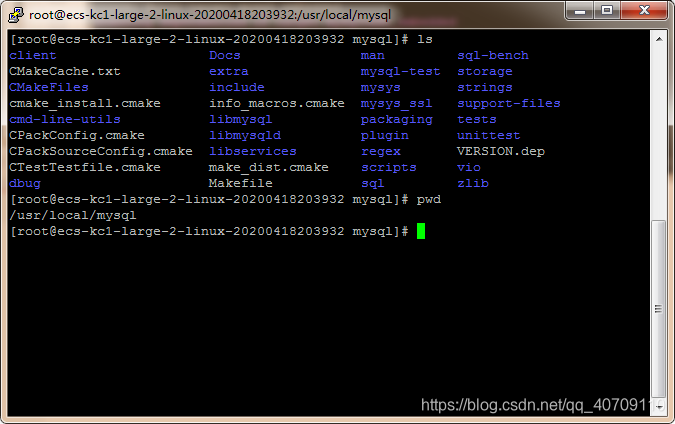
5. 配置:
以上的mysql文件夹操作在/usr/local/src/mysql
在/usr/local 下创建mysql文件夹
mkdir -p /usr/local/mysql
cmake /usr/local/src/mysql/mysql-5.6.44 -DCMAKE_INSTALL_PREFIX=/usr/local/mysql -DWITH_BOOST=/usr/local/src/boost/boost_1_59_0
方案一:这个命令在user/local下执行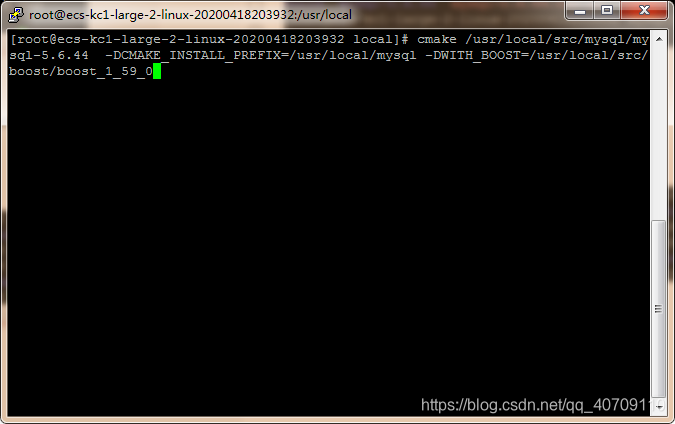
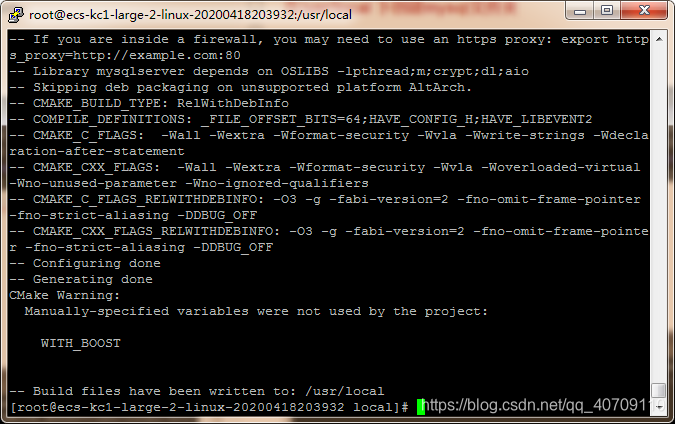
方案二 这个命令在user/local/mysql下执行
cmake /usr/local/src/mysql/mysql-5.6.44 -DCMAKE_INSTALL_PREFIX=/usr/local/mysql -DWITH_BOOST=/usr/local/src/boost/boost_1_59_0

方案三:在build目录下cmake失败
路径:/usr/local/src/mysql/mysql-5.6.44/build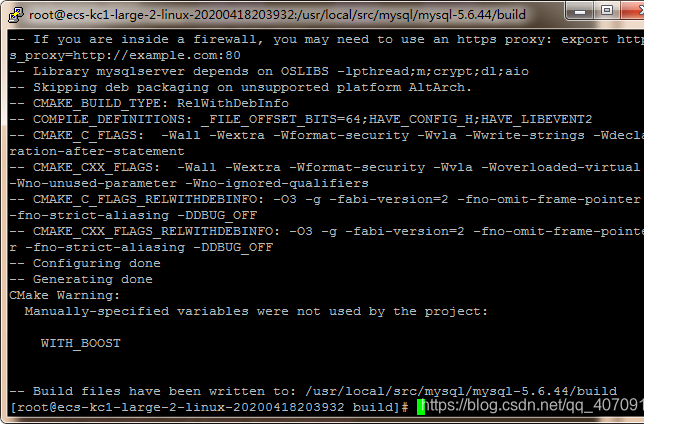
6.编译安装:
在local目录下执行(可能不行)
make
make install
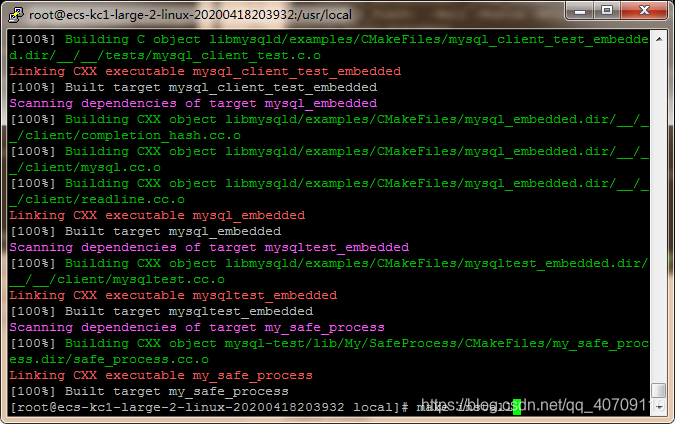
在usr/local/mysql目录下执行(成功)
在build目录下make(成功)
make
make install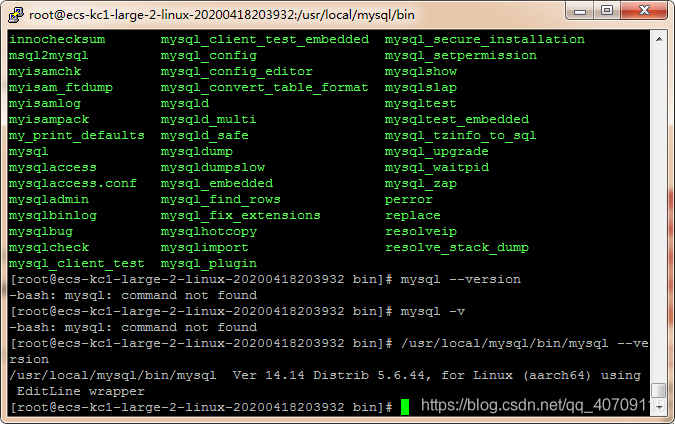
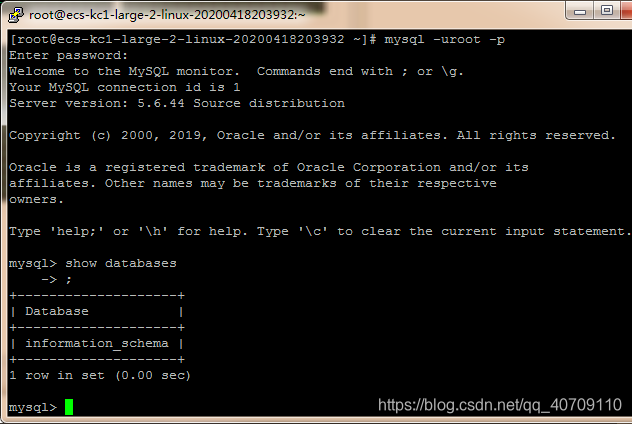
7.版本检查