一.启动rabbitmq
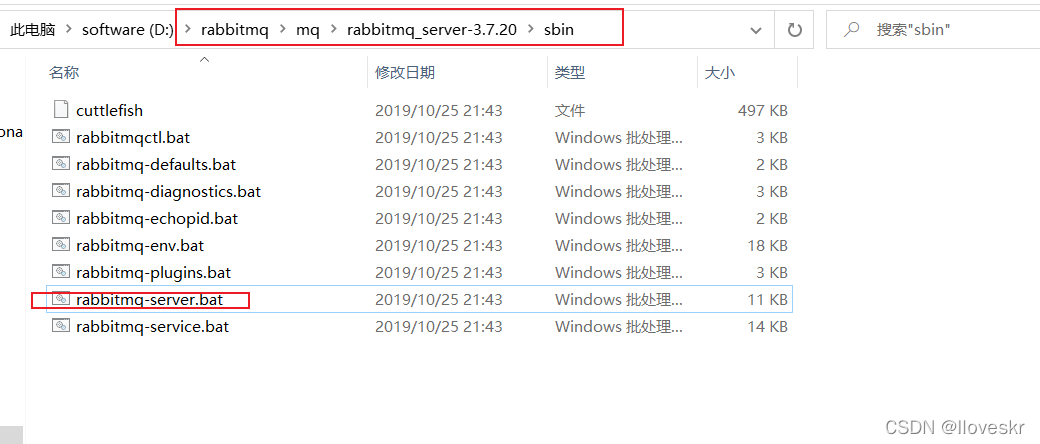
双击
二.编写代码
2.1 项目当中安装rabbitmq
npm install amqplib
构建消息发送者
//引入amqplib模块
const amqp=require('amqplib/callback_api');
//连接到rabbitmqServer
amqp.connect('amqp://localhost',function (err,conn) {

  // 建立通道
  conn.createChannel(function (err,channel) {
    let qName='hello';
    // 定义一个队列,将消息放在其中
    channel.assertQueue(qName,{durable:false});
    // 将内容推送到mq
    channel.sendToQueue(qName,new Buffer('你好'));
    console.log("[x] Sent '你好'");
    // 关闭连接
    conn.close();
  });
});
构建消息消费者
const amqp = require('amqplib/callback_api');

// 连接mq
amqp.connect('amqp://localhost', function (err, coon) {
// 创建通道
  coon.createChannel(function (err, channel) {
    //队列名称
    let qName = 'hello';
    // 请求队列
    channel.assertQueue(qName,{durable:false});
    // 通过队列名称获取消息
    channel.consume(qName, function (message) {
      console.log("接收者:", message.content.toString());
    }, {noAck: true});
  })
})
三.测试
3.1 消息构建者

3.2消息消费者
测试到这
具体步骤可以参考
https://www.cnblogs.com/cpselvis/p/6288330.html