今天来学习下ConstraintLayout这个布局。目前在最新版本的Android Studio 中新创建一个项目之后。默认创建的activity布局中使用的根布局为ConstraintLayout。ConstraintLayout是什么,在我看来,它就是RelativeLayout的升级版本。今天我们就来学习下这个布局,但是我们作为入门教程,不会很深入的讲解,这个布局内容还是蛮多的。
首先,更改根布局为ConstraintLayout,代码如下
<?xml version="1.0" encoding="utf-8"?>
然后我们来介绍几个常用属性
app:layout_constraintTop_toTopOf="" 与某个控件顶部对齐 app:layout_constraintBottom_toBottomOf=""与某个控件底部对齐 app:layout_constraintLeft_toLeftOf=""与某个控件左边对齐 app:layout_constraintRight_toRightOf=""与某个控件右边对齐 app:layout_constraintLeft_toRightOf=""左边在某个控件的右边 app:layout_constraintRight_toLeftOf=""右边在某个控件的左边 app:layout_constraintBottom_toTopOf=""底部在某个控件的顶部 app:layout_constraintTop_toBottomOf=""顶部在某个控件的底部
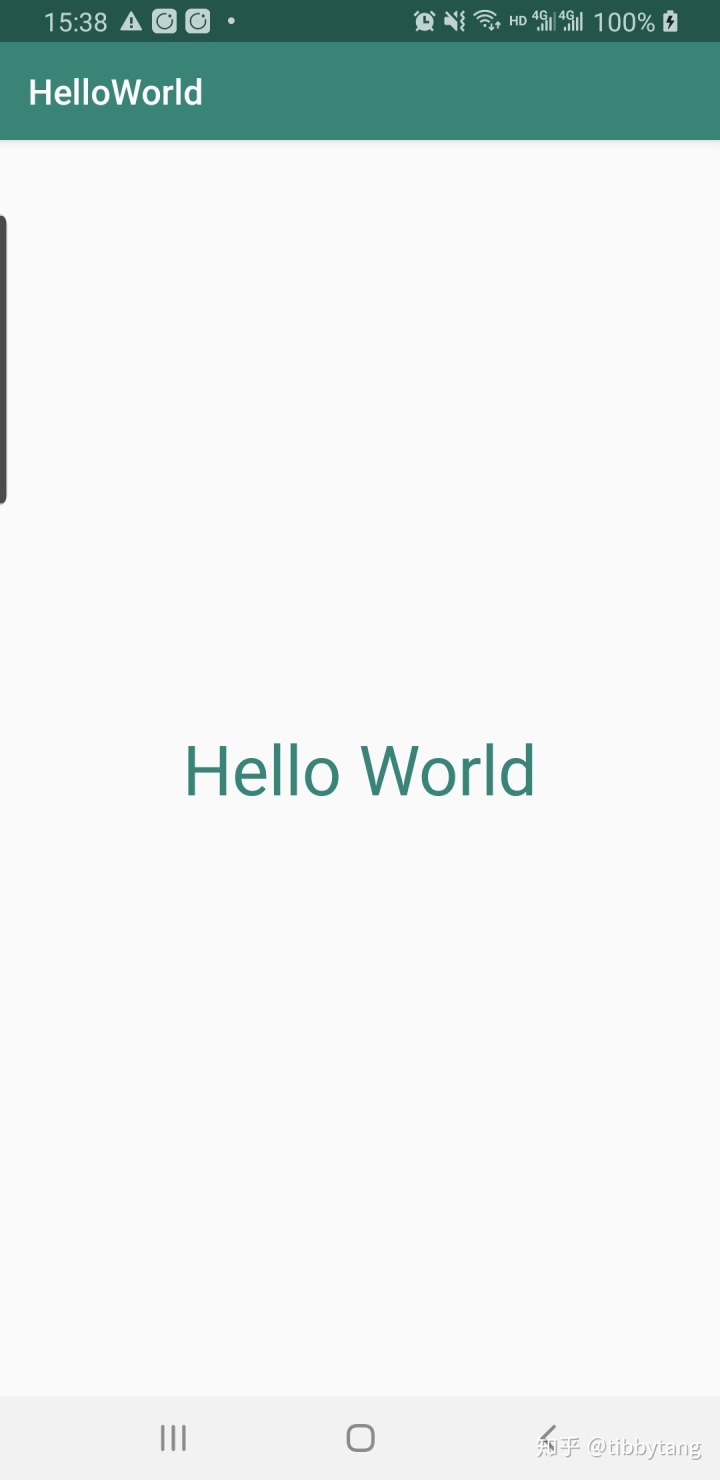
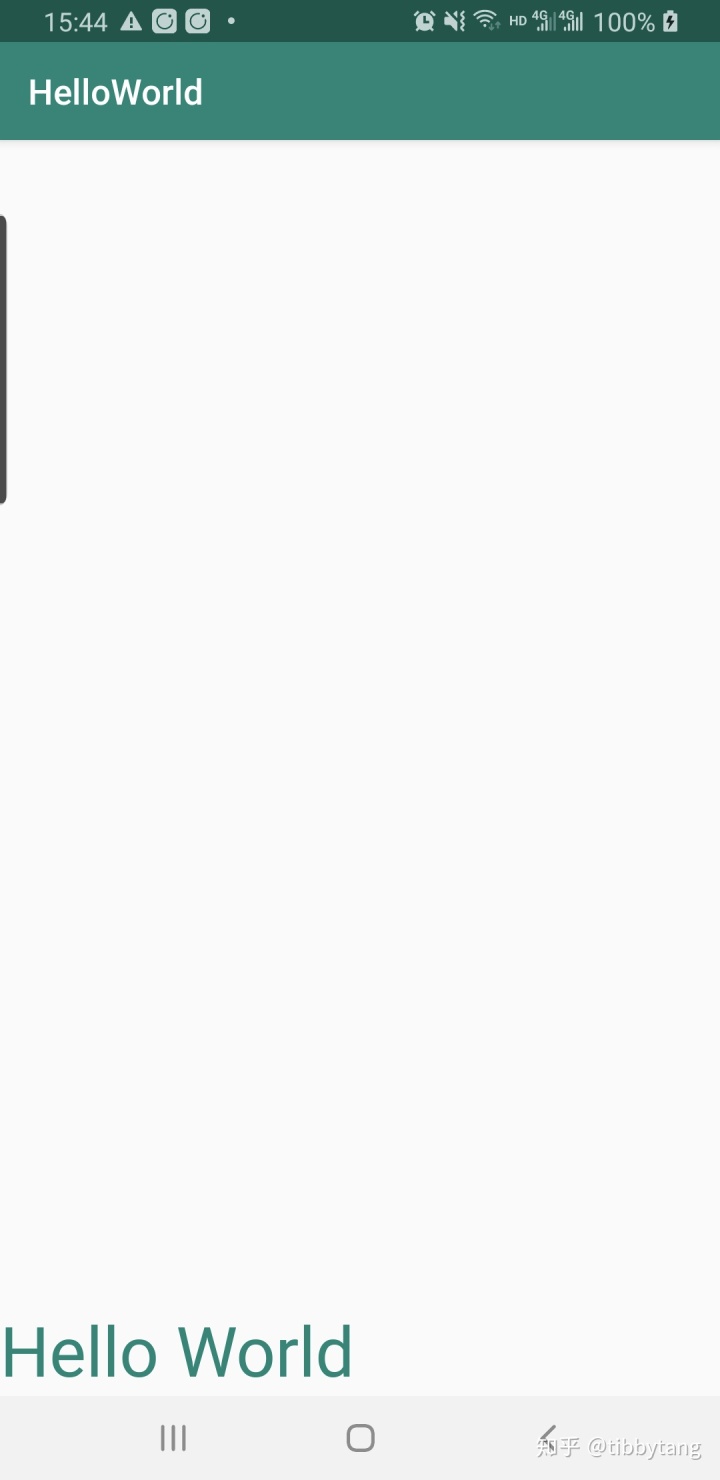
下面我们来居中一个TextView,代码如下
<?xml version="1.0" encoding="utf-8"?>
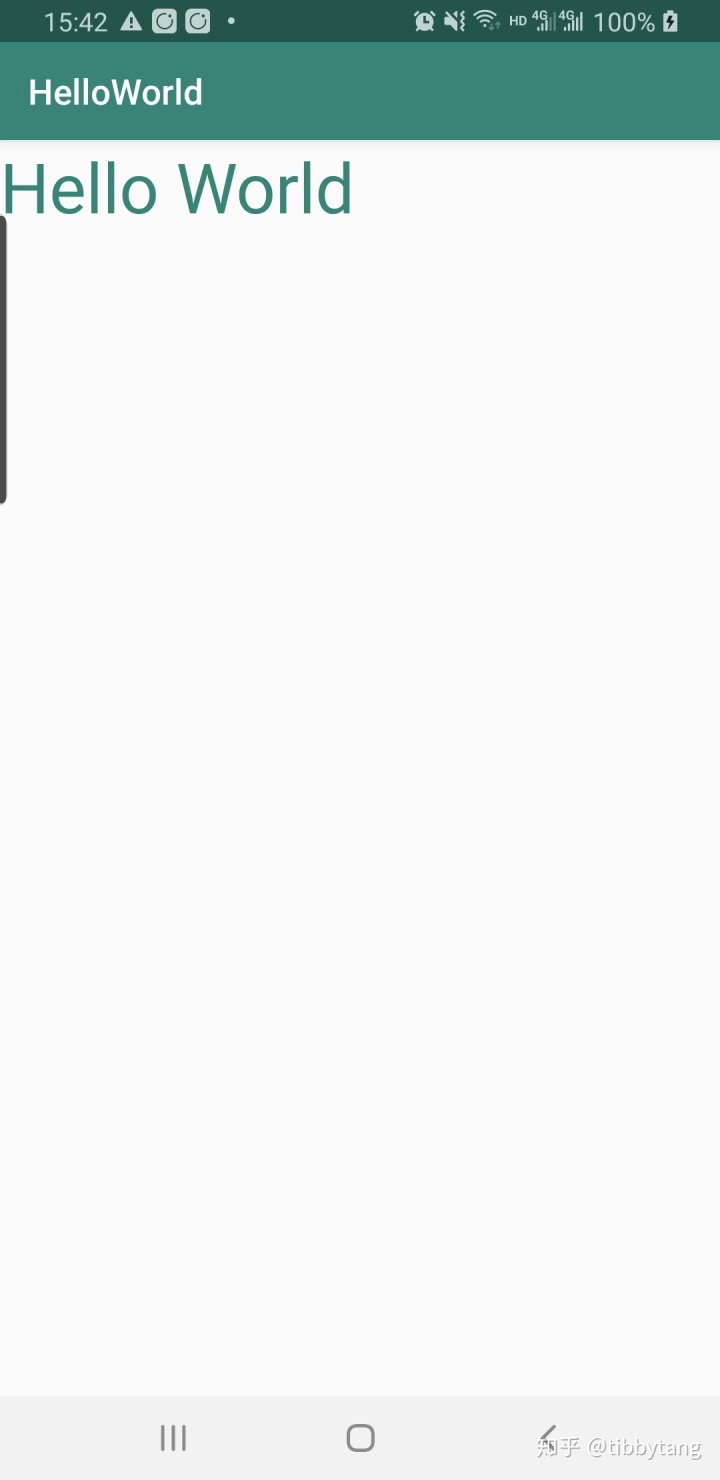
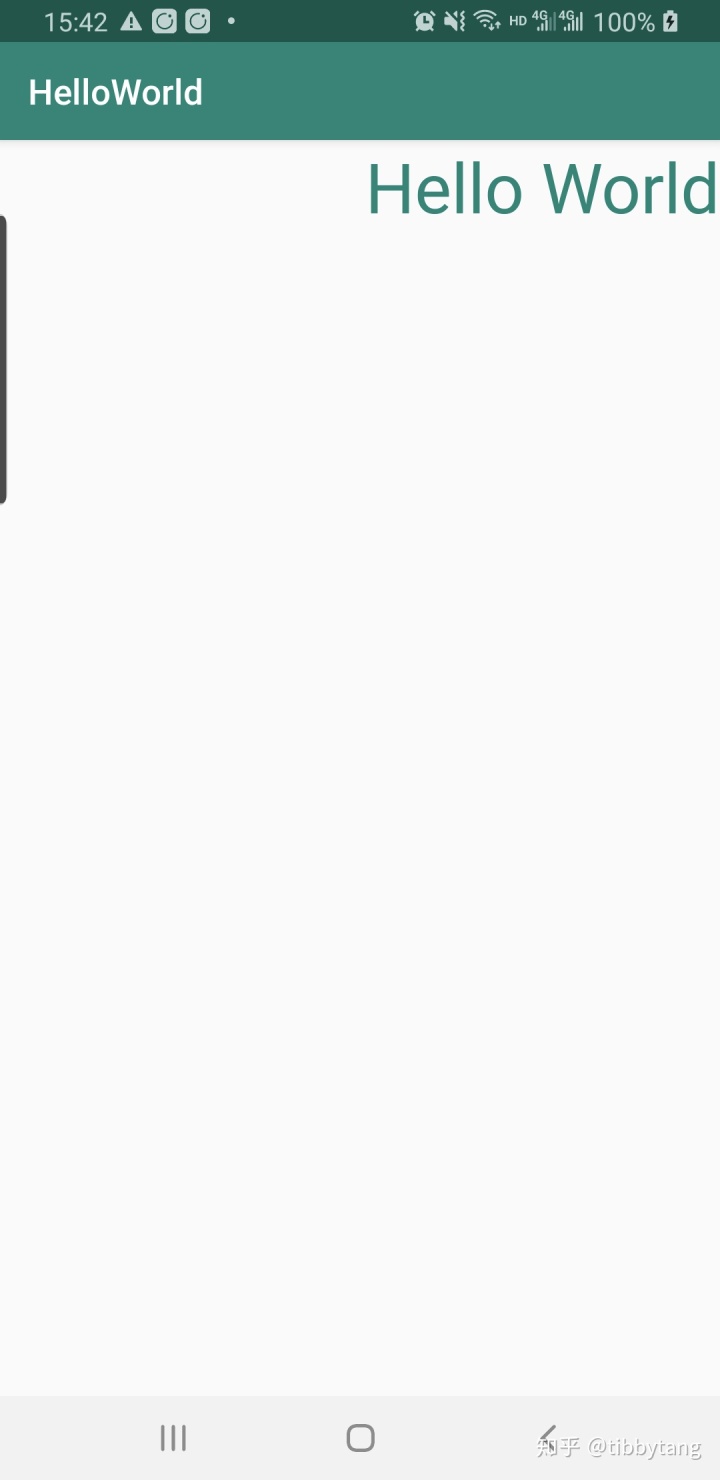
那我们让它居上居左,居上居右,居下居左,居下居右怎么做呢,用以下代码则可以
居上居左
<?xml version="1.0" encoding="utf-8"?>
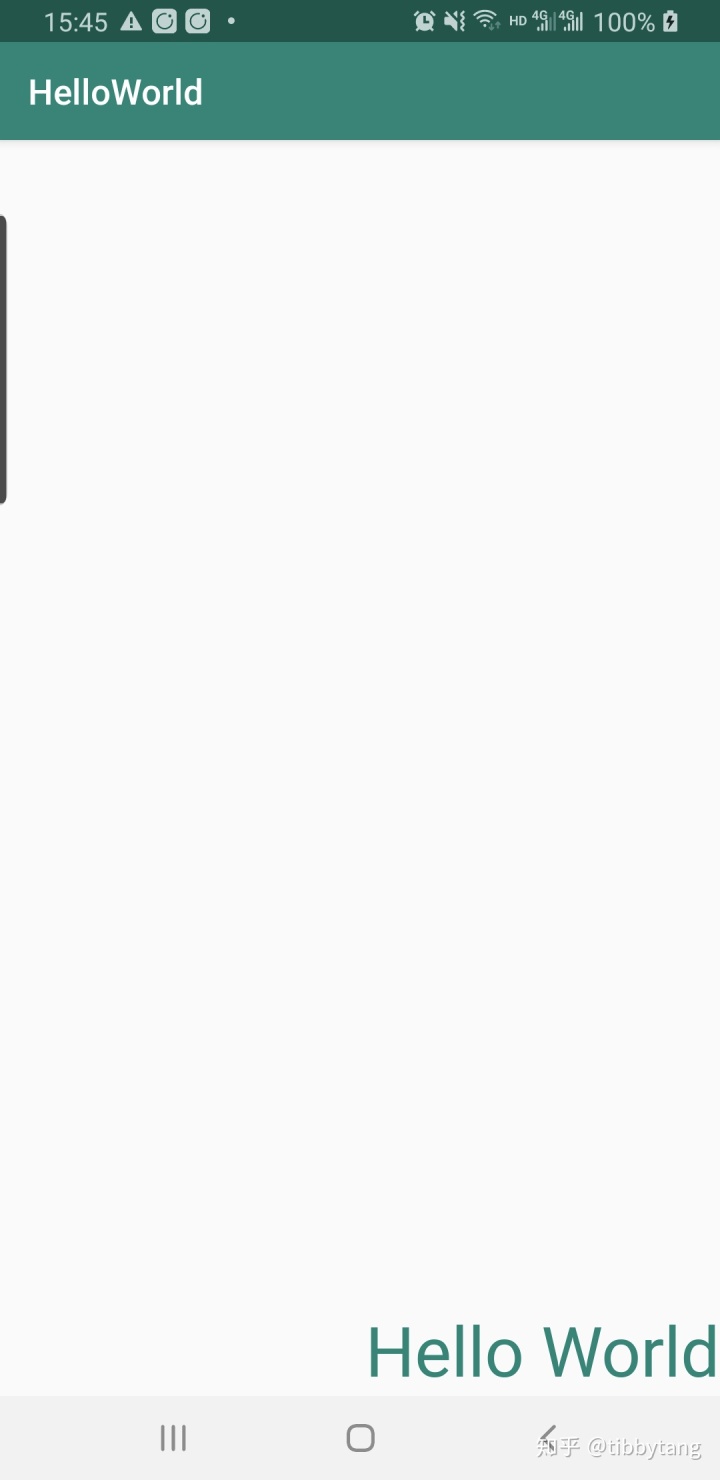
居上居右
<?xml version="1.0" encoding="utf-8"?>
居下居左
<?xml version="1.0" encoding="utf-8"?>
居下居右
<?xml version="1.0" encoding="utf-8"?>
通过上面的例子,相信基本上掌握了ConstraintLayout的用法。
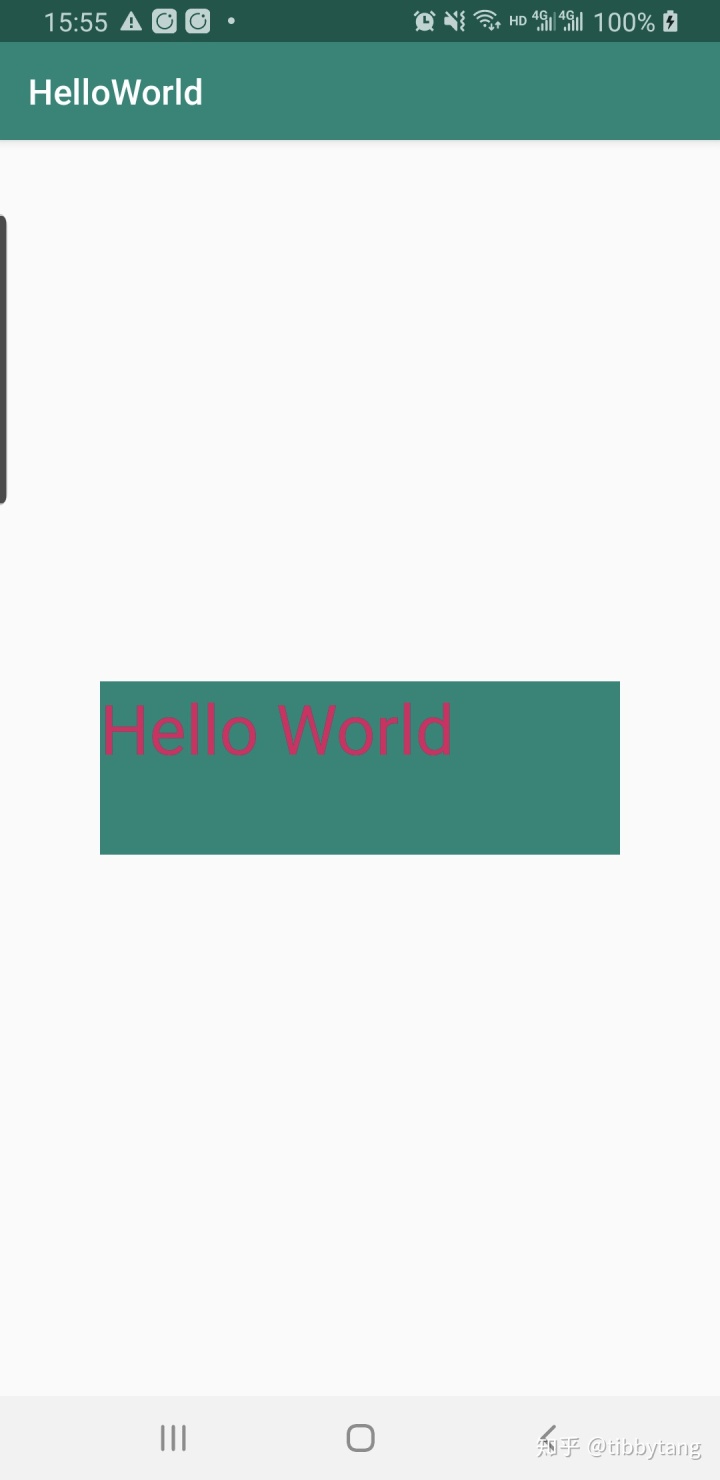
下面我们介绍下一个宽和高具有比例的属性,比如高是宽的2倍,用到该属性
app:layout_constraintDimensionRatio
比如我们来设置者个textview ,宽是高的3倍,代码如下
<?xml version="1.0" encoding="utf-8"?>
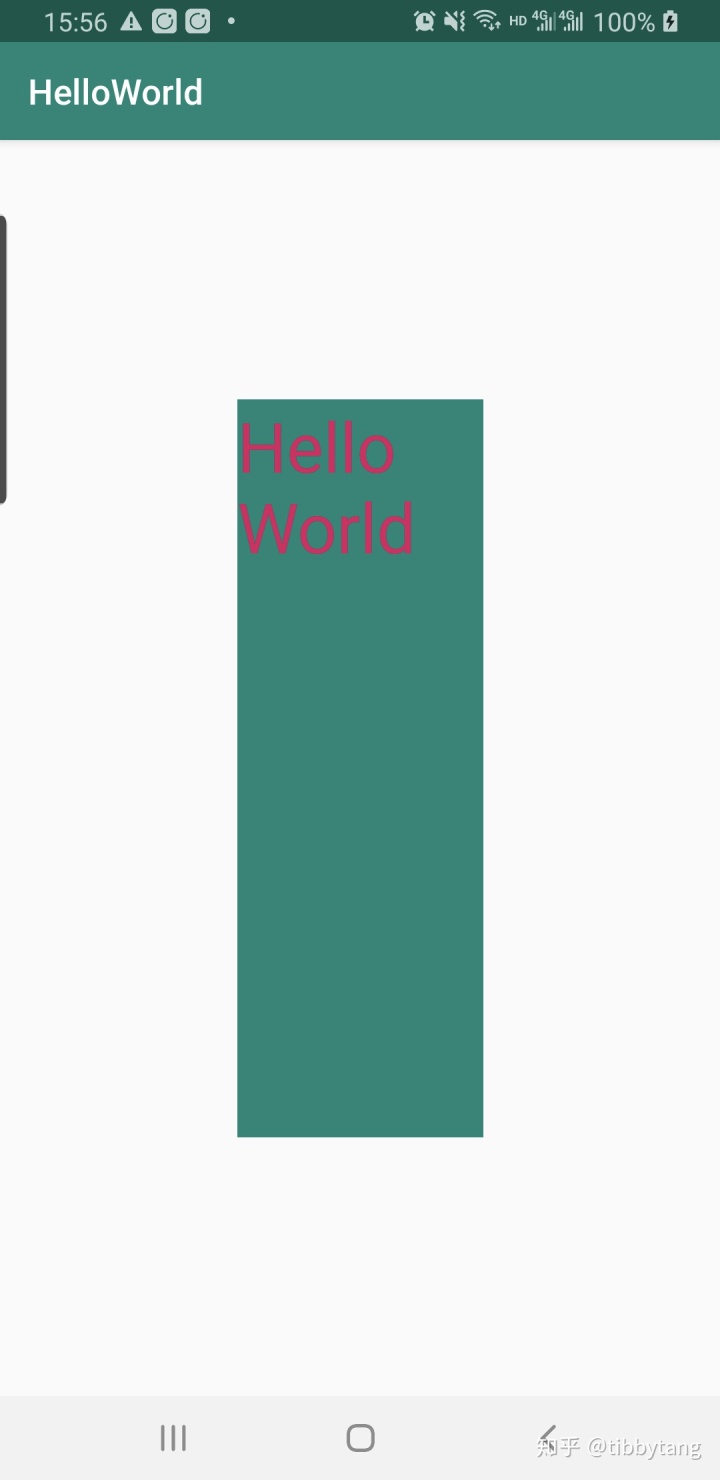
我们再来设置高是宽的3倍,代码如下
<?xml version="1.0" encoding="utf-8"?>
基本上常用的ConstraintLayout属性就这么多,更多的还是要靠自己去实践,有问题的可以在文章下方留言。
我是tibbytang,7年android开发经验,关注我,学习更多android开发知识