下载并安装openssl
mkdir /root/source/
cd /root/source/
wget https://www.openssl.org/source/openssl-1.1.1k.tar.gz --no-check-certificate
 ./config --prefix=/usr/local/openssl
make -j 4
make install
mv /usr/bin/openssl  /usr/bin/openssl.bak  #备份老文件
cp /usr/local/openssl/bin/openssl /usr/bin/   #复制新文件
ln -s /usr/local/openssl/lib/libssl.so.1.1 /usr/lib64/libssl.so.1.1
ln -s /usr/local/openssl/lib/libcrypto.so.1.1 /usr/lib64/libcrypto.so.1.1
openssl version #查看版本是不是最新的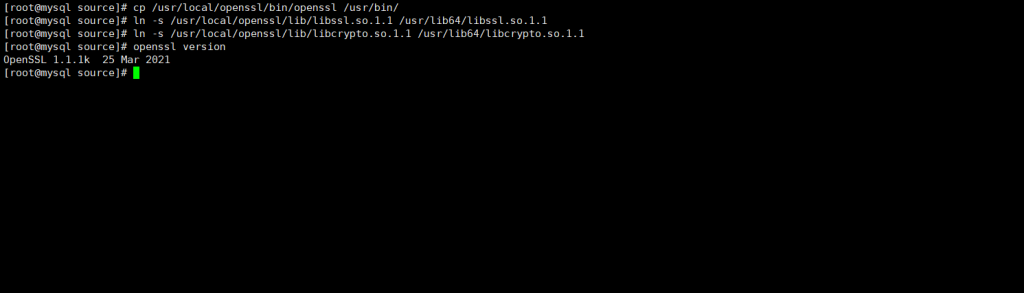
安装nginx 1.20.1
wget http://nginx.org/download/nginx-1.20.1.tar.gz
yum install -y epel-release #安装epel源
yum -y install gd gd-devel gcc gcc-c++ zlib zlib-devel  libtool  pcre pcre-devel  #安装依赖
tar -zxf nginx-1.20.1.tar.gz
cd nginx-1.20.1
vi auto/lib/openssl/conf   #编辑配置,39-44行,去掉.openssl ,要不然会编译不通过
./configure     --prefix=/usr/local/nginx --user=www --group=www --with-pcre --with-http_image_filter_module --with-cc-opt=-O3 --with-poll_module --with-debug --with-http_v2_module --with-openssl=/usr/local/openssl --with-compat --with-file-aio --with-threads --with-http_addition_module --with-http_auth_request_module --with-http_dav_module --with-http_flv_module --with-http_gunzip_module --with-http_gzip_static_module --with-http_mp4_module --with-http_random_index_module --with-http_realip_module --with-http_secure_link_module --with-http_slice_module --with-http_ssl_module --with-http_stub_status_module --with-http_sub_module --with-http_v2_module --with-mail --with-mail_ssl_module --with-stream --with-stream_realip_module --with-stream_ssl_module --with-stream_ssl_preread_module --with-ld-opt=-Wl,--as-needed
 #检查环境
make -j 4 #编译
make install #安装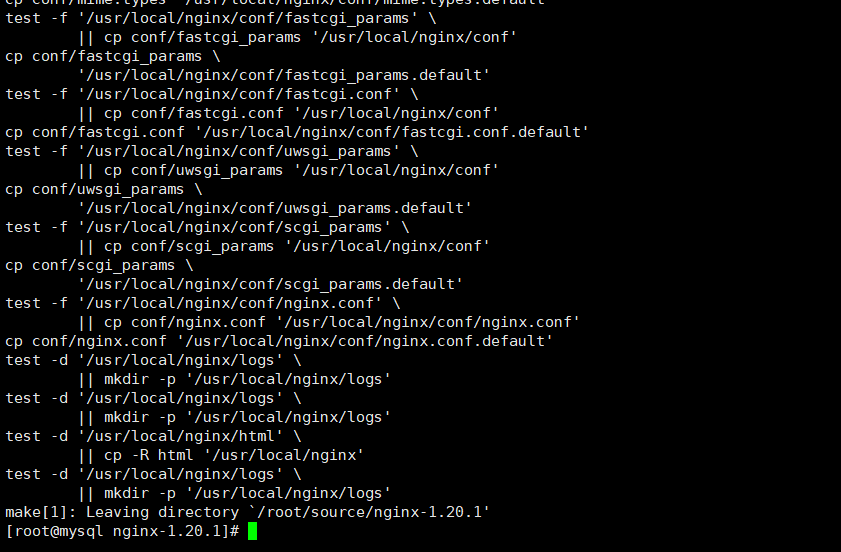
安装php7
wget https://www.php.net/distributions/php-7.0.15.tar.gz
yum -y install libxml2 libxml2-devel bzip2 bzip2-devel curl curl-devel libmcrypt libmcrypt-devel openssl openssl-devel #安装依赖,有时候报错提示的是大写,安装的时候需要小写
tar -zcf php-7.0.15.tar.gz
cd php-7.0.15
./configure --prefix=/usr/local/php7015 --with-config-file-path=/usr/local/php7015/etc --with-mysqli --with-iconv-dir --with-freetype-dir --with-jpeg-dir --with-png-dir --with-mcrypt --with-zlib --with-libxml-dir --enable-xml --disable-rpath --enable-bcmath --enable-shmop --enable-sysvsem --enable-inline-optimization --with-curl --enable-mbstring --with-gd --enable-gd-native-ttf --with-openssl --with-mhash --enable-pcntl --enable-sockets --with-xmlrpc --enable-zip --enable-soap --with-pdo-mysql --enable-maintainer-zts --enable-pdo --disable-debug --with-bz2 --enable-sysvshm --enable-mbregex --with-pcre-regex --with-gettext --enable-fpm
make -j 4
make install  #跳过了make test,执行时间太长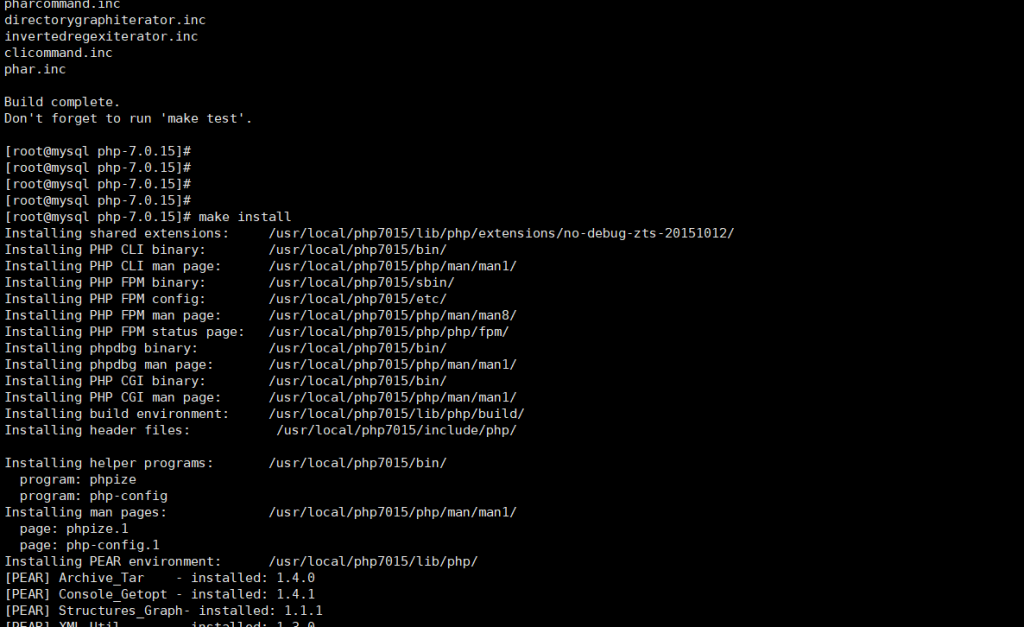
安装mysql5.7
wget -i -c http://dev.mysql.com/get/mysql57-community-release-el7-10.noarch.rpm  #下载源
rpm -ivh mysql57-community-release-el7-10.noarch.rpm  #安装yum源
yum -y install mysql-community-server  #yum 安装mysql5.7
配置文件在/etc/my.cnf ,支持systemctl 管理
我的my.cnf 配置文件内容如下:
[client]
port    = 3306
socket  =   /var/lib/mysql/mysql.sock

[mysqld]
character-set-server = utf8
user    = mysql
port    = 3306
socket  = /var/lib/mysql/mysql.sock
datadir = /var/lib/mysql
log-error = /var/log/mysql_error.log
pid-file = /var/lib/mysql/mysql.pid
open_files_limit    = 51200
back_log = 1200
max_connections = 1000
max_connect_errors = 5000
table_open_cache = 128
max_allowed_packet = 128M
tmp_table_size = 1024M
sort_buffer_size = 64M
join_buffer_size = 128M
thread_cache_size = 1000
thread_stack = 192K
transaction_isolation = READ-COMMITTED
tmp_table_size = 512M
max_heap_table_size = 246M
long_query_time = 3
log-slave-updates

max_binlog_cache_size = 10G
max_binlog_size = 1G
key_buffer_size = 10240M
read_buffer_size = 16M
read_rnd_buffer_size = 16M

slow_query_log = 1
slow_query_log_file = /var/log/mysql/mysql-slow.log
long_query_time = 30
log_queries_not_using_indexes
lower_case_table_names = 1
explicit_defaults_for_timestamp=on
innodb_lock_wait_timeout = 120
bulk_insert_buffer_size = 8M
myisam_sort_buffer_size = 8M
myisam_max_sort_file_size = 5G
myisam_repair_threads = 1


interactive_timeout = 120
wait_timeout = 300
skip-name-resolve
修改完配置文件后,启动mysql
mysql5.7的root密码是随机生成写在日志里的,密码需要包含复杂性
systemctl start mysqld #启动
grep "pass" /var/log/mysql_error.log   #查看root密码,最后一串
mysql -u root -p #输入密码,登录mysql

mysql> alter user 'root'@'localhost' identified by 'MysqlPassword1!'; #在mysql命令行,修改root密码为MysqlPassword1!,密码需要符合复杂性要求
mysql> flush  privileges; #刷新权限
mysql> \q ;  #退出mysql终端

mysql -u root -p #使用新密码登录mysql

mysql> grant all on *.* to 'root'@'%' identified by 'MysqlPassword2!'; #命令行修改远程root用户密码为MysqlPassword2!
mysql> flush  privileges; #刷新权限
mysql> \q ;  #退出mysql终端
版权声明:本文为wojiuwangla原创文章,遵循CC 4.0 BY-SA版权协议,转载请附上原文出处链接和本声明。