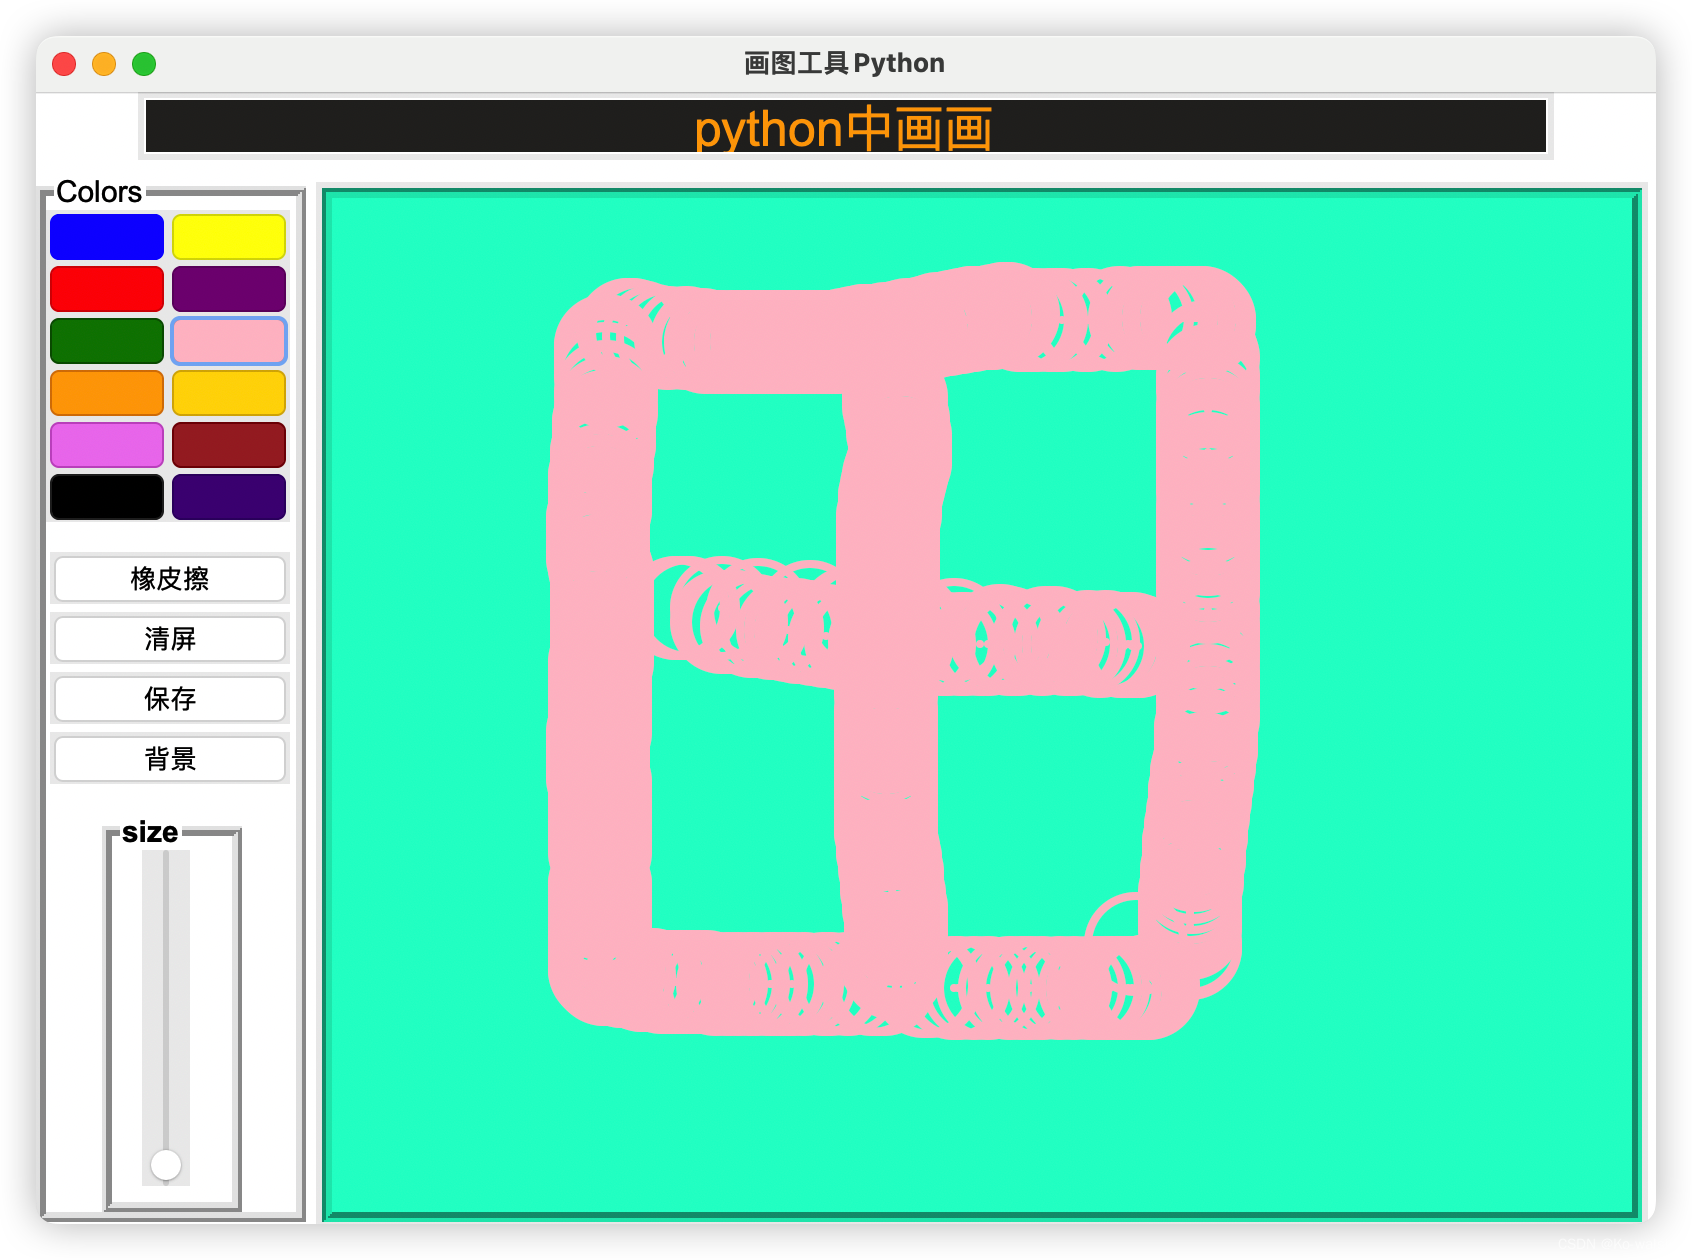
在本文中,我们将在 Python Tkinter GUI 中设计和构建一个基本的绘图应用程序,在这里我们可以简单地使用铅笔在画布上绘制一些东西并用橡皮擦擦除它,以及改变铅笔粗细的和橡皮擦。我们还可以修改画布的背景颜色并将特定的绘图保存在我们的本地计算机上。
from tkinter import *
from tkinter.ttk import Scale
from tkinter import colorchooser, filedialog, messagebox
import PIL.ImageGrab as ImageGrab
# from ttkbootstrap import ttk
from tkmacosx import Button

# Defining Class and constructor of the Program
class Draw():
    def __init__(self, root):

        # Defining title and Size of the Tkinter Window GUI
        self.root = root
        self.root.title("画图工具Python")
        self.root.geometry("810x566")
        self.root.configure(background="white")
        #         self.root.resizable(0,0)

        # variables for pointer and Eraser
        self.pointer = "black"
        self.erase = "white"

        # Widgets for Tkinter Window

        # Configure the alignment , font size and color of the text
        text = Text(root, height=2, width=100)
        text.tag_configure("tag_name", justify='center', font=('arial', 25), background='#292826', foreground='orange')

        # Insert a Text
        text.insert("1.0", "python中画画")

        # Add the tag for following given text
        text.tag_add("tag_name", "1.0", "end")
        text.pack()

        # Pick a color for drawing from color pannel
        self.pick_color = LabelFrame(self.root, text='Colors', font=('arial', 15), bd=5, relief=RIDGE, bg="white")
        self.pick_color.place(x=0, y=40, width=135, height=525)

        colors = ['blue', 'red', 'green', 'orange', 'violet', 'black', 'yellow', 'purple', 'pink', 'gold', 'brown',
                  'indigo']
        i = j = 0
        for color in colors:

            Button(self.pick_color, bg=color, width=61,
                   command=lambda col=color: self.select_color(col)).grid(row=i, column=j)
            i += 1
            if i == 6:
                i = 0
                j = 1

        # 擦除按钮
        self.eraser_btn = Button(self.root, text="Eraser", command=self.eraser, width=120)
        self.eraser_btn.place(x=7, y=230)  # 改

        # 清屏
        self.clear_screen = Button(self.root, text="Clear Screen",width=120,
                                   command=lambda: self.background.delete('all'))
        self.clear_screen.place(x=7, y=260)

        # 保存
        self.save_btn = Button(self.root, text="ScreenShot",command=self.save_drawing,width=120)
        self.save_btn.place(x=7, y=290)

        # 改变画布背景
        self.bg_btn = Button(self.root, text="Background", command=self.canvas_color,width=120)
        self.bg_btn.place(x=7, y=320)

        # 改变画笔大小
        self.pointer_frame = LabelFrame(self.root, text='size', bd=5, bg='white', font=('arial', 15, 'bold'),
                                        relief=RIDGE)
        self.pointer_frame.place(x=33, y=360, height=200, width=70)

        self.pointer_size = Scale(self.pointer_frame, orient=VERTICAL, from_=1, to=48, length=168)
        self.pointer_size.set(1)
        self.pointer_size.grid(row=0, column=1, padx=15)

        # 定一个画布
        self.background = Canvas(self.root, bg='white', bd=5, relief=GROOVE, height=507, width=650)
        self.background.place(x=140, y=45)

        # 监听画布被点击
        self.background.bind("<B1-Motion>", self.paint)

    # Functions are defined here

    # 画笔函数
    def paint(self, event):
        x1, y1 = (event.x - 2), (event.y - 2)
        x2, y2 = (event.x + 2), (event.y + 2)

        self.background.create_oval(x1, y1, x2, y2, fill=self.pointer, outline=self.pointer,
                                    width=self.pointer_size.get())

    # Function for choosing the color of pointer
    def select_color(self, col):
        self.pointer = col

    # Function for defining the eraser
    def eraser(self):
        self.pointer = self.erase

    # Function for choosing the background color of the Canvas
    def canvas_color(self):
        color = colorchooser.askcolor()
        self.background.configure(background=color[1])
        self.erase = color[1]

    # Function for saving the image file in Local Computer
    def save_drawing(self):
        try:
            # self.background update()
            file_ss = filedialog.asksaveasfilename(defaultextension='jpg')
            # print(file_ss)
            x = self.root.winfo_rootx() + self.background.winfo_x()
            # print(x, self.background.winfo_x())
            y = self.root.winfo_rooty() + self.background.winfo_y()
            # print(y)

            x1 = x + self.background.winfo_width()
            # print(x1)
            y1 = y + self.background.winfo_height()
            # print(y1)
            ImageGrab.grab().crop((x, y, x1, y1)).save(file_ss)
            messagebox.showinfo('Screenshot Successfully Saved as' + str(file_ss))

        except:
            print("Error in saving the screenshot")


if __name__ == "__main__":
    root = Tk()
    p = Draw(root)
    root.mainloop()
注意:
目前Mac测试OK。 windows需要改样式或者一些参数 具体自行研究
另外?️画出来比较Low 只能当做学习
版权声明:本文为u013278255原创文章,遵循CC 4.0 BY-SA版权协议,转载请附上原文出处链接和本声明。