安装cuda:

在主目录下打.bashrc文件添加如下路径,设置环境变量。(如果没找到文件,可按Ctrl+H显示隐藏文件)

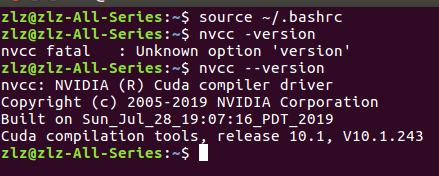
终端运行: source ~/.bashrc
检查nvcc –version,查询CUDA是否安装成功
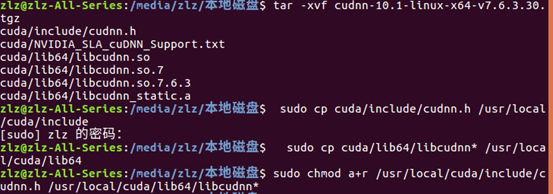
解压cudnn:
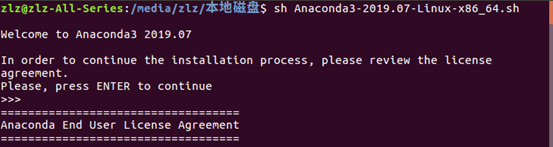
安装anaconda:https://www.anaconda.com/download/下载,是一个sh文件,下好后直接运行。
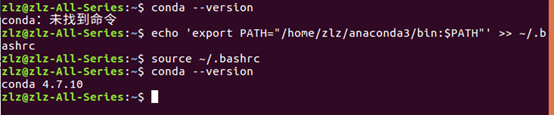
加入环境变量:
建立并激活环境:

配置pytorch:(国外服务器下载不动,将源替换为清华)

测试是否安装成功:
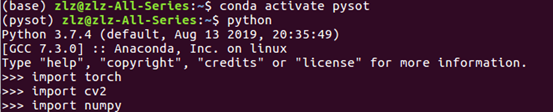
确定版本:

添加环境变量:
把pysot加入环境变量,否则会出现ModuleNotFoundError: No module named ‘pysot’
export PYTHONPATH=/media/zlz/dataC/pysot/ubuntupysot:$PYTHONPATH

随后:
python tools/demo.py –config experiments/siamrpn_r50_l234_dwxcorr/config.yaml –snapshot experiments/siamrpn_r50_l234_dwxcorr/model.pth –video infrared/airplane_6_24_1
试运行demo.py:

成功
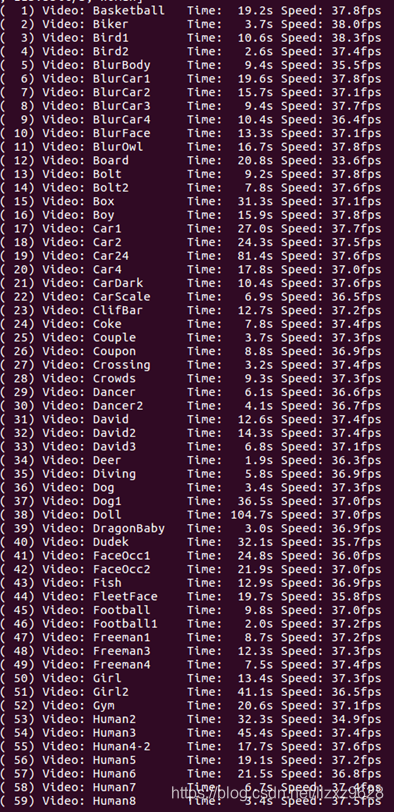
运行test.py
cd experiments/siamrpn_r50_l234_dwxcorr
python -u …/…/tools/test.py –snapshot model.pth –dataset OTB100 –config config.yaml
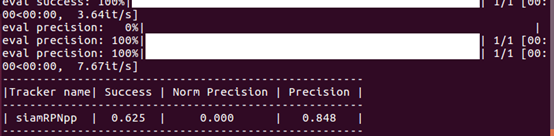
运行eval.py
python …/…/tools/eval.py –tracker_path ./results –dataset OTB50 –num 1 –tracker_prefix ‘siamRPNpp’
python tools/eval.py –tracker_path ./results –dataset OTB100 –num 1 –tracker_prefix ‘siamRPNpp’
OTB50准确率:
OTB100准确率:

代码笔记:
在…/pysot/experiments/siamrpn_r50_l234_dwxcorr下运行代码,将参数arg.dataset=OTB100,arg.config=config.yaml,arg.snapshot=model.pth传入。将{OTB100:path}打包成字典进入DatasetFactory.create_dataset,进入otb.py的OTBDataset
Appendix:
precesion plot(精度测算)主要指的是预测位置中心点与benchmark中标注的中心位置间的欧式距离,是以像素为单位进行的计算。一般是小于20则认为准确。
success plot(成功率测算)主要指的是预测目标所在benchmark的重合程度。通过success plot对scale和precision都有了数值上的描述。(success plot的计算方法如下,rt为tracked bounding box,r0为ground_truth bounding box)
