1.下载yum源
wget https://dev.mysql.com/get/mysql80-community-release-el7-6.noarch.rpm
2.使用下面的命令安装下载的rpm
sudo rpm -Uvh mysql80-community-release-el7-6.noarch.rpm
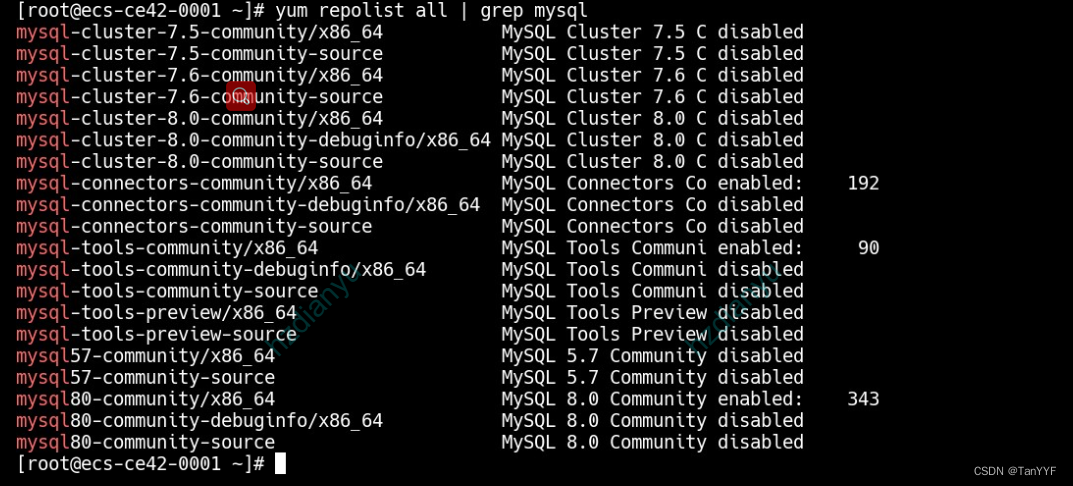
3.查询mysql版本
yum repolist all | grep mysql

4.设置安装的版本
禁用mysql80
sudo yum-config-manager --disable mysql80-community
启用mysql57-community
sudo yum-config-manager --enable mysql57-community
如果报错:
sudo: yum-config-manager: command not found
安装工具:
yum -y install yum-utils
查看可以安装的版本:
yum repolist enabled | grep mysql
5.安装
rpm --import https://repo.mysql.com/RPM-GPG-KEY-mysql-2022
sudo yum install mysql-community-server
6.启动mysql
systemctl start mysqld
查看状态:
systemctl status mysqld
7.设置自动启动
sudo systemctl enable --now mysqld.service
8.安全设置
查询临时密码:
sudo grep 'temporary password' /var/log/mysqld.log
接着开始对mysql进行安全配置,通过MySQL Secure Installation去修改密码、关闭root远程登陆权限,、删除匿名用户、删除测试数据库等:
sudo mysql_secure_installation
Change the password for root ? ((Press y|Y for Yes, any other key for No) : Yes

New password:
Re-enter new password:

Estimated strength of the password: 100
Do you wish to continue with the password provided?: Yes

Remove anonymous users?: Yes
Success.

Disallow root login remotely? : Yes
Success.

Remove test database and access to it? : Yes
 - Dropping test database...
Success.
 - Removing privileges on test database...
Success.

Reload privilege tables now? (Press y|Y for Yes) : Yes
Success.

All done!
9:操作设置任意IP连接访问
mysql -u root -p
use mysql;
select user,host from user;
update user set host='%' where user='root';
FLUSH PRIVILEGES;
10:重启数据库
service mysqld restart
11.优化
编辑/etc/my.cnf
- 不区分大小写
lower_case_table_names=1
- 修改端口:
port=5666
版权声明:本文为tan809417133原创文章,遵循 CC 4.0 BY-SA 版权协议,转载请附上原文出处链接和本声明。