Nginx第三方插件编译(vts、check)
以ubuntu为例,先通过apt-get安装nginx
安装nginx
#apt-get install nginx –y
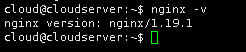
接下来查看nginx版本信息
#nginx –v
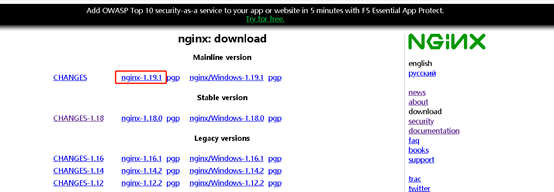
源码下载
根据nginx版本在官网上下载对应版本的nginx安装包,选择tar包

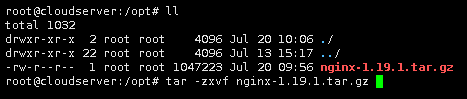
将tar包放在/opt目录下进行解压
#tar -zxvf nginx-1.19.1.tar.gz

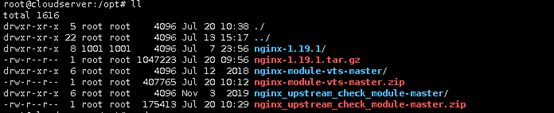
模块下载
下载相应的第三方程序
https://github.com/vozlt/nginx-module-vts
https://github.com/yaoweibin/nginx_upstream_check_module
原有组件信息确认
检查目前版本的nginx所具有的模块信息
#nginx -V

编译准备
复制以上信息,并添加上述两个模块,进行编译准备
/opt/nginx-1.19.1# ./configure –prefix=/etc/nginx –sbin-path=/usr/sbin/nginx –modules-path=/usr/lib/nginx/modules –conf-path=/etc/nginx/nginx.conf –error-log-path=/var/log/nginx/error.log –http-log-path=/var/log/nginx/access.log –pid-path=/var/run/nginx.pid –lock-path=/var/run/nginx.lock –http-client-body-temp-path=/var/cache/nginx/client_temp –http-proxy-temp-path=/var/cache/nginx/proxy_temp –http-fastcgi-temp-path=/var/cache/nginx/fastcgi_temp –http-uwsgi-temp-path=/var/cache/nginx/uwsgi_temp –http-scgi-temp-path=/var/cache/nginx/scgi_temp –user=nginx –group=nginx –with-compat –with-file-aio –with-threads –with-http_addition_module –with-http_auth_request_module –with-http_dav_module –with-http_flv_module –with-http_gunzip_module –with-http_gzip_static_module –with-http_mp4_module –with-http_random_index_module –with-http_realip_module –with-http_secure_link_module –with-http_slice_module –with-http_ssl_module –with-http_stub_status_module –with-http_sub_module –with-http_v2_module –with-mail –with-mail_ssl_module –with-stream –with-stream_realip_module –with-stream_ssl_module –with-stream_ssl_preread_module –with-cc-opt=’-g -O2 -fPIE -fstack-protector-strong -Wformat -Werror=format-security -Wp,-D_FORTIFY_SOURCE=2 -fPIC’ –with-ld-opt=’-Wl,-Bsymbolic-functions -fPIE -pie -Wl,-z,relro -Wl,-z,now -Wl,–as-needed -pie’ –add-module=/opt/nginx-module-vts-master –add-module=/opt/nginx_upstream_check_module-master

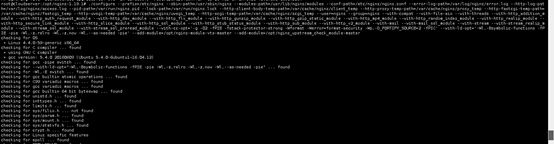

编译
完成后,进行编译
/opt/nginx-1.19.1# make

开始编译

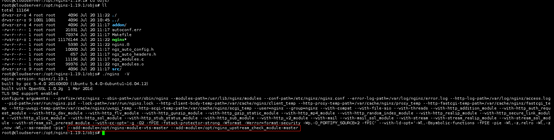
编译完成

完成后进入到objs目录下,查看编译后的nginx可执行文件

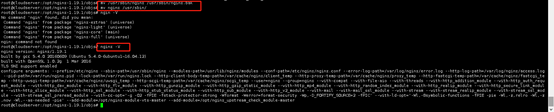
查看编译后的nginx模块信息
完成后替换原有的nginx文件:
root@cloudserver:/opt/nginx-1.19.1/objs# mv /usr/sbin/nginx /usr/sbin/nginx.bak
root@cloudserver:/opt/nginx-1.19.1/objs# mv nginx /usr/sbin/
问题处理:
过程中可能会报错,根据错误提示进行处理

apt-get -y install gcc
安装nginx时依赖库zlib,pcre,openssl安装方法
sudo apt-get install openssl libssl-dev
sudo apt-get install libpcre3 libpcre3-dev
sudo apt-get install zlib1g-dev