SpringBoot集成Swagger
说到swagger就要知道前后端分离的概念:
前后端通过API进行交互,而Swagger号称世界上最流行的API框架。
swagger特点
- Restful Api文档在线自动生成器:API文档与API定义同步更新
- 直接运行,在线测试API
- 支持多种语言
开始正文:Springboot集成Swagger
1、新建springboot项目
2、在pom文件中加入依赖
 <!--swagger依赖,使用3.0.0版本要加入新的启动器依赖springfox_boot-stater-->
        <!--swagger2的依赖-->
        <dependency>
            <groupId>io.springfox</groupId>
            <artifactId>springfox-swagger2</artifactId>
            <version>2.9.2</version>
        </dependency>

        <!--swagger-ui的依赖-->
        <dependency>
            <groupId>io.springfox</groupId>
            <artifactId>springfox-swagger-ui</artifactId>
            <version>2.9.2</version>
        </dependency>
3、要使用Swagger,我们要编写一个配置类SwaggerConfig
//swagger不是springboot中的,所以要自己手动配置
@Configuration
@EnableSwagger2
public class SwaggerConfig {
}
4、测试:在地址栏上输入:http://localhost:8081/swagger-ui.html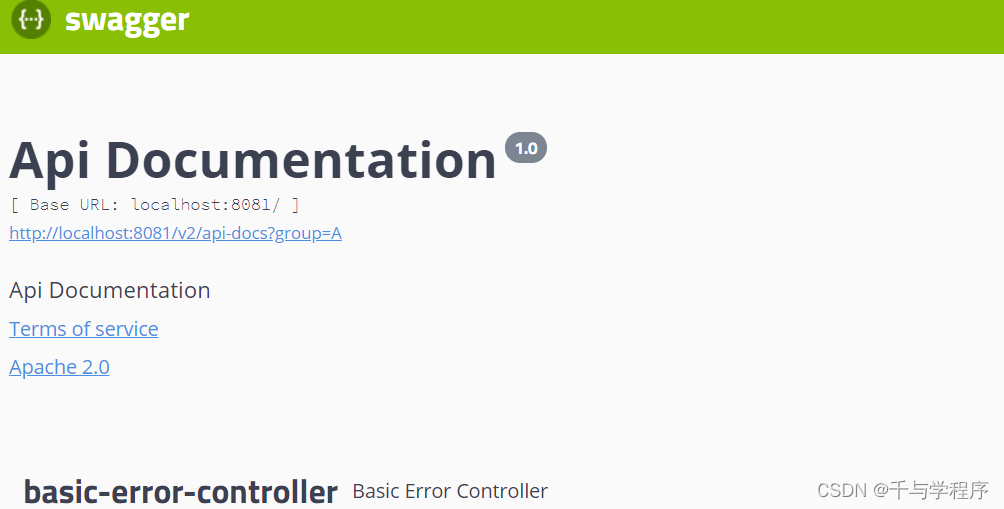
5、配置Swagger
Swagger实例bean是Docket,所以通过配置Docket实例来配置Swagger
那么在SwaggerConfig类中:
package com.qianyu.config;

import io.swagger.annotations.SwaggerDefinition;
import org.springframework.context.annotation.Bean;
import org.springframework.context.annotation.Configuration;
import org.springframework.context.annotation.Profile;
import org.springframework.core.env.Environment;
import org.springframework.core.env.Profiles;
import org.springframework.web.bind.annotation.RequestMapping;
import springfox.documentation.builders.PathSelectors;
import springfox.documentation.builders.RequestHandlerSelectors;
import springfox.documentation.service.ApiInfo;
import springfox.documentation.service.Contact;
import springfox.documentation.spi.DocumentationType;
import springfox.documentation.spring.web.plugins.Docket;
import springfox.documentation.swagger2.annotations.EnableSwagger2;
import sun.dc.pr.PathStroker;

import java.util.ArrayList;

//swagger不是springboot中的,所以要自己手动配置
@Configuration
@EnableSwagger2
public class SwaggerConfig {
    private static final Contact contact= new Contact("朱", "https://www.baidu.com", "1501793110@qq.com");

    @Bean
    public Docket docket( Environment environment){
        //swagger
        Profiles profiles = Profiles.of("dev","test");
        //如果是 "dev"或"test"其中一个被激活 那么flag就是true,否则就是false
        boolean flag  = environment.acceptsProfiles(profiles);

        return new Docket(DocumentationType.SWAGGER_2)
                .apiInfo(apiInfo())
                //swagger开关,根据测试环境开选择是否开启swagger
                .enable(flag)  //enable是否自动开启swagger,如果为false,则swagger不能在浏览器中访问
                .groupName("zhu")

                //配置扫描接口:以下这三个方法一般联合使用,中间不能穿插别的方法
                .select()
                //basePackage()扫描指定的包
                .apis(RequestHandlerSelectors.basePackage("com.qianyu.controller"))

                //any()扫描所有的包 .apis(RequestHandlerSelectors.any())
                //withMethodAnnotation():扫描方法上的注解
                //withClassAnnotation():扫描类上的注解                //.apis(RequestHandlerSelectors.withMethodAnnotation(RequestMapping.class);

                //path():指定扫描路径,只扫描/controller下面的接口
                //.paths(PathSelectors.ant("/controller/**"))
                .build();
    }

    //配置多个分组,就要创建多个Docket
    @Bean
    public Docket docket1(Environment environment){
        return new Docket(DocumentationType.SWAGGER_2).groupName("A");
    }
    @Bean
    public Docket docket2(Environment environment){
        return new Docket(DocumentationType.SWAGGER_2).groupName("B");
    }
    //修改默认显示的部分信息
    public ApiInfo apiInfo(){
        return new ApiInfo("朱的swagger文档",
                "文档介绍",
                "1.0",
                "urn:tos",
                contact,
                "Apache 2.0",
                "http://www.apache.org/licenses/LICENSE-2.0",
                new ArrayList());
    }
}
关于swagger开关: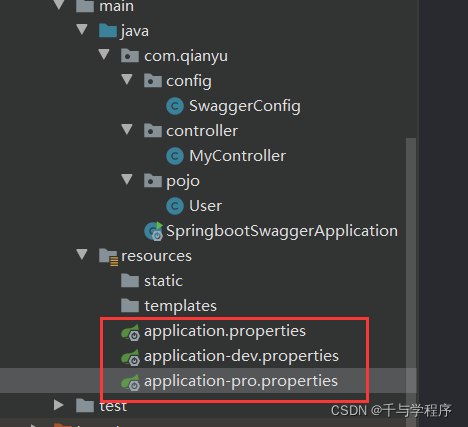
可达到在不同的配置环境,控制swagger是否生效
在application.properties中:spring.profiles.active=dev #dev环境被激活
在application-dev.properties中:server.port=8081
在application-test.properties中:server.port=8082
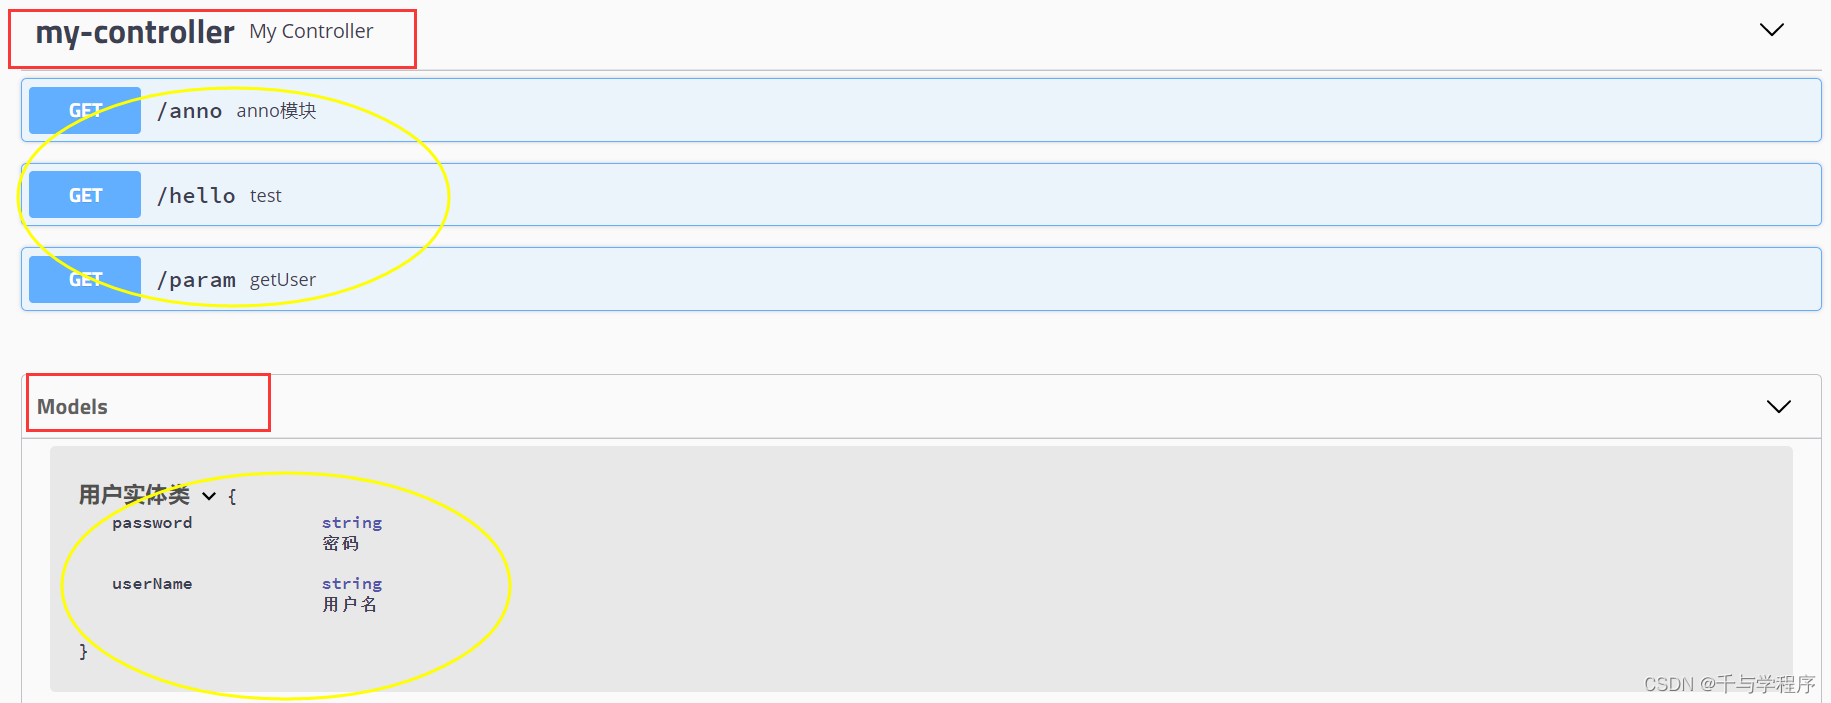
6、实体配置:
package com.qianyu.pojo;

import io.swagger.annotations.ApiModel;
import io.swagger.annotations.ApiModelProperty;

//@ApiModel():为类添加注释
@ApiModel("用户实体类")
public class User {
    //@ApiModelProperty():为类属性添加注释
    @ApiModelProperty("用户名")
    public String userName;

    @ApiModelProperty("密码")
    public String password;

    public User() {
    }
    public User(String userName, String password) {
        this.userName = userName;
        this.password = password;
    }
}
7、在cotroller层:
package com.qianyu.controller;
import com.qianyu.pojo.User;
import io.swagger.annotations.ApiOperation;
import io.swagger.annotations.ApiParam;
import org.springframework.stereotype.Controller;
import org.springframework.web.bind.annotation.GetMapping;
import org.springframework.web.bind.annotation.PostMapping;
import org.springframework.web.bind.annotation.RequestMapping;
import org.springframework.web.bind.annotation.ResponseBody;
@Controller
public class MyController {
@GetMapping("/hello")
@ResponseBody
public String test(){
return "hello swagger";
}
@ApiOperation("anno模块")
@GetMapping("/anno")
@ResponseBody
public User anno(){
User user = new User();
return user; // 只要这个实体在请求接口的返回值上(即使是泛型),都能映射到实体项中
}
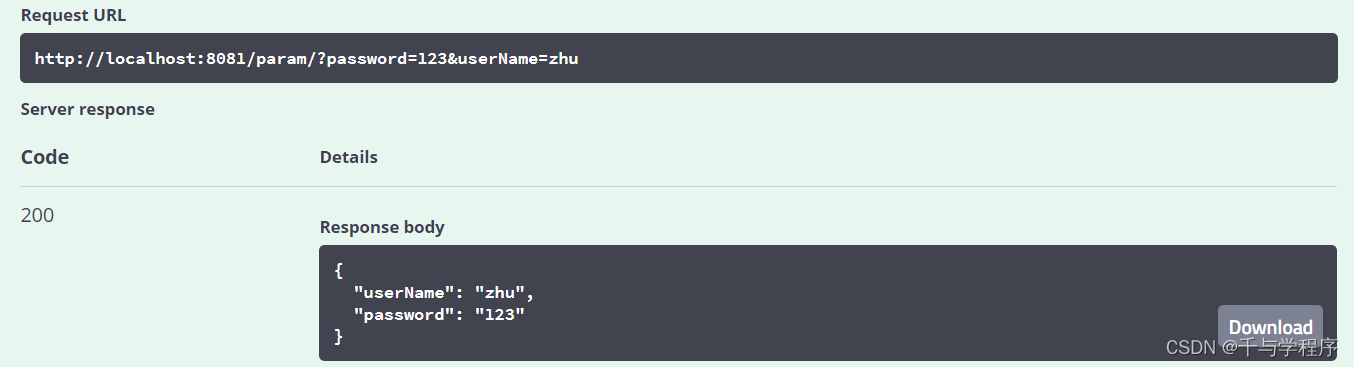
@ResponseBody
@PostMapping("/param/") //@ApiParam("用户名")
public User getUser( String userName,String password){
return new User(userName,password); // 只要这个实体在请求接口的返回值上(即使是泛型),都能映射到实体项中
}
}
8、测试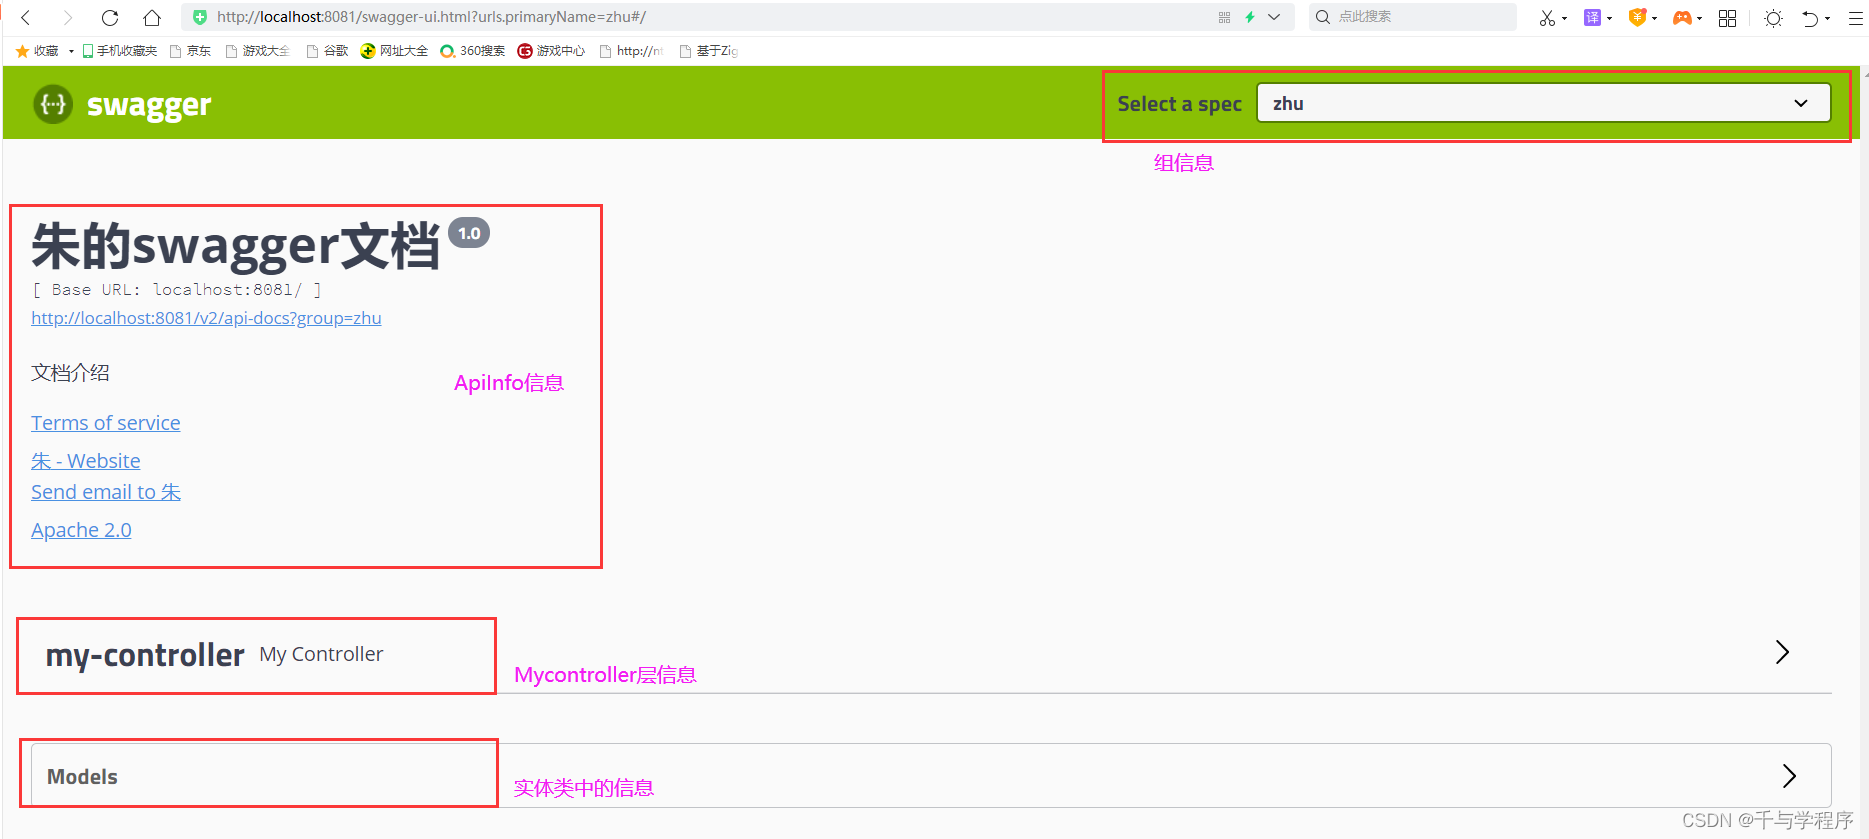
测试一下:
test: 点击Execute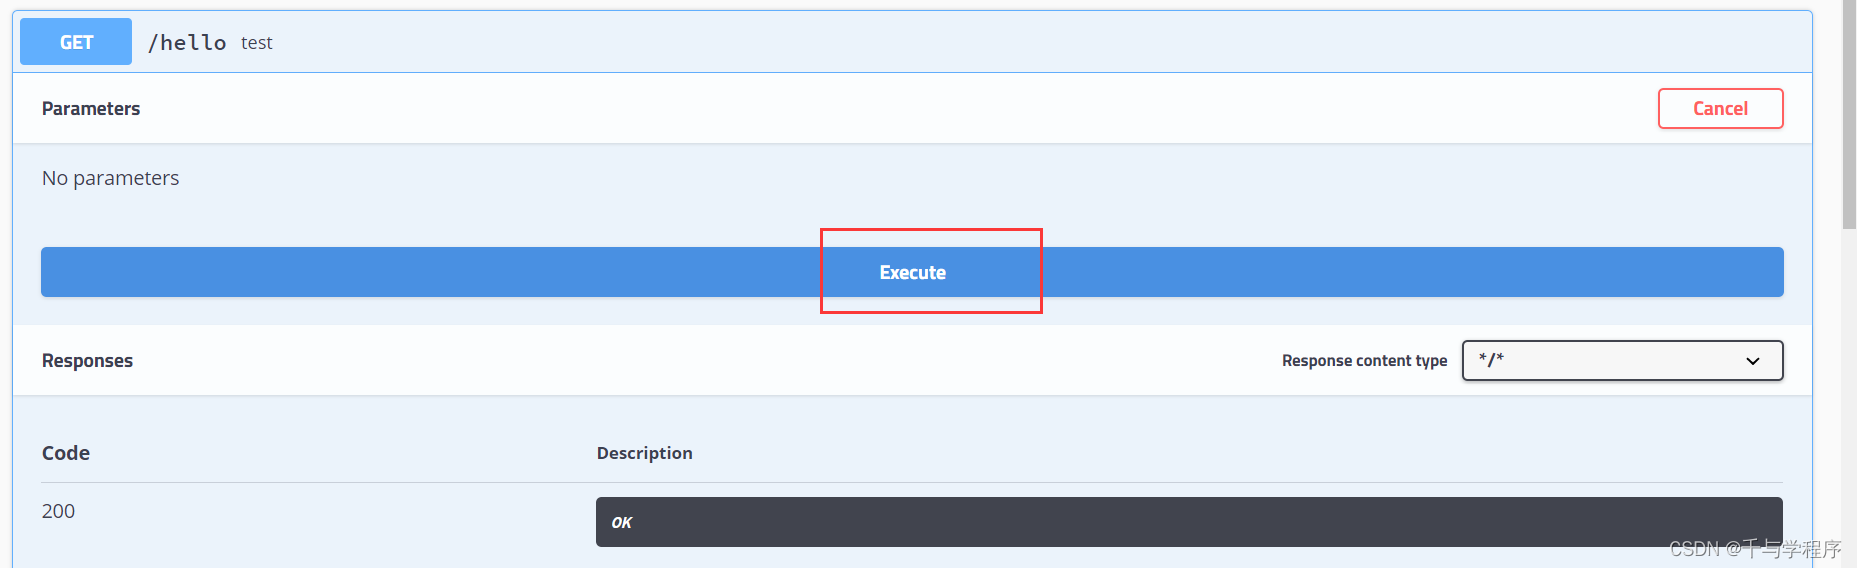
得到响应结果: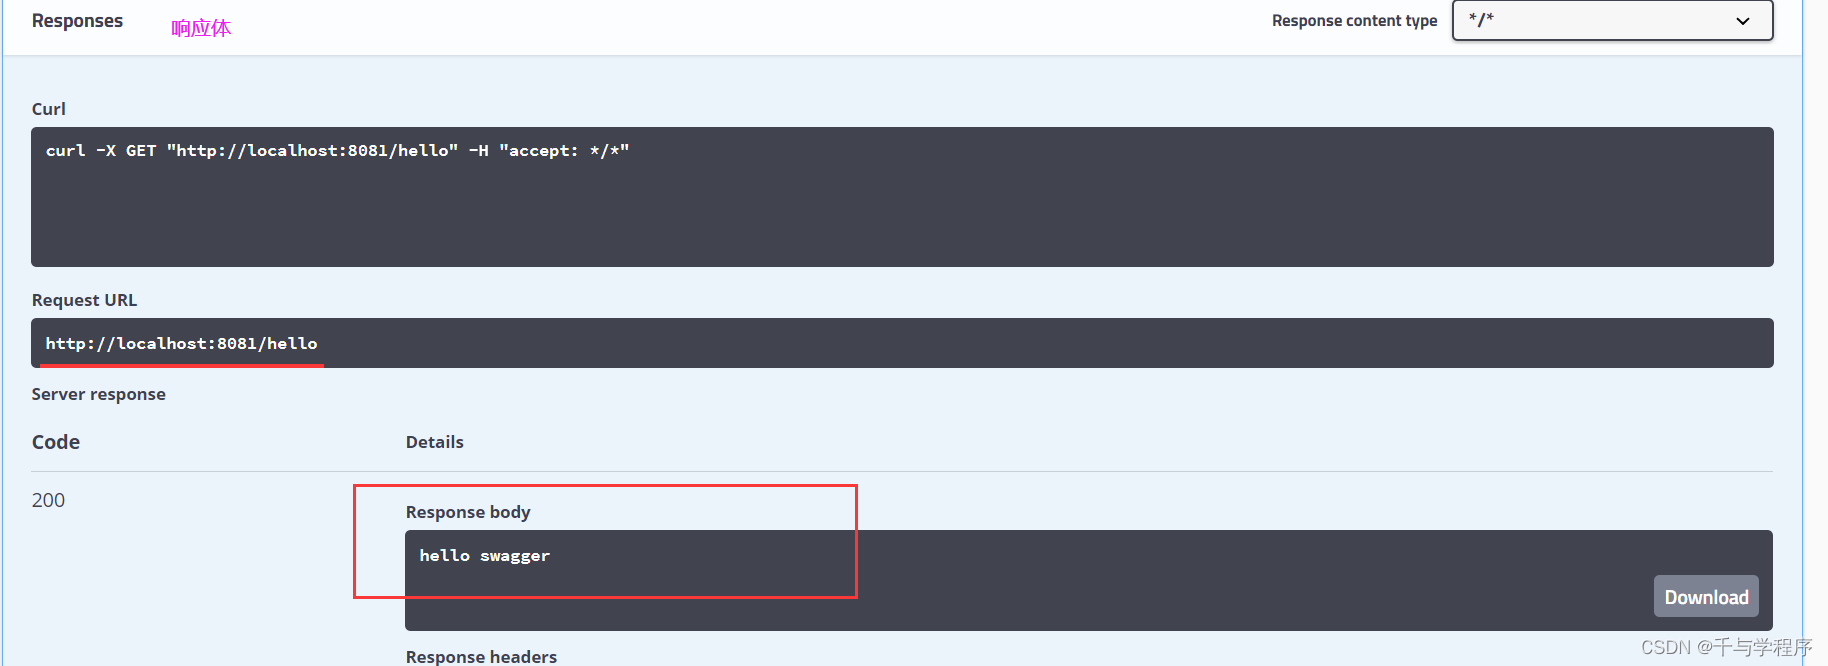
anno模块测试结果: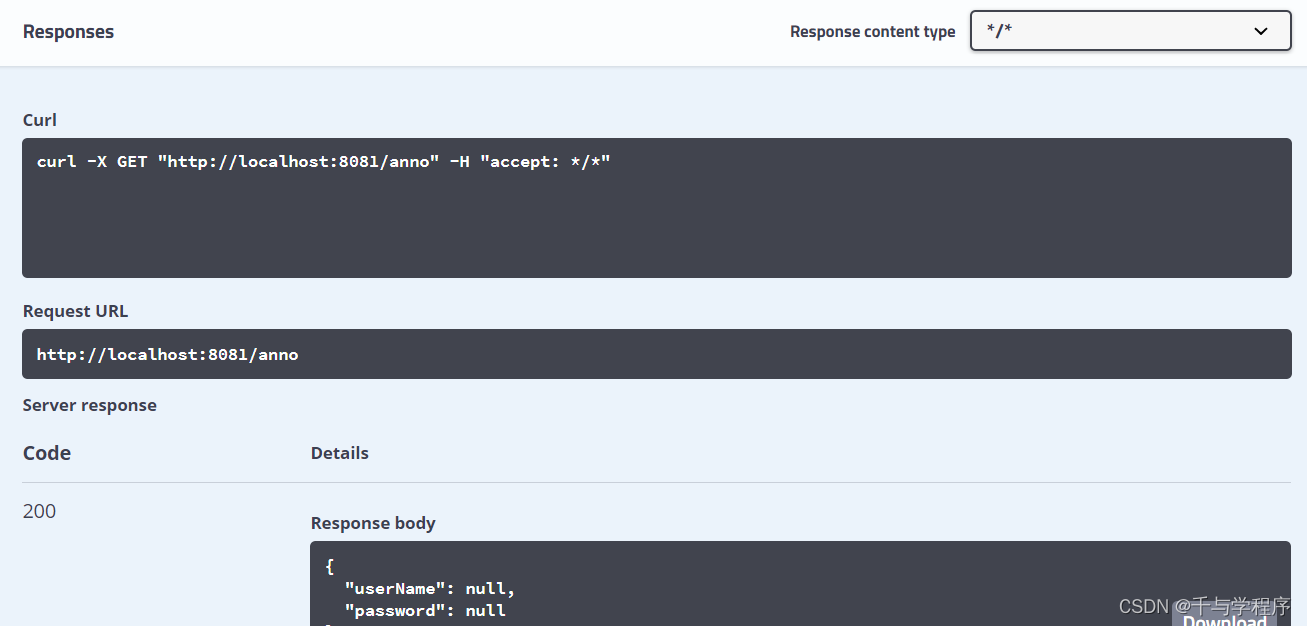
param/ getUser测试: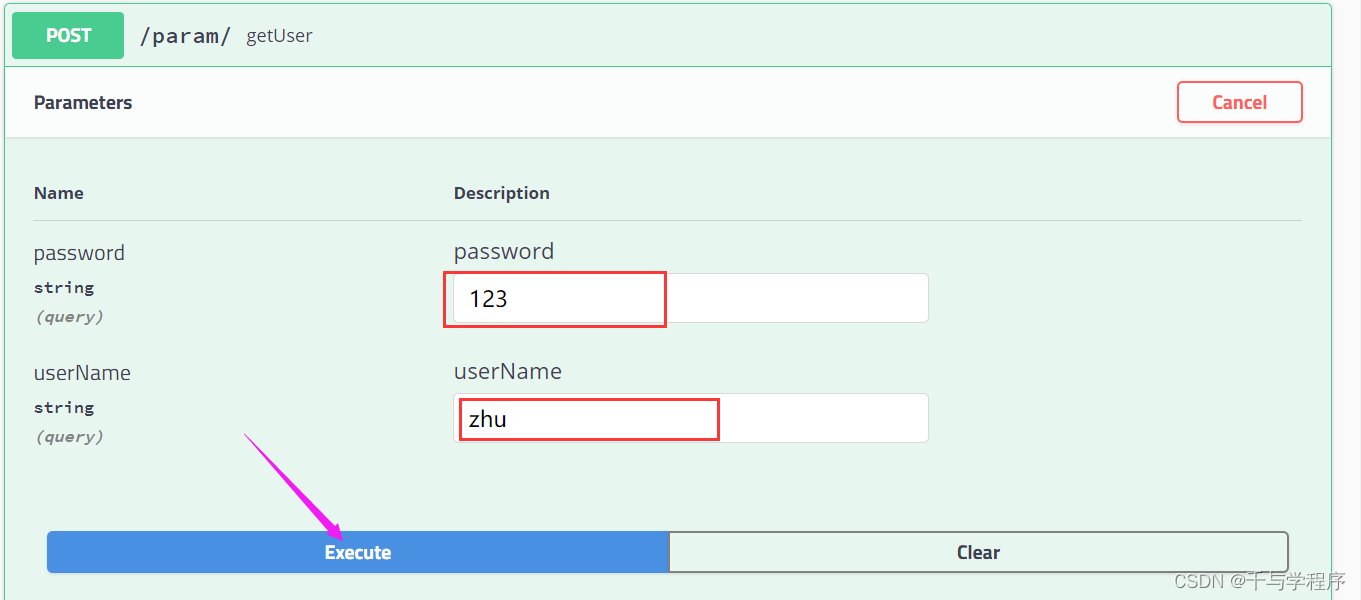
版权声明:本文为m0_51274044原创文章,遵循CC 4.0 BY-SA版权协议,转载请附上原文出处链接和本声明。