ESP8266是一款串口WiFi模块,内部集成MCU能实现单片机之间串口同信;这款模块简单易学,体积小,便于嵌入式开发。
ESP8266的开发可以使用官方IDE工具,比如乐鑫或者安信可的IDE,或者使用arduino进行开发。
不过官方的工具设计界面和使用上都不太友好,所以今天给大家介绍用micropython对ESP8266进行开发。
源码下载
micropython是什么?
MicroPython是Python 3编程语言的精简高效实现 ,包括Python标准库的一小部分,并且经过优化,可在微控制器和受限环境中运行。
简单理解就是可以在嵌入式芯片上运行的python环境。
1.uPyCraft
我们使用uPyCraft进行micropython编写。
uPyCraft软件简介:uPyCraft是DFRobot正在开发的,一款专门为micropython设计的IDE
uPyCraft界面如下: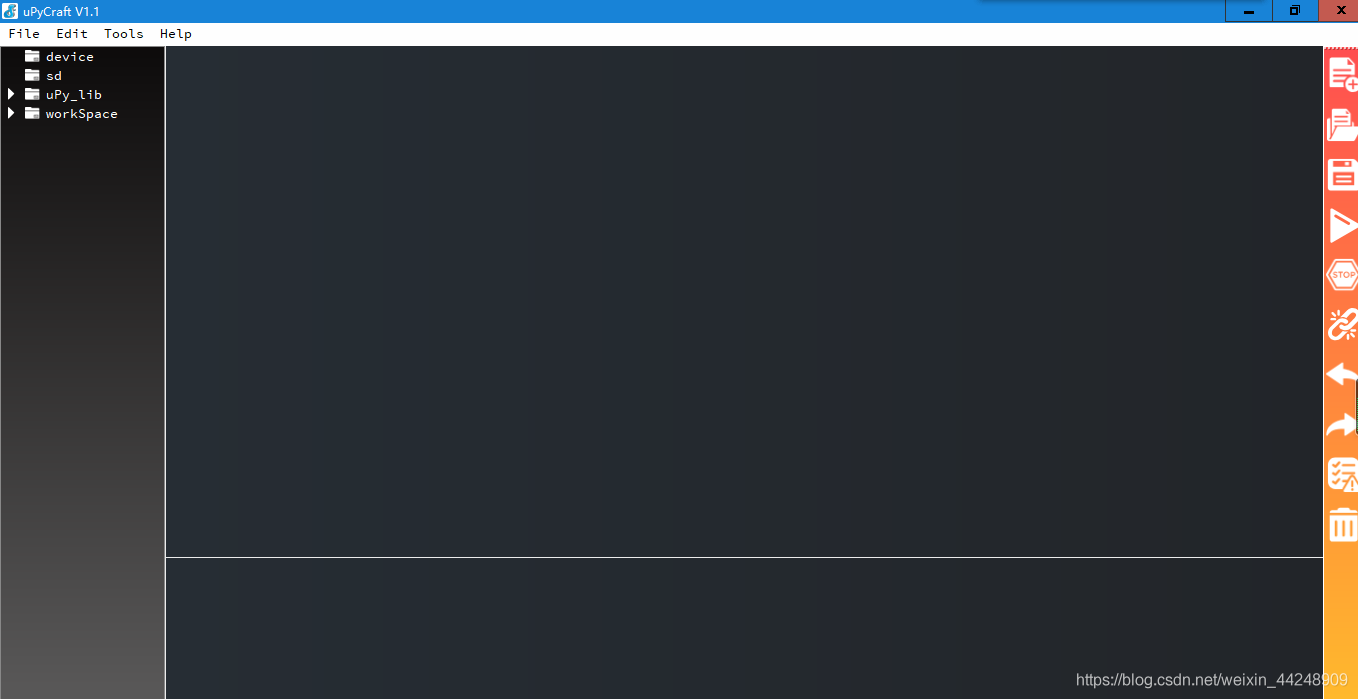
首先需要烧录micropython-ESP8266的固件,我们将开发板通过USB转串口连接电脑。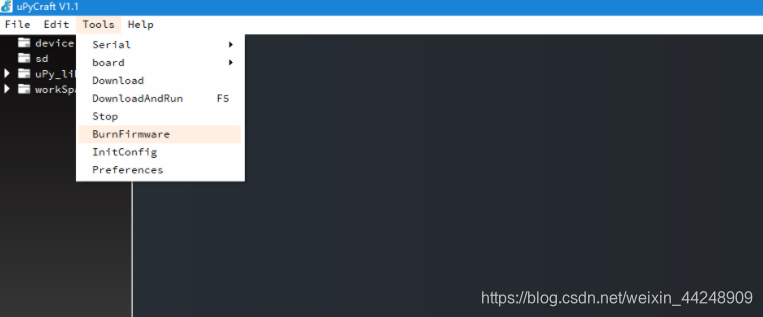
选择ESP8266以及对应的串口号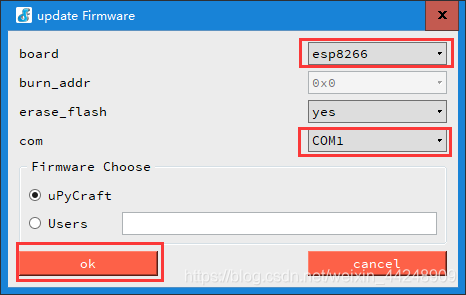
然后就等待固件烧写到开发板中。
固件烧录好后将板子通过串口连接到uPyCraft软件。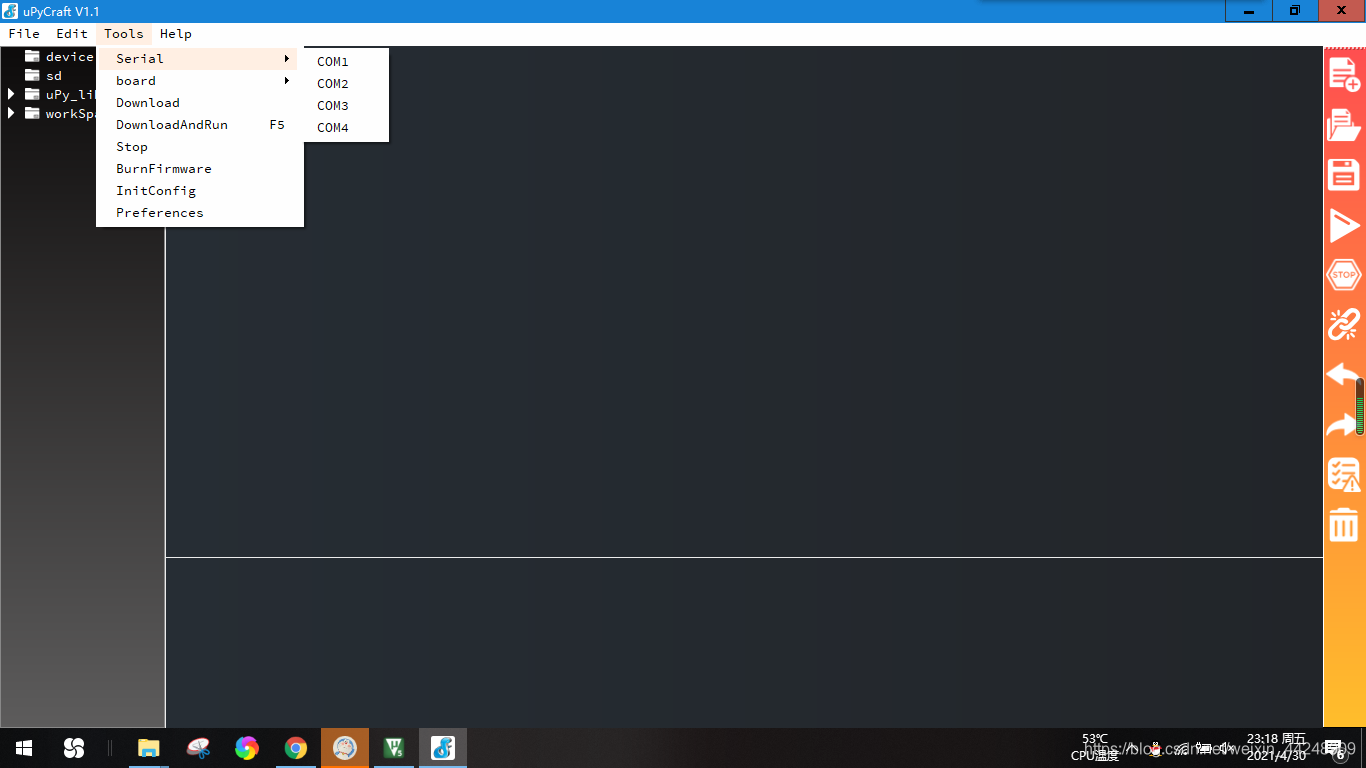
连上后,下方框中会出现>>>表示连接成功。
现在我们可以通过下方交互式命令窗口对开发板进行操作,也可以通过file->new新建py文件进行操作。
编写好py文件后,点击右侧三角将文件下载到开发板并运行。整个开发过程就怎么简单,当然复杂的功能编写要麻烦一点。
2.webrepl
webrepl是micropython提供无线链接的管理平台(网页)
接下来将介绍使用webrepl与开发板进行交互。
webrepl网页界面如下: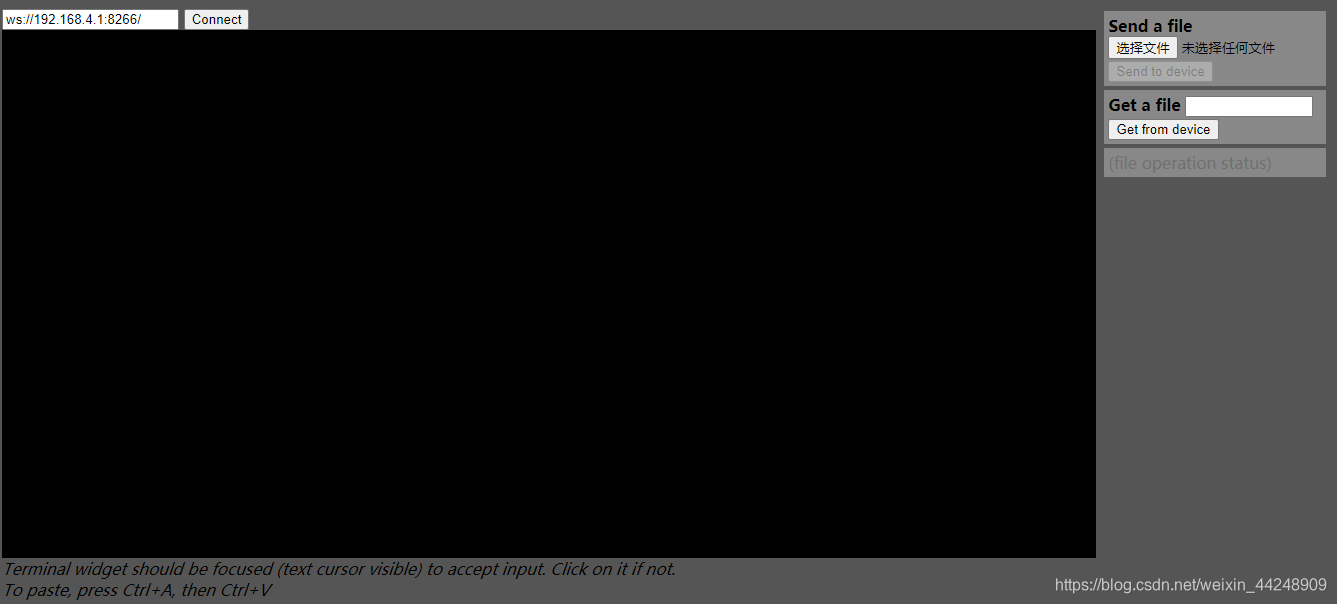
使用webrepl,我们需要开启ESP8266的STA模式
在uPyCraft中依次输入以下命令获取IP
import webrepl
ssid="WiFi名"
password="WiFi密码"
wlan=network.WLAN(network.STA_IF)
wlan.active(True)
wlan.connect(ssid,password)
wlan.ifconfig()
如果连接成功,会输出类似于192.168.1.54的IP号,用该IP替换webrepl中原有的IP,点击连接,输入密码即可。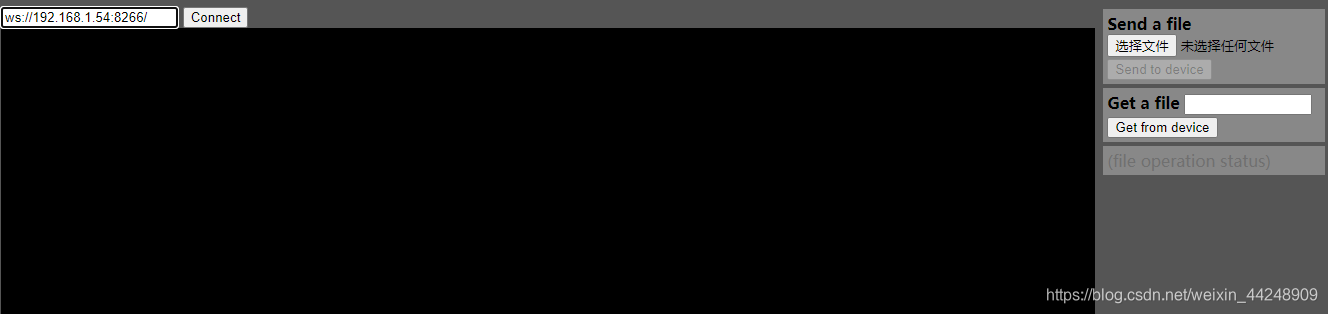
webrepl右侧可以选择文件上传到开发板,也可以将开发板指定文件下载到本地。
3.ESP8266获取网络时间并在OLED上显示
import ntptime
def sync_ntp():
     ntptime.NTP_DELTA = 3155644800   # 可选 UTC+8偏移时间(秒),不设置就是UTC0
     ntptime.host = 'ntp1.aliyun.com'  # 可选,ntp服务器,默认是"pool.ntp.org"
     ntptime.settime()   # 修改设备时间,到这就已经设置好了
sync_ntp()
rtc = RTC()
datetime = rtc.datetime()  # 获取当前时间
oled.text(str(datetime[4]) + ':' + str(datetime[5]) + ':' + str(datetime[6]), 30, 25)#hour #minue #second
oled.show()
完整代码见ESP8266_MicroPython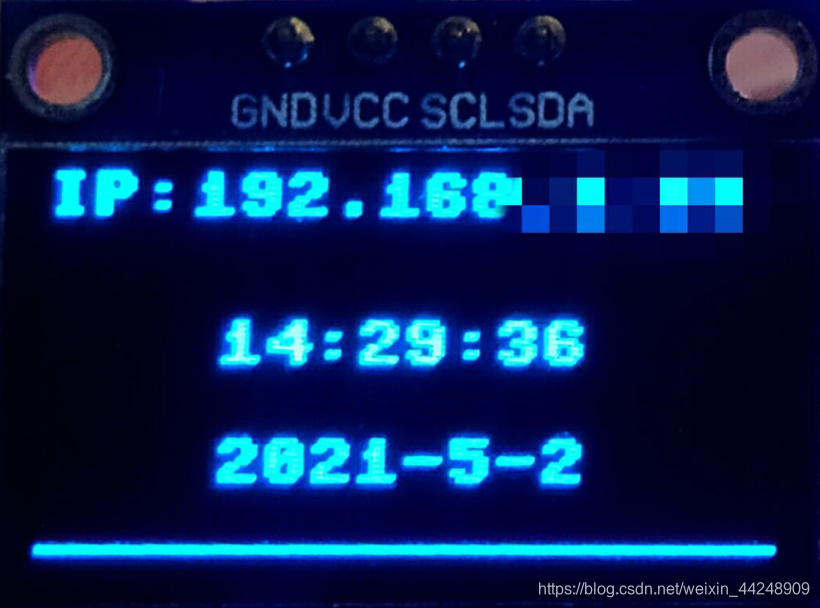
4.网页控制led亮灭
def web_page():
  if led.value() == 0:
    gpio_state="ON"
  else:
    gpio_state="OFF"

  html = """<html><head> <title>ESP Web Server</title> <meta name="viewport" content="width=device-width, initial-scale=1">
  <link rel="icon" href="data:,"> <style>html{font-family: Helvetica; display:inline-block; margin: 0px auto; text-align: center;}
  h1{color: #0F3376; padding: 2vh;}p{font-size: 1.5rem;}.button{display: inline-block; background-color: #e7bd3b; border: none;
  border-radius: 4px; color: white; padding: 16px 40px; text-decoration: none; font-size: 30px; margin: 2px; cursor: pointer;}
  .button2{background-color: #4286f4;}</style></head><body> <h1>ESP Web Server</h1>
  <p>GPIO state: <strong>""" + gpio_state + """</strong></p><p><a href="/?led=off"><button class="button">OFF</button></a></p>
  <p><a href="/?led=on"><button class="button button2">ON</button></a></p></body></html>"""
  return html

s = socket.socket(socket.AF_INET, socket.SOCK_STREAM)
s.bind(('', 80))
s.listen(5)

while True:
  conn, addr = s.accept()
  print('Got a connection from %s' % str(addr))
  request = conn.recv(1024)
  request = str(request)
  print('Content = %s' % request)
  led_on = request.find('/?led=on')
  led_off = request.find('/?led=off')
  if led_off == 6:
    print('LED OFF')
    led.value(1)
    time.sleep(0.01)
  if led_on == 6:
    print('LED ON')
    led.value(0)
    time.sleep(0.01)
  response = web_page()
  conn.send('HTTP/1.1 200 OK\n')
  conn.send('Content-Type: text/html\n')
  conn.send('Connection: close\n\n')
  time.sleep(0.01)
  conn.sendall(response)
  conn.close()
  time.sleep(0.01)
网页控制效果如下: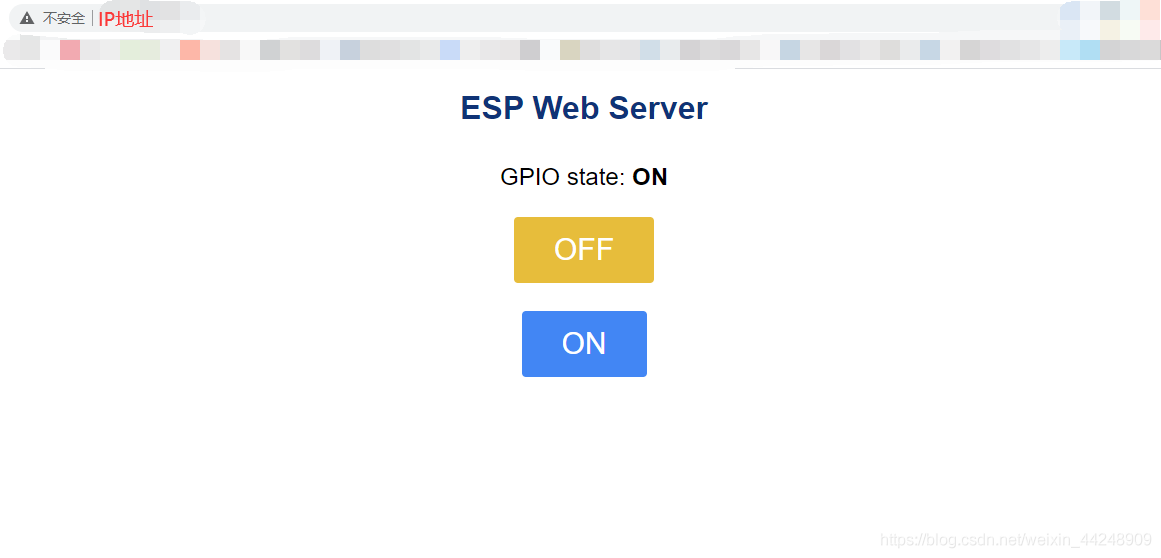
文章中所提及的所有软件、源代码、webrepl网页请点击ESP8266_MicroPython下载。