Flowable部署
- Flowable-Modeler
为所有Flowable UI应用提供单点登录认证功能,并且为拥有IDM管理员权限的用户提供了管理用户、组与权限的功能。 - Folwable-IDM
让具有建模权限的用户可以创建流程模型、表单、选择表与应用定义. - Flowable-Admin
管理应用。让具有管理员权限的用户可以查询BPMN、DMN、Form及Content引擎,并提供了许多选项用于修改流程实例、任务、作业等。管理应用通过REST API连接至引擎,并与Flowable Task应用及Flowable REST应用一同部署。 - Flowable-Task
运行时任务应用。提供了启动流程实例、编辑任务表单、完成任务,以及查询流程实例与任务的功能 - Flowable-Rest
提供restful风格的接口共外面调用
下载完毕之后是一个压缩文件:flowable-版本号.zip
然后对其进行解压:
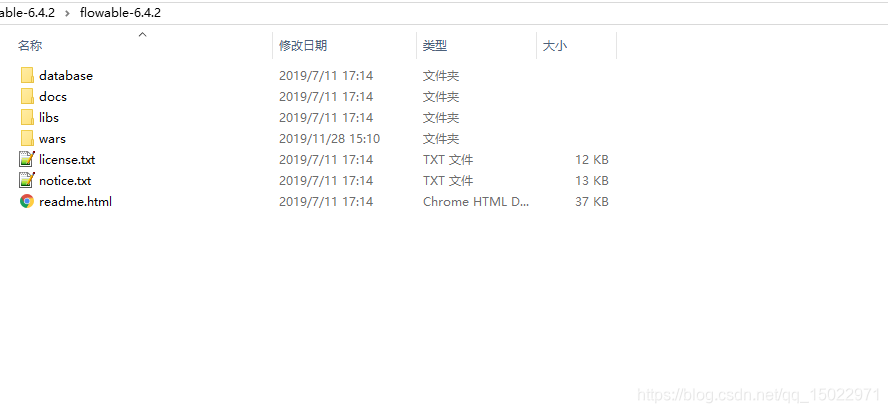
然后打开wars文件夹:

上面我们可以看到这五个war包分别对应Flowable的五个模块。
部署的方式大概有两种:
部署到服务器 如:Tomcat
1.下载解压Tomcat
2.将上面的五个war拷贝到Tomcat目录下的webapps目录里
然后启动 tomcat服务器 我们会发现在webapps文件夹下我们的应用war包被解压了
如果我们要查看或者更改应用配置,比如下面我们以modeler为例:按照地址栏的路径找到对应的配置文件
然后我们打开看一下:
server.port=8888
server.servlet.context-path=/flowable-modeler
management.endpoints.jmx.unique-names=true
# This is needed to force use of JDK proxies instead of using CGLIB
spring.aop.proxy-target-class=false
spring.aop.auto=false
spring.application.name=flowable-ui-modeler
#
# SECURITY
#
spring.security.filter.dispatcher-types=REQUEST,FORWARD,ASYNC
spring.liquibase.enabled=false
spring.banner.location=classpath:/org/flowable/spring/boot/flowable-banner.txt
# The default domain for generating ObjectNames must be specified. Otherwise when multiple Spring Boot applications start in the same servlet container
# all would be created with the same name (com.zaxxer.hikari:name=dataSource,type=HikariDataSource) for example
spring.jmx.default-domain=${spring.application.name}

# Expose all actuator endpoints to the web
# They are exposed, but only authenticated users can see /info and /health abd users with access-admin can see the others
management.endpoints.web.exposure.include=*
# Full health details should only be displayed when a user is authorized
management.endpoint.health.show-details=when_authorized
# Only users with role access-admin can access full health details
management.endpoint.health.roles=access-admin
# Spring prefixes the roles with ROLE_. However, Flowable does not have that concept yet, so we need to override that with an empty string
flowable.common.app.role-prefix=

#
# DATABASE
#

spring.datasource.driver-class-name=org.h2.Driver
spring.datasource.url=jdbc:h2:~/flowable-db/db;AUTO_SERVER=TRUE;AUTO_SERVER_PORT=9091;DB_CLOSE_DELAY=-1

#spring.datasource.driver-class-name=com.mysql.jdbc.Driver
#spring.datasource.url=jdbc:mysql://127.0.0.1:3306/flowable?characterEncoding=UTF-8

#spring.datasource.driver-class-name=org.postgresql.Driver
#spring.datasource.url=jdbc:postgresql://localhost:5432/flowablemodeler

#spring.datasource.driver-class-name=com.microsoft.sqlserver.jdbc.SQLServerDriver
#spring.datasource.url=jdbc:sqlserver://localhost:1433;databaseName=flowablemodeler

#spring.datasource.driver-class-name=oracle.jdbc.driver.OracleDriver
#spring.datasource.url=jdbc:oracle:thin:@localhost:1521:FLOWABLEMODELER

#spring.datasource.driver-class-name=com.ibm.db2.jcc.DB2Driver
#spring.datasource.url=jdbc:db2://localhost:50000/flowablemodeler

spring.datasource.username=flowable
spring.datasource.password=flowable

spring.datasource.hikari.poolName=${spring.application.name}
# 10 minutes
spring.datasource.hikari.maxLifetime=600000
# 5 minutes
spring.datasource.hikari.idleTimeout=300000
spring.datasource.hikari.minimumIdle=5
spring.datasource.hikari.maximumPoolSize=50
# test query for H2, MySQL, PostgreSQL and Microsoft SQL Server
#spring.datasource.hikari.connection-test-query=select 1
# test query for Oracle
#spring.datasource.hikari.connection-test-query=SELECT 1 FROM DUAL
# test query for DB2
#spring.datasource.hikari.connection-test-query=SELECT current date FROM sysibm.sysdummy1

# The maximum file upload limit. Set to -1 to set to 'no limit'. Expressed in bytes
spring.servlet.multipart.max-file-size=10MB

flowable.common.app.idm-url=http://localhost:8080/flowable-idm
flowable.common.app.idm-admin.user=admin
flowable.common.app.idm-admin.password=test

flowable.modeler.app.deployment-api-url=http://localhost:8080/flowable-task/app-api


# Rest API

flowable.modeler.app.rest-enabled=true

# Configures the way user credentials are verified when doing a REST API call:
# 'any-user' : the user needs to exist and the password need to match. Any user is allowed to do the call (this is the pre 6.3.0 behavior)
# 'verify-privilege' : the user needs to exist, the password needs to match and the user needs to have the 'rest-api' privilege
# If nothing set, defaults to 'verify-privilege'
flowable.rest.app.authentication-mode=verify-privilege

# Set the tenant_id
# For the modeler this determines under which tenant_id to store and publish models
# When not provided, empty or only contains whitespace it defaults to the user's tenant id if available
# otherwise it uses no tenant id
#flowable.common.app.tenant-id=demo
我们可以看到上面使用的数据库默认是H2这样的内存数据库,以及一些其他的配置。如果我们需要修改配置的话,就直接修改这个文件就行了。
比如我们使用Mysql那就要使用Mysql的driver,然后配置正确的url,username和password 即可,
注意:如果配置好之后再次请启动服务器的时候报如下错误: Cannot load driver class: com.mysql.jdbc.Driver
``
那你就需要导入相关驱动器到相关的应用的lib中
- 按照java -jar flowable-modeler的形势启动
因为这些war包也是可执行的springboot项目,所以可以直接通过上面的方式执行,然后如果要是修改应用的配置的话
就通过-Dserver.port=8888 这样的方式,来修改配置
```
当然 flowable还支持docker的方式执行:

版权声明:本文为qq_15022971原创文章,遵循CC 4.0 BY-SA版权协议,转载请附上原文出处链接和本声明。