一、新建Spring Boot项目
1.1 创建项目Create New Project
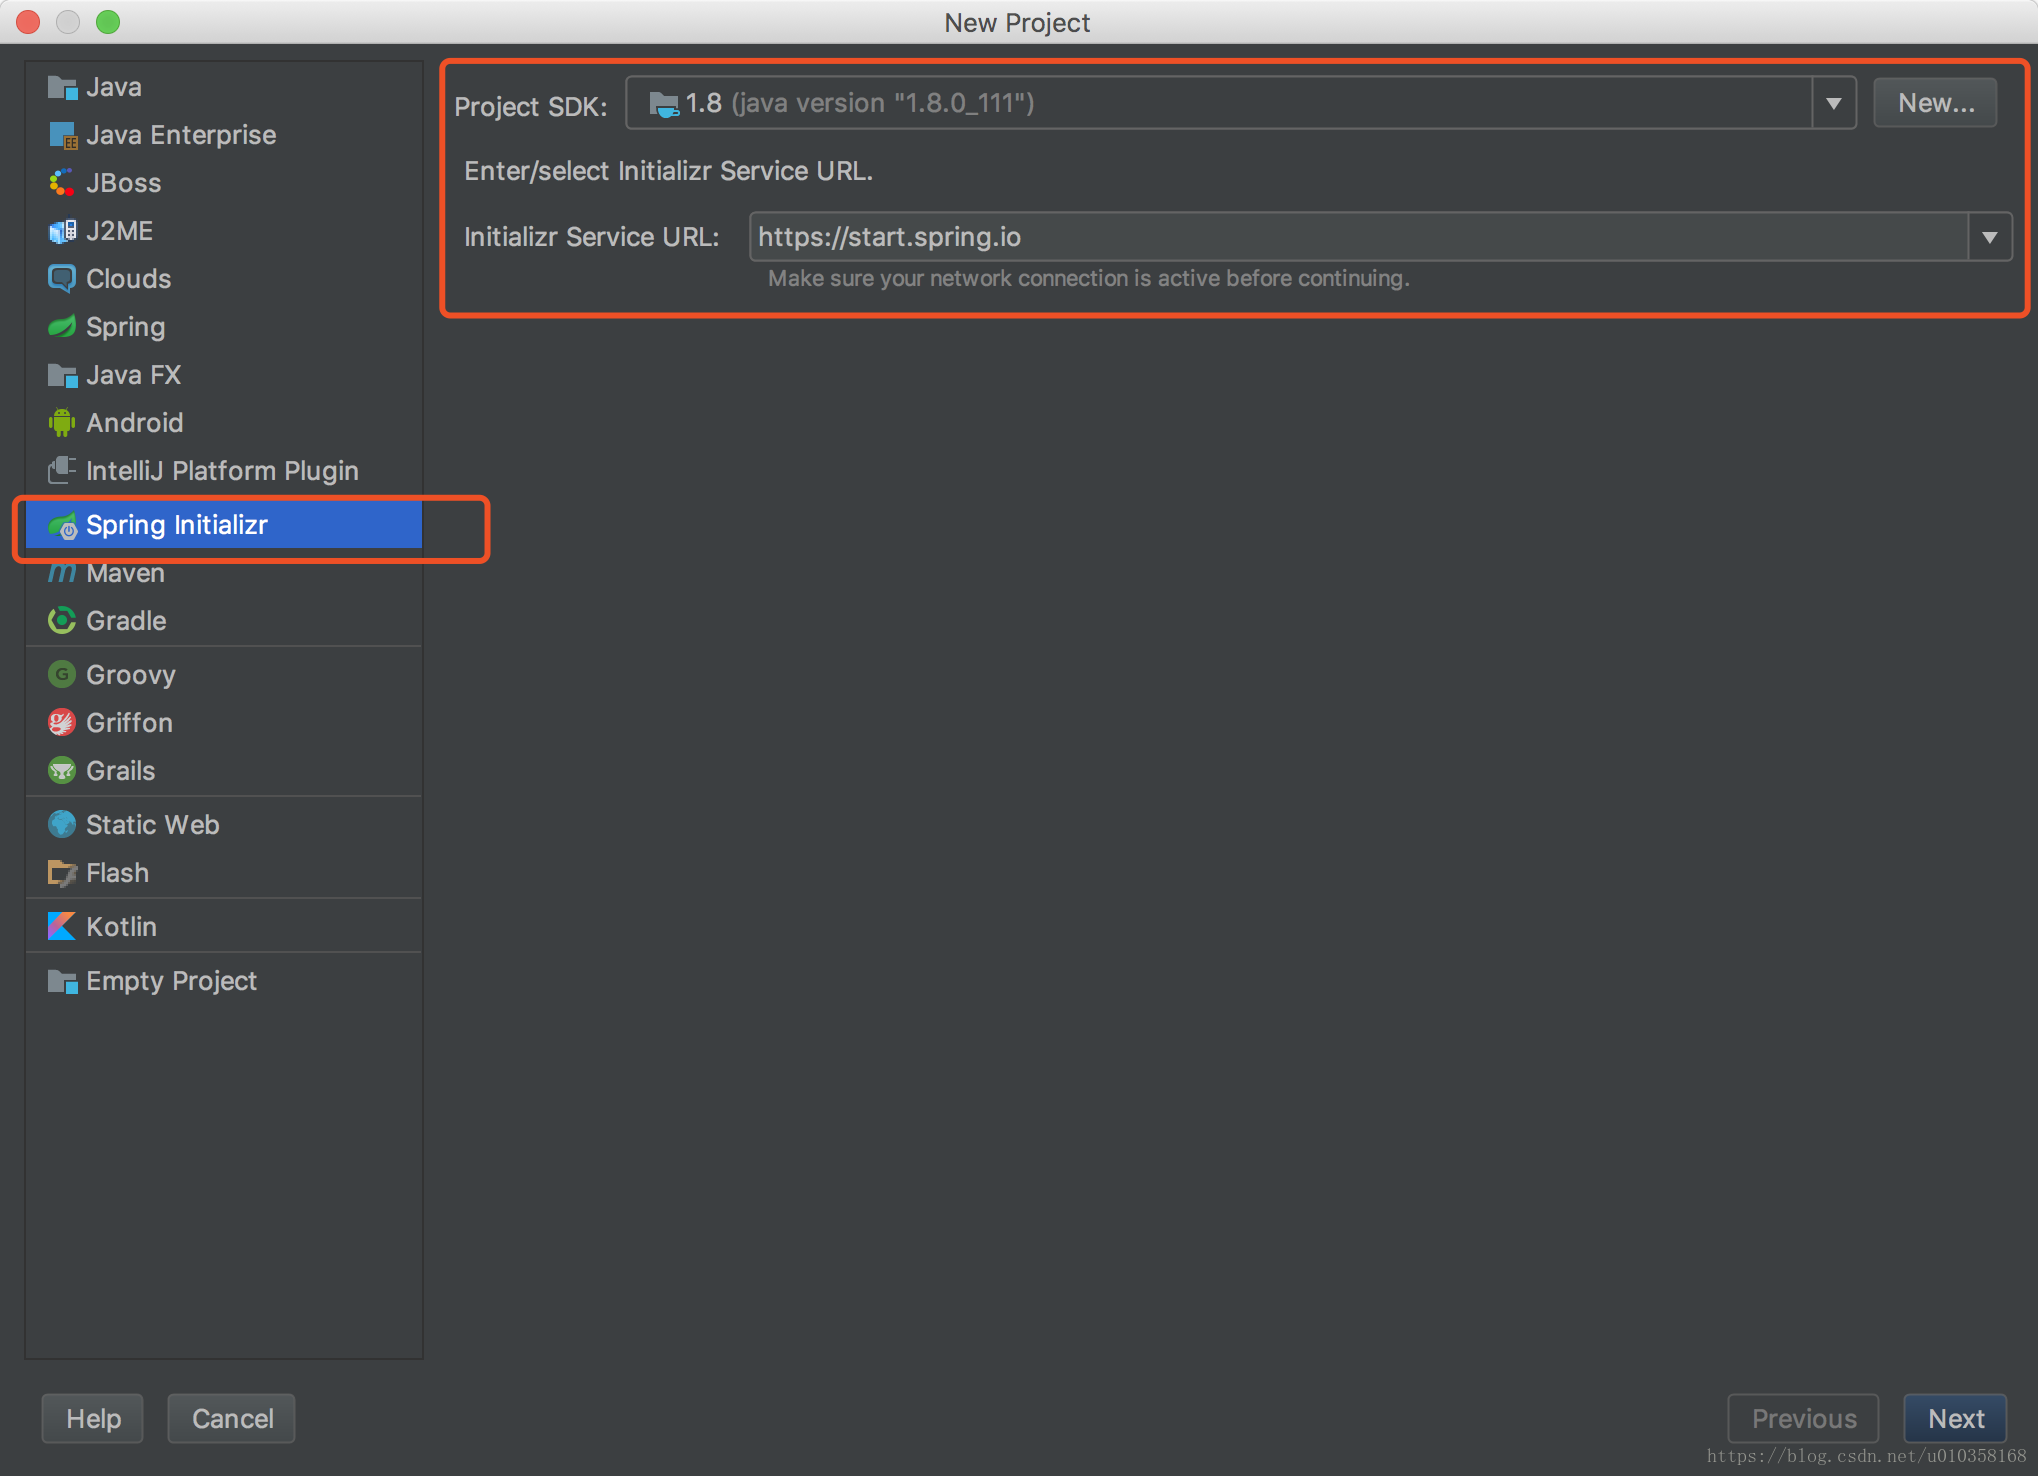
1.2 选择Spring Initializr,同时选择JDK版本
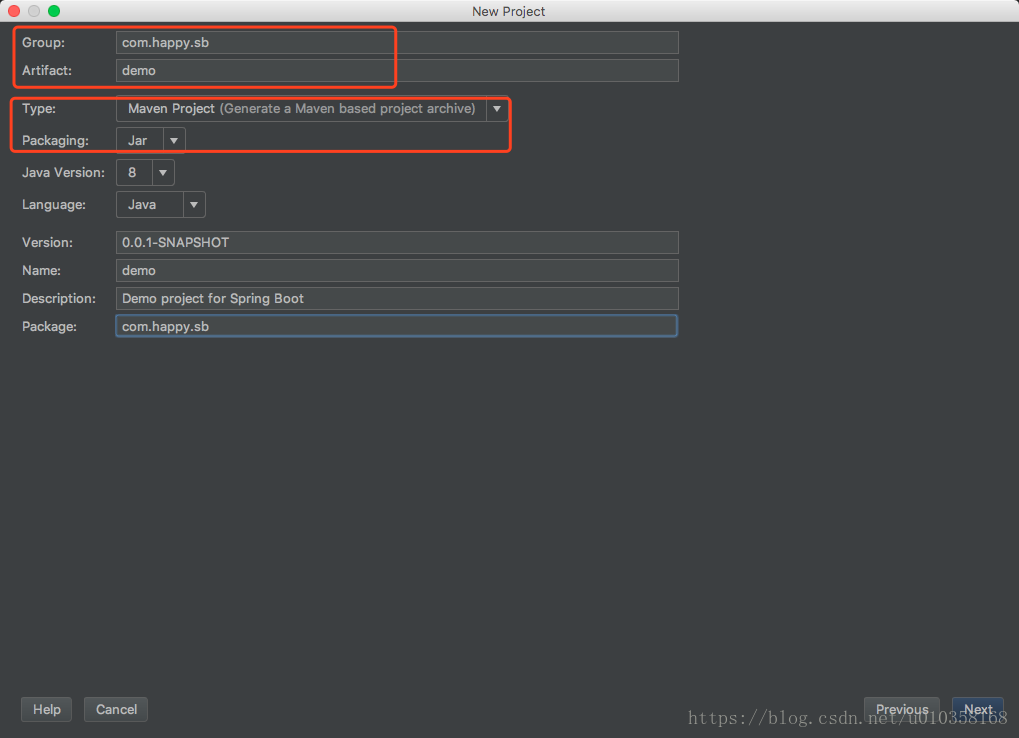
设置Group Artifact,在Type处选择Maven管理项目,打包Packaging为Jar
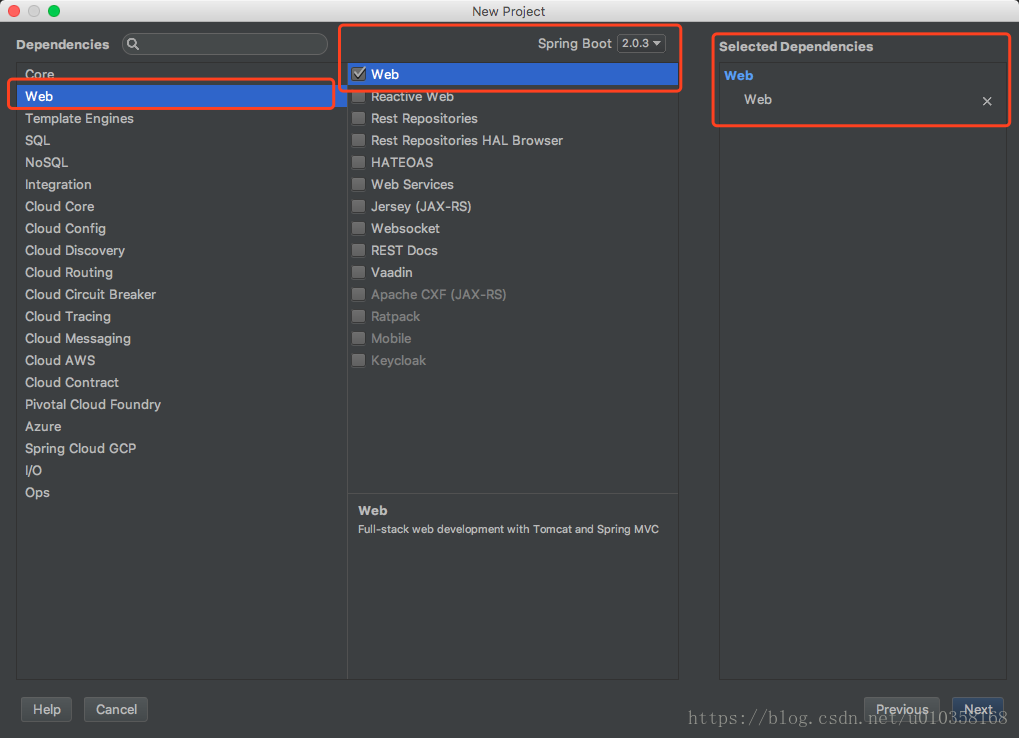
1.3 选择依赖为Web,Spring Boot版本号选择为2.0.3
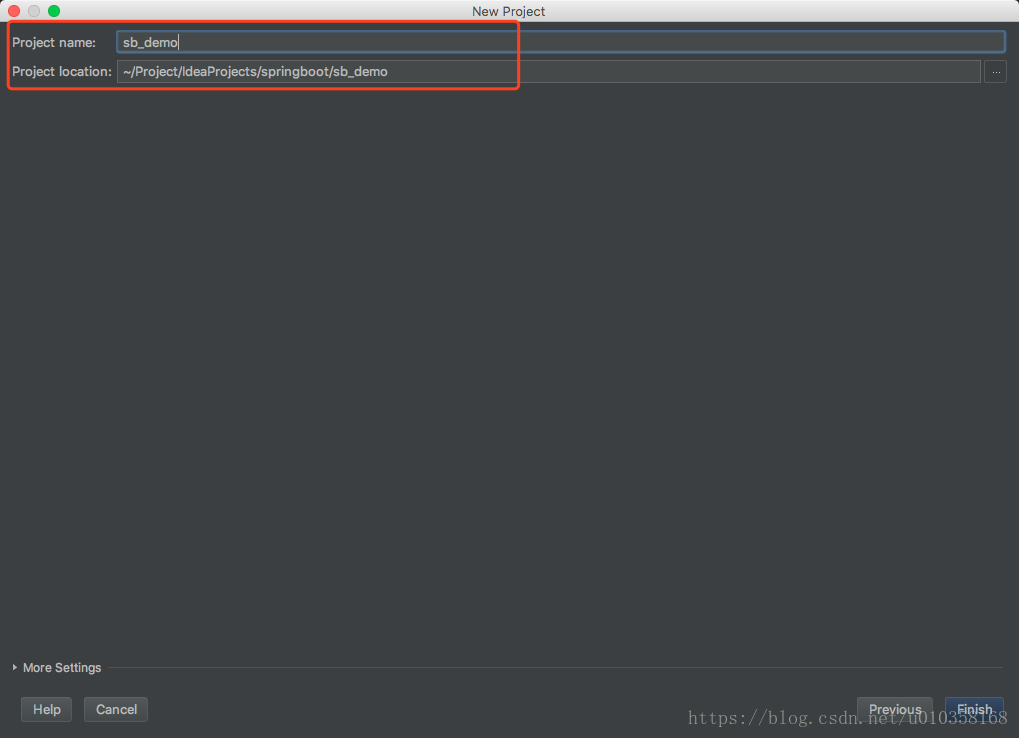
1.4 设置Project name和Project location
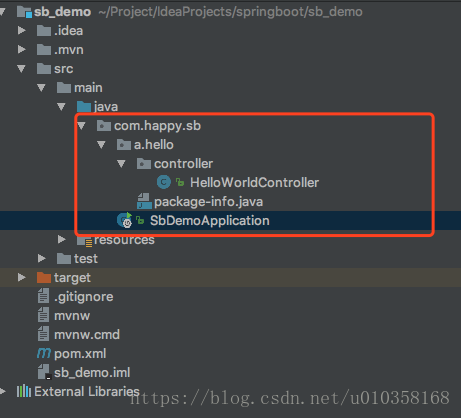
1.5 新建Controller
如图,新建a.hello.controller包,并在该包下新建HelloWorldController.java文件,代码如下:
@RestController
public class HelloWorldController {

    @RequestMapping(name = "/index", method = RequestMethod.GET)
    public String index() {
        return "Hello World";
    }

}
1.6 启动项目,并通过浏览器访问
运行SbDemoApplication.java,可以在控制台查看启动log。
通过浏览器访问http://localhost:8080/index,可在页面看到Hello World输出。
至此,Spring Boot的第一个应用HelloWorld搭建完毕。
二、pom.xml简介
具体描述解释信息,都在xml中,请自行查看。
<?xml version="1.0" encoding="UTF-8"?>
<project xmlns="http://maven.apache.org/POM/4.0.0" xmlns:xsi="http://www.w3.org/2001/XMLSchema-instance"
         xsi:schemaLocation="http://maven.apache.org/POM/4.0.0 http://maven.apache.org/xsd/maven-4.0.0.xsd">
    <modelVersion>4.0.0</modelVersion>

    <!-- 新建项目的描述信息 -->
    <groupId>com.happy.sb</groupId>
    <artifactId>sb_demo</artifactId>
    <version>0.0.1-SNAPSHOT</version>
    <packaging>jar</packaging>

    <name>sb_demo</name>
    <description>Demo project for Spring Boot</description>

    <!-- 父项目
        Spring Boot的版本仲裁中心。
        以后导入依赖默认不需要写版本号。
        没有在dependencies里管理的依赖除外,需要声明版本号。
     -->
    <parent>
        <groupId>org.springframework.boot</groupId>
        <artifactId>spring-boot-starter-parent</artifactId>
        <version>2.0.3.RELEASE</version>
        <relativePath/> <!-- lookup parent from repository -->
        <!--
        父项目的父项目,用来管理Spring Boot应用所有依赖版本
        <parent>
             <groupId>org.springframework.boot</groupId>
             <artifactId>spring-boot-dependencies</artifactId>
             <version>2.0.3.RELEASE</version>
             <relativePath>../../spring-boot-dependencies</relativePath>
         </parent>
         -->
    </parent>

    <properties>
        <project.build.sourceEncoding>UTF-8</project.build.sourceEncoding>
        <project.reporting.outputEncoding>UTF-8</project.reporting.outputEncoding>
        <java.version>1.8</java.version>
    </properties>

    <dependencies>
        <!-- 启动器
             Spring boot将所有的功能场景都抽取出来,做成了一个个的starter(启动器),
             只需要在项目里引入这些starter,相关场景的所有依赖都会导入进来。

            spring-boot-starter:spring boot场景启动器
                            web:自动导入web模块正常运行所依赖的组件

        -->
        <dependency>
            <groupId>org.springframework.boot</groupId>
            <artifactId>spring-boot-starter-web</artifactId>
        </dependency>

        <dependency>
            <groupId>org.springframework.boot</groupId>
            <artifactId>spring-boot-starter-test</artifactId>
            <scope>test</scope>
        </dependency>

        <dependency>
            <groupId>org.springframework.boot</groupId>
            <artifactId>spring-boot-configuration-processor</artifactId>
            <optional>true</optional>
        </dependency>
    </dependencies>

    <build>
        <plugins>
            <!-- 该插件可以将应用打包成一个可执行的jar -->
            <plugin>
                <groupId>org.springframework.boot</groupId>
                <artifactId>spring-boot-maven-plugin</artifactId>
            </plugin>
        </plugins>
    </build>


</project>
三、Java代码解析
3.1 主程序入口
使用@SpringBootApplication来标注一个主程序类,表明这是一个SpringBoot应用
@SpringBootApplication
public class SbDemoApplication {

    public static void main(String[] args) {
        SpringApplication.run(SbDemoApplication.class, args);
    }
}
3.2 @SpringBootApplication
该注解标注类为Spring Boot的主配置类,Spring Boot应该运行该类的main方法来启动Spring Boot应用。
该注解是一个复合注解,如下:
@Target({ElementType.TYPE})
@Retention(RetentionPolicy.RUNTIME)
@Documented
@Inherited
@SpringBootConfiguration
@EnableAutoConfiguration
@ComponentScan(
    excludeFilters = {@Filter(
    type = FilterType.CUSTOM,
    classes = {TypeExcludeFilter.class}
), @Filter(
    type = FilterType.CUSTOM,
    classes = {AutoConfigurationExcludeFilter.class}
)}
)
public @interface SpringBootApplication {
    // 略略略
}
3.3 @SpringBootConfiguration
标注在某个类上,表示这是一个Spring Boot的配置类。
其源码为:
@Configuration
public @interface SpringBootConfiguration {
}@Configuration表示该类是一个配置类(类似xml配置文件),配置类也是容器中的一个组件@Component。
3.4 @EnableAutoConfiguration
开启Spring Boot自动配置功能
其源码为:
@Target({ElementType.TYPE})
@Retention(RetentionPolicy.RUNTIME)
@Documented
@Inherited
@AutoConfigurationPackage
@Import({AutoConfigurationImportSelector.class})
public @interface EnableAutoConfiguration {
    String ENABLED_OVERRIDE_PROPERTY = "spring.boot.enableautoconfiguration";

    Class<?>[] exclude() default {};

    String[] excludeName() default {};
}
@AutoConfigurationPackage:自动配置包
@Import:Spring的底层注解,给容器导入组件
AutoConfigurationImportSelector:导入组件选择器,将所有需要导入的组件以全类名形式返回,这些组件会被添加到容器中,其实就是给容器导入非常多的自动配置类(xxAutoConfiguration),并且配置好这些组件,
有了这自动配置类,就免去了手动编写配置注入功能组件等工作。
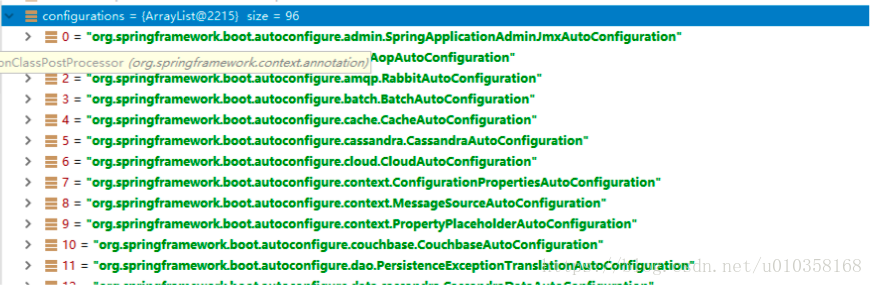
SpringFactoriesLoader.loadFactoryNames(EnableAutoConfiguration.class,classLoader);
Spring Boot在启动的时候从类路径下的META-INF/spring.factories中获取EnableAutoConfiguration指定的值,将以前我们需要自己配置的内容,自动配置类都帮我们配置好了。
J2EE的整体整合解决方案和自动配置都在spring-boot-autoconfigure-1.5.9.RELEASE.jar中。