SpringBoot入门教程:使用Themleaf
1、创建项目并添加相关依赖
<dependencies>
		<dependency>
			<groupId>org.springframework.boot</groupId>
			<artifactId>spring-boot-starter-thymeleaf</artifactId>
		</dependency>
		<dependency>
			<groupId>org.springframework.boot</groupId>
			<artifactId>spring-boot-starter-web</artifactId>
		</dependency>

		<dependency>
			<groupId>org.projectlombok</groupId>
			<artifactId>lombok</artifactId>
			<optional>true</optional>
		</dependency>
		<dependency>
			<groupId>org.springframework.boot</groupId>
			<artifactId>spring-boot-starter-tomcat</artifactId>
			<scope>provided</scope>
		</dependency>
		<dependency>
			<groupId>org.springframework.boot</groupId>
			<artifactId>spring-boot-starter-test</artifactId>
			<scope>test</scope>
		</dependency>
</dependencies>
2、创建页面模板文件
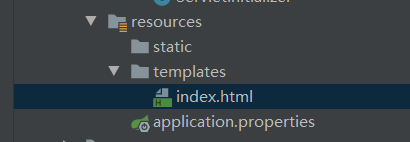
在templates文件夹内创建页面文件
内容如下:
<!doctype html>

<!--注意:引入thymeleaf的名称空间-->
<html lang="en" xmlns:th="http://www.thymeleaf.org">
<head>
    <meta charset="UTF-8">
    <meta name="viewport"
          content="width=device-width, user-scalable=no, initial-scale=1.0, maximum-scale=1.0, minimum-scale=1.0">
    <meta http-equiv="X-UA-Compatible" content="ie=edge">
    <title>Document</title>
</head>
<body>
<p th:text="'Hello SpringBoo'">hello thymeleaf</p>
</body>
</html>
3、创建controller来定位thymeleaf模板文件
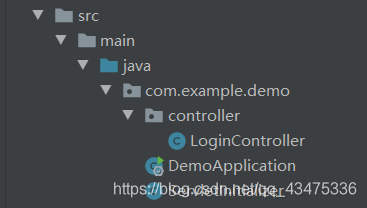
@Controller
public class LoginController {
    @GetMapping("/hello")
    public String index(){
        return "index";
    }
}
4、设置Themleaf配置项
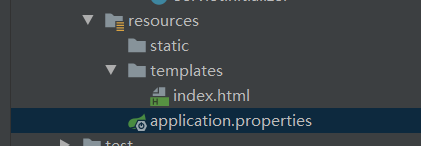
在application.properties文件中(也可以是yml文件),设置以下配置项
#开启thymeleaf视图解析
spring.thymeleaf.enabled=true
#编码
spring.thymeleaf.encoding=UTF-8
#模板页面文件所在的文件夹路径,按照实际情况修改
spring.thymeleaf.prefix=classpath:/templates/
#是否使用缓存
spring.thymeleaf.cache=true
#严格的HTML语法模式
spring.thymeleaf.mode=HTML
#后缀名
spring.thymeleaf.suffix=.html
5、运行项目

运行成功
6、很好的学习链接
版权声明:本文为qq_43475336原创文章,遵循CC 4.0 BY-SA版权协议,转载请附上原文出处链接和本声明。