1.基础配置:
| 主机名 | IP | 系统版本 |
|---|---|---|
| k8s-master | 192.168.32.128 | centos 7.6 |
| k8s-node1 | 192.168.32.129 | centos 7.6 |
| k8s-node2 | 192.168.32.130 | centos 7.6 |
| k8s-harbor | 192.168.32.131 | centos 7.6 |
2.安装docker-compose
curl -L https://get.daocloud.io/docker/compose/releases/download/1.25.0/docker-compose-`uname -s`-`uname -m` > /usr/local/bin/docker-compose
#给docker-compose添加执行权限
sudo chmod +x /usr/local/bin/docker-compose
#查看docker-compose是否安装成功
$ docker-compose -version
docker-compose version 1.25.0, build 0a186604
3.下载Harbor的压缩包
https://github.com/goharbor/harbor/releases
#上传压缩包到linux,并解压
tar -xzf harbor-offline-installer-v2.1.0_2.tgz
mkdir /opt/harbor
mv harbor/* /opt/harbor
cd /opt/harbor
4.修改harbor配置
#没有的话复制harbor.yml.tmpl
cp -a harbor.yml.tmpl harbor.yml
vim harbor.yml
修改hostname和port
hostname: 172.21.3.23
port: 80
#注释掉https这段
# https related config
#https:
  # https port for harbor, default is 443
 # port: 443
  # The path of cert and key files for nginx
 # certificate: /your/certificate/path
  #private_key: /your/private/key/path
5.安装harbor
./install.sh

6.启动、停止、重启
docker-compose up -d 启动
docker-compose stop 停止
docker-compose restart 重新启动

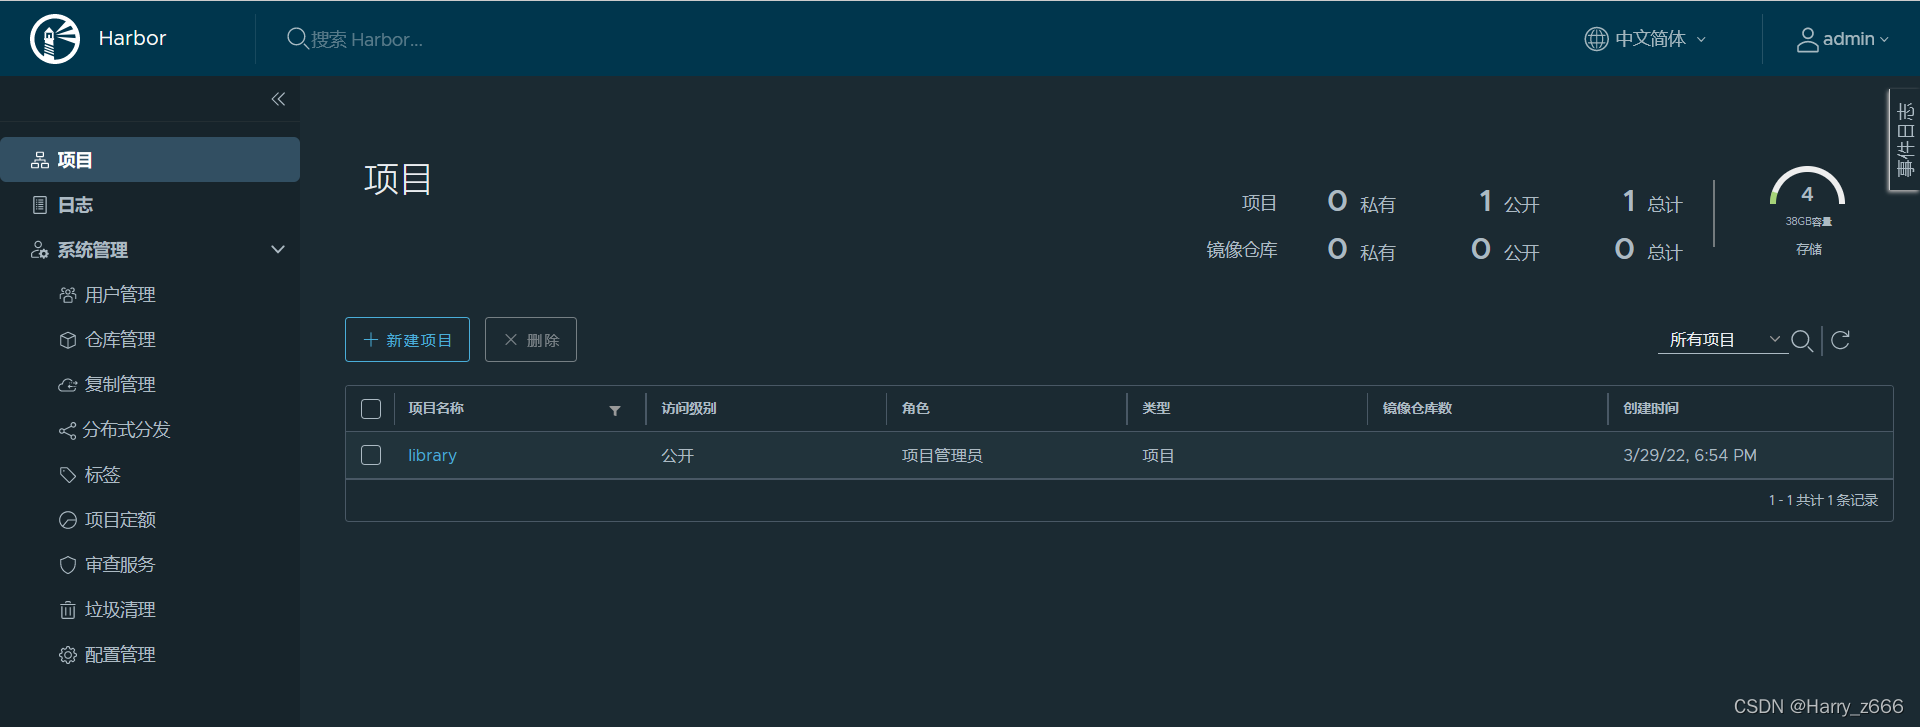
7.访问harbor
http://192.168.32.131
默认账户密码:admin/Harbor12345
8.配置仓库
[root@k8s-harbor harbor]# vim /etc/docker/daemon.json
{
"insecure-registries": ["192.168.32.131"]
}
9.登录仓库
[root@k8s-n1 harbor]# docker login 192.168.32.131
Username: admin
Password:
WARNING! Your password will be stored unencrypted in /root/.docker/config.json.
Configure a credential helper to remove this warning. See
https://docs.docker.com/engine/reference/commandline/login/#credentials-store

Login Succeeded

10.编写Dockerfile nginx
FROM centos:7.2.1511
VOLUME /tmp
MAINTAINER Harry  # 作者名为Harry
ADD nginx-1.18.0.tar.gz /usr/src/  # 解压本地host中的nginx包到容器中的/usr/src目录
RUN useradd -r -s /sbin/nologin nginx
RUN yum install -y gcc pcre-devel openssl-devel zlib-devel make
ENV NGINX_DIR /usr/src/nginx-1.18.0 # 定义环境变量
WORKDIR $NGINX_DIR  # 进入容器中的解压目录
# 编译安装
RUN ./configure --prefix=/usr/local/nginx \
--user=nginx \
--with-http_ssl_module \
--with-http_v2_module \
--with-http_realip_module \
--with-http_stub_status_module \
--with-http_gzip_static_module \
--with-pcre \
--with-stream \
--with-stream_ssl_module \
--with-stream_realip_module
RUN pwd
RUN make && make install
RUN ln -s /usr/local/nginx/sbin/nginx /usr/sbin/nginx
EXPOSE 80 #定义容器内部端口
# 后台启动nginx服务
CMD ["nginx", "-g", "daemon off;"]
11.执行Dockerfile
docker build -f Dockerfile -t nginx . >/dev/null 2>&1

12.上传镜像到私有仓库
12.1 给nginx:latest修改标记为192.168.32.131/nginx/nginx:22401
docker tag nginx:latest 192.168.32.131/nginx/nginx:22401
12.2推送镜像到192.168.32.131/nginx/nginx:22401
docker push 192.168.32.131/nginx/nginx:22401

启动docker例子:
-p: 9090(外部映射端口) 80(容器内部监控端口)
-d: 后台运行
docker run -id -d -p 9090:80 --name testnginx -v /usr/local/nginx/conf/nginx.conf:/usr/local/nginx/conf/nginx.conf 192.168.32.131/nginx/nginx:22401

进入镜像:
docker exec -it 镜像名 /bin/bash
版权声明:本文为Harry_z666原创文章,遵循CC 4.0 BY-SA版权协议,转载请附上原文出处链接和本声明。