centos 系统安装启动流程:
bootloader --> kernel(initramfs) --> rootfs --> /sbin/init
anaconda : 系统安装程序
tui : 基于图形库 curses 的文本窗口
gui : 图形窗口
MBR : boot.cat
stage2 : isolinux/isolinux.cfg
配置文件 : isolinux/isolinux.cfg
每个对应的菜单选项 :
加载内核 : isolinuz/vmlinuz
向内核传递参数 : append initrd=initrd.img ...
装载根文件系统,并启动 anaconda
默认启动 GUI 接口
若是显示指定使用TUI接口 : 向内核传递 text 参数即可
(1)按 tab 键,在后面增加 text
(2)按 ESC 键, boot: linux text
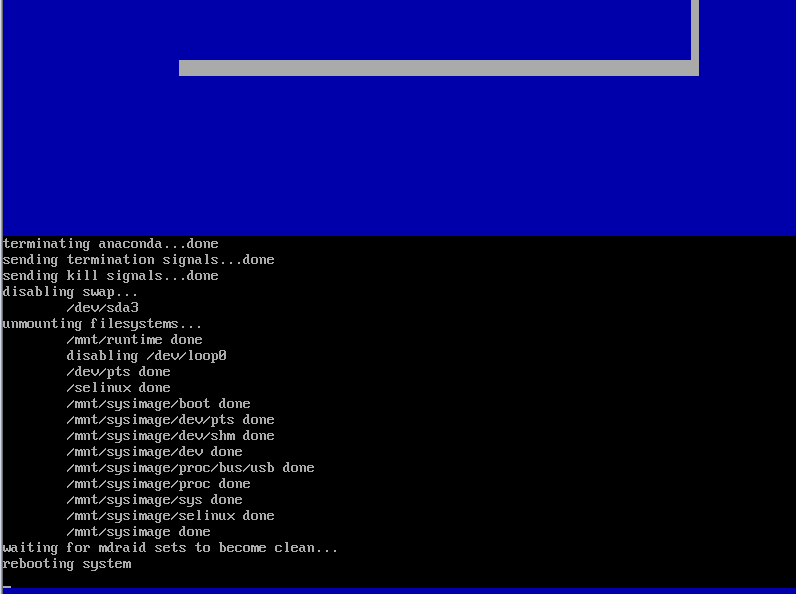
anaconda 工作过程
anaconda安装系统分成三个阶段
安装前配置阶段:
安装过程使用的语言
键盘类型
安装目标存储设备
Basic Storage : 本地磁盘
特殊设备 : ISCSI
设定主机名
配置网络接口
时区
管理员密码
设定分区方式及MBR的安装位置
创建一个普通用户
选定要安装的程序包
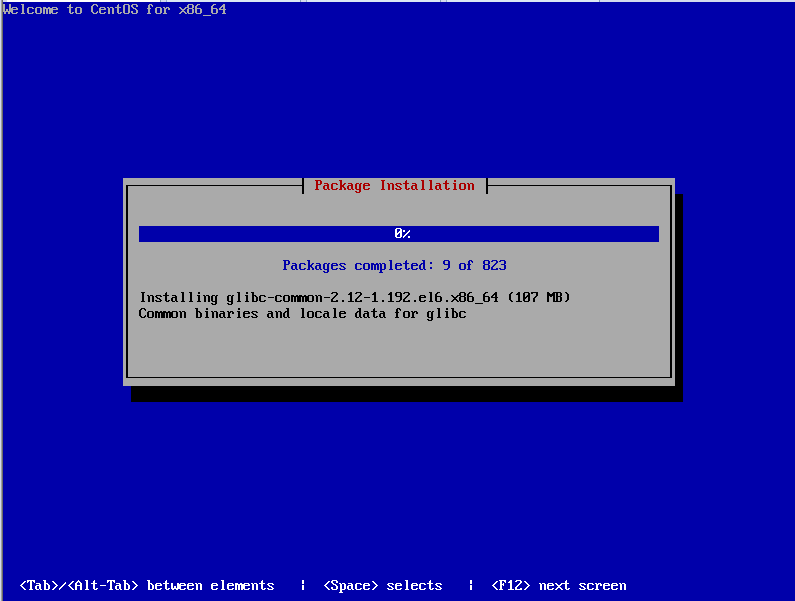
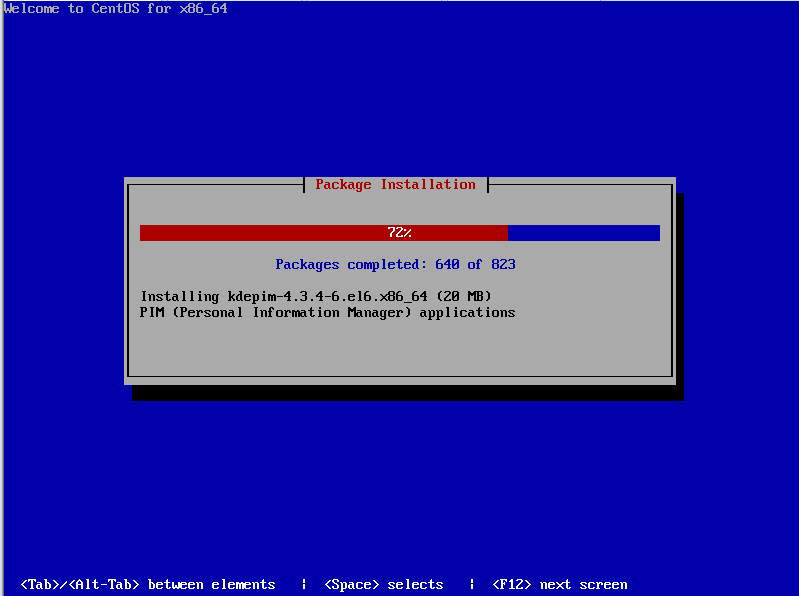
安装阶段:
在目标磁盘创建分区,执行格式化操作等
将选定的程序包安装至目标位置
安装 bootloader 和 initramfs
首次启动 :
iptables
selinux
core dump
系统安装
启动安装过程一般应位于引导设备;后续的anaconda及其安装用到的程序包等可来自下面几种方式:
- 本地光盘
- 本地硬盘
- ftp server : yum repository
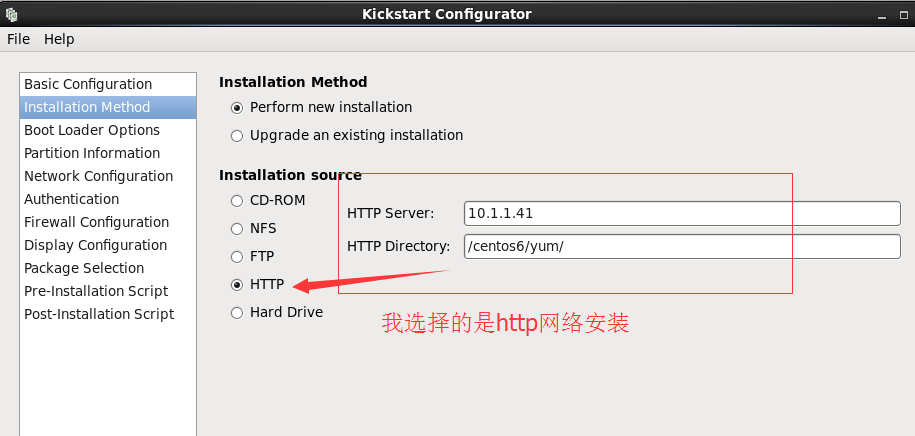
- http server : yum repostory
- nfs server
如果想动手指定安装源:
boot: linux askmethod
anaconda 的配置方式
(1)交互式配置方式
(2)通过读取事先给定的配置文件自动完成配置
按照特定的语法给出的配置选项,kickstart 文件
安装 bott 引导选项 :boot
text : 文本安装方式
askmethod : 手动指定使用的安装方法
与网络相关的引导选项:
ip=IPADDR

netmask=MASK

gateway=GW

dns=DNS_ip

ifname=NAME:MAC_ADDR
与远程访问功能相关的引导选项:
vnc
vncpassword='password'
指明kickstart文件的位置: ks=
DVD drive: ks=cdrom:/PATH/TO/KICKSTART_FILE
Hard drive: ks=hd:device:/directory/KICKSTART_FILE
HTTP server: ks=http://host:port/path/to/KICKSTART_FILE
FTP server: ks=ftp://host:port/path/to/KICKSTART_FILE
HTTPS server: ks=https://host:port/path/to/KICKSTART_FILE
NFS server:ks=nfs:host:/path/to/KICKSTART_FILE
启动紧急救援模式:
rescue
kickstart文件的格式
命令段 : 指明各种安装前配置,比如键盘类型,语言等
必备命令:
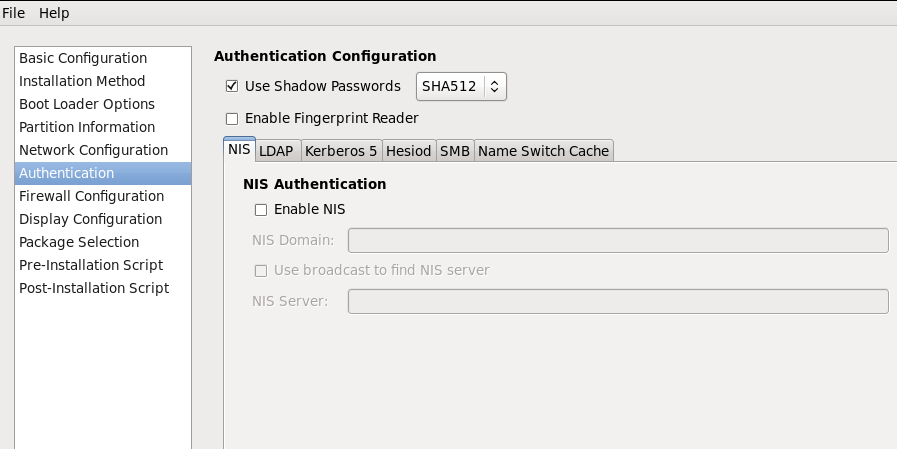
authconfig: 认证方式配置 authconfig --useshadow --passalgo=sha512
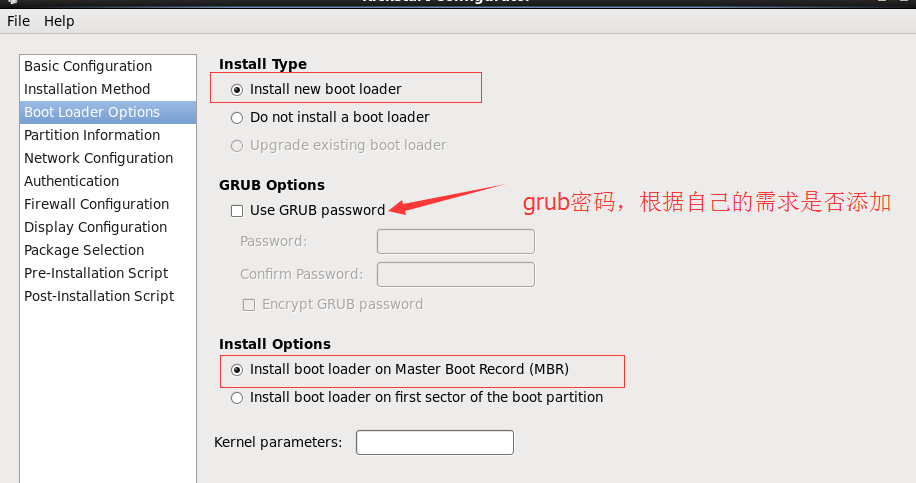
bootloader:bootloader的安装位置及相关配置 bootloader --location=mbr --driveorder=sda – append="crashkernel=auto rhgb quiet"
keyboard: 设定键盘类型
lang: 语言类型
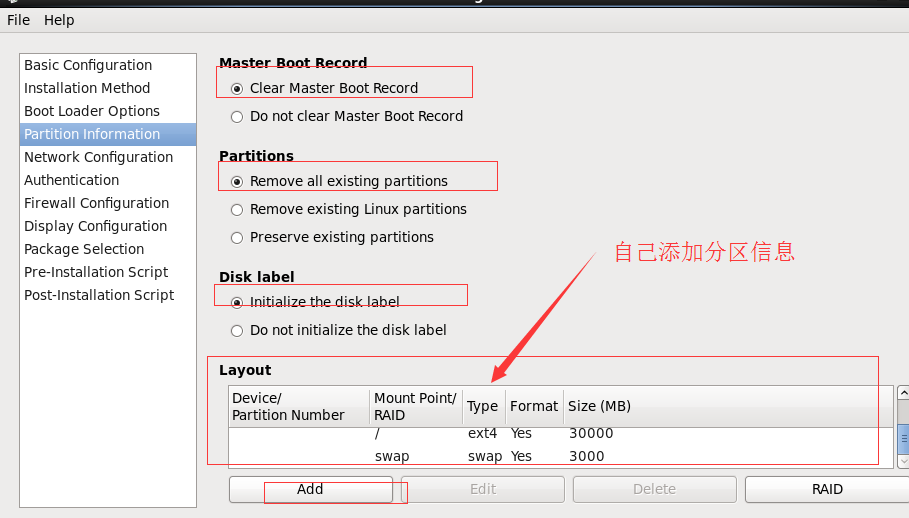
part: 创建分区
rootpw: 指明root的密码
timezone: 时区可选命令:
install OR upgrade
text: 文本安装界面
network
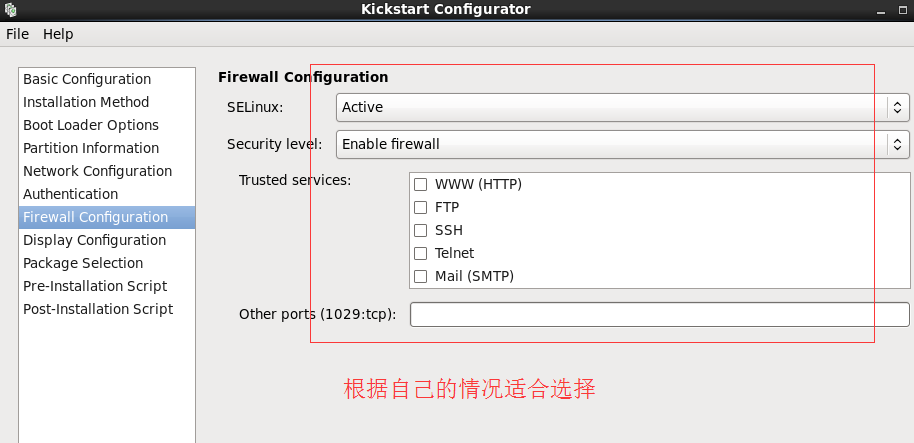
firewall
selinux
halt
poweroff
reboot
repo
user:安装完成后为系统创建新用户
url: 指明安装源
key –skip 跳过安装号码,适用于rhel版本
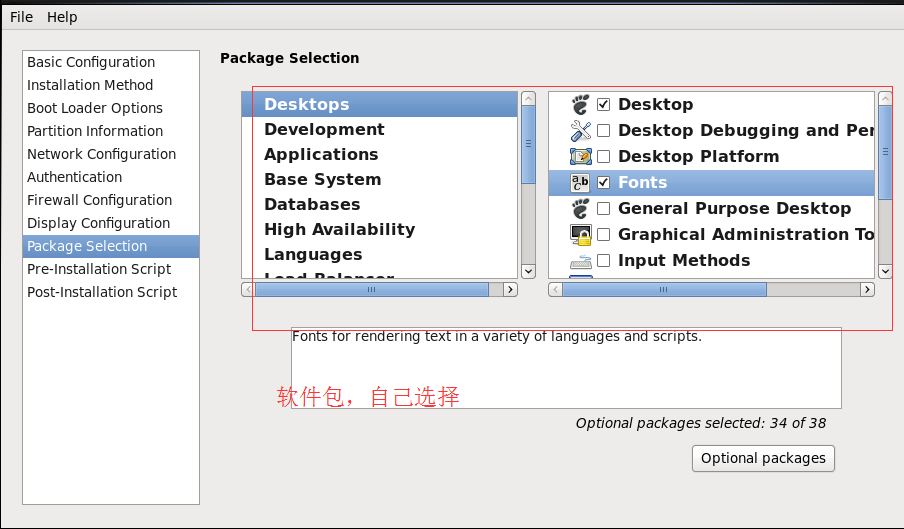
程序包段 : 指明要安装的程序包组,或者程序包等
%packages
@group_name
package
-package
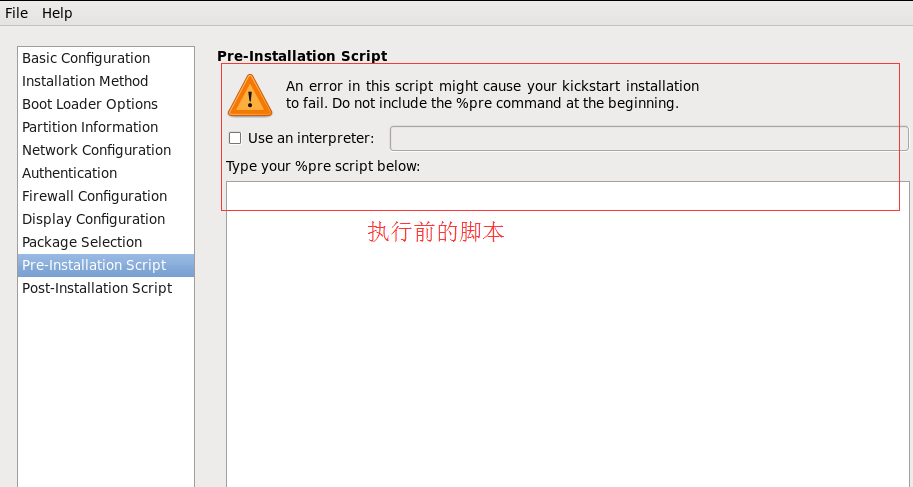
%end脚本段 :
%pre: 安装前脚本
运行环境:运行于安装介质上的微型Linux环境
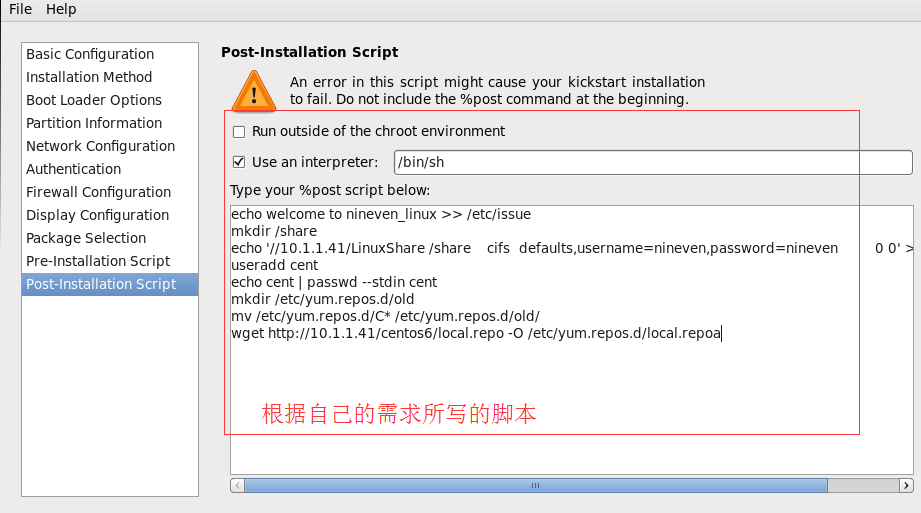
%post: 安装后脚本
运行环境:安装完成的系统
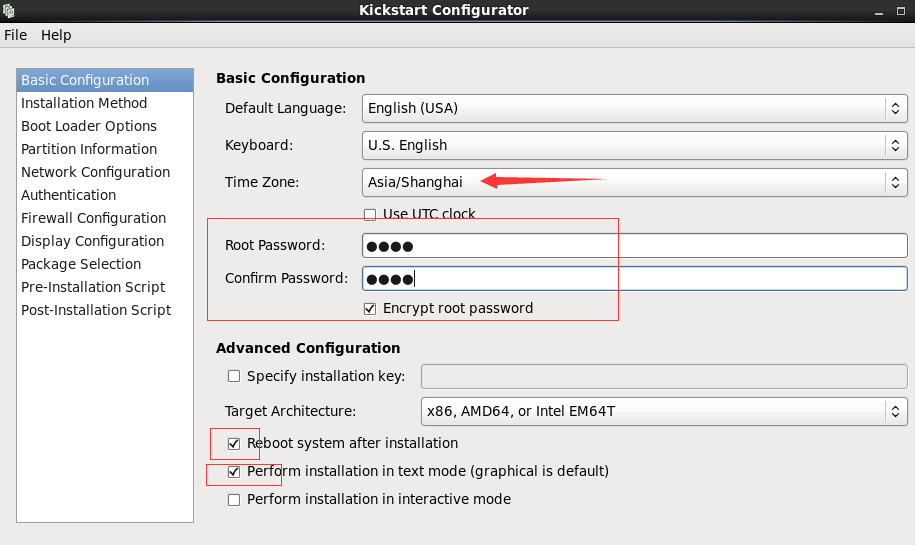
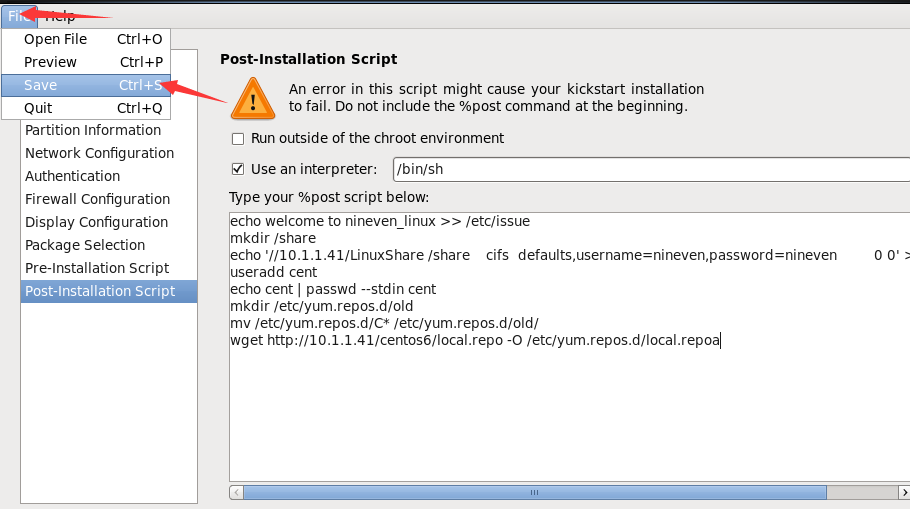
kickstart 文件的创建
(1) 直接根据某模板手动编辑修改
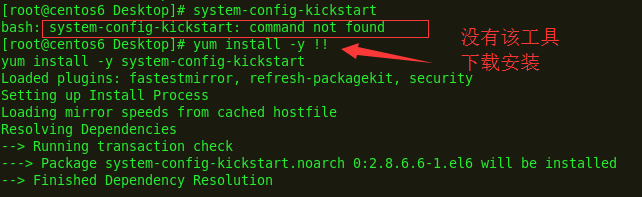
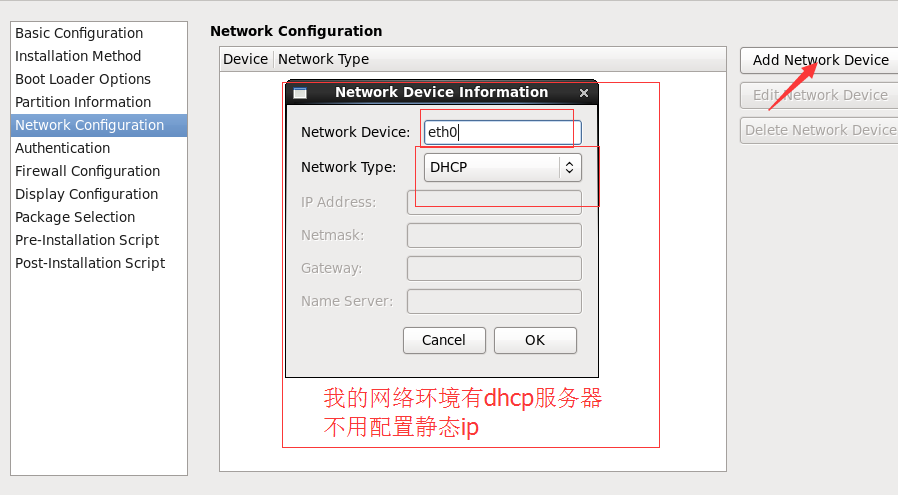
(2) 可以使用创建工具 : system-config-kickstart
如果没有该工具,需要安装
yum install -y system-config-kickstart然后就可以依据某模板修改并完成新的配置
(3) 完成配置后检查ks文件的语法错误 : ksvalidator
ksvalidator /PATH/TO/kickstart.cfg制作引导光盘和U盘
创建引导光盘:
cp /media/cdrom/isolinux/ /tmp/myiso/
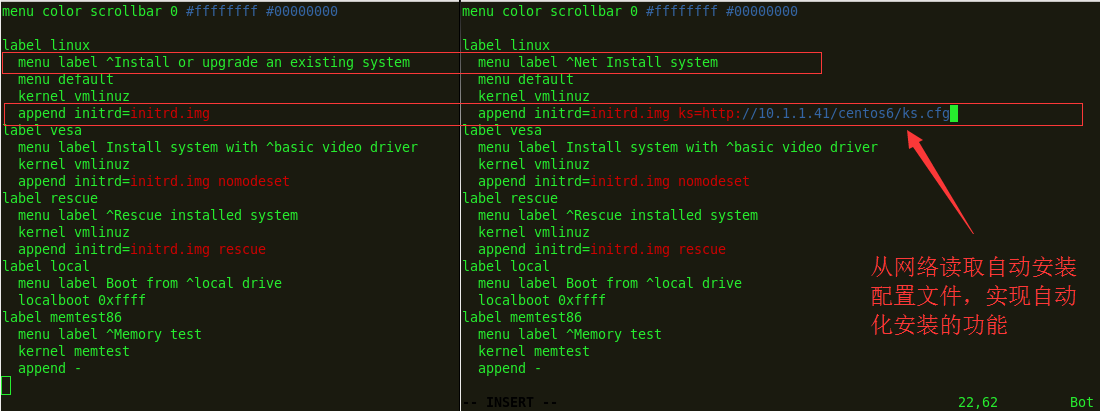
vi /tmp/myiso/isolinux/isolinux.cfg
initrd=initrd.img text ks=cdrom:/myks.cfg
cp /root/myks.cfg /tmp/myiso/
cd /tmp
mkisofs -R -J -T -v --no-emul-boot --boot-load-size 4 --boot-info-table -V "CentOS 6.6 x86_64 boot" -b isolinux/isolinux.bin -c isolinux/boot.cat -o /root/boot.iso myiso/创建U盘启动盘
dd if=/dev/sr0 of=/dev/sdb 自制自定义引导 boot.iso 文件
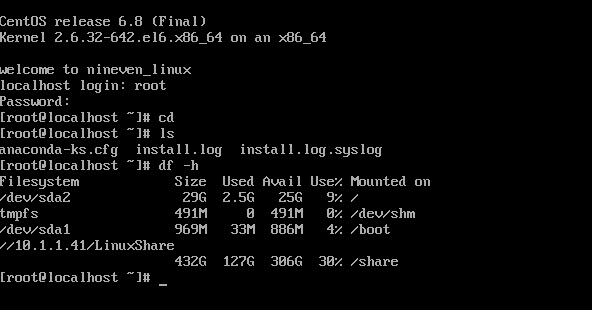
工作环境 centos6.8
http://10.1.1.41 是我自己搭建的一个yum源服务器的ip
1,先创建kickstart文件
2,安装完成后再重新运行一次
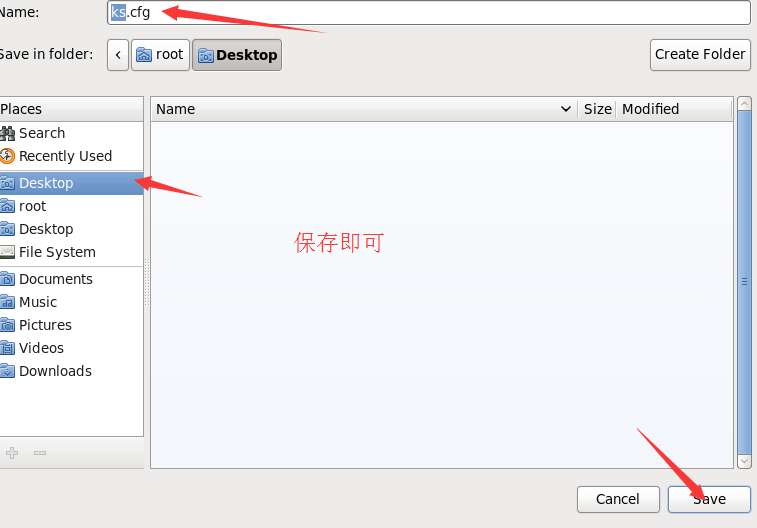
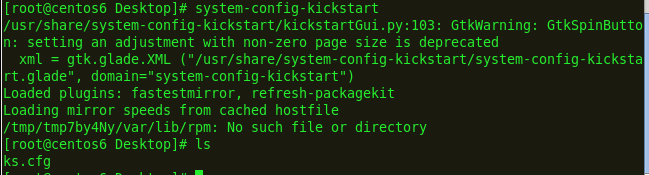
ks.cfg文件内容
[root@centos6 Desktop]# cat ks.cfg
#platform=x86, AMD64, or Intel EM64T
#version=DEVEL
# Firewall configuration
firewall --enabled
# Install OS instead of upgrade
install
# Use network installation
url --url="http://10.1.1.41/centos6/yum/"
# Root password
rootpw --iscrypted $1$DYysuQkH$3H7KLb/uXt75K5cK6YYrU1
# System authorization information
auth --useshadow --passalgo=sha512
# Use text mode install
text
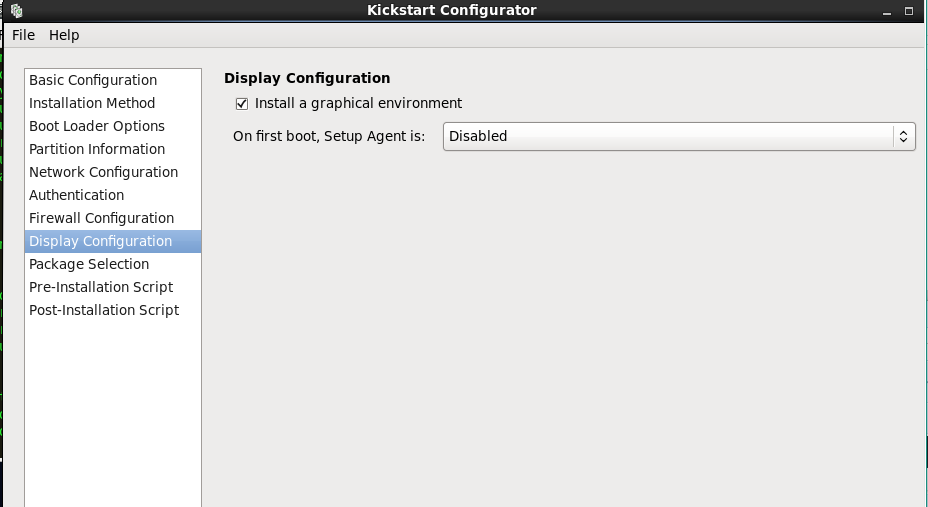
firstboot --disable
# System keyboard
keyboard us
# System language
lang en_US
# SELinux configuration
selinux --enforcing
# Installation logging level
logging --level=info
# Reboot after installation
reboot
# System timezone
timezone Asia/Shanghai
# Network information
network --bootproto=dhcp --device=eth0 --onboot=on
# System bootloader configuration
bootloader --location=mbr
# Clear the Master Boot Record
zerombr
# Partition clearing information
clearpart --all --initlabel
# Disk partitioning information
part /boot --fstype="ext4" --size=1000
part / --fstype="ext4" --size=30000
part swap --fstype="swap" --size=3000
%post
echo welcome to nineven_linux >> /etc/issue
mkdir /share
echo '//10.1.1.41/LinuxShare /sharecifsdefaults,username=nineven,password=nineven 0 0' >> /etc/fstab
useradd cent
echo cent | passwd --stdin cent
mkdir /etc/yum.repos.d/old
mv /etc/yum.repos.d/C* /etc/yum.repos.d/old/
wget http://10.1.1.41/centos6/local.repo -O /etc/yum.repos.d/local.repoa
%end
%packages
@backup-client
@base
@basic-desktop
@compat-libraries
@console-internet
@development
@fonts
@hardware-monitoring
@kde-desktop
@network-file-system-client
@network-tools
@perl-runtime
@storage-client-fcoe
git
xsettings-kde
%end2,制作boot.iso 镜像引导文件
[root@centos6 Desktop]# mount /dev/cdrom /media
mount: block device /dev/sr0 is write-protected, mounting read-only
[root@centos6 Desktop]# cd /testdir/
[root@centos6 testdir]# ls
[root@centos6 testdir]# cp -r /media/isolinux/ .
[root@centos6 testdir]# ls
isolinux
[root@centos6 testdir]# cd isolinux/
[root@centos6 isolinux]# ls
boot.cat  grub.conf   isolinux.bin  memtest     TRANS.TBL     vmlinuz
boot.msg  initrd.img  isolinux.cfg  splash.jpg  vesamenu.c32
[root@centos6 isolinux]# vim isolinux.cfg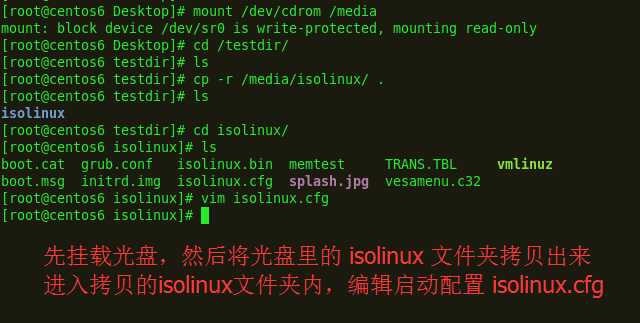
centos6:
centos 7
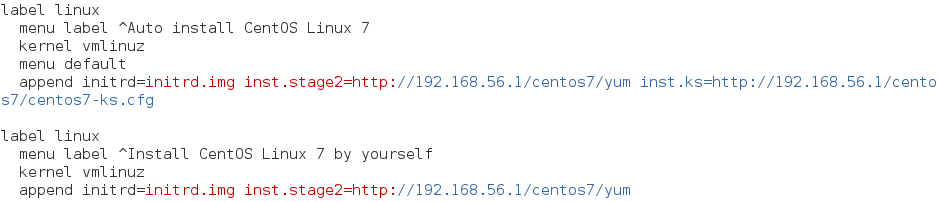
label linux
  menu label ^Auto install CentOS Linux 7
  kernel vmlinuz
  menu default
  append initrd=initrd.img inst.stage2=http://192.168.56.1/centos7/yum inst.ks=http://192.168.56.1/centos7/centos7-ks.cfg
label linux
  menu label ^Install CentOS Linux 7 by yourself
  kernel vmlinuz
  append initrd=initrd.img inst.stage2=http://192.168.56.1/centos7/yum
然后执行命令如下:
[root@centos6 isolinux]# mkisofs -R -J -T -v --no-emul-boot --boot-load-size 4 --boot-info-table -V "Centos 6.8 x64 nineven_boot" -b isolinux.bin -c boot.cat -o /share/boot.iso /testdir/isolinux/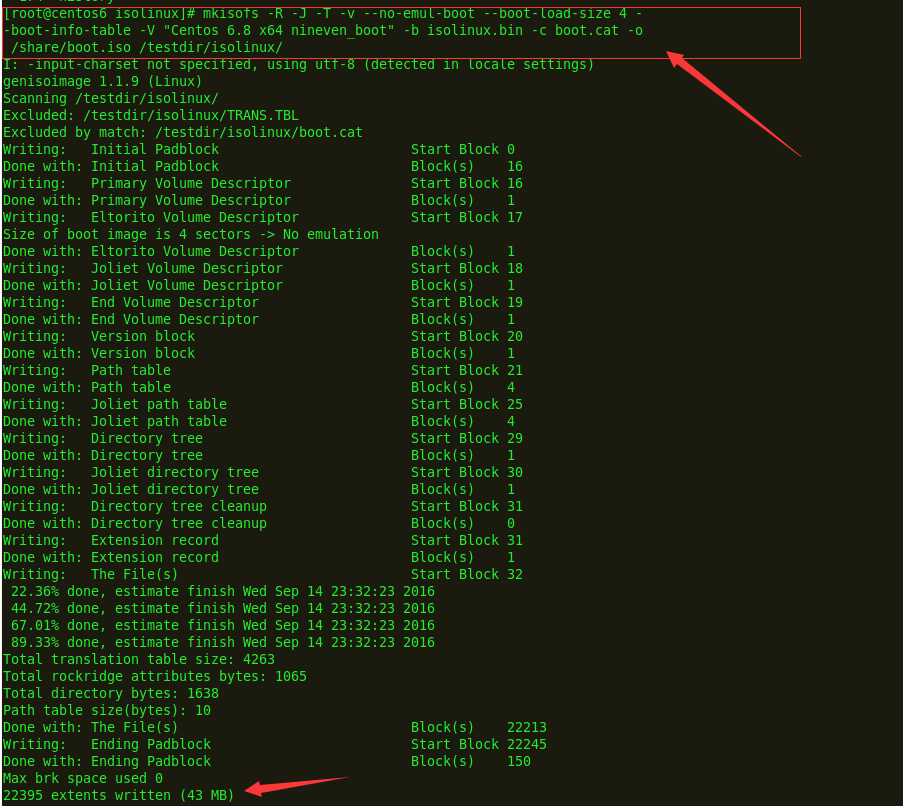

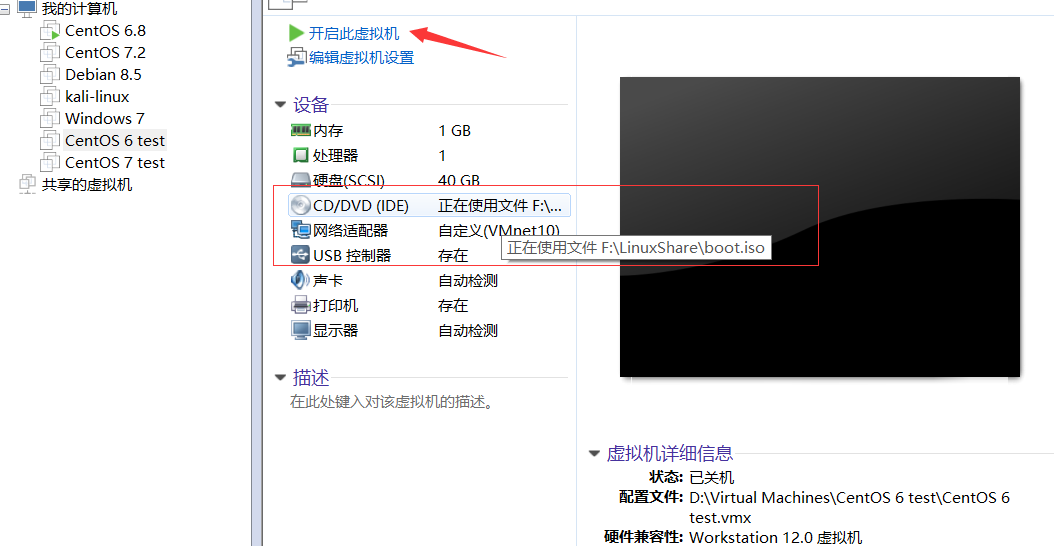
3,已经制作完成,下面新建一个虚拟机,把该boot.iso 文件作为光盘挂载