今天我们讲一下 Shopify 插件应用开发最基础的部分获取店铺信息。
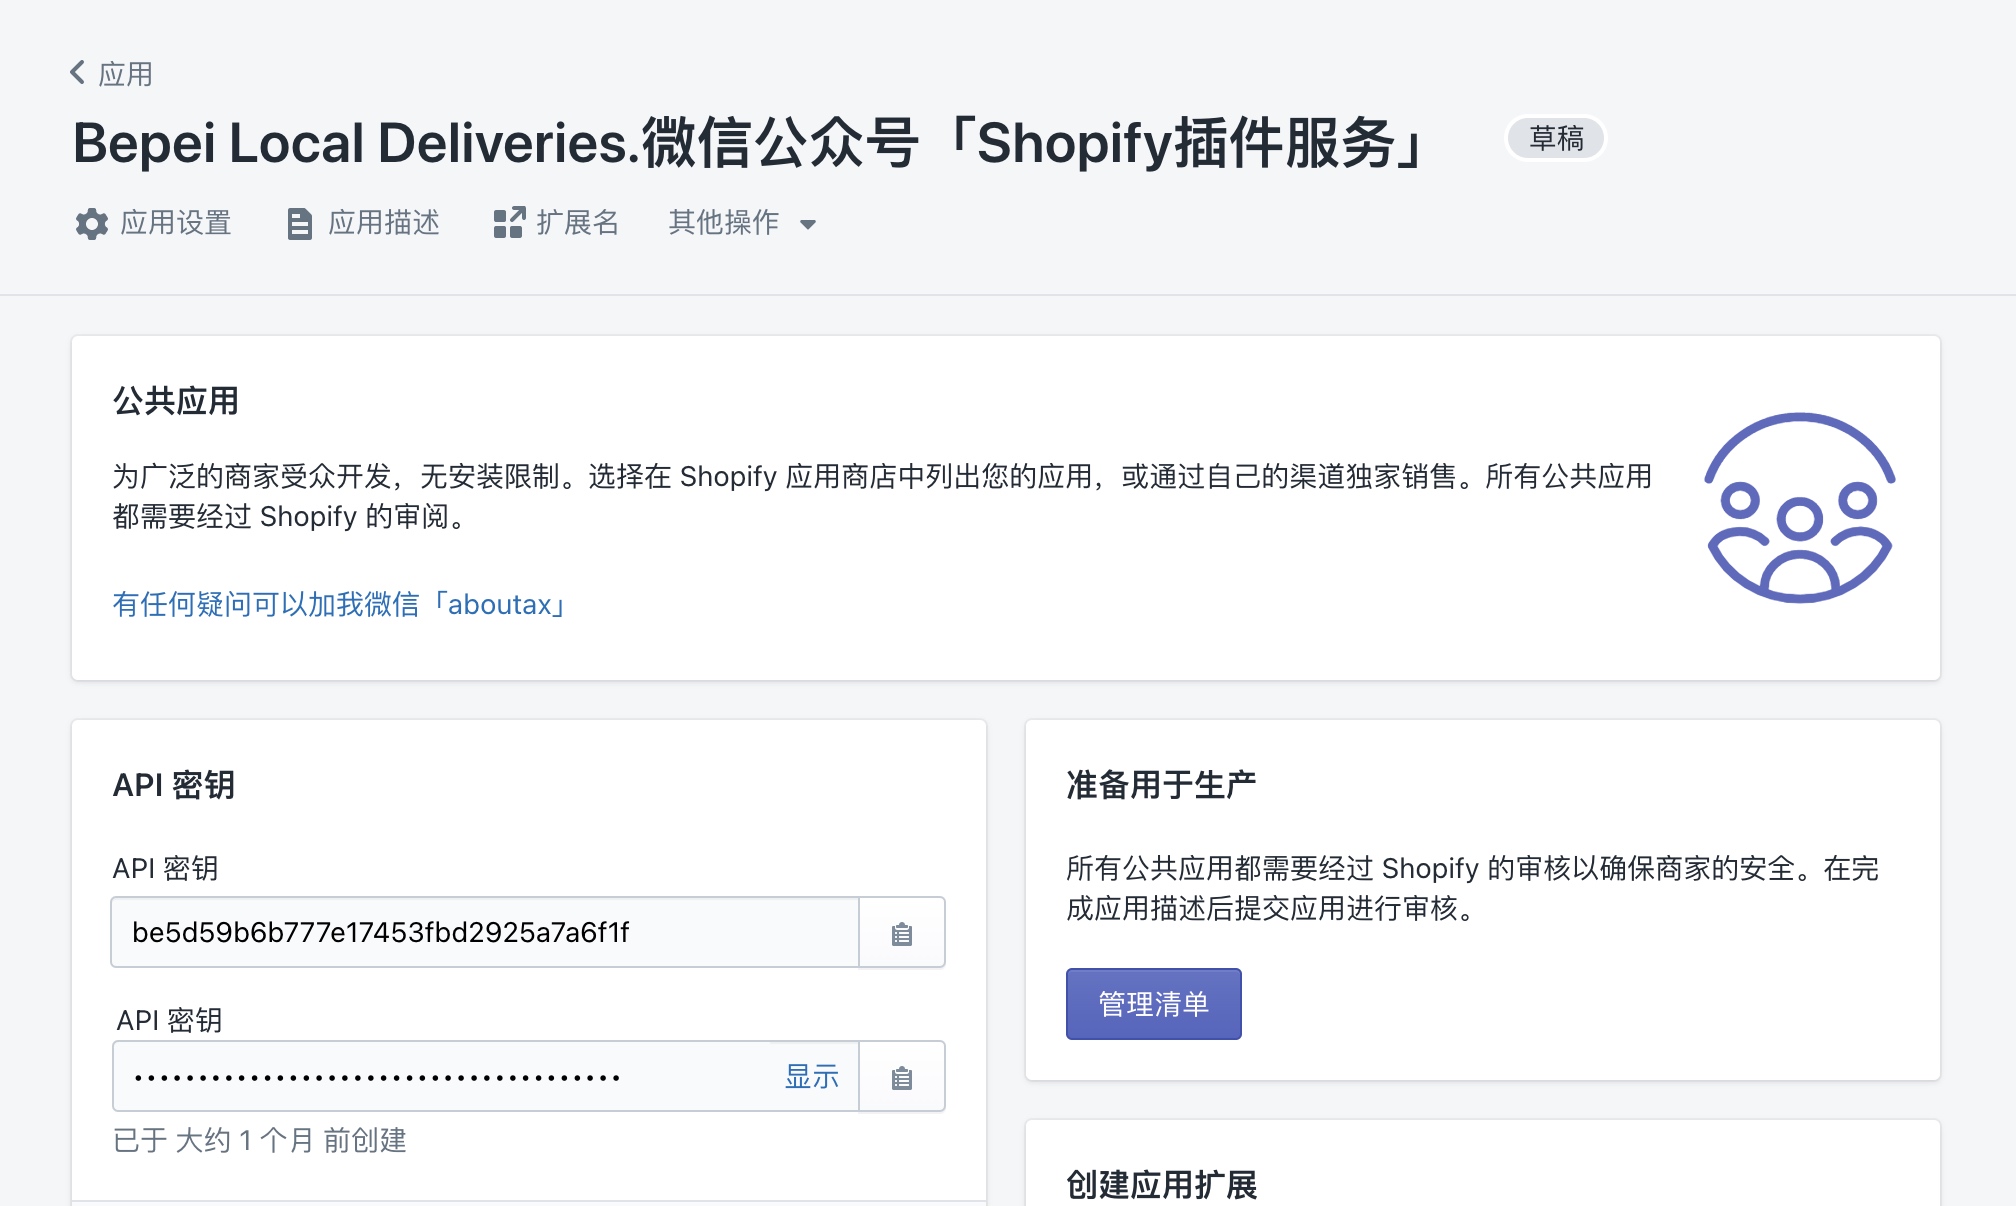
第一步,在开始撸码之前,我们先要获取应用的 API 秘钥

第二步,撸码这件事我一贯的原则是不重复造轮子,工具在无明显缺陷情况下,一定使用第三方工具。所以我们当然用第三方的工具。
这里我是用的是 PHP 语言的 Laravel 框架进行开发。如果你也是使用 PHP 语言但是其他框架,可以在 https://packagist.org/?query=shopify搜索相应的工具来辅助开发。
composer require osiset/laravel-shopify
第三步,安装完第三方工具后,配置相应的 API 秘钥,开始撸码。
首先,我们要建立数据库的表,在 Laravel-Shopify 这个轮子中,只需要发布相应资源,再执行数据库迁移即可。
php artisan vendor:publish --tag=shopify-migrations
php artisan migrate
然后,我们需要将用户模型跟Shopify关联起来,只需要 implements IShopModel 即可。
namespace App;
use Illuminate\Notifications\Notifiable;
use Illuminate\Foundation\Auth\User as Authenticatable;
use Osiset\ShopifyApp\Contracts\ShopModel as IShopModel;
use Osiset\ShopifyApp\Traits\ShopModel;
class User extends Authenticatable implements IShopModel
{
use Notifiable;
use ShopModel;
/**
* The attributes that are mass assignable.
*
* @var array
*/
protected $fillable = [
'name', 'email', 'password',
];
/**
* The attributes that should be hidden for arrays.
*
* @var array
*/
protected $hidden = [
'password', 'remember_token',
];
}
我们添加路由
Route::group([
'middleware' => 'auth.shopify',
], function ($router) {
$router->get('/dashboard', [Controller::class, 'dashboard'])->name('delivery.dashboard');
});
路由这里划重点
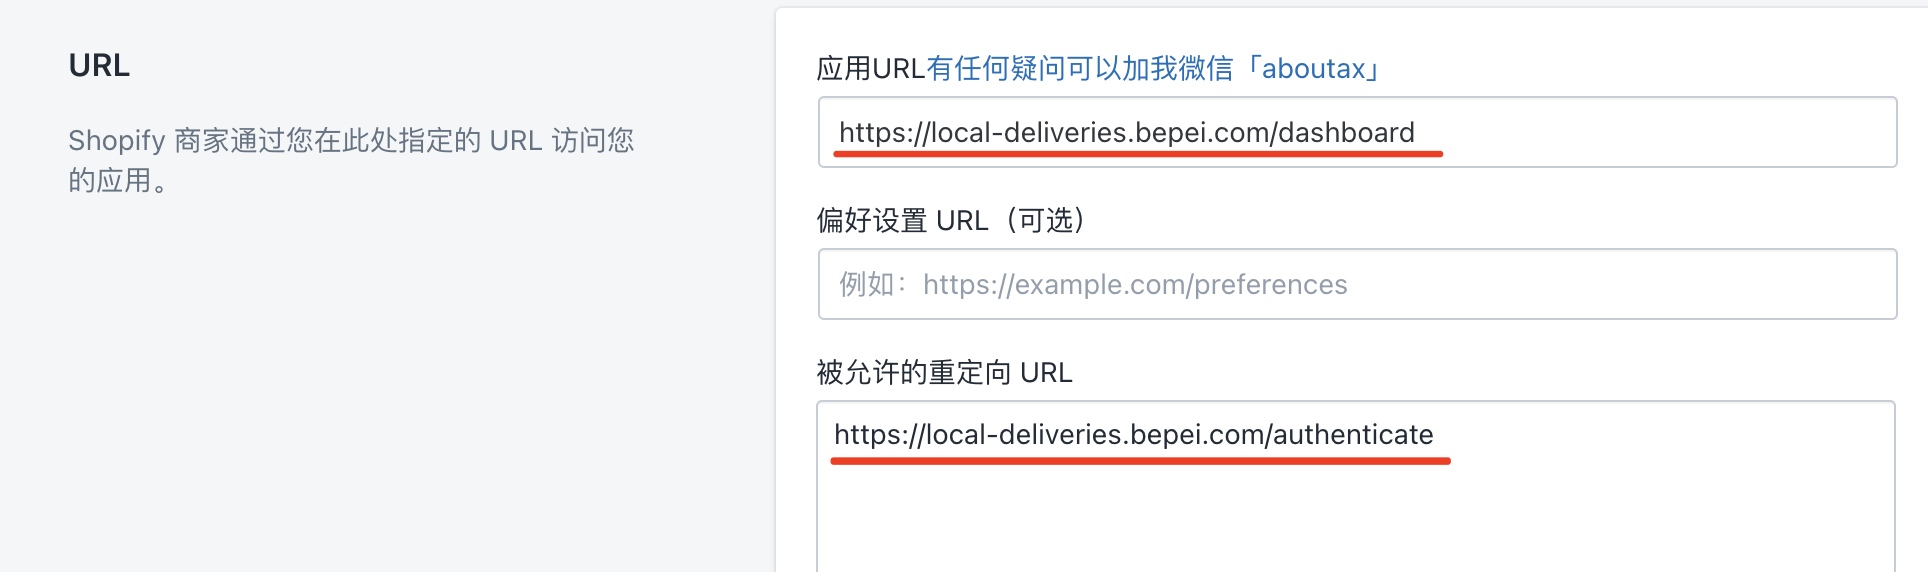
这里的 Dashboard 相当于一个商家插进应用后台主页,Wordpress 中的仪表盘。我们也需要将 xxx.bepei.com/dashboard 和 xxx.bepei.com/authenticate 设置到应用后台。前者是后台主页,后者是商家安装插件时的授权跳转页面。
xxx.bepei.com/authenticate 这个是 Laravel-Shopify 这个轮子自带的,不需要我们写入路由中。
所以路由设置好以后,我们需要到 Shopify 后台设置插件对应的URL,如下图。

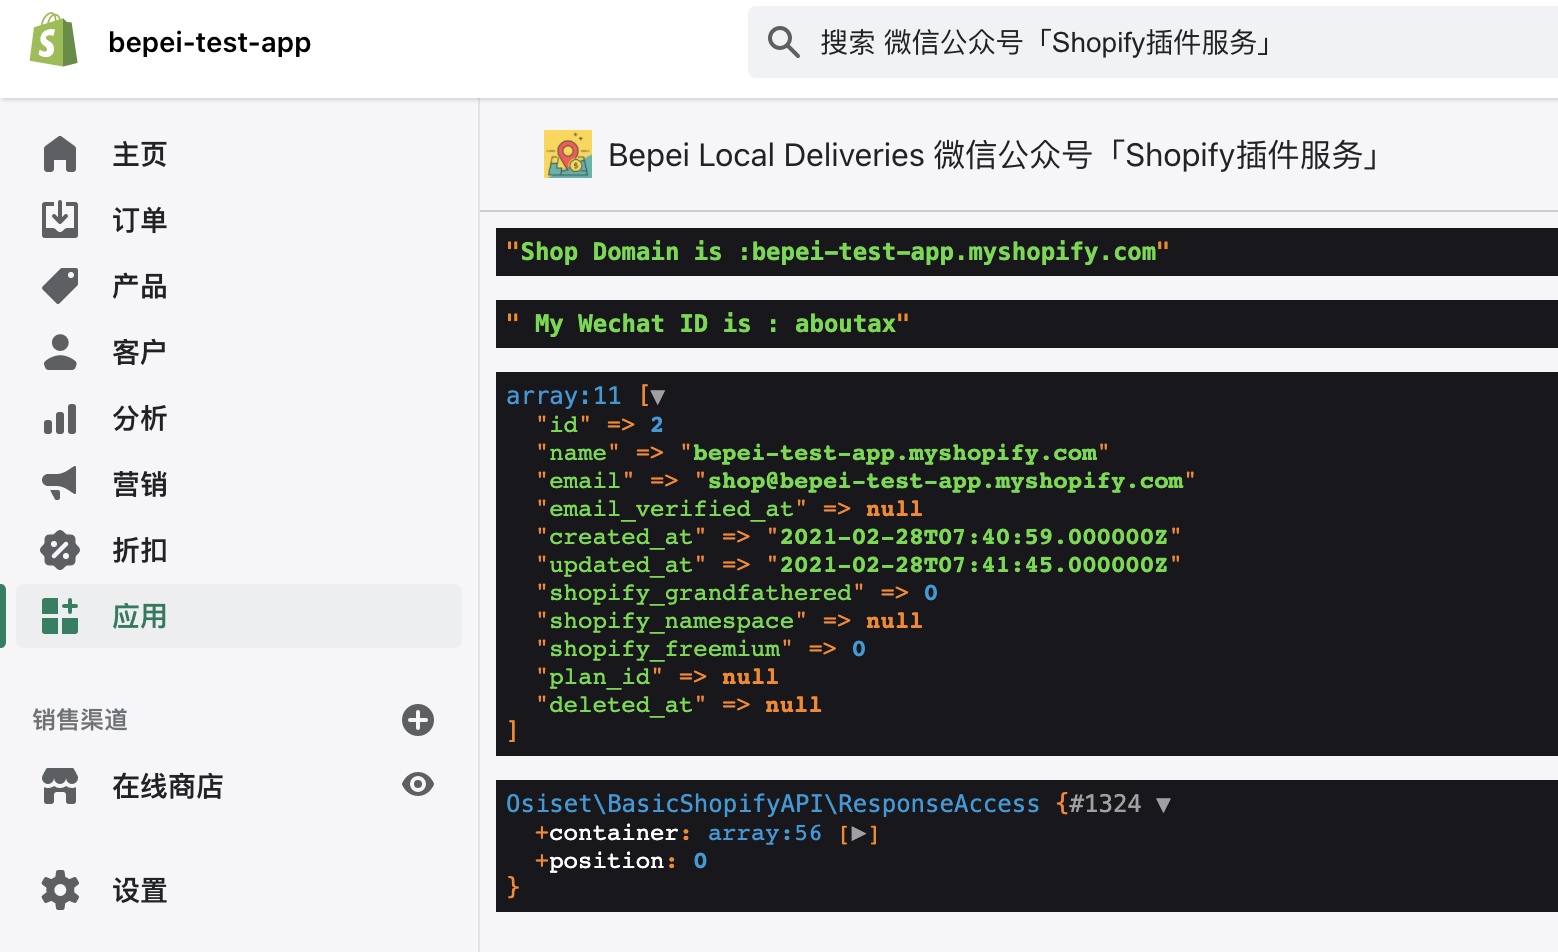
最后,就可以来编写逻辑部分了。
我的 Dashboard 部分直接对应的是 Controller 控制器中 dashboard函数。
namespace App\Http\Controllers;
use Illuminate\Foundation\Auth\Access\AuthorizesRequests;
use Illuminate\Foundation\Bus\DispatchesJobs;
use Illuminate\Foundation\Validation\ValidatesRequests;
use Illuminate\Routing\Controller as BaseController;
use Illuminate\Support\Facades\Auth;
use Osiset\BasicShopifyAPI\BasicShopifyAPI;
class Controller extends BaseController
{
use AuthorizesRequests, DispatchesJobs, ValidatesRequests;
public function dashboard()
{
$shop = Auth::user();
$domain = $shop->getDomain()->toNative();
/** @var BasicShopifyAPI $shopApi */
$shopApi = $shop->api();//
$shopInfo = $shopApi->rest('GET', '/admin/shop.json')['body']['shop'];
dump("Shop Domain is :".$domain);
dump(" My Wechat ID is : aboutax");
dump($shop->toArray());
dump($shopInfo);
}
}
至此开发部分就结束了。
我们来看一下效果
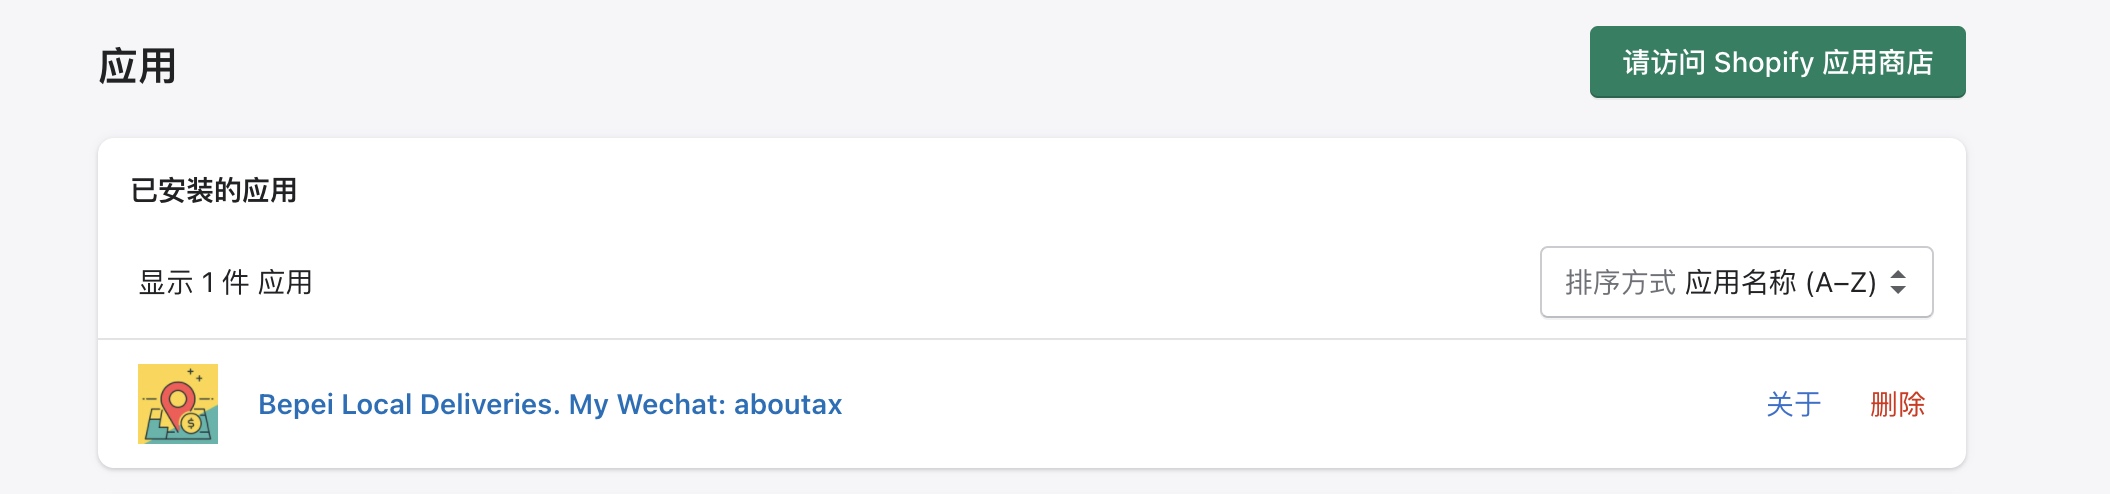
从应用后台进入对应的开发测试店铺。
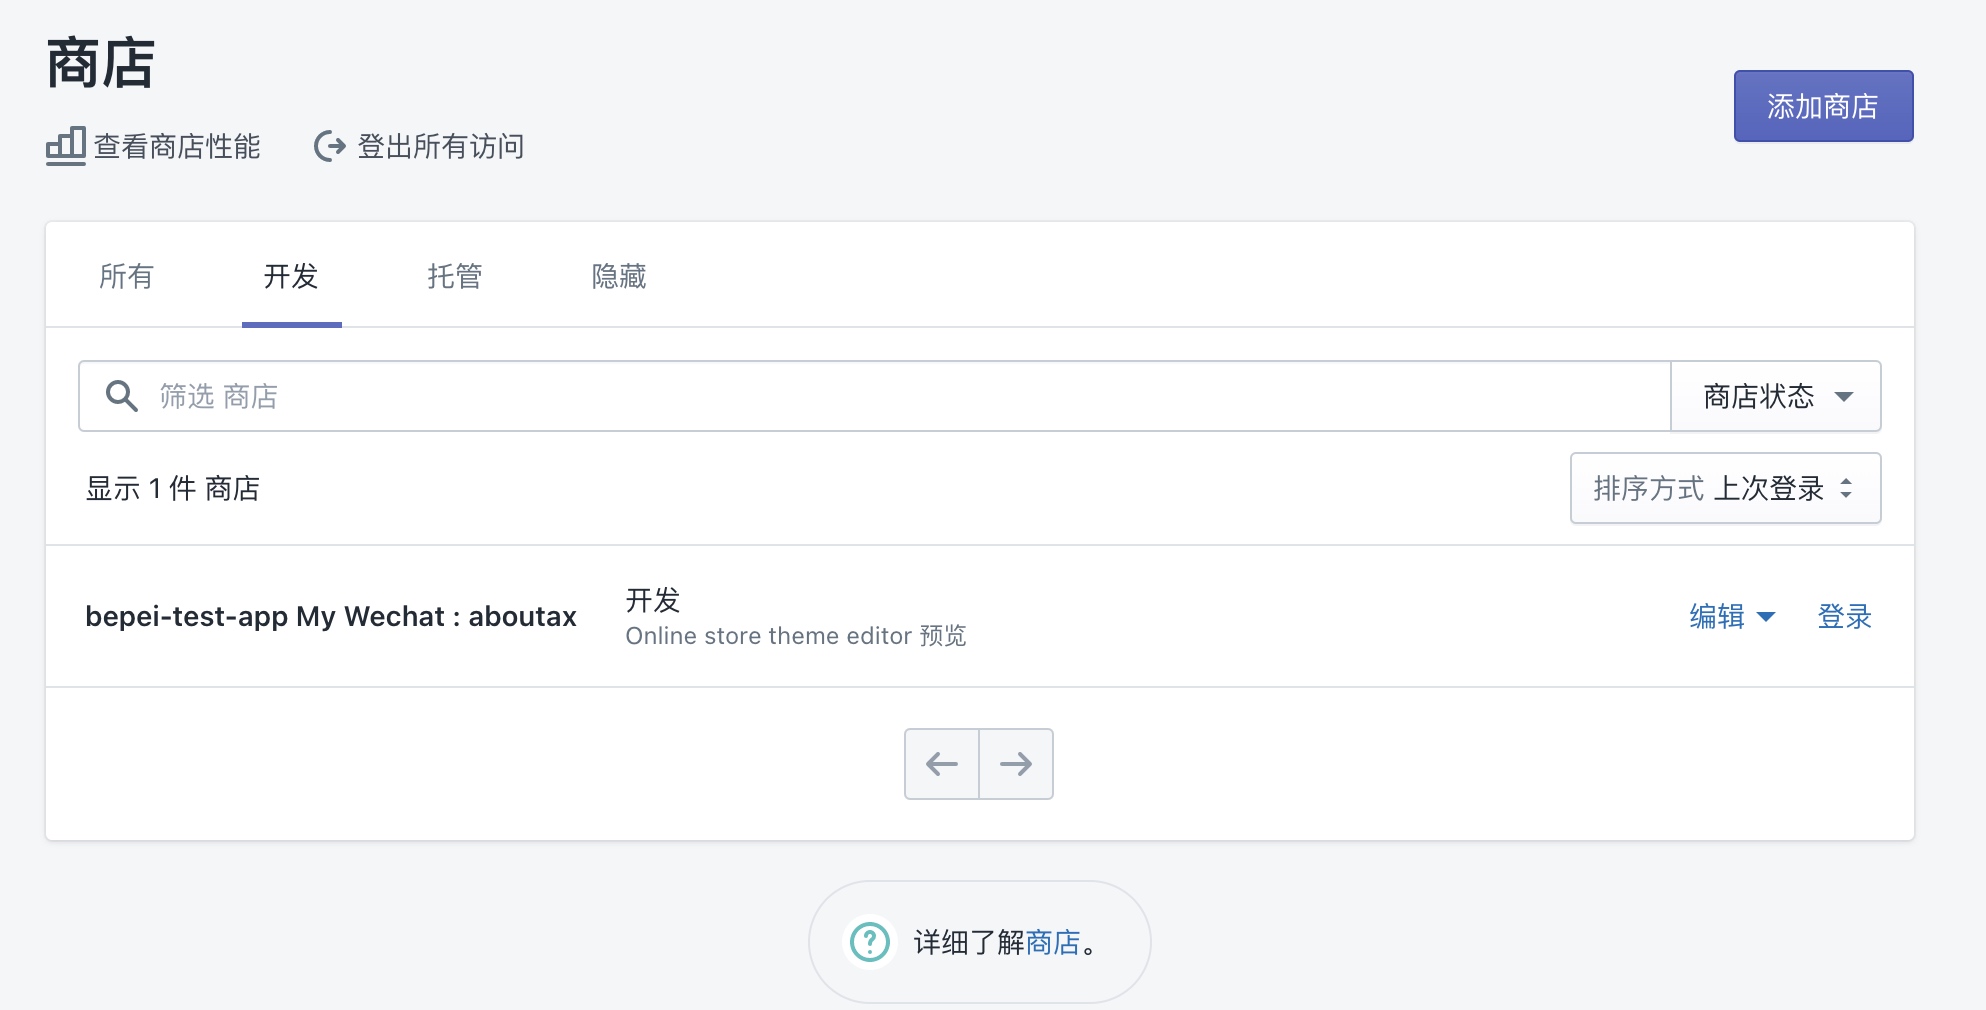
测试店铺中选择应用,可以看到我们已经设置好的应用,点击名字就能看到对应效果