目录
1、概念理解
  1)、springcloud
  2)、eureka
  3)、feign
2、创建eureka注册中心
3、创建client客户端
  1)、创建client1、client2服务
  2)、编写client1服务端业务代码
  3)、编写client2服务端业务代码
4、服务调用
由client2调用client1的代码,并在client1控制台打印helloworld。
一、概念
需要自行了解springcloud、eureka、feign的基本知识,此处只记录个人简单理解。
1、springcloud(微服务):一个服务维护一个功能,工作流都是通过服务间的调用来完成。
适用于业务功能复杂,每个功能都需要庞大的代码量支持的项目。
2、eureka(注册中心):就像通讯录,把所有服务都记在上面,用的时候在上面找。
  服务注册:服务启动时,把服务记在eureka上。
  服务发现:某服务需要调用其他服务的功能时,在eureka上找。

  常见的注册中心:Netflix Eureka、Alibaba Nacos、Apache ZooKeeper等。
  本质是一个基于REST的服务,Spring Cloud将它集成在其子项目spring-cloud-netflix中,以实现Spring Cloud的服务发现功能。
3、feign:调用服务的。
  本质是一个声明式的Web服务客户端,基于REST。使用Feign可以非常方便的实现Http 客户端。
  Spring Cloud引入Feign并且集成了Ribbon实现客户端负载均衡调用。
二、创建Eureka注册中心
有手动创建和idea自动创建两种方式。
此处先讲解idea自动创建,手动就是自行创建以下所有类
1、按图示步骤创建项目
1)new一个project
2)选择项目的开发工具版本 3)设置项目名称
4)设置项目为Eureka注册服务中心
5)确认项目名称、代码路径。点击Finish完成创建。
6)项目代码目录结构如下。在启动类中加入注释@EnableEurekaServer。
7)修改配置文件application.properties为application.yml,并添加如下代码
server:
    port: 8761

eureka:
    instance:
        hostname: localhost
    client:
        # 声明自己是服务器端
        registerWithEureka: false
        fetchRegistry: false
        serverUrl:
            defaultZone: http://${eureka.instance.hostname}:{server.poet}/eureka/
8)确认pom.xml文件的jar包正确。(自动创建则无需修改)
<?xml version="1.0" encoding="UTF-8"?>
<project xmlns="http://maven.apache.org/POM/4.0.0" xmlns:xsi="http://www.w3.org/2001/XMLSchema-instance"
         xsi:schemaLocation="http://maven.apache.org/POM/4.0.0 https://maven.apache.org/xsd/maven-4.0.0.xsd">
    <modelVersion>4.0.0</modelVersion>
    <parent>
        <groupId>org.springframework.boot</groupId>
        <artifactId>spring-boot-starter-parent</artifactId>
        <version>2.5.3</version>
        <relativePath/> <!-- lookup parent from repository -->
    </parent>
    <groupId>com.example</groupId>
    <artifactId>erueka_server</artifactId>
    <version>0.0.1-SNAPSHOT</version>
    <name>erueka_server</name>
    <description>Demo project for Spring Boot</description>
    <properties>
        <java.version>1.8</java.version>
        <spring-cloud.version>2020.0.3</spring-cloud.version>
    </properties>
    <dependencies>
        <dependency>
            <groupId>org.springframework.cloud</groupId>
            <artifactId>spring-cloud-starter-netflix-eureka-server</artifactId>
        </dependency>

        <dependency>
            <groupId>org.springframework.boot</groupId>
            <artifactId>spring-boot-starter-test</artifactId>
            <scope>test</scope>
        </dependency>
    </dependencies>
    <dependencyManagement>
        <dependencies>
            <dependency>
                <groupId>org.springframework.cloud</groupId>
                <artifactId>spring-cloud-dependencies</artifactId>
                <version>${spring-cloud.version}</version>
                <type>pom</type>
                <scope>import</scope>
            </dependency>
        </dependencies>
    </dependencyManagement>

    <build>
        <plugins>
            <plugin>
                <groupId>org.springframework.boot</groupId>
                <artifactId>spring-boot-maven-plugin</artifactId>
            </plugin>
        </plugins>
    </build>

</project>
2、启动项目,并在浏览器输入地址http://localhost:8761
可以看到eureka已成功启动,并且当前无服务注册。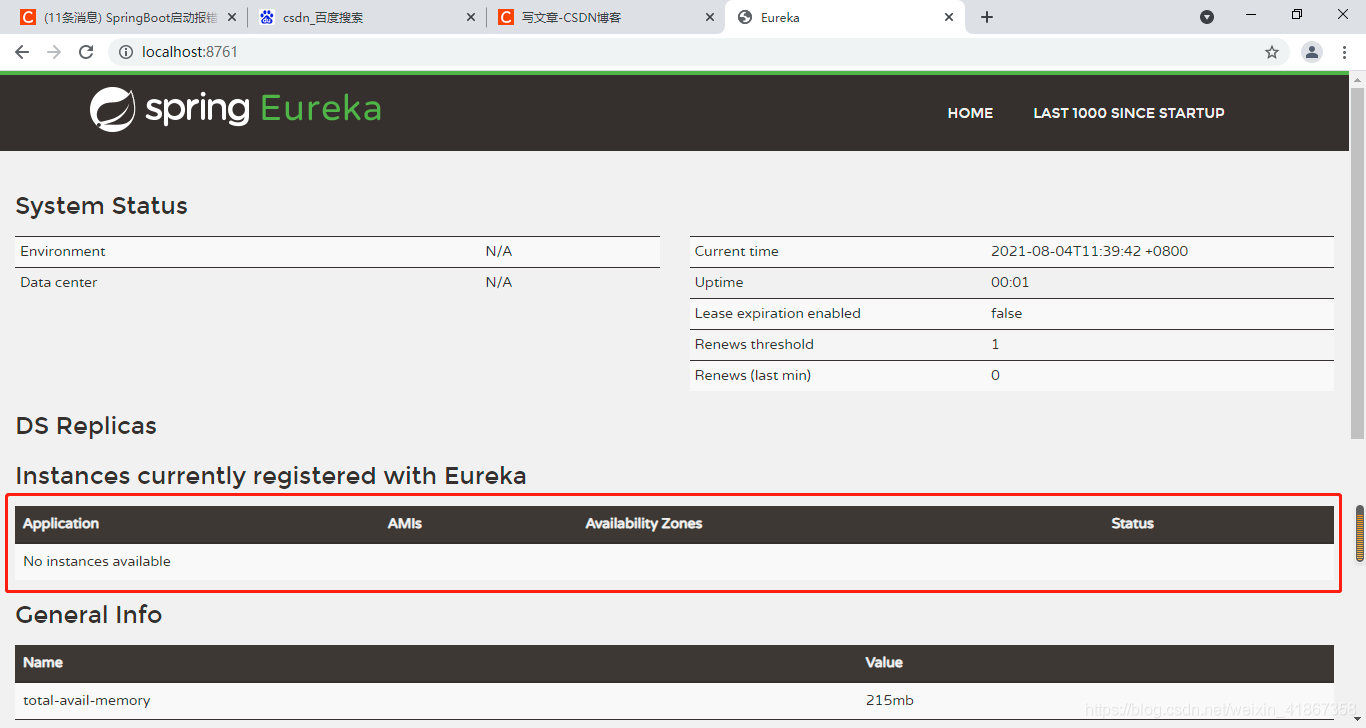
三、创建client客户端
此处创建两个客户端,分别命名为client1、client2。
实例:client2调用client1的服务,传参helloworld,并打印至client1的控制台。
1、先创建client1、client2服务,步骤都一样。
1)new一个project。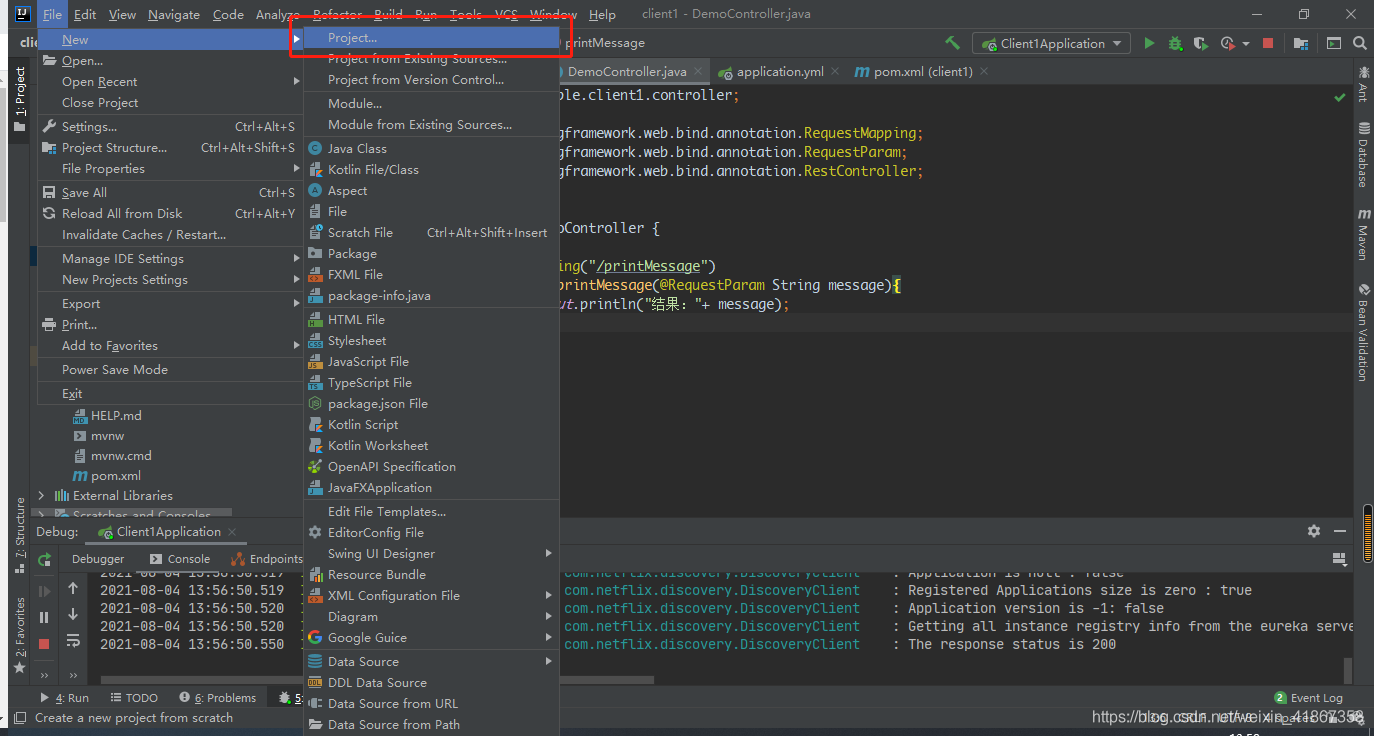
2)选择开发环境版本。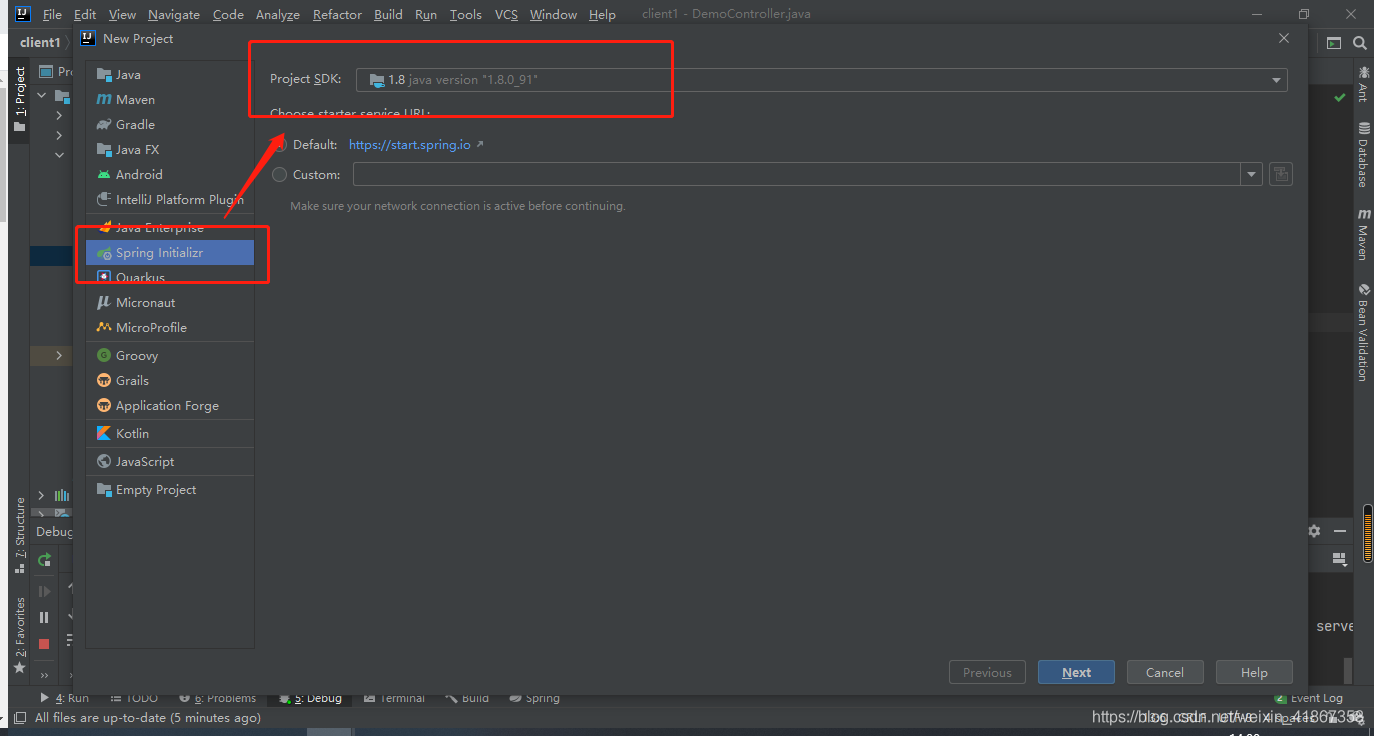
3)设置服务名。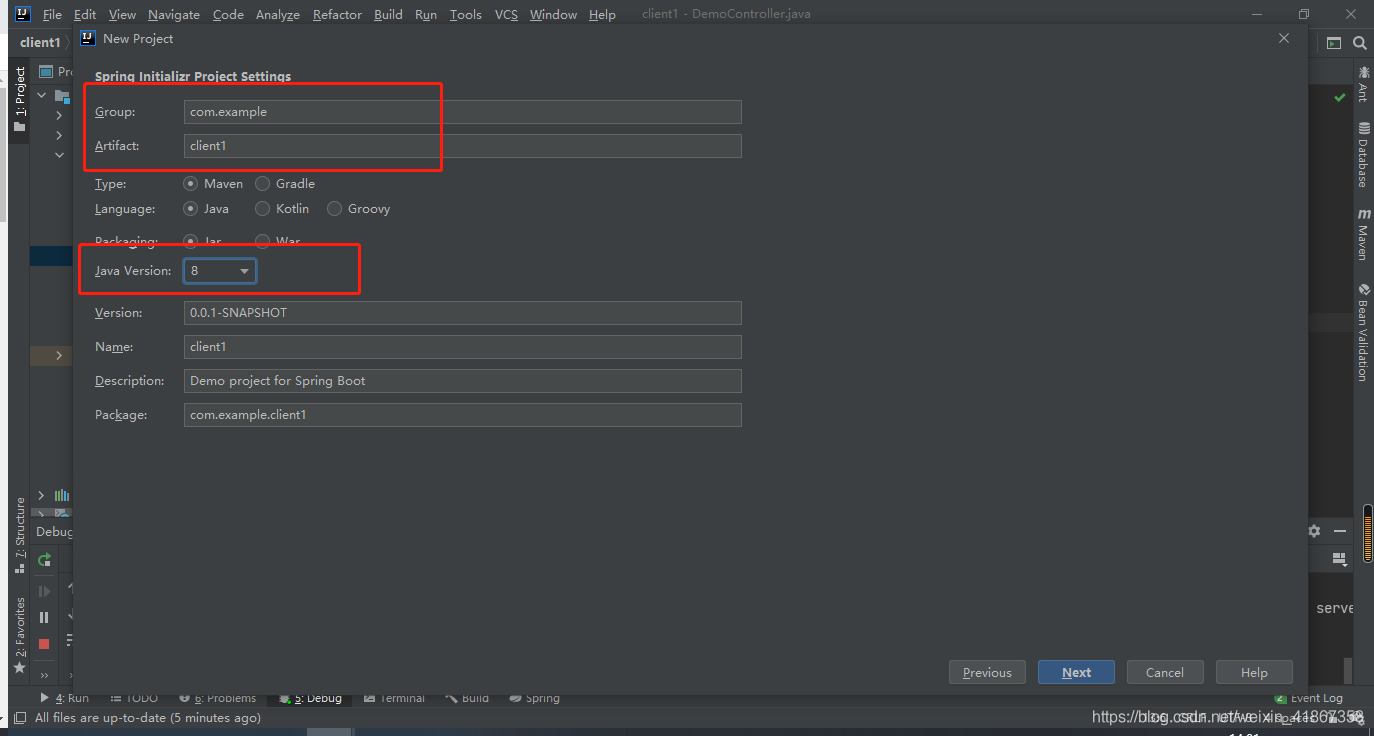
4)选择如下配置。
5)确认服务名、服务存储路径。
7)创建好的client1服务目录结构如下。
2、完成client1服务端代码编写。
1)在pom.xml文件中引入jar包。
<?xml version="1.0" encoding="UTF-8"?>
<project xmlns="http://maven.apache.org/POM/4.0.0" xmlns:xsi="http://www.w3.org/2001/XMLSchema-instance"
         xsi:schemaLocation="http://maven.apache.org/POM/4.0.0 https://maven.apache.org/xsd/maven-4.0.0.xsd">
    <modelVersion>4.0.0</modelVersion>
    <parent>
        <groupId>org.springframework.boot</groupId>
        <artifactId>spring-boot-starter-parent</artifactId>
        <version>2.5.3</version>
        <relativePath/> <!-- lookup parent from repository -->
    </parent>
    <groupId>com.example</groupId>
    <artifactId>client1</artifactId>
    <version>0.0.1-SNAPSHOT</version>
    <name>client1</name>
    <description>Demo project for Spring Boot</description>
    <properties>
        <java.version>1.8</java.version>
        <spring-cloud.version>2020.0.3</spring-cloud.version>
    </properties>
    <dependencies>
        <dependency>
            <groupId>org.springframework.cloud</groupId>
            <artifactId>spring-cloud-starter-netflix-eureka-client</artifactId>
        </dependency>

        <dependency>
            <groupId>org.springframework.boot</groupId>
            <artifactId>spring-boot-starter-test</artifactId>
            <scope>test</scope>
        </dependency>

        <dependency>
            <groupId>org.springframework.cloud</groupId>
            <artifactId>spring-cloud-starter-openfeign</artifactId>
        </dependency>

        <dependency>
            <groupId>org.springframework.boot</groupId>
            <artifactId>spring-boot-starter-tomcat</artifactId>
        </dependency>

        <dependency>
            <groupId>org.springframework.boot</groupId>
            <artifactId>spring-boot-starter-web</artifactId>
        </dependency>
    </dependencies>
    <dependencyManagement>
        <dependencies>
            <dependency>
                <groupId>org.springframework.cloud</groupId>
                <artifactId>spring-cloud-dependencies</artifactId>
                <version>${spring-cloud.version}</version>
                <type>pom</type>
                <scope>import</scope>
            </dependency>
        </dependencies>
    </dependencyManagement>

    <build>
        <plugins>
            <plugin>
                <groupId>org.springframework.boot</groupId>
                <artifactId>spring-boot-maven-plugin</artifactId>
            </plugin>
        </plugins>
    </build>

</project>
2)修改文件名application.properties为application.yml并添加以下代码。
spring:
  application:
    name : client1

server:
  port: 8081

eureka:
  client:
    serviceUrl:
      defaultZone : http://localhost:8761/eureka/
3)在启动类上加入注释@EnableEurekaClient
当该服务作为被调用者时,只要加@EnableEurekaClient即可。
当该服务要调用其他服务时,还要加@EnableFeignClients。
4)创建一个类,作为调试代码。
以下代码含义是:在被调用时在控制台打印“结果:传参”。
5)启动服务,看能不能成功注册到eureka控制中心。
出现下图代表服务client1注册成功。
3、完成client2服务端代码编写。
1)在pom.xml文件中引入jar包。
<?xml version="1.0" encoding="UTF-8"?>
<project xmlns="http://maven.apache.org/POM/4.0.0" xmlns:xsi="http://www.w3.org/2001/XMLSchema-instance"
         xsi:schemaLocation="http://maven.apache.org/POM/4.0.0 https://maven.apache.org/xsd/maven-4.0.0.xsd">
    <modelVersion>4.0.0</modelVersion>
    <parent>
        <groupId>org.springframework.boot</groupId>
        <artifactId>spring-boot-starter-parent</artifactId>
        <version>2.5.3</version>
        <relativePath/> <!-- lookup parent from repository -->
    </parent>
    <groupId>com.example</groupId>
    <artifactId>client2</artifactId>
    <version>0.0.1-SNAPSHOT</version>
    <name>client2</name>
    <description>Demo project for Spring Boot</description>
    <properties>
        <java.version>1.8</java.version>
        <spring-cloud.version>2020.0.3</spring-cloud.version>
    </properties>
    <dependencies>
        <dependency>
            <groupId>org.springframework.cloud</groupId>
            <artifactId>spring-cloud-starter-netflix-eureka-client</artifactId>
        </dependency>

        <dependency>
            <groupId>org.springframework.boot</groupId>
            <artifactId>spring-boot-starter-test</artifactId>
            <scope>test</scope>
        </dependency>

        <dependency>
            <groupId>org.springframework.cloud</groupId>
            <artifactId>spring-cloud-starter-openfeign</artifactId>
        </dependency>

        <dependency>
            <groupId>org.springframework.boot</groupId>
            <artifactId>spring-boot-starter-tomcat</artifactId>
        </dependency>

        <dependency>
            <groupId>org.springframework.boot</groupId>
            <artifactId>spring-boot-starter-web</artifactId>
        </dependency>

    </dependencies>
    <dependencyManagement>
        <dependencies>
            <dependency>
                <groupId>org.springframework.cloud</groupId>
                <artifactId>spring-cloud-dependencies</artifactId>
                <version>${spring-cloud.version}</version>
                <type>pom</type>
                <scope>import</scope>
            </dependency>
        </dependencies>
    </dependencyManagement>

    <build>
        <plugins>
            <plugin>
                <groupId>org.springframework.boot</groupId>
                <artifactId>spring-boot-maven-plugin</artifactId>
            </plugin>
        </plugins>
    </build>

</project>
2)修改文件名application.properties为application.yml并添加以下代码。
spring:
  application:
    name : client2

server:
  port: 8082

eureka:
  client:
    serviceUrl:
      defaultZone : http://localhost:8761/eureka/
3)在启动类上加入注释@EnableEurekaClient、@EnableFeignClients。
当该服务作为被调用者时,只要加@EnableEurekaClient即可。
当该服务要调用其他服务时,还要加@EnableFeignClients。
4)定义feign接口
5)编写调用代码,调用client1接口,打印helloworld。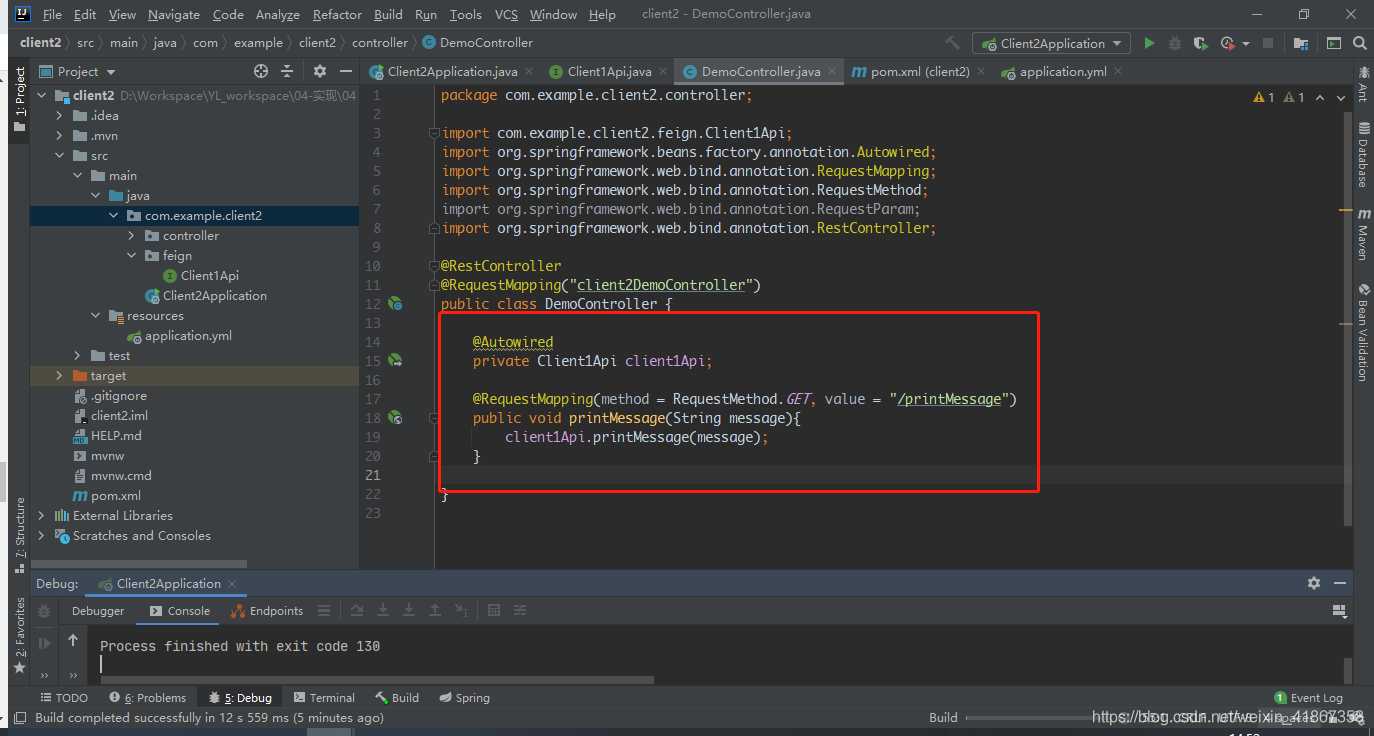
6)启动client2服务
四、服务调用
在浏览器输入http://localhost:8082/printMessage?message=helloworld
到client1服务控制台查看打印结果