一、第三方登录的原理
所谓第三方登录,实质就是 OAuth 授权。用户想要登录 A 网站,A 网站让用户提供第三方网站的数据,证明自己的身份。获取第三方网站的身份数据,就需要 OAuth 授权。
举例来说,A 网站允许 GitHub 登录,背后就是下面的流程:
- A 网站让用户跳转到 GitHub。
- GitHub 要求用户登录,然后询问 “A 网站要求获得 XX 权限,你是否同意?”
- 用户同意,GitHub 就会重定向回 A 网站,同时发回一个授权码。
- A 网站使用授权码,向 GitHub 请求令牌。
- GitHub 返回令牌。
- A 网站使用令牌,向 GitHub 请求用户数据。
二、应用登记
一个应用要求 OAuth 授权,必须先到对方网站登记,让对方知道是谁在请求。
所以,你要先去 GitHub 登记一下。大家需要自己登记一下;这是免费的。
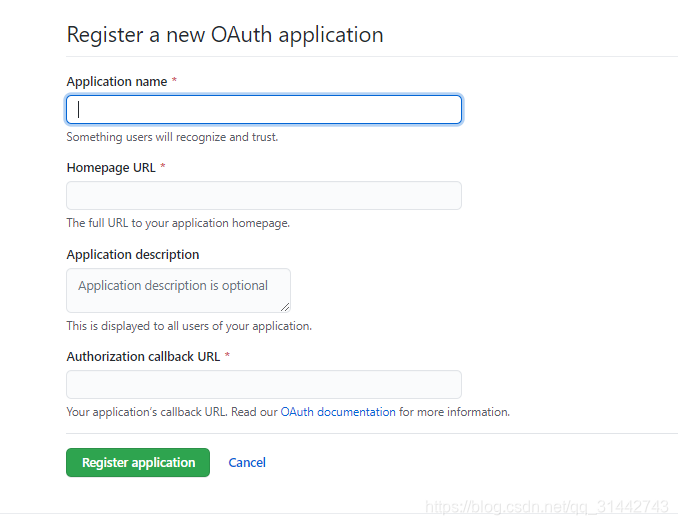
访问GitHub 注册 OAuth APP网址,填写登记表。
三. python 代码实现
下面就是这个流程的代码实现。
这个简单的demo使用了python Flask框架实现我们的web service。
目录机构
demo项目结构如下
project
  - templates
    - home.html
    - login.html
  main.py
路由配置
最主要的是main.py这个文件,
该文件有三条路由“/”,“/login”,“/customer/github/redirect”
“/”路由是主页,
“/login”路由是登录
“/customer/github/redirect”是github提供授权码的callback url
获取令牌
用户通过github的验证后会调用我们提供的callback url,并且附上授权码,
接着我们再拿这个授权码去获取访问资源的access_token
GitHub 的令牌接口 https://github.com/login/oauth/access_token需要提供三个参数。
- client_id:客户端的 ID
- client_secret:客户端的密钥
- code:授权码
作为回应,GitHub 会返回一段 JSON 数据,里面包含了令牌access_token。
main.py
from flask import Flask
from flask import render_template,request
import requests
app = Flask(__name__)


client_id = "your id"
client_secret = your secret"
global access_token


@app.route('/')
def github_user():
    return render_template('home.html')


@app.route('/login')
def hello_world():
    return render_template('login.html')

@app.route('/customer/github/redirect')
def github_redirect():
    global access_token
    code = request.args.get('code')
    token_url = "https://github.com/login/oauth/access_token?" \
                'client_id={}&client_secret={}&code={}'
    token_url = token_url.format(client_id, client_secret, code)
    header = {
        "accept":"application/json"
    }
    res = requests.post(token_url,headers = header)
    if res.status_code == 200:
        res_dict = res.json()
        print(res_dict)
        access_token = res_dict["access_token"]

    user_url = 'https://api.github.com/user'
    access_token = 'token {}'.format(access_token)
    headers = {
        'accept': 'application/json',
        'Authorization': access_token
    }
    isLogin = 0
    res = requests.get(user_url, headers=headers)
    if res.status_code == 200:
        user_info = res.json()
        print(user_info)
        email = user_info.get('email', None)
        company_name = user_info.get('company',None)
        print email
        print company_name
        isLogin = 1

        return render_template('home.html', email=email,company_name=company_name,isLogin = isLogin)

    return None


if __name__ == '__main__':
    app.run(debug=True,host='0.0.0.0',port=5000)
同样里面的client_id和secret要替换成自己的
UI文件
home.html
<!DOCTYPE html>
<html>
<head>
    <meta charset="utf-8"/>
    <title>Flask DEMO</title>
    <link rel="stylesheet" type="text/css" href="static/css/index.css"/>
</head>
<body>
    <div class="header">
        {% if isLogin == 1 %}
        <h1>Welcome ,{{email}}!</h1>
        <h1>Welcome ,{{company_name}}!</h1>
        {%else%}
        <h1>click here to login</h1>
        <a href="http://127.0.0.1:5000/login">登录</a>
        {%endif%}

    </div>
</body>
</html>
login.html
<!DOCTYPE html>
<html lang="en">
<head>
    <meta charset="UTF-8">
    <title>Title</title>
</head>
<body>

<a href="https://github.com/login/oauth/authorize?client_id="your id"&redirect_uri=http://localhost:5000/customer/github/redirect">使用GitHub账号登录</a>


</body>
</html>
注意这个连接中的client_id要替换成你自己的
结果测试:
1.登录测试主页
2.点击登录,进入登录界面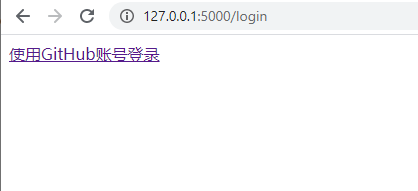
3.跳转到github 做认证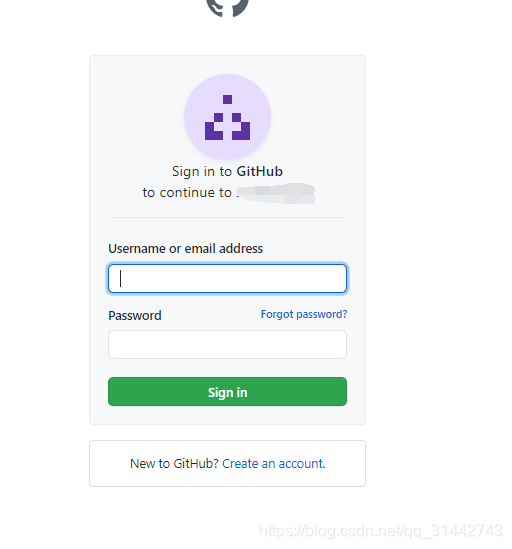
4.auth 成功,显示登录成功和登录结果。