SpringMVC简介
它是基于MVC开发模式的框架,用来优化控制器.它是Spring家族的一员.它也具备IOC和AOP。
什么是MVC?
它是一种开发模式,它是模型视图控制器的简称.所有的web应用都是基于MVC开发.
- M:模型层,包含实体类,业务逻辑层,数据访问层
- V:视图层,html,javaScript,vue等都是视图层,用来显现数据
- C:控制器,它是用来接收客户端的请求,并返回响应到客户端的组件,Servlet就是组件
SpringMVC框架的优点
- 轻量级,基于MVC的框架
- 易于上手,容易理解,功能强大
- 它具备IOC和AOP
- 完全基于注解开发
基于注解的SpringMVC框架开发的步骤
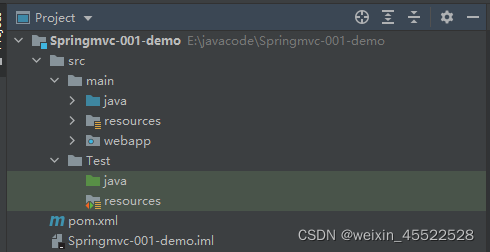
新建项目,选择webapp模板.

修改目录,添加缺失的test,java,resources(两套),并修改目录属性
修改pom.xml文件,添加SpringMVC的依赖,添加Servlet的依赖
<?xml version="1.0" encoding="UTF-8"?>

<project xmlns="http://maven.apache.org/POM/4.0.0" xmlns:xsi="http://www.w3.org/2001/XMLSchema-instance"
  xsi:schemaLocation="http://maven.apache.org/POM/4.0.0 http://maven.apache.org/xsd/maven-4.0.0.xsd">
  <modelVersion>4.0.0</modelVersion>

  <groupId>com.peihj</groupId>
  <artifactId>Springmvc-001-demo</artifactId>
  <version>1.0-SNAPSHOT</version>
  <packaging>war</packaging>


  <properties>
    <project.build.sourceEncoding>UTF-8</project.build.sourceEncoding>
    <maven.compiler.source>1.8</maven.compiler.source>
    <maven.compiler.target>1.8</maven.compiler.target>
  </properties>

  <dependencies>
    <dependency>
      <groupId>junit</groupId>
      <artifactId>junit</artifactId>
      <version>4.11</version>
      <scope>test</scope>
    </dependency>
    <!--添加Spring-MVC依赖-->
    <dependency>
      <groupId>org.springframework</groupId>
      <artifactId>spring-webmvc</artifactId>
      <version>5.3.18</version>
    </dependency>
    <!--添加servlet依赖-->
    <dependency>
      <groupId>javax.servlet</groupId>
      <artifactId>javax.servlet-api</artifactId>
      <version>4.0.1</version>
      <scope>provided</scope>
    </dependency>
    <dependency>
      <groupId>javax.servlet.jsp</groupId>
      <artifactId>jsp-api</artifactId>
      <version>2.2</version>
      <scope>provided</scope>
    </dependency>
    <dependency>
      <groupId>jstl</groupId>
      <artifactId>jstl</artifactId>
      <version>1.2</version>
    </dependency>
    <dependency>
      <groupId>taglibs</groupId>
      <artifactId>standard</artifactId>
      <version>1.1.2</version>
    </dependency>
  </dependencies>

  <build>
    <resources>
      <resource>
        <directory>src/main/java</directory><!--所在的目录-->
        <includes><!--包括目录下的.properties,.xml 文件都会被扫描到-->
          <include>**/*.properties</include>
          <include>**/*.xml</include>
        </includes>
        <filtering>false</filtering>
      </resource>

      <resource>
        <directory>src/main/resources</directory>
        <includes>
          <include>**/*.properties</include>
          <include>**/*.xml</include>
        </includes>
        <filtering>false</filtering>
      </resource>
    </resources>

    <plugins>
      <plugin>
        <groupId>org.apache.tomcat.maven</groupId>
        <artifactId>tomcat7-maven-plugin</artifactId>
        <version>2.2</version>
        <configuration>
          <port>7070</port>
        </configuration>
      </plugin>
    </plugins>
  </build>
</project>
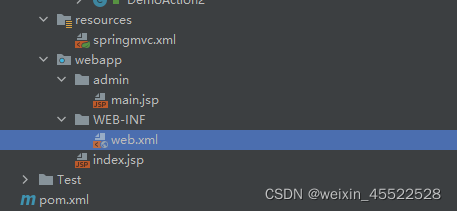
添加springmvc.xml配置文件,指定包扫描,添加视图解析器.
SpringMVC框架为了避免对于请求资源路径与扩展名上的冗余,在视图解析器
InternalResouceViewResolver 中引入了请求的前辍与后辍。而action中只需给出要跳转页面的文件名即可,对于具体的文件路径与文件扩展名,视图解析器会自动完成拼接。
< context:component-scan >:用来进行包扫描,这里用于指定@Controller注解所在的包路径。
<?xml version="1.0" encoding="UTF-8"?>
<beans xmlns="http://www.springframework.org/schema/beans"
       xmlns:xsi="http://www.w3.org/2001/XMLSchema-instance"
       xmlns:context="http://www.springframework.org/schema/context"
       xmlns:mvc="http://www.springframework.org/schema/mvc"
       xsi:schemaLocation="http://www.springframework.org/schema/beans http://www.springframework.org/schema/beans/spring-beans.xsd
                           http://www.springframework.org/schema/context http://www.springframework.org/schema/context/spring-context.xsd
                            http://www.springframework.org/schema/mvc http://www.springframework.org/schema/mvc/spring-mvc.xsd">

    <!--添加包扫描-->
    <mvc:annotation-driven/>
    <mvc:default-servlet-handler/>
    <context:component-scan base-package="com.peihj.controller"/>

    <!--添加视图解析器-->
    <bean class="org.springframework.web.servlet.view.InternalResourceViewResolver">
        <!--配置前缀-->
        <property name="prefix" value="/admin/"></property>
        <!--配置后缀-->
       <property name="suffix" value=".jsp"></property>
    </bean>
</beans>
删除web.xml文件,新建web.xml
因为版本老,不兼容,需要重新创建
删除前
<!DOCTYPE web-app PUBLIC
 "-//Sun Microsystems, Inc.//DTD Web Application 2.3//EN"
 "http://java.sun.com/dtd/web-app_2_3.dtd" >

<web-app>
  <display-name>Archetype Created Web Application</display-name>
</web-app>
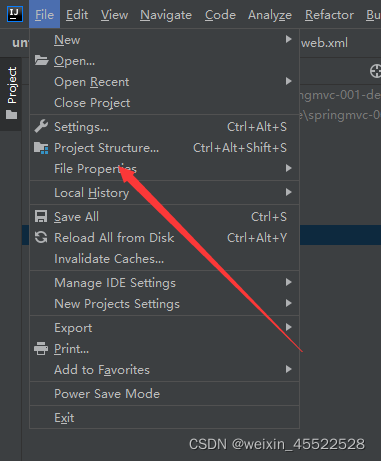
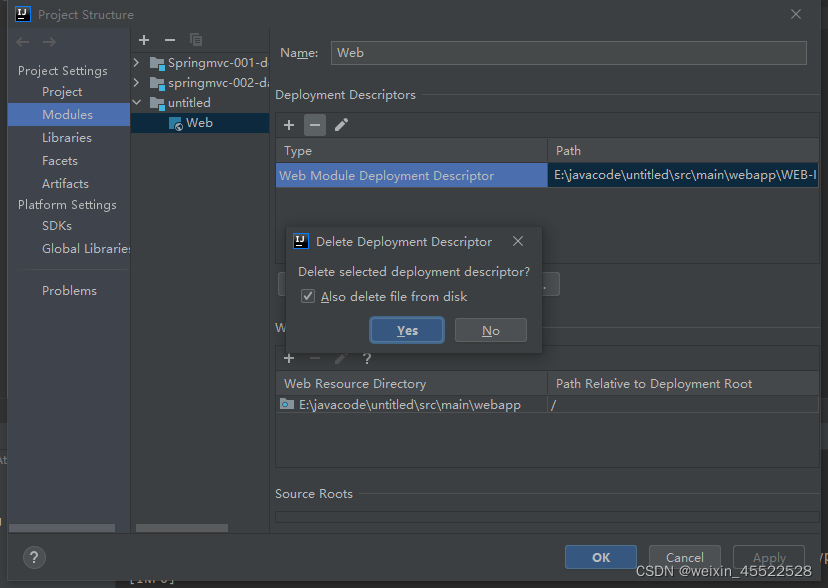
我们点击+号重新创建一个web.xml,但是注意要把名称给换了,不然修改无效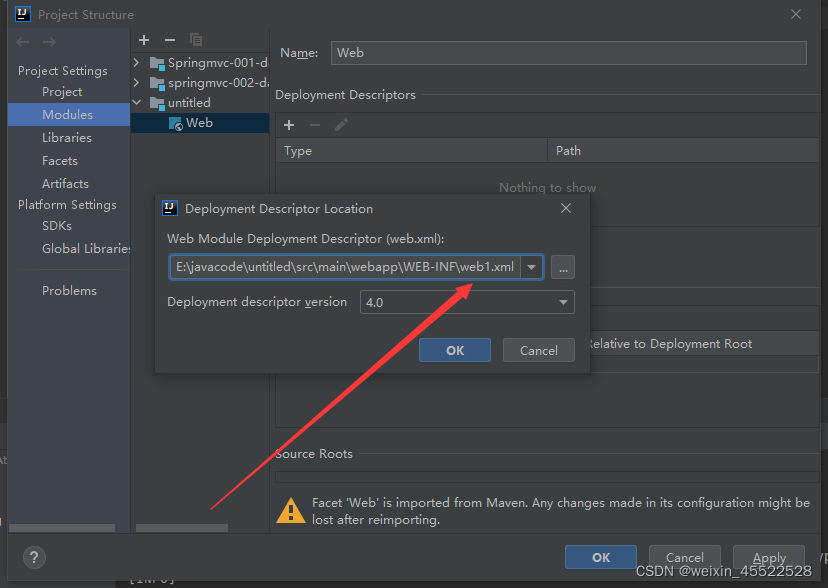
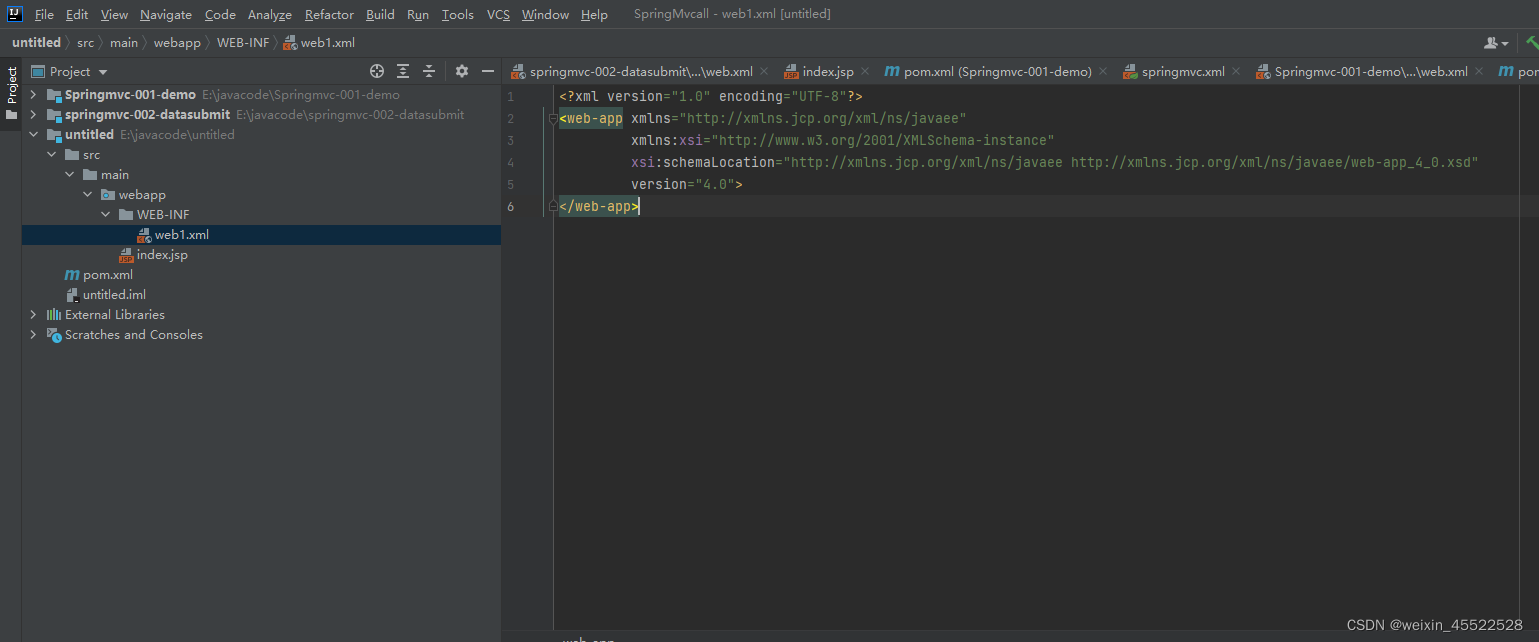
在web.xml文件中注册springMVC框架(所有的web请求都是基于servlet的)
在web.xml文件中注册SpringMvc框架。因为web的请求都是由Servlet来进行处理的,而SpringMVC的核心处理器就是一个DispatcherServlet,它负责接收客户端的请求,并根据请求的路径分派给对应的action(控制器)进行处理,处理结束后依然由核心处理器DispatcherServlet进行响应返回。
中央调度器的全限定性类名在导入的 Jar 文件 spring-webmvc-5.2.5.RELEASE.jar 的第一个包org.springframework.web.servlet下可找到。
<?xml version="1.0" encoding="UTF-8"?>
<web-app xmlns="http://xmlns.jcp.org/xml/ns/javaee"
         xmlns:xsi="http://www.w3.org/2001/XMLSchema-instance"
         xsi:schemaLocation="http://xmlns.jcp.org/xml/ns/javaee http://xmlns.jcp.org/xml/ns/javaee/web-app_4_0.xsd"
         version="4.0">

    <!--注册Springmvc框架-->
    <servlet>
        <servlet-name>springmvc</servlet-name>
        <servlet-class>org.springframework.web.servlet.DispatcherServlet</servlet-class>
        <init-param>
            <param-name>contextConfigLocation</param-name>
            <param-value>classpath:springmvc.xml</param-value>
        </init-param>
        <load-on-startup>1</load-on-startup>
    </servlet>
    <servlet-mapping>
        <servlet-name>springmvc</servlet-name>
        <!--指定拦截啥样的请求
        http://localhost:8080/one
        http;//localhost:8080/index.jsp
        http;//localhost:8080/demo.action
        <a herf="">访问服务器</a>
        -->
        <url-pattern>*.action</url-pattern>
    </servlet-mapping>

</web-app>
< param-value>classpath:springmvc.xml</ param-value>表示从类路径下加载SpringMVC的配置文件。
< url-pattern>指定拦截以.action结尾的请求,交给核心处理器DispatcherServlet处理。
在webapp目录下新建admin目录,在admin目录下新建main.jsp页面,删除index.jsp页面,并新建,发送请求给服务器
删除index.jsp页面,重新建index.jsp页面,因为自动生成的页面缺失指令设置。
- 编写index.jsp
<%--
  Created by IntelliJ IDEA.
  User: peihj
  Date: 2022/5/5
  Time: 22:00
  To change this template use File | Settings | File Templates.
--%>
<%@ page contentType="text/html;charset=UTF-8" language="java" %>
<html>
<head>
    <title>Title</title>
</head>
<body>
<br><br><br>
<a href="${pageContext.request.contextPath}/user/demo.action">访问服务器user</a>
<br>
<a href="${pageContext.request.contextPath}/zar/demo.action">访问服务器zar</a>
</body>
</html>
- 编写main文件
<%--
  Created by IntelliJ IDEA.
  User: peihj
  Date: 2022/5/5
  Time: 21:40
  To change this template use File | Settings | File Templates.
--%>
<%@ page contentType="text/html;charset=UTF-8" language="java" %>
<html>
<head>
    <title>Title</title>
</head>
<body>
<h2>main.jsp已经跳转</h2>
</body>
</html>
- 开发页面,发出请求。
<a href="${pageContext.request.contextPath}/zar/hello.action">访问action</a>
其中:
/zar 是类上的注解路径
/hello 是方法上的注解路径
- 在webapp目录上新添目录/admin
- 在/admin目录下新建main.jsp页面。用来进行服务器处理完毕后数据的回显。
- 开发HelloSpringMvc.java–>控制器(相当于以前的servlet)。这是一个普通的类,不用继承和实现接口。类中的每个方法就是一个具体的action控制器。
类中的方法定义有规范:
A. 访问权限是public。
B. 方法名自定义。
C. 方法的参数可以有多个,任意类型,用来接收客户端提交上来的数据。
D. 方法的返回值任意。以返回String居多。
package com.peihj.controller;

import org.springframework.stereotype.Controller;
import org.springframework.web.bind.annotation.RequestMapping;

@Controller // 交给Spring去创建对象
@RequestMapping("zar")
public class DemoAction {
    /**
     * action中所有方法的创建都是由方法来完成的
     * action方法的规范
     * 1)访问权限是public
     * 2)方法的返回值任意
     * 3)方法名称任意
     * 4)参数任意类型,方法可以没有参数
     * 5)要使用@RequestMappering注解来进行声明一个访问路径
     */
    @RequestMapping("demo.action")
    public String demo(){
        System.out.println("zar服务器被访问到了.............");
        return "main";  // 可以直接跳到/admin/main.jsp页面上
    }
}
@Controller:表示当前类为处理器,交给Spring容器去创建对象。
@RequestMapping:表示路径映射。该注解可以加在类上相当于包名,还可以加在方法上相当于action的名称,都是来指定映射路径的。
参考
https://www.bilibili.com/video/BV1oP4y1K7QT?p=25&t=96.0