Linux下安装jupyter
1.安装jupyter
# python -m pip会使用您指定为python的Python解释器来执行pip
python -m pip install jupyter
2.生成jupyter配置文件
# root用户:
jupyter notebook –generate-config –allow-root

# 非root用户
jupyter notebook –generate-config

#输出信息:Writing default config to: /root/.jupyter/jupyter_notebook_config.py
# 配置文件地址: /root/.jupyter/jupyter_notebook_config.py
3.打开ipython,生成密码
[root@hangzhi ~]# ipython
In [1]:  from notebook.auth import passwd
In [2]: passwd()
Enter password:  #此处输入密码
Verify password: #此处输入之前输入的密码
Out[2]: 'sha1:f8b5f5dbeca8:d1f5b93d5e787e4bf1bf4ad2c48c177ba79f55dd'  #这个秘钥要copy备用
4.修改配置文件
[root@hangzhi ~]# vi /root/.jupyter/jupyter_notebook_config.py

# notebook服务会监听的IP地址
c.NotebookApp.ip = ''
#工作目录,自己选定
c.NotebookApp.notebook_dir = '/opt/jupyter/jupyter_work'
c.NotebookApp.open_browser = False
c.NotebookApp.port = 8888
#上面生成的秘钥
c.NotebookApp.password = u'sha1:f8b5f5dbeca8:d1f5b93d5e787e4bf1bf4ad2c48c177ba79f55dd'
5.启动jupyter
# root用户
jupyter notebook –allow-root

# 非root用户
jupyter notebook
后台启动脚本
# root用户
nohup jupyter notebook --allow-root > /opt/logs/jupyter.log 2>&1 &
停止脚本
#!/bin/bash

#停止服务名称
SERVER_NAME=jupyter-notebook

PIDS=`ps -ef | grep jupyter |awk '{print $2}'`
if [ -z "$PIDS" ]; then
    echo ">>> ERROR: The $SERVER_NAME does not started!"
    exit 1
fi

echo -e ">>> Stopping the $SERVER_NAME ...\c"
for PID in $PIDS ; do
    kill $PID > /dev/null 2>&1
done

COUNT=0
while [ $COUNT -lt 1 ]; do
    echo -e ".\c"
    sleep 1
    COUNT=1
    for PID in $PIDS ; do
        PID_EXIST=`ps -f -p $PID | grep jupyter`
        if [ -n "$PID_EXIST" ]; then
            COUNT=0
            break
        fi
    done
done

echo "OK! -->>> PID: $PIDS"
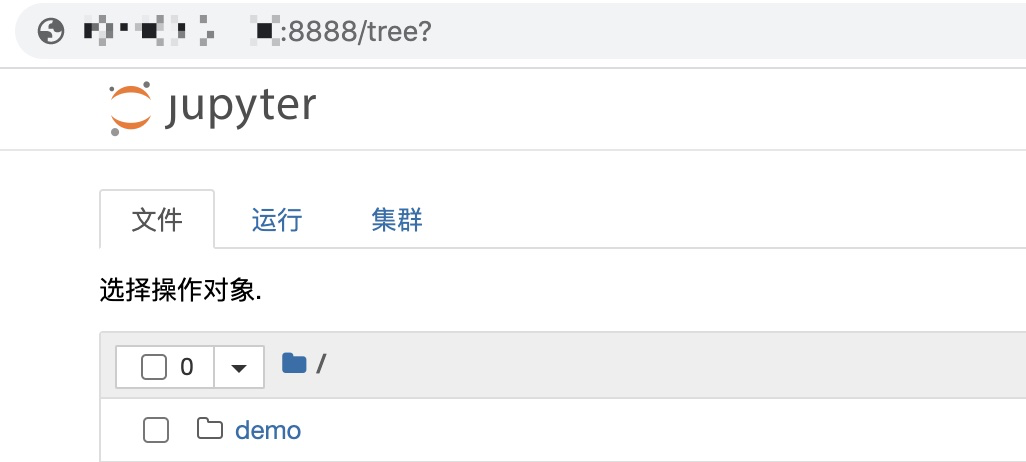
6.浏览器访问
http://xxx.xx.xx.xxx:8888 即可访问了,需输入密码就可以
- 当才华还配不上野心,就静下来学习
- blog地址:hangzhi.site
版权声明:本文为Yuan_Hang723原创文章,遵循CC 4.0 BY-SA版权协议,转载请附上原文出处链接和本声明。