一、导入测试依赖
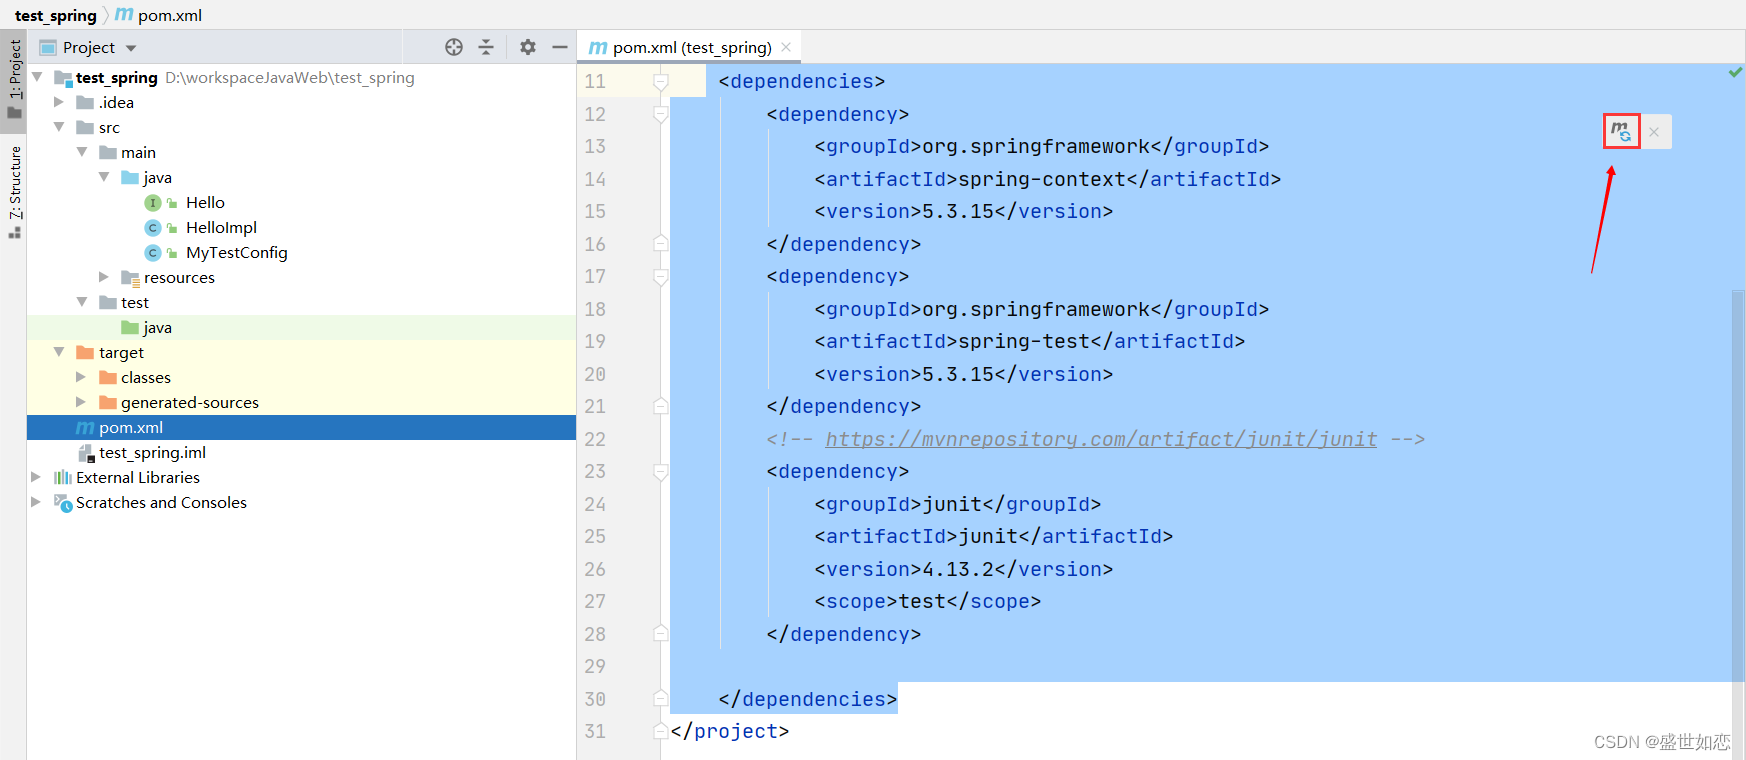
在pom.xml加入junit和spring test
 <dependencies>
        <dependency>
            <groupId>org.springframework</groupId>
            <artifactId>spring-context</artifactId>
            <version>5.3.15</version>
        </dependency>

        <dependency>
            <groupId>org.springframework</groupId>
            <artifactId>spring-test</artifactId>
            <version>5.3.15</version>
        </dependency>

        <!-- https://mvnrepository.com/artifact/junit/junit -->
        <dependency>
            <groupId>junit</groupId>
            <artifactId>junit</artifactId>
            <version>4.13.2</version>
            <scope>test</scope>
        </dependency>

</dependencies>
二、主程序
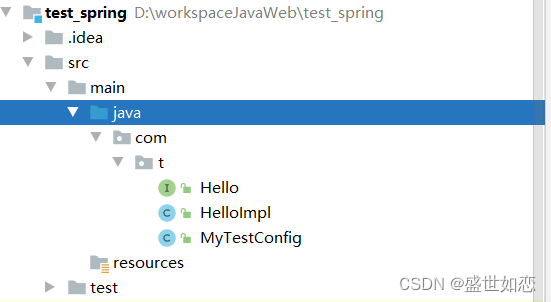
下述都放在了com.t包下
创建一个Hello接口:
package com.t;


public interface Hello {
    void sayHello();
}
创建一个HelloImpl实现Hello接口:
package com.t;


import org.springframework.stereotype.Component;

@Component
public class HelloImpl implements Hello{
    @Override
    public void sayHello() {
        System.out.println("Hello Spring Test");
    }
}
创建一个配置类 ,让上述的Hello HelloImpl放在配置类的路径或子类下。配置类一定要放在某包下,不要放在根路径
package com.t;


import org.springframework.context.annotation.ComponentScan;
import org.springframework.context.annotation.Configuration;


@Configuration
@ComponentScan
public class MyTestConfig {


}
三、测试
在test中和配置类路径相同下创建一个类用于测试,我创建了testSpring1类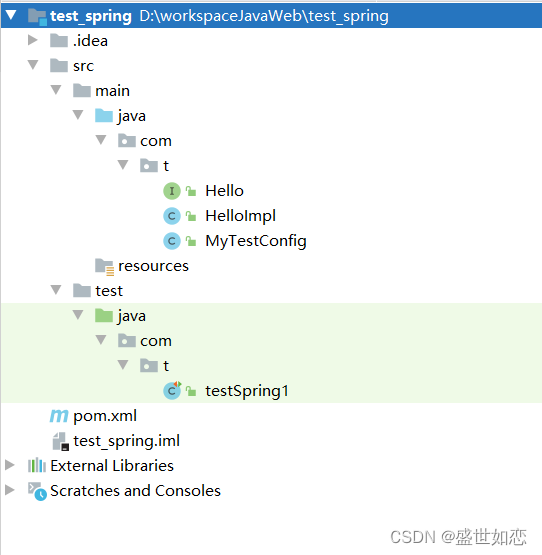
1、在测试类加入以下注解:
@RunWith(SpringJUnit4ClassRunner.class)
@ContextConfiguration(classes = {需要测试的配置类类名.class})
2、在测试类里创建一个方法,加上@Test`注解
如:
import org.junit.Test;
import org.junit.runner.RunWith;
import org.springframework.beans.factory.annotation.Autowired;
import org.springframework.test.context.ContextConfiguration;
import org.springframework.test.context.junit4.SpringJUnit4ClassRunner;

@RunWith(SpringJUnit4ClassRunner.class)
@ContextConfiguration(classes = {MyTestConfig.class})
public class testSpring1 {

    @Autowired
    Hello hello;

    @Test
    public void test1(){
        hello.sayHello();
    }


}
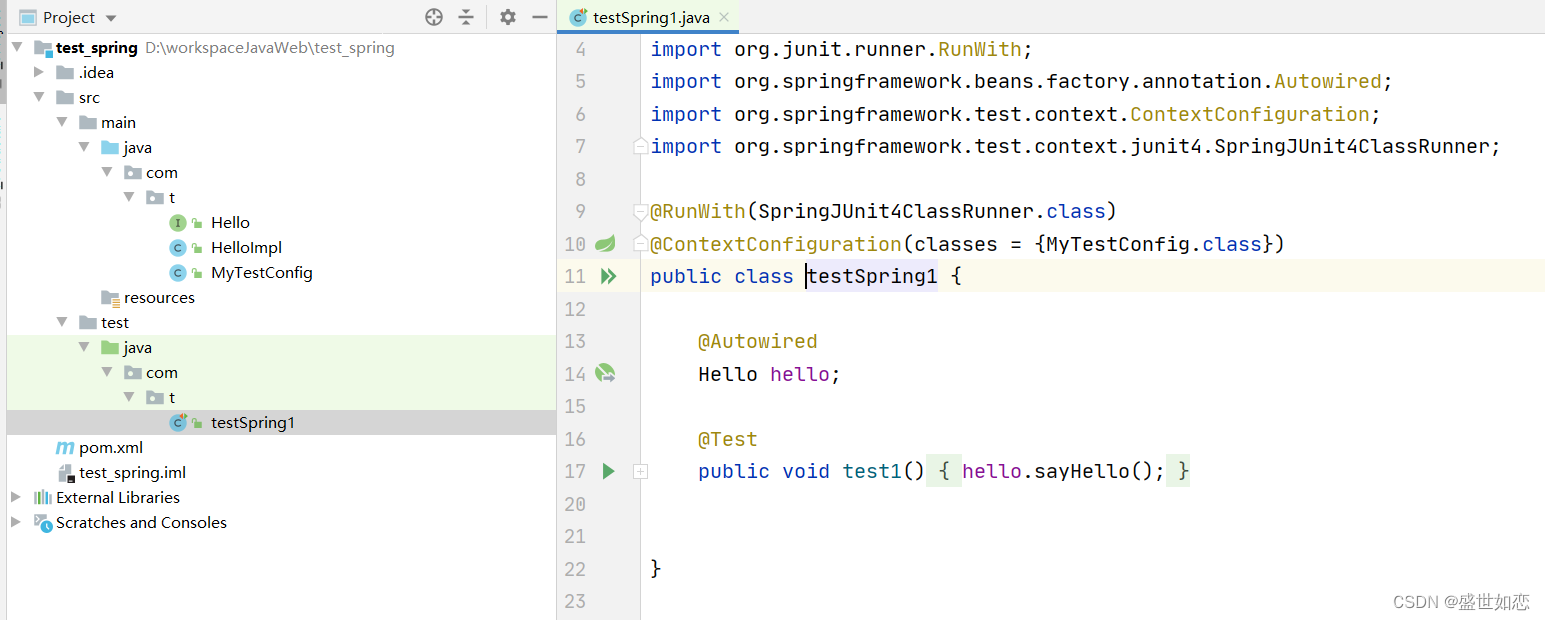
选中有@Test方法名右键运行即可
版权声明:本文为wasane原创文章,遵循CC 4.0 BY-SA版权协议,转载请附上原文出处链接和本声明。