WordPress 的安装部署
环境
操作系统:Ubuntu Kylin 优麒麟 20.04 LTS
适用架构:AMD64、ARM64(鲲鹏、飞腾)
前言
Wordpress 是最流行的内容管理系统之一,也是常用的 CMS(内容管理系统)程序之一。Wordpress 可以多种方式安装,本次讲解非常流行的软件环境LEMP ( Linux + Nginx + MariaDB + PHP )。
安装 MySQL
详见《MySQL 8.0 的安装部署》
安装 Nginx
Nginx 是一个开源的,非常流行,使用非常广泛的网页服务器软件。在 Ubuntu 20.04 系统中我们可以通过以下命令安装 Nginx。
sudo apt update
sudo apt nginx
安装完成后,nginx并不是默认自动启动,通过以下命令启动nginx:
sudo systemctl start nginx
启动完成后,可以输入以下命令查看 nginx 运行状态
systemctl status nginx.service
输出内容类似内容:
● nginx.service - A high performance web server and a reverse proxy server
     Loaded: loaded (/lib/systemd/system/nginx.service; enabled; vendor preset: enabled)
     Active: active (running) since Sun 2020-06-28 02:47:42 UTC; 5s ago
       Docs: man:nginx(8)
    Process: 49088 ExecStartPre=/usr/sbin/nginx -t -q -g daemon on; master_process on; (code=exited, status=0/SUCCESS)
    Process: 49099 ExecStart=/usr/sbin/nginx -g daemon on; master_process on; (code=exited, status=0/SUCCESS)
   Main PID: 49100 (nginx)
      Tasks: 2 (limit: 1075)
     Memory: 8.3M
     CGroup: /system.slice/nginx.service
             ├─49100 nginx: master process /usr/sbin/nginx -g daemon on; master_process on;
             └─49101 nginx: worker process
默认情况,Ubuntu 20.04 TLS 中使用 UFW 管理防火墙。防火墙需要允许 http(80) 和 https(443) 通讯,可以通过以下命令配置:
sudo ufw allow 80
sudo ufw allow 443
如果 ufw 没有启动,建议启动防火墙,这样可以增加系统安全性。
关于如何安装,查看,启停 UFW ,如何配置防火墙,可以查看如何在 Ubuntu 上使用 UFW 设置防火墙。
可以通过http://your_server_ip访问,您将看到默认的Ubuntu Ngix 欢迎页面。
nginx可以正常工作了。
安装 PHP
要显示动态内容,正常运行 Wordpress 我们需要安装 PHP,安装命令如下:
sudo apt install php php-fpm php-opcache php-cli php-gd php-curl php-mysql
sudo systemctl enable php7.4-fpm
sudo systemctl start php7.4-fpm
至此,PHP 及可能用到的扩展安装完成。
使用 Let`s Encrypt 加密使用 Nginx 的 Wordpress 网站
自动安装Let's Encrypt ,因为涉及到要验证域名,所以请提前将你的域名解析到你的主机上。
这里推荐你访问 https://certbot.eff.org/ 网站,使用 certbot 工具来自动配置。
登录系统后,根据你实际站点的运行环境选择 web 容器,运行操作系统。
选择之后,下方会自动出现操作步骤,你只需要按操作步骤在你系统上执行相应的命令即可。
注意,命令执行之前你的域名已经配置解析到你的主机并且已经生效,否则生成证书过程会失败。
sudo nano /etc/nginx/sites-available/wordpress
以下是配置好后,wordpress.conf 的配置文件内容,供参考!
server {
listen 80 default_server;
listen [::]:80 default_server;
# SSL configuration
#
# listen 443 ssl default_server;
# listen [::]:443 ssl default_server;
#
# Note: You should disable gzip for SSL traffic.
# See: https://bugs.debian.org/773332
#
# Read up on ssl_ciphers to ensure a secure configuration.
# See: https://bugs.debian.org/765782
#
# Self signed certs generated by the ssl-cert package
# Don't use them in a production server!
#
# include snippets/snakeoil.conf;

root /var/www/html;

# Add index.php to the list if you are using PHP
index index.html index.php index.htm index.nginx-debian.html;

server_name _;

location / {
    # First attempt to serve request as file, then
    # as directory, then fall back to displaying a 404.
    try_files uriuriuri/ =404;
}

# pass PHP scripts to FastCGI server
#
location ~ \.php$ {
    include snippets/fastcgi-php.conf;

    # With php-fpm (or other unix sockets):
    fastcgi_pass unix:/var/run/php/php7.4-fpm.sock;
    # With php-cgi (or other tcp sockets):
    # fastcgi_pass 127.0.0.1:9000;
}

# deny access to .htaccess files, if Apache's document root
# concurs with nginx's one
#
#location ~ /\.ht {
#    deny all;
#}
}
启用网站
sudo ln -s /etc/nginx/sites-available/wordpress /etc/nginx/sites-enabled/wordpress
运行以下命令来验证配置文件的正确性:
sudo nginx -t
如果检测没有问题,可以通过以下命令重新载入配置文件:
sudo nginx -s reload
如果你想重新启动nginx服务,可以通过以下命令:
sudo systemctl restart nginx
第六步、安装 Wordpress
安装Wordpress之前,需要先创建对应数据库及帐号用于安装wordpress使用。
sudo mysql
创建 Wordpress运行需要的数据库和帐号,这里使用的数据库名wdpressdb,用户名wdpressuser,密码WdPress&Password123 可以根据自己需要修改。
CREATE DATABASE wdpressdb DEFAULT CHARACTER SET utf8mb4 COLLATE utf8mb4_unicode_ci;
CREATE USER 'wdpressuser'@'localhost' IDENTIFIED BY 'WdPress&Password123';
GRANT ALL ON wdpressdb.* TO 'wdpressuser'@'localhost' IDENTIFIED BY 'WdPress&Password123';
GRANT ALL PRIVILEGES ON *.* TO 'wdpressuser'@'localhost';
需要注意,这里使用的默认安装的 MySQL 8.0.20。
成功创建完成后,输入以下命令,更新变更。
FLUSH PRIVILEGES;
最后,我们开始从 https://cn.wordpress.org/ 下载wordpress软件包,并部署wordpress,我们先通过cd命令转入tmp目录。
cd tmp
使用curl命令下载最新版本的wordpress。
curl -O https://wordpress.org/latest.tar.gz
下载完成后,通过tar命令解压软件包。
sudo tar xzvf latest.tar.gz
解压后,通过cd命令进入wordpress目录,使用cp命令复制 wp-config-sample.php 文件为 wp-config.php。
cd /tmp/wordpress
cp wp-config-sample.php wp-config.php
编辑配置文件
sudo nano wp-config.php
内容如下
// ** MySQL 设置 - 具体信息来自您正在使用的主机 ** //
/** WordPress数据库的名称 */
define( ‘DB_NAME’, ‘database_name_here’ );
/** MySQL数据库用户名 */
define( ‘DB_USER’, ‘username_here’ );
/** MySQL数据库密码 */
define( ‘DB_PASSWORD’, ‘password_here’ );
/** MySQL主机 */
define( ‘DB_HOST’, ‘localhost’ );
/** 创建数据表时默认的文字编码 */
define( ‘DB_CHARSET’, ‘utf8’ );
/** 数据库整理类型。如不确定请勿更改 */
define( ‘DB_COLLATE’, ‘’ );
通过cp命令将文件内容拷贝到/var/www/html/example.com目录中。
sudo cp -a /tmp/wordpress/. /var/www/html/example.com
为避免任何权限问题,我们可以将域文档根目录的所有权使用 chown 命令更改为 nginx 用户(www-data):
sudo chown -R www-data:www-data /var/www/html/example.com
至此,配置完成,下一步我们将进入 Wordpress 运行配置界面。
在浏览器中输入https://example.com(你自己的域名),你会看到如下配置界面:

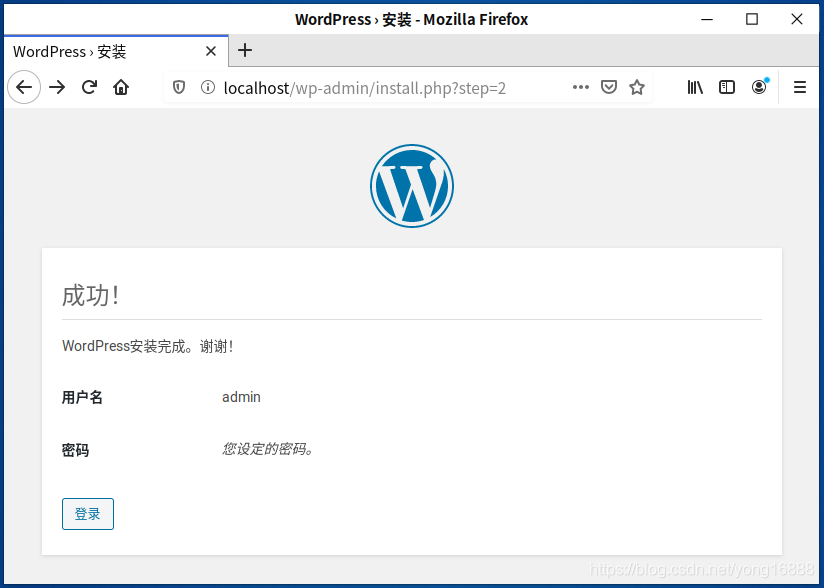
这里就输入站点名称,管理帐号名称及密码,email等内容后,点击 “安装 WordPress”完成安装。
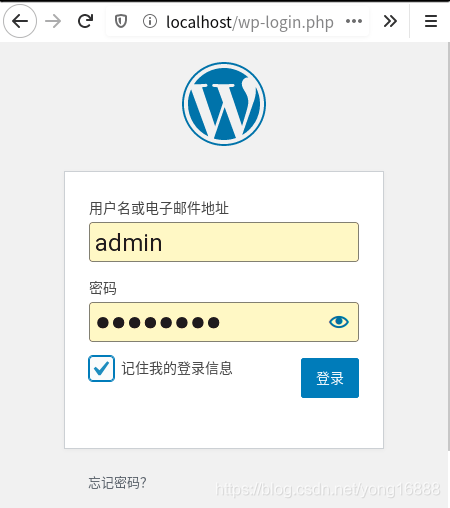
登录
进入控制台
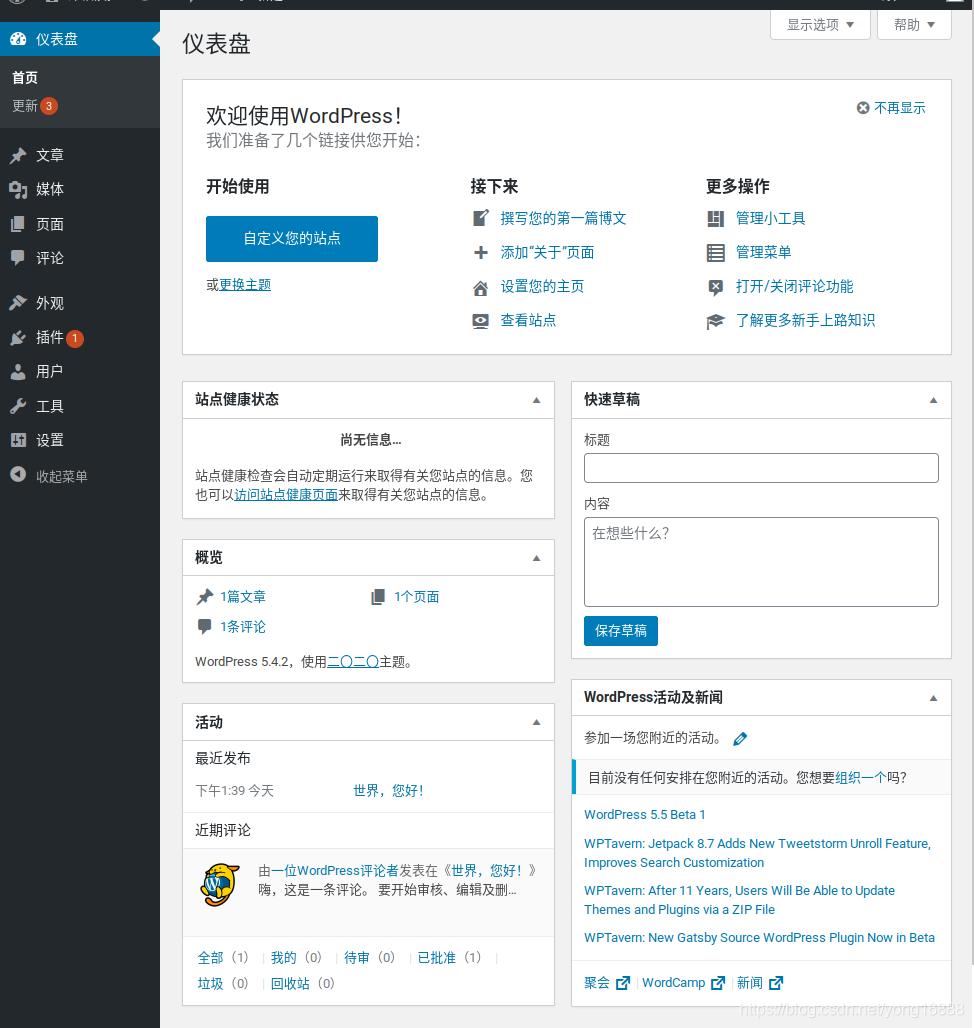
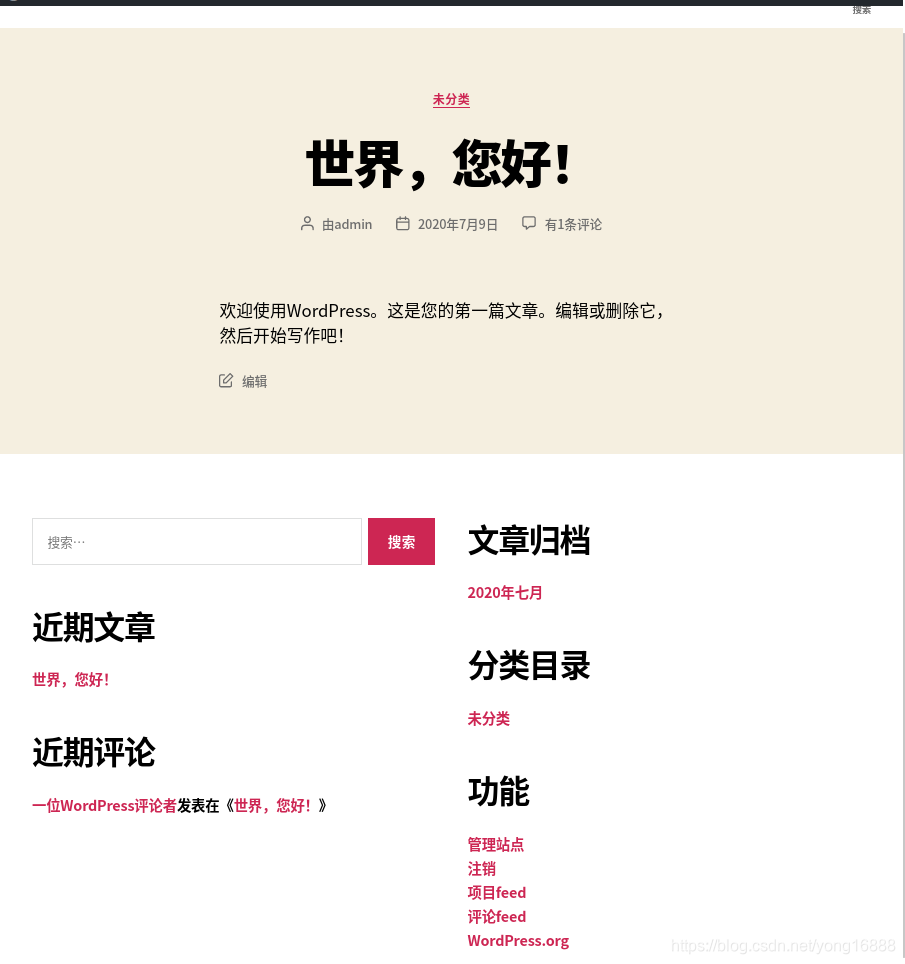
至此,我们完成了Wordpress的安装,来看下默认的效果界面。
请在“设置”中修改站点的地址。使其他计算机能访问本机。
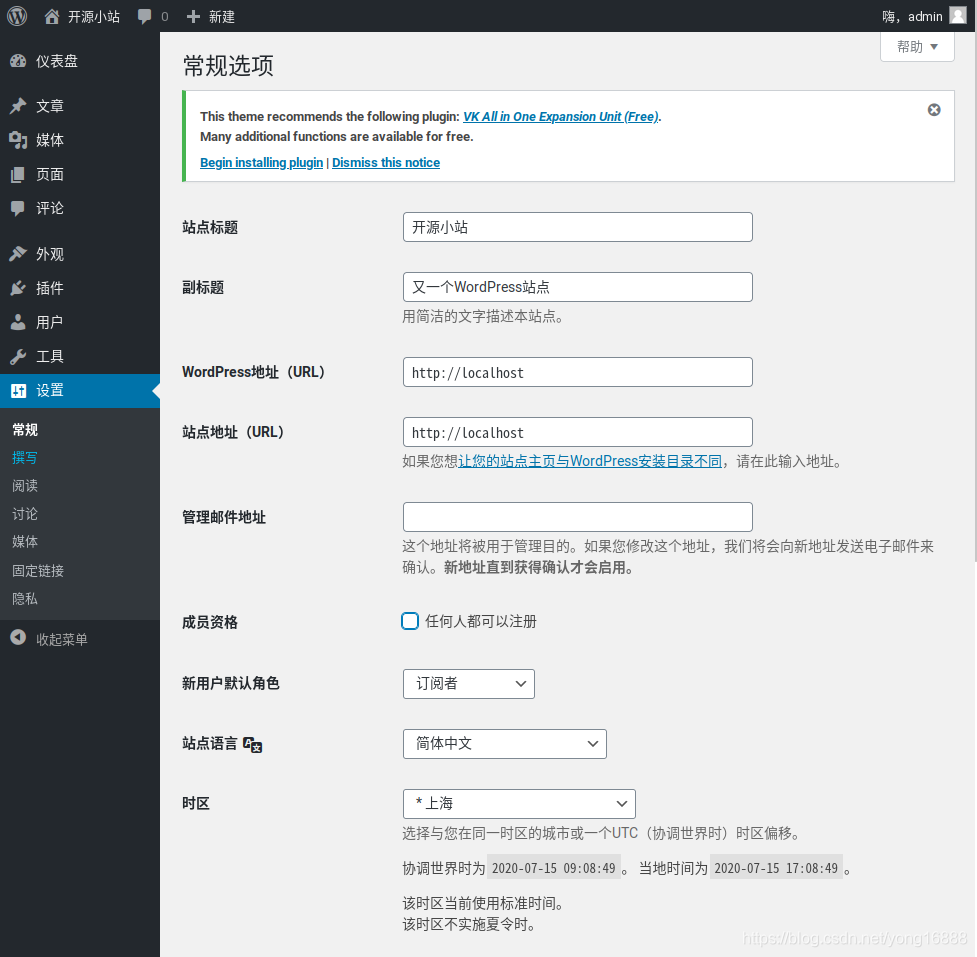
地址输入:https://example.com ,效果如下:
(这里的域名仅做验收使用,实际情况下需要你配置自己的域名)
剩下的事情就是登录 Wordpress 的管理界面,安装你喜欢的主题。
开始你的 Wordpress 之旅吧。
写在最后
本教程详细讲解了如何在 Ubuntu 20.04 上搭建 LEMP 环境运行 WordPress 的方法,通过本教程你应该学会了如何使用 Wordpress 建站。
如果你有不清楚的地方,欢迎留言讨论。
参考文献
《如何在 Ubuntu 20.04 上搭建 LEMP 环境运行 WordPress》