目录
(三)Flask高级(与facenet_pytorch人脸识别相结合)
一、安装依赖
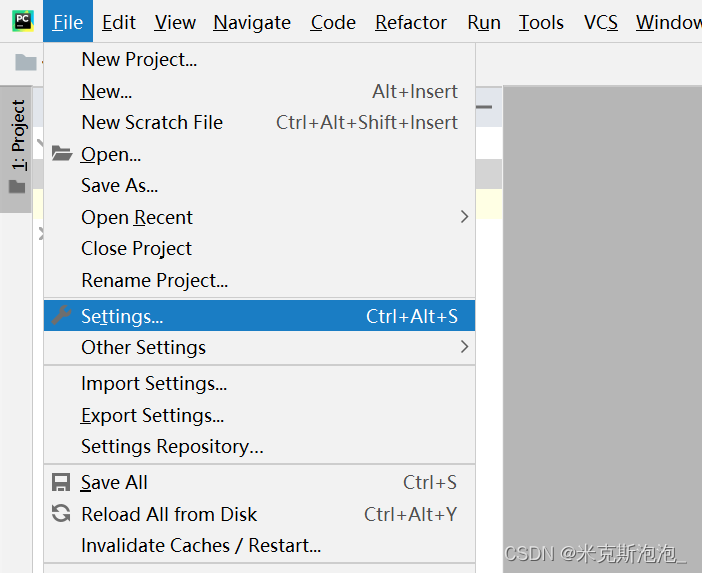
在这里我使用的编译器是Pycharm。首先,我们需要安装实验所需的依赖Flask、Werkzeug和opencv-python。打开Pycharm,点击左上角File,选择Settings。
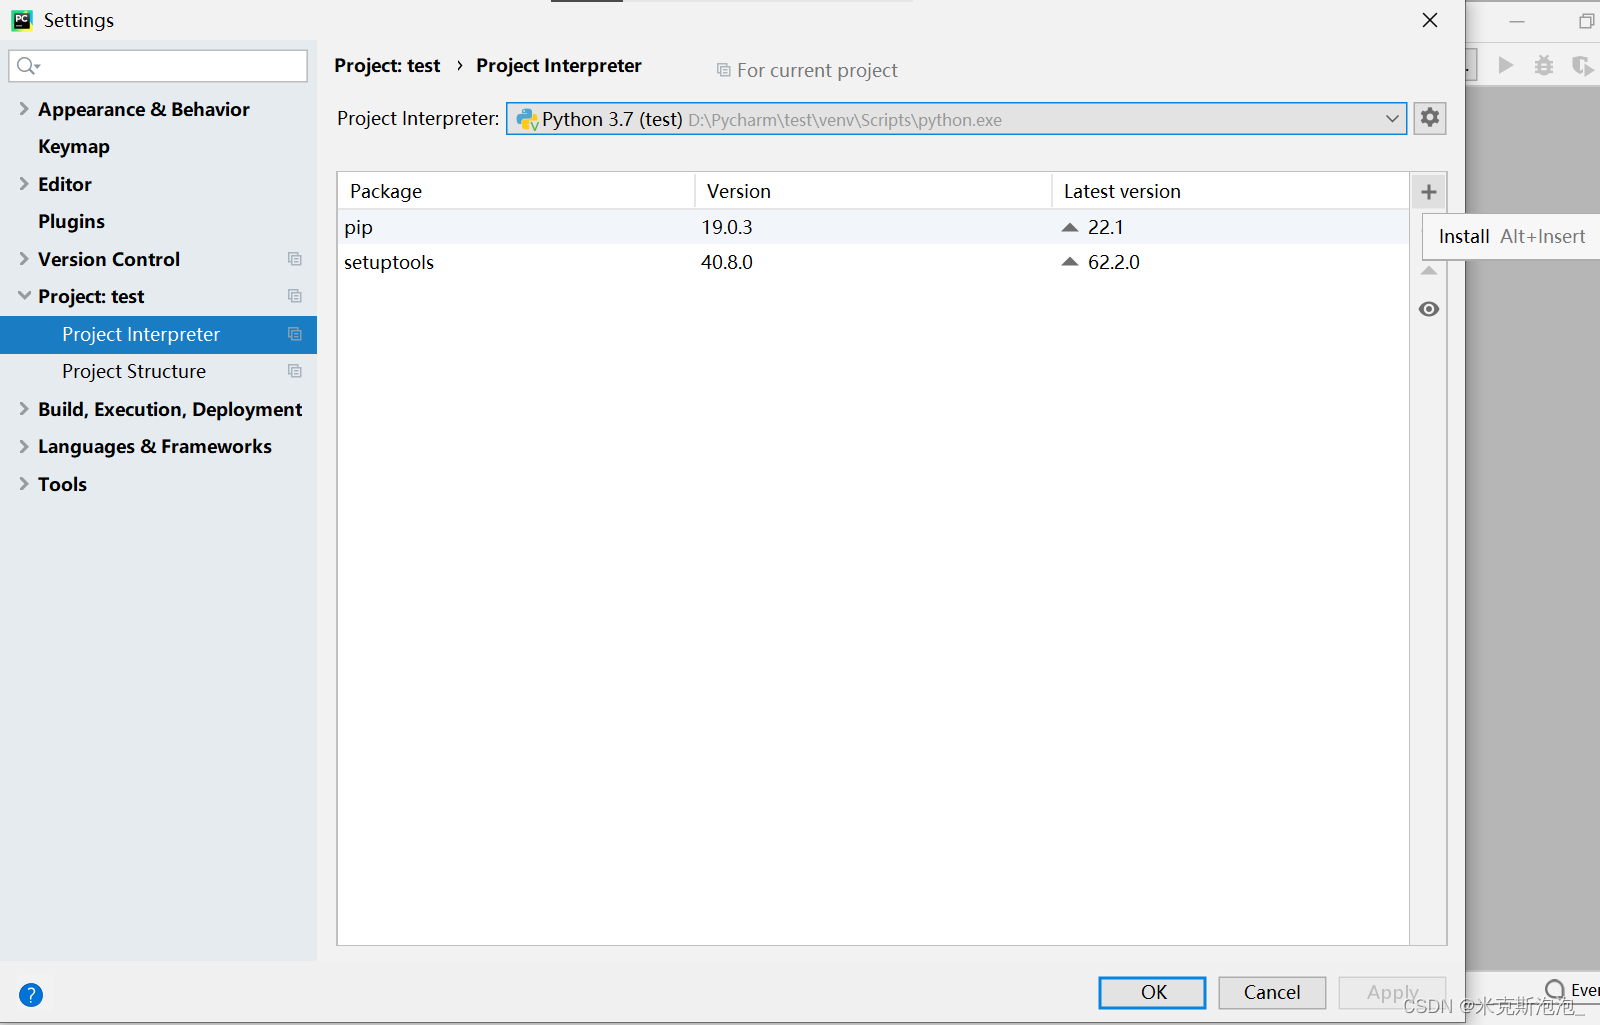
在左侧的选项栏中点击“Project:XXX”,并选择“Project Interpreter”,之后点击右侧的“+”号。
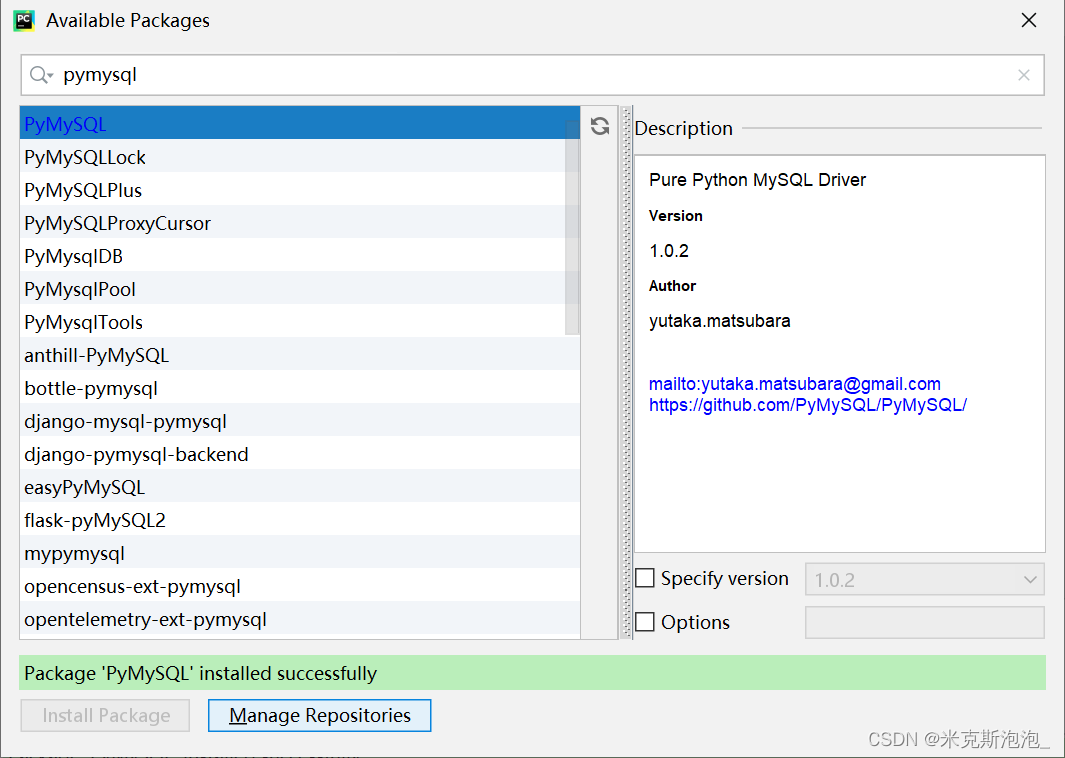
在出现的界面搜索框中分别输入Flask、Werkzeug和opencv-python,选择好依赖后,点击左下侧的“Install Package”,稍等片刻下部会显示绿色的“Package 'XXX' installed successfully”,证明安装成功。
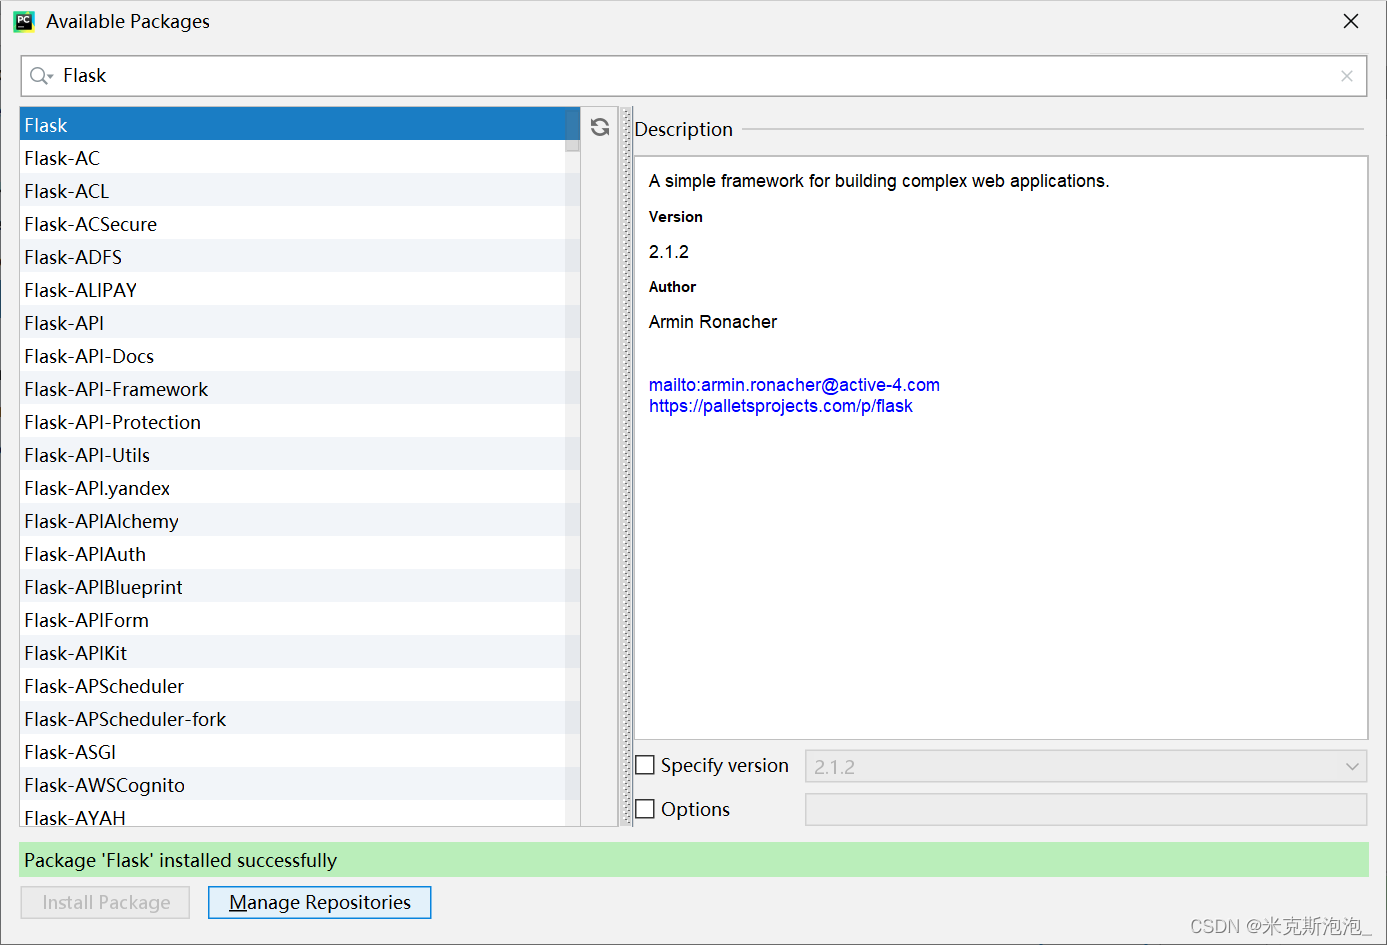
在安装opencv-python时,如果进度一直卡在“Building wheel for opencv-python (PEP:517)……”上,可以尝试安装较低版本的依赖,即点击上图右下角的“Specify version”,选择较低的版本号,如我这里选择了opencv-python3.4.9.31。
二、代码
(一)Flask入门
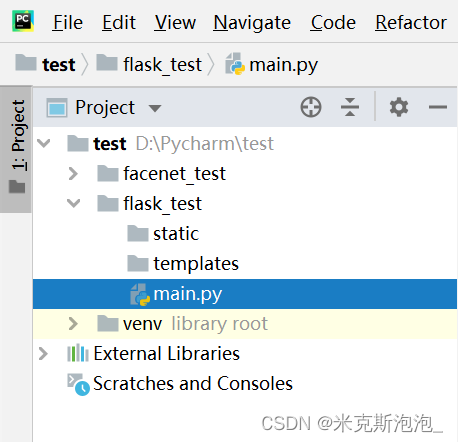
首先,我们在Pycharm中新建一个名为flask_test的项目,并在该项目下新建main.py文件、static文件夹、templates文件夹,其中static文件夹用来存储静态文件,如图片;templates文件夹用来存储模板。
首先,我们尝试实现最简单的网页。在main.py中键入以下代码:
from flask import Flask
app = Flask(__name__)
@app.route('/')
def hello_world():
return 'hi, this is my flask!'
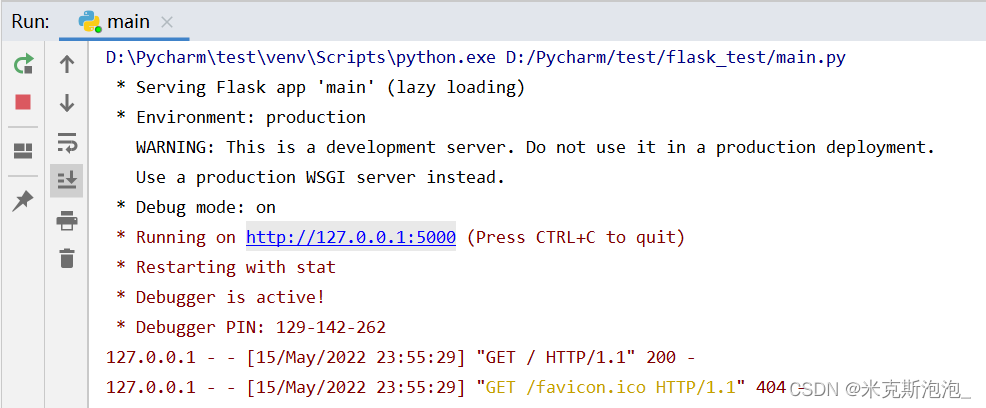
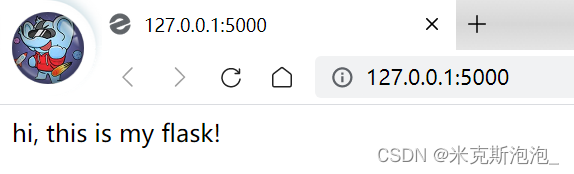
if __name__ == '__main__':
app.run(debug=True)点击运行后,网页就在http://127.0.0.1:5000/显示出来了,效果如下所示。
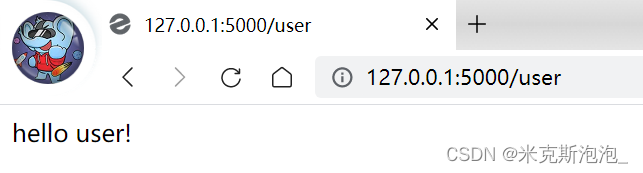
如果我们想制作一个用户的子路由网页,我们可以再将以下代码键入:
@app.route('/user')
def hello_user():
return 'hello user!'这样我们不仅可以在http://127.0.0.1:5000/看到问候语,还可以在http://127.0.0.1:5000/user/中看到对用户的问候语。
如果我们想让不同的用户输入自己的学号,看到不同的问候界面,我们可以尝试添加:
@app.route('/user/<id>')
def hello_userid(id):
    return 'hello user ' + id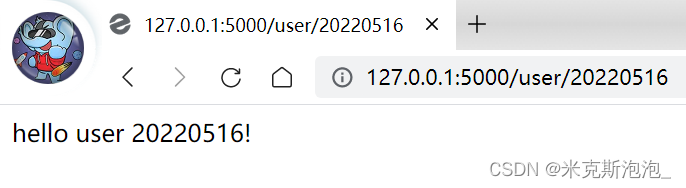
(二)Flask进阶
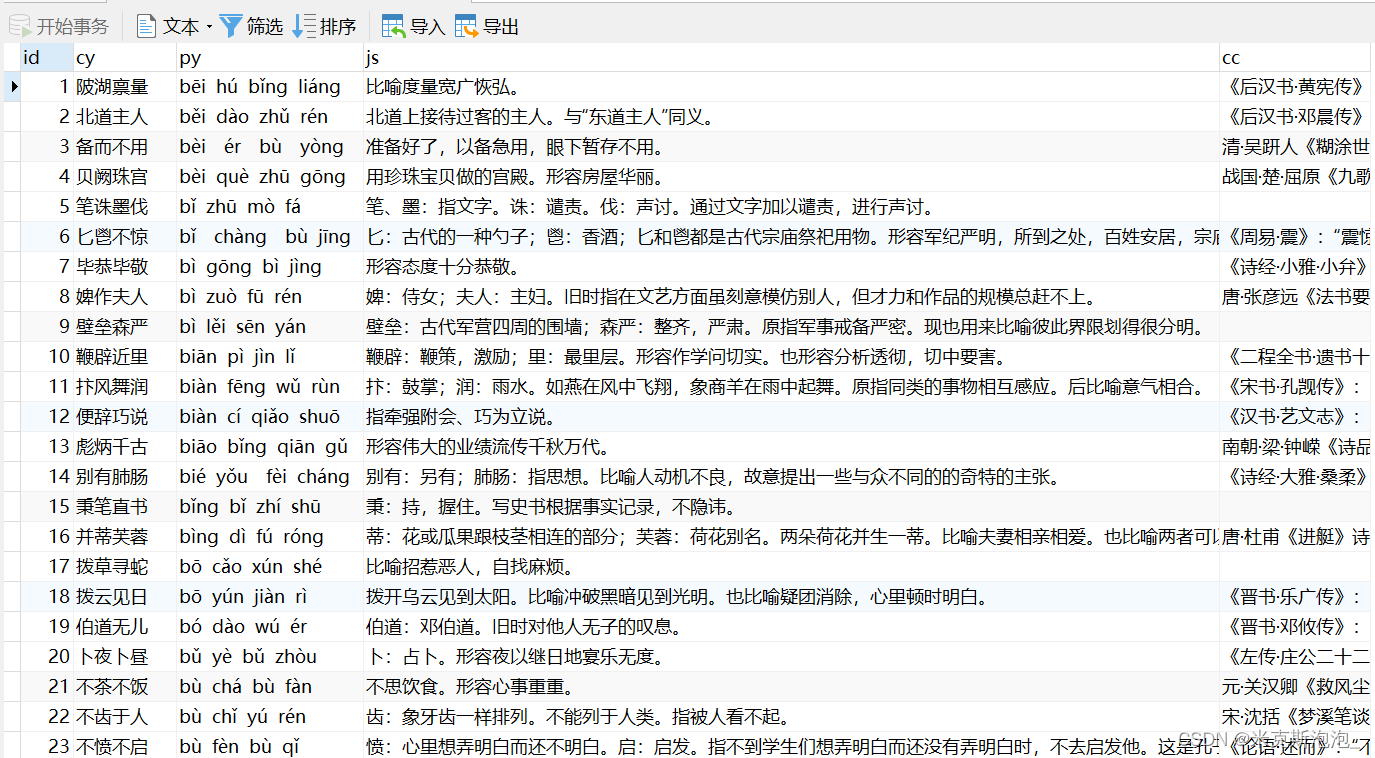
接下来,我们尝试链接数据库中的数据,并在网页端显示出来。这里给大家提供三个数据库,分别是四六级单词词典、成语词典和新华字典,可通过以下网盘链接获取。
链接:https://pan.baidu.com/s/10qW7psv2XVbXdxAXGZvwJA?pwd=ivog
提取码:ivog
我们可以将其导入MySQL或Navicat Premium中进行查看,如成语词典如下所示:
接着,我们安装一个名为PyMySQL的依赖,安装方法同上。
将main.py文件修改如下:
from flask import Flask, render_template
import pymysql

app = Flask(__name__)

@app.route("/")
def hello():
    return "Hi, this is my Flask!"

@app.route("/chengyu")
def index():
    db = pymysql.connect(host = 'localhost', user = 'root', password = '123456', database = 'pyc', charset = 'utf8')
    cursor = db.cursor()
    cursor.execute("Select * from map_cy")
    rs = cursor.fetchall()
    rs = list(rs)
    print(rs[0:10])
    return render_template("chengyu.html", rs = rs)

if __name__ == '__main__':
    app.run(debug=True)
在templates文件夹下新建对应的chengyu.html模板,并写入以下代码:
<!DOCTYPE html>
<html lang="en">
    <head>
        <meta charset="UTF-8">
        <title>成语词典页</title>
    </head>

    <body>
        <h1>这是成语词典</h1>
        {% for r in rs %}
        {{r}}<br>
        {% endfor %}
    </body>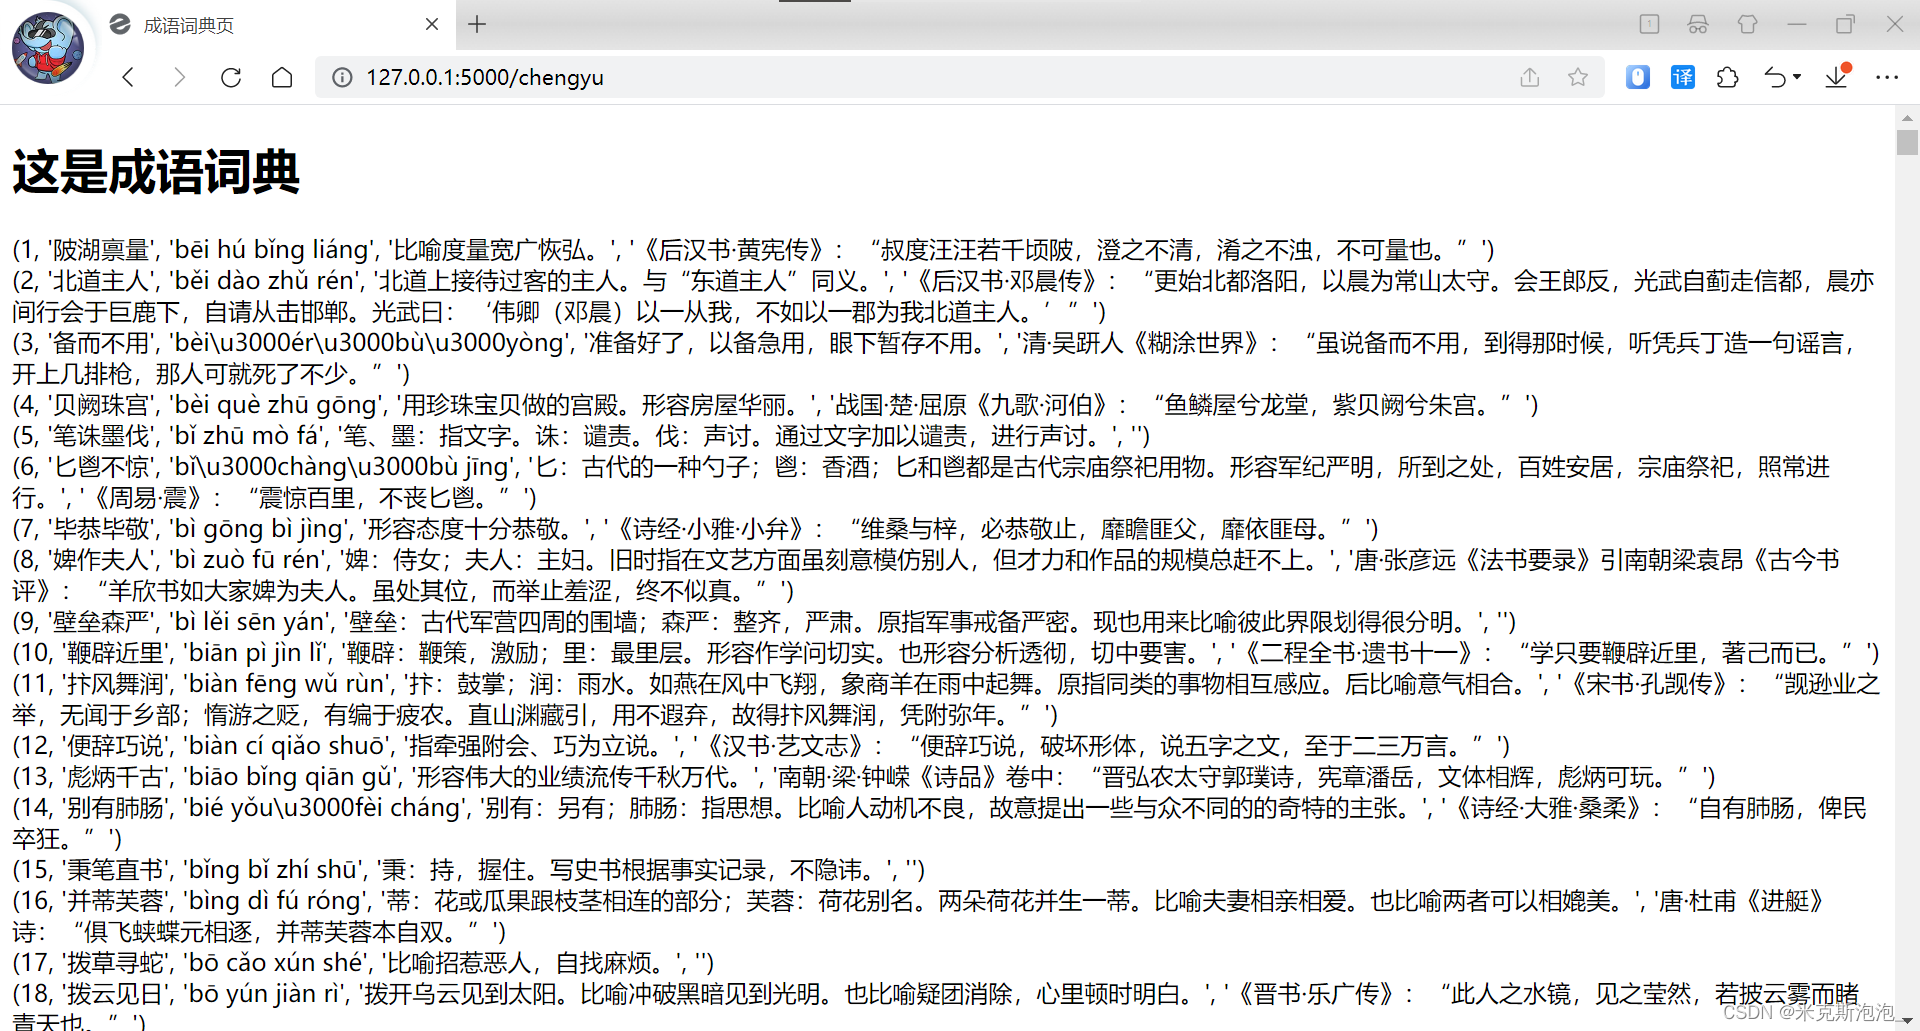
</html>运行,在http://127.0.0.1:5000/chengyu中查看,效果如下所示。大家还可以通过语句的变化实现各种各样的呈现,这里我就不一一举例了。
(三)Flask高级(与facenet_pytorch人脸识别相结合)
基于facenet_pytorch的人脸识别介绍,大家可以移步到我的另一篇文章查看~
【人脸识别】基于facenet_pytorch实现人脸识别_米克斯泡泡_的博客-CSDN博客基于facenet_pytorch判断两张人脸的欧氏距离,从而实现人脸识别。https://blog.csdn.net/weixin_45939929/article/details/124789487?spm=1001.2014.3001.5502 首先,我们将上述文章中的三张图片zj.jpg、zj2.jpg和zjl.jpg存入当前项目的static文件夹中。接着将main.py继续扩展,修改如下:
from flask import Flask, render_template
import pymysql
import cv2
import torch
from facenet_pytorch import MTCNN, InceptionResnetV1

app = Flask(__name__)

@app.route("/")
def hello():
    return "Hi, this is my Flask!"

@app.route("/chengyu")
def index():
    db = pymysql.connect(host = 'localhost', user = 'root', password = '123456', database = 'pyc', charset = 'utf8')
    cursor = db.cursor()
    cursor.execute("Select * from map_cy")
    rs = cursor.fetchall()
    rs = list(rs)
    print(rs[0:10])
    return render_template("chengyu.html", rs = rs)

@app.route("/facenet")
def facenet():
    img1 = "static/zj.jpg"
    img2 = "static/zj2.jpg"

    # 获得人脸特征向量
    def load_known_faces(dstImgPath, mtcnn, resnet):
        aligned = []
        knownImg = cv2.imread(dstImgPath)  # 读取图片
        face = mtcnn(knownImg)  # 使用mtcnn检测人脸,返回【人脸数组】

        if face is not None:
            aligned.append(face[0])
        aligned = torch.stack(aligned).to(device)
        with torch.no_grad():
            known_faces_emb = resnet(aligned).detach().cpu()  # 使用resnet模型获取人脸对应的特征向量
        print("人脸对应的特征向量为:\n", known_faces_emb)
        return known_faces_emb, knownImg

    # 计算人脸特征向量间的欧氏距离,设置阈值,判断是否为同一个人脸
    def match_faces(faces_emb, known_faces_emb, threshold):
        isExistDst = False
        distance = (known_faces_emb[0] - faces_emb[0]).norm().item()
        print("\n\n两张人脸的欧式距离为:%.2f" % distance)
        if (distance < threshold):
            isExistDst = True
        return distance, isExistDst

    if __name__ == '__main__':
        # help(MTCNN)
        # help(InceptionResnetV1)
        # 获取设备
        device = torch.device('cuda:0' if torch.cuda.is_available() else 'cpu')
        print(device)
        # mtcnn模型加载【设置网络参数,进行人脸检测】
        mtcnn = MTCNN(min_face_size=12, thresholds=[0.2, 0.2, 0.3], keep_all=True, device=device)
        # InceptionResnetV1模型加载【用于获取人脸特征向量】
        resnet = InceptionResnetV1(pretrained='vggface2').eval().to(device)
        MatchThreshold = 0.8  # 人脸特征向量匹配阈值设置

        known_faces_emb, _ = load_known_faces(img1, mtcnn, resnet)  # 已知人物图
        # bFaceThin.png  lyf2.jpg
        faces_emb, img = load_known_faces(img2, mtcnn, resnet)  # 待检测人物图
        distance = match_faces(faces_emb, known_faces_emb, MatchThreshold)[0]
        isExistDst = match_faces(faces_emb, known_faces_emb, MatchThreshold)[1]  # 人脸匹配
        print("设置的人脸特征向量匹配阈值为:", MatchThreshold)

        boxes, prob, landmarks = mtcnn.detect(img, landmarks=True)  # 返回人脸框,概率,5个人脸关键点
        for box in boxes:
            cv2.rectangle(img, (int(box[0]), int(box[1])), (int(box[2]), int(box[3])), (0, 0, 255), 2, 1)
        # cv2.imshow("test_picture", img)
        # cv2.waitKey(9999999)

        if isExistDst:
            print('由于欧氏距离小于匹配阈值,故匹配')
        else:
            print('由于欧氏距离大于匹配阈值,故不匹配')
    return render_template("facenet.html", img1 = img1, img2 = img2, known_faces_emb = known_faces_emb,
                           faces_emb = faces_emb, distance = distance, MatchThreshold = MatchThreshold,
                           isExistDst = isExistDst, img = img)

if __name__ == '__main__':
    app.run(debug=True)
在templates文件夹下新建对应的facenet.html模板,并写入以下代码:
<!DOCTYPE html>
<html lang="en">
    <head>
        <meta charset="UTF-8">
        <title>人脸识别页</title>
    </head>

    <body>
        <h2>这是人脸识别的原图</h2>
        <img src="{{ img1 }}" width="200" height="300" />
        <img src="{{ img2 }}" width="200" height="300" />

        <br><br><text>已知人物图人脸对应的特征向量为:</text>
        <br>{{ known_faces_emb }}
        <br><br><text>待检测人物图人脸对应的特征向量为:</text>
        <br>{{ faces_emb }}

        <br><br><text>两张人脸的欧式距离为:</text>
        {{ "%.2f" | format(distance) }}
        <br><br><text>设置的人脸特征向量匹配阈值为:</text>
        {{ MatchThreshold }}

        {% if isExistDst %}
            <br><br><text>由于欧氏距离小于匹配阈值,故匹配</text>
        {% else %}
            <br><br><text>由于欧氏距离大于匹配阈值,故不匹配</text>
        {% endif %}

<!--        <br><br><text>待检测人物图人脸识别结果图为:</text>-->
<!--        <img src="{{ img }}" width="200" height="300" />-->
    </body>
</html>运行,在http://127.0.0.1:5000/facenet中查看,效果如下所示:
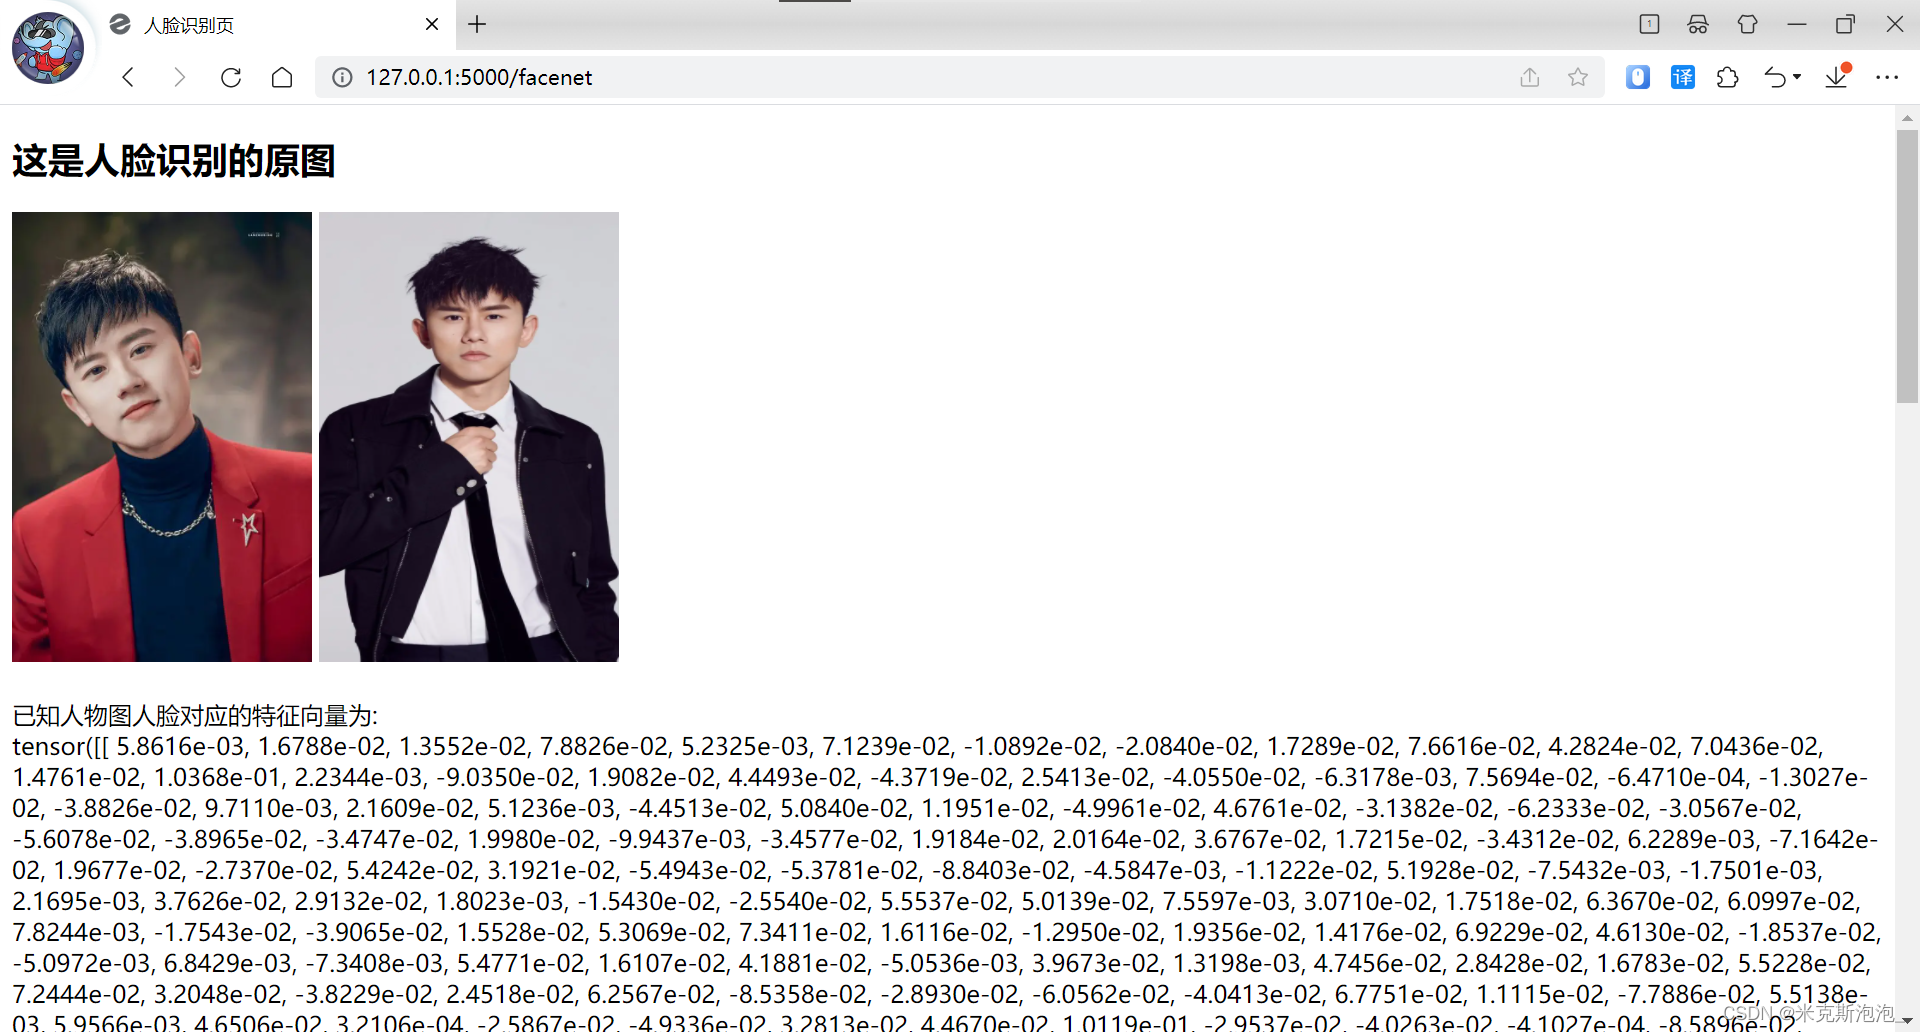
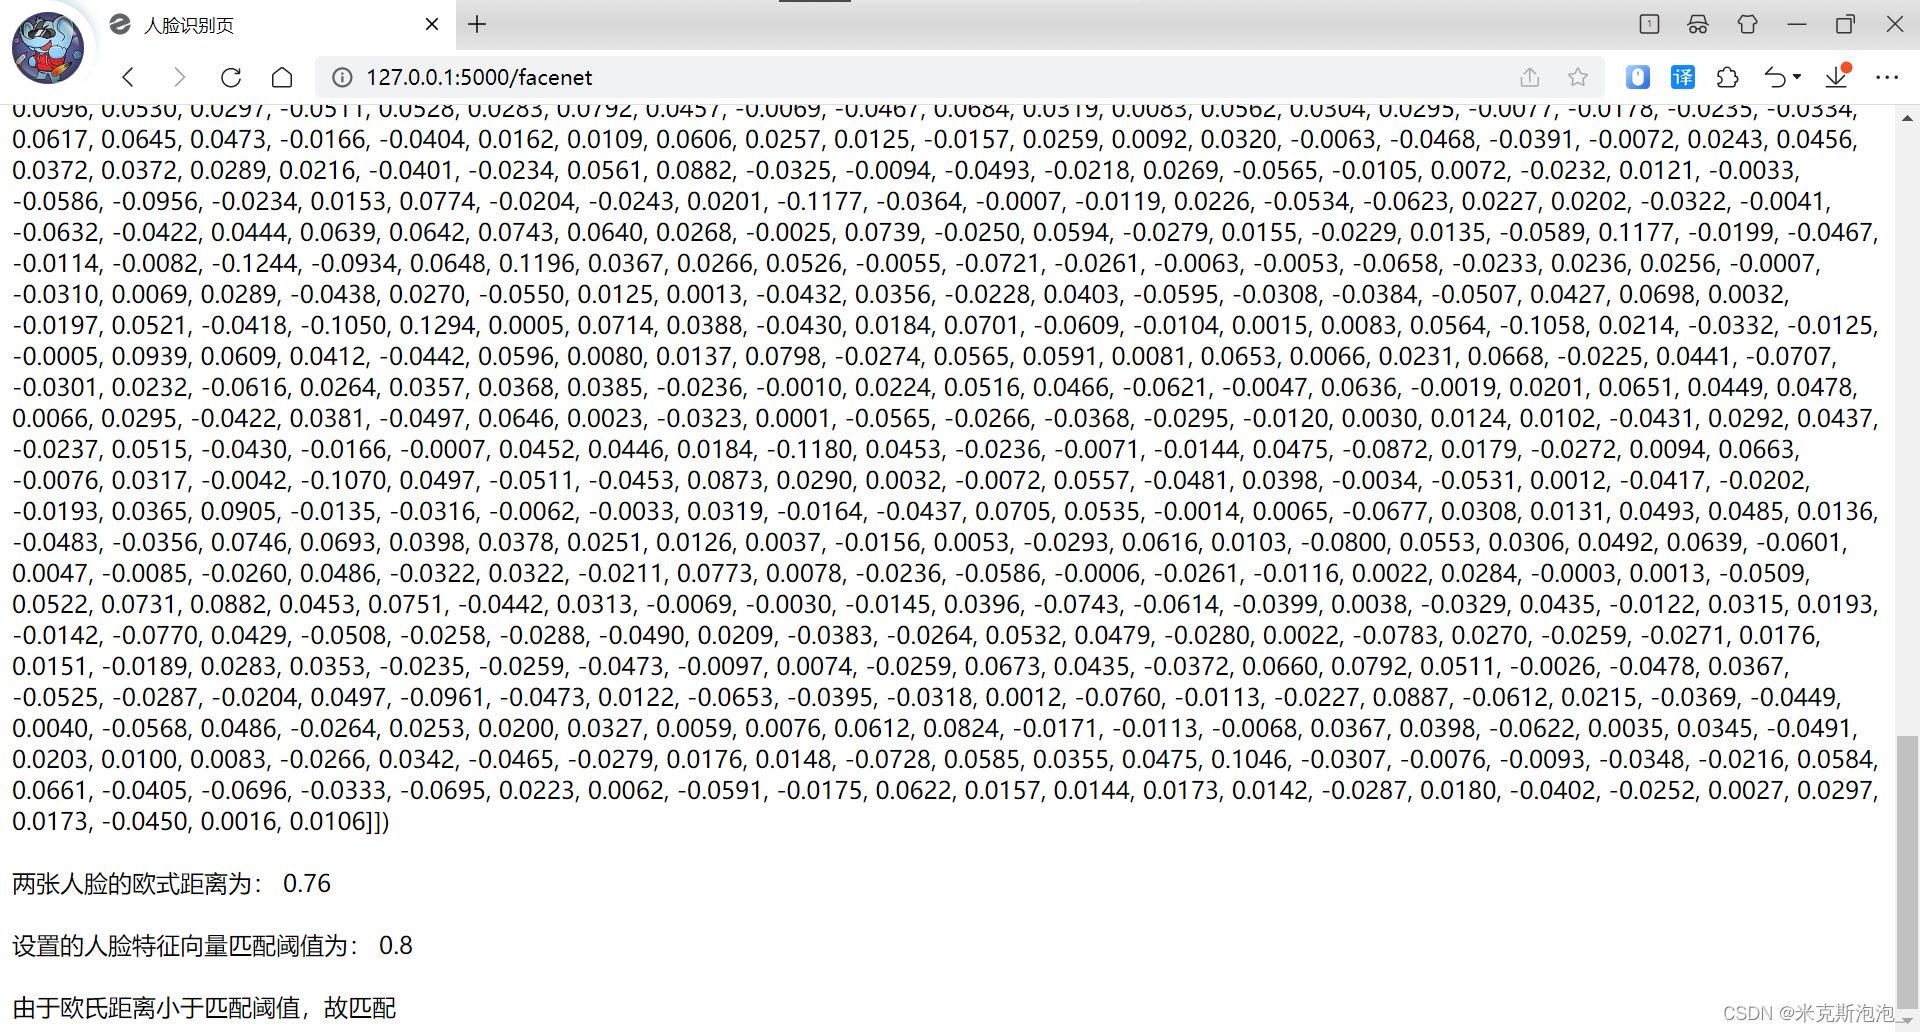
这样就将人脸识别和Flask结合在一起啦~