前后端对接,就得有一个好的的接口文档,具体到:接口的名称,说明,入参字段,出参字段,是否必传,参数类型等等,这里记录一下使用的swagger ui组件 knife4j-spring-ui。

knife4j-spring-ui 是swagger的一个增强版,相比官方ui,其界面更美观,功能更强大,字段说明更清晰直观,测试起来更方便
对比一下:
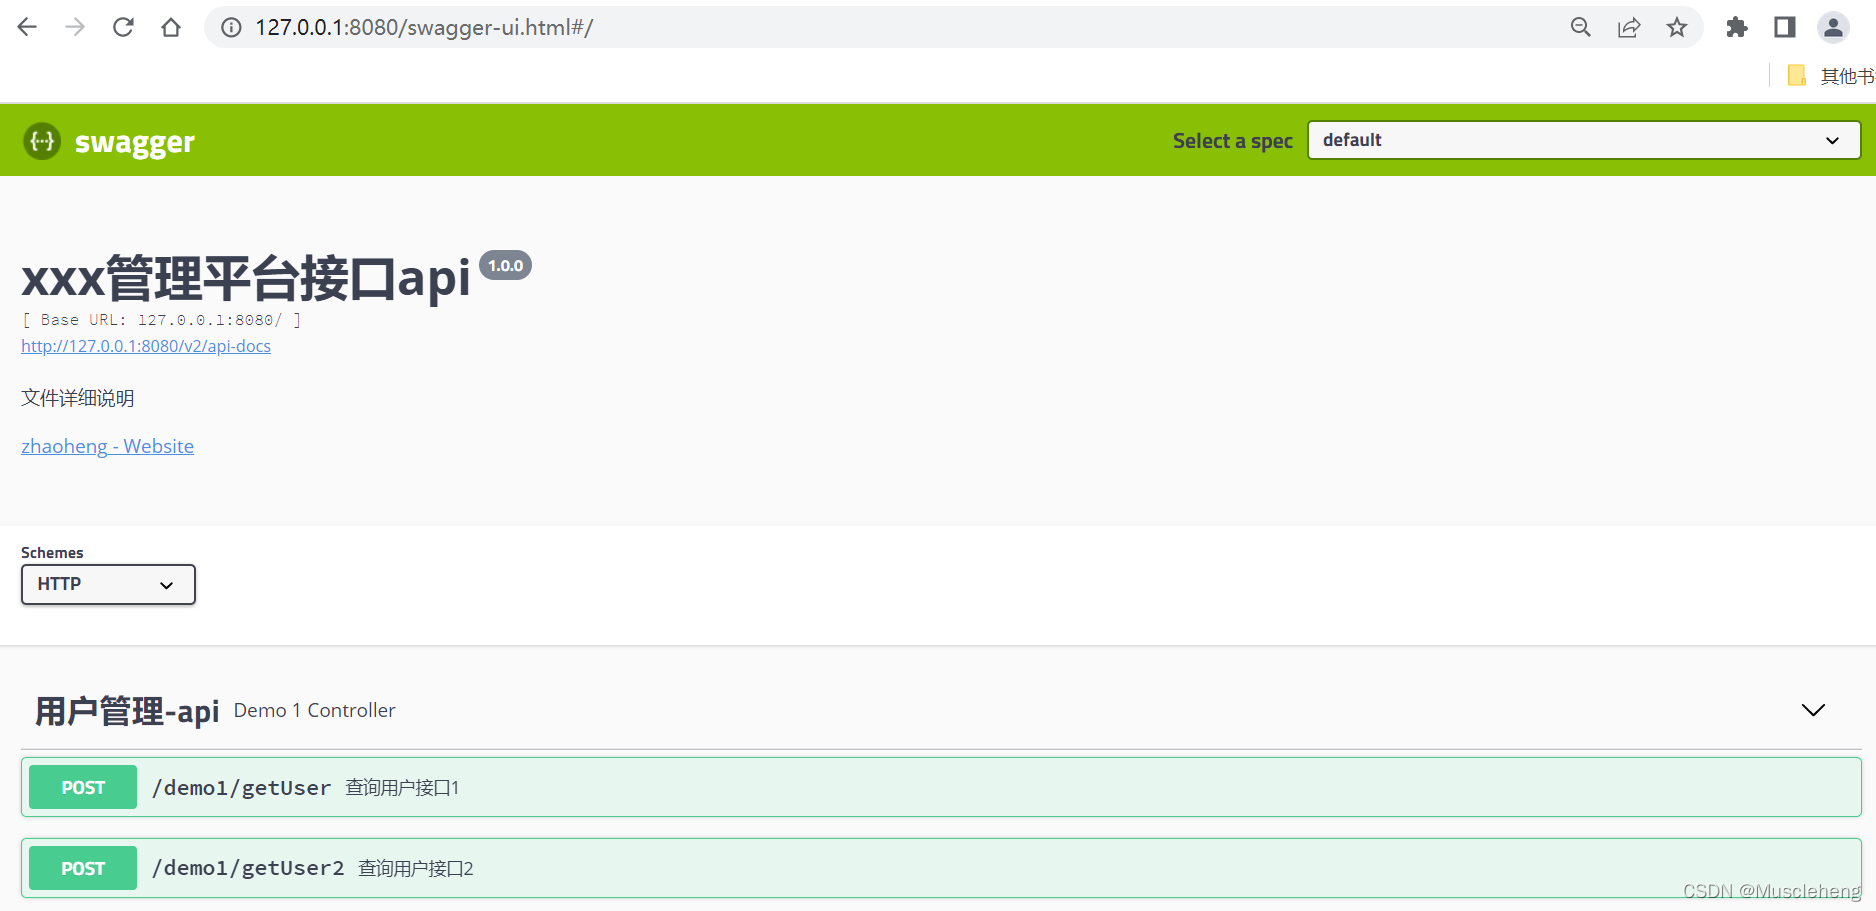
官方UI:
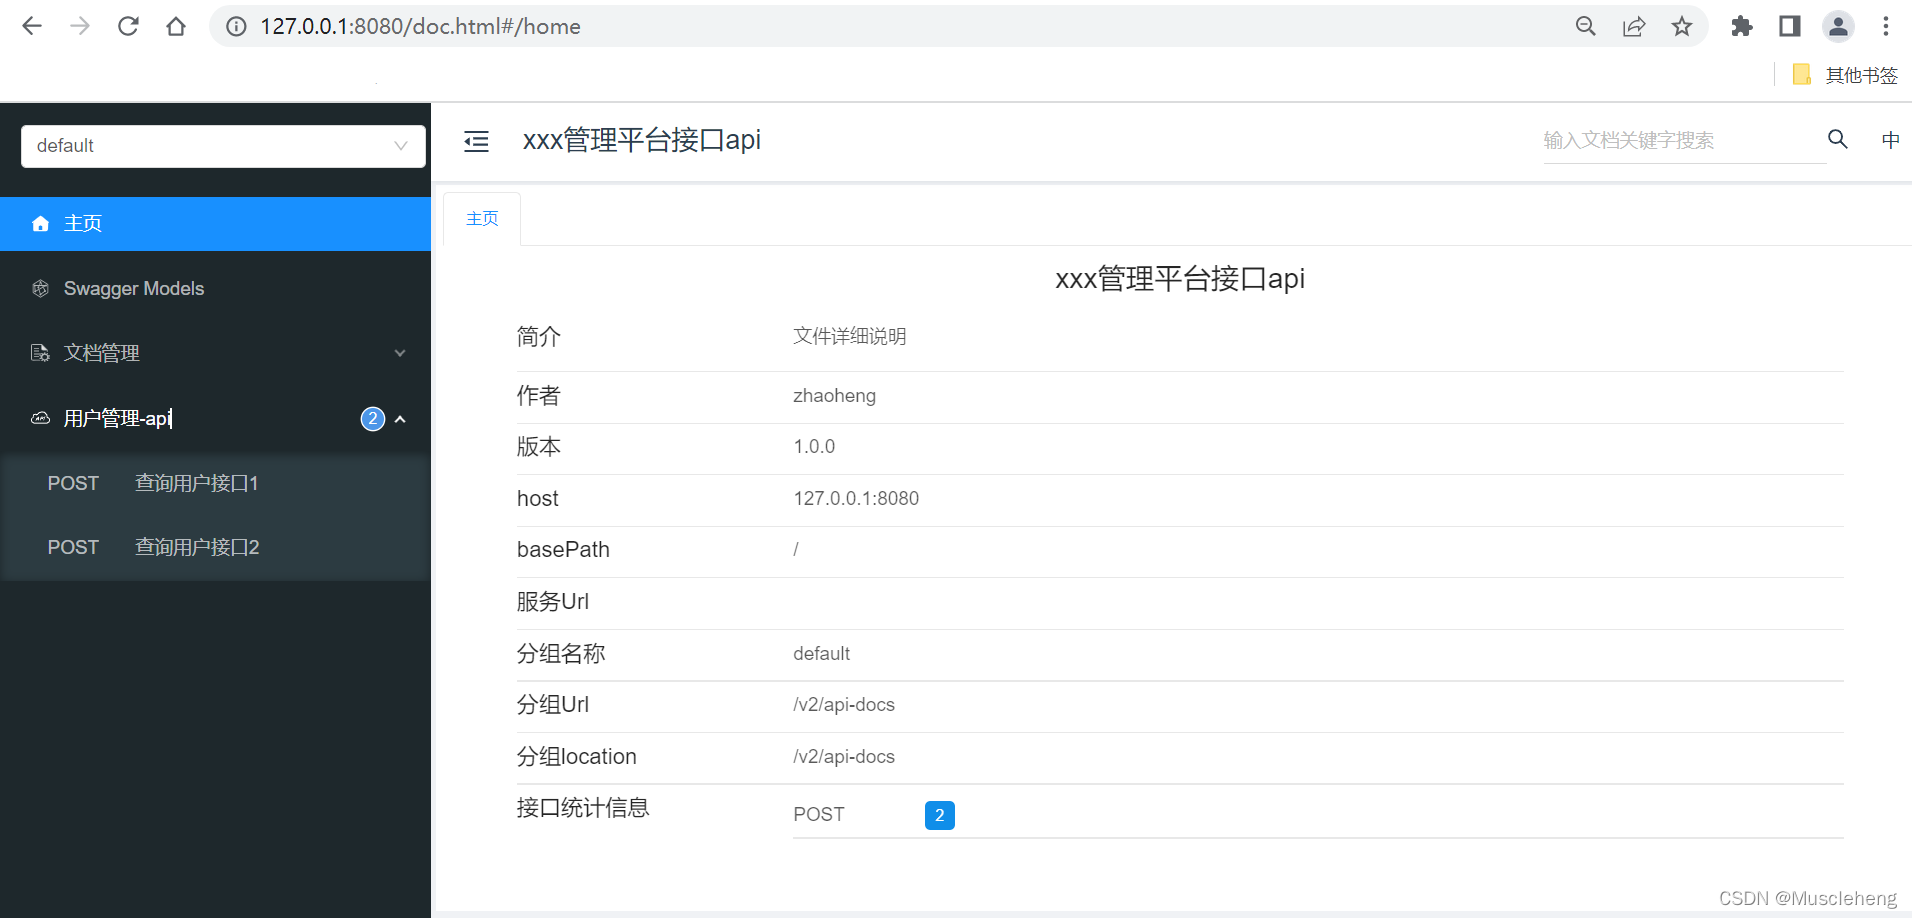
全新UI:
集成在sprintboot项目中
使用Knife4j有两种方式:
官网地址:Knife4j · 集Swagger2及OpenAPI3为一体的增强解决方案. | Knife4j
第一种:
一、pom文件添加依赖
        <!-- Swagger2增强版,全新UI 引入Knife4j的官方start包,Swagger2基于Springfox2.10.5项目-->
        <dependency>
            <groupId>com.github.xiaoymin</groupId>
            <artifactId>knife4j-spring-boot-starter</artifactId>
            <version>2.0.9</version>
        </dependency>
二、配置文件添加配置(可以不配)
配置基本的文档说明信息,如果不配置,就是默认的
#####  swagger文档的部分配置 ####
knife4j:
  # 生产环境可改为 false(改为false后 swagger将不能使用)
  enable: true
三、配置swagger静态页面访问路径
如果不配置,访问swagger页面时可能出现404
package com.zhh.demo.config;

import org.springframework.beans.factory.annotation.Value;
import org.springframework.context.annotation.Bean;
import org.springframework.context.annotation.Configuration;
import springfox.documentation.builders.ApiInfoBuilder;
import springfox.documentation.builders.PathSelectors;
import springfox.documentation.builders.RequestHandlerSelectors;
import springfox.documentation.service.Contact;
import springfox.documentation.spi.DocumentationType;
import springfox.documentation.spring.web.plugins.Docket;
import springfox.documentation.swagger2.annotations.EnableSwagger2WebMvc;

/**
 * @Description: swagger全新UI
 * @Author: zhaoheng
 */
@Configuration
@EnableSwagger2WebMvc
public class Knife4jConfiguration {

    /** 生产环境可改为 false(改为false后 swagger将不能使用)*/
    @Value("${knife4j.enable:true}")
    private boolean knife4jEnable;

    /**
     * 初始化配置,注入到容器
     * swagger访问地址:http://127.0.0.1:8080/demo/doc.html#/home
     */
    @Bean(value = "dockerBean")
    public Docket dockerBean() {
        //指定使用Swagger2规范
        Docket docket = new Docket(DocumentationType.SWAGGER_2)
                .apiInfo(new ApiInfoBuilder()
                        //描述字段支持Markdown语法
                        .description("# xxx管理平台接口api")
                        .termsOfServiceUrl("https://doc.xiaominfo.com/")
                        .contact(new Contact("zhaoheng", "https://blog.csdn.net/Muscleheng", "xxx@163.com"))
                        .version("1.0")
                        .build())
                //分组名称
                .groupName("xxx服务")
                .enable(knife4jEnable)
                .select()
                //这里指定Controller扫描包路径
                .apis(RequestHandlerSelectors.basePackage("com.zhh.demo.controller"))
                .paths(PathSelectors.any())
                .build();
        return docket;
    }
}
第二种:
一、pom文件添加依赖
		<!-- 封装了swagger2 -->
		<dependency>
			<groupId>io.github.wilson-he</groupId>
			<artifactId>swagger2-spring-boot-starter</artifactId>
			<version>1.1.2</version>
		</dependency>
		<!-- swagger增强版ui,相比官方ui,界面更美观,功能更强大 -->
        <!-- 如果springBoot版本过高,可能会出现错误 -->
		<dependency>
			<groupId>com.github.xiaoymin</groupId>
			<artifactId>knife4j-spring-ui</artifactId>
			<version>3.0.2</version>
		</dependency>
二、配置文件添加配置(可以不配)
配置基本的文档说明信息,如果不配置,就是默认的
#####  swagger文档部分配置 ####
swagger:
  # 生产环境改为false(改为false后swagger-ui.html则无法访问)
  enabled: true
  docket:
    api-info:
      title: xxx管理平台接口api
      description: 文件详细说明
      version: 1.0.0
      # 维护者信息
      contact:
        name: zhaoheng
        url: https://blog.csdn.net/Muscleheng?type=blog
三、配置swagger静态页面访问路径
如果不配置,访问swagger页面时可能出现404
@Configuration
public class WebMvcConfig implements WebMvcConfigurer {
    /**
     * 配置静态资源访问路径
     */
    @Override
    public void addResourceHandlers(ResourceHandlerRegistry registry) {
        // 静态资源访问路径和存放路径配置
        registry.addResourceHandler("/static/**").addResourceLocations("classpath:/static/","classpath:/public/");
        // swagger访问配置
        registry.addResourceHandler("/**").addResourceLocations("classpath:/META-INF/resources/","classpath:/META-INF/resources/webjars/");
    }
}
四、编写代码测试成果
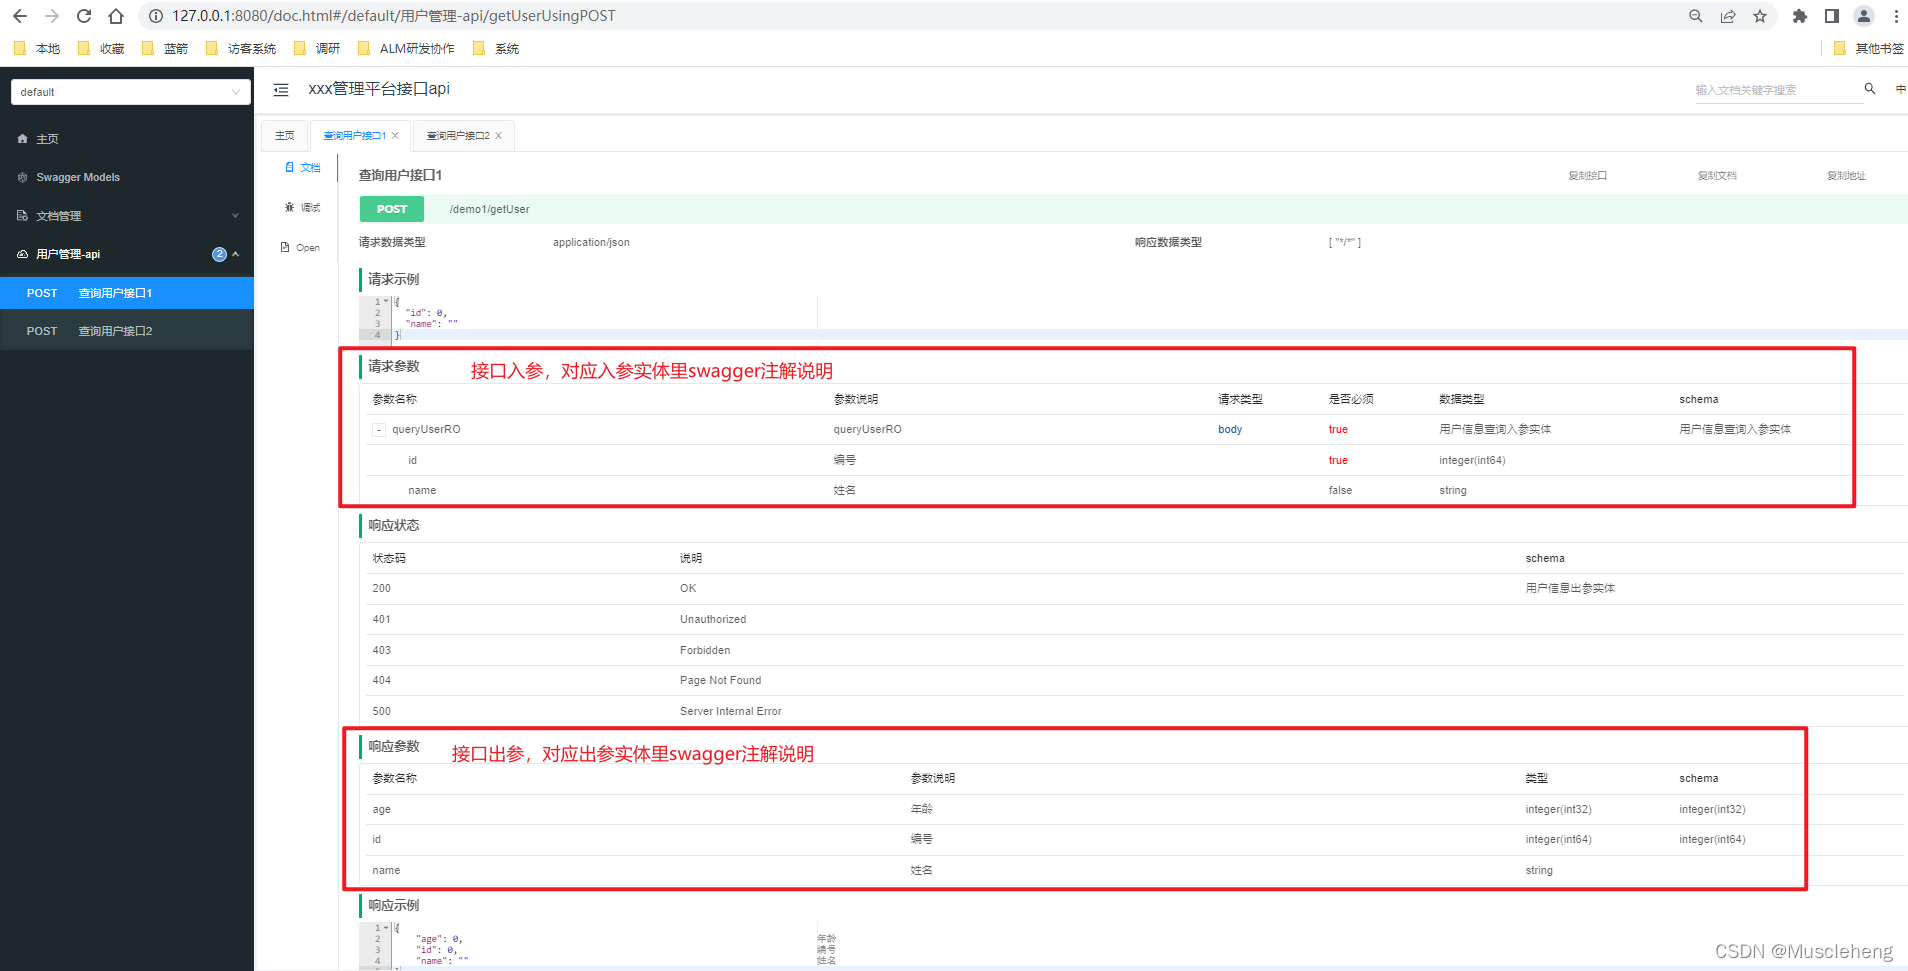
在对应的出入参实体类、字段上添加swagger的注解,就能在接口文档上显示对应的字段说明
1. model实体示例
出参实体:
import io.swagger.annotations.ApiModel;
import io.swagger.annotations.ApiModelProperty;
import lombok.Data;

@Data
@ApiModel("用户信息出参实体")
public class UserVO {

    @ApiModelProperty(value = "编号")
    private Long id;

    @ApiModelProperty(value = "姓名")
    private String name;

    @ApiModelProperty(value = "年龄")
    private Integer age;
}
入参实体:
import io.swagger.annotations.ApiModel;
import io.swagger.annotations.ApiModelProperty;
import lombok.Data;

@Data
@ApiModel("用户信息查询入参实体")
public class QueryUserRO {

    @ApiModelProperty(value = "编号",required = true)
    private Long id;

    @ApiModelProperty(value = "姓名",required = false)
    private String name;
}
2. controller示例
@Api(tags = "用户管理-api")
@RestController
@RequestMapping("/demo1")
public class Demo1Controller {

    @ApiOperation("查询用户接口1")
    @PostMapping("/getUser")
    public UserVO getUser(@RequestBody QueryUserRO queryUserRO){
        return new UserVO();
    }

    @ApiOperation("查询用户接口2")
    @ApiImplicitParams({
            @ApiImplicitParam(name = "id", value = "用户id", dataType = "Long", required = true),
            @ApiImplicitParam(name = "name", value = "用户姓名", dataType = "String", required = false)
    })
    @PostMapping("/getUser2")
    public UserVO getUser2(@RequestParam(name = "id",required = true) Long id, @RequestParam(name = "name",required = false) String name){
        return new UserVO();
    }
}
启动项目,可通过两个地址访问到swagger文档:
官方文档UI界面:127.0.0.1:8080/swagger-ui.html
增强版UI界面:127.0.0.1:8080/doc.html
版权声明:本文为Muscleheng原创文章,遵循CC 4.0 BY-SA版权协议,转载请附上原文出处链接和本声明。