1. 变量的定义
- 1)定义本身
-	变量就是内存一片区域的地址

- 2)变量存在的意义
	命令无法操作一直变化的目标
-	用一串固定的字符来表示不固定的目标可以解决此问题
2. 脚本中变量的三种定义方法
- 1)环境级别
- export a=1
- 在环境关闭后变量失效
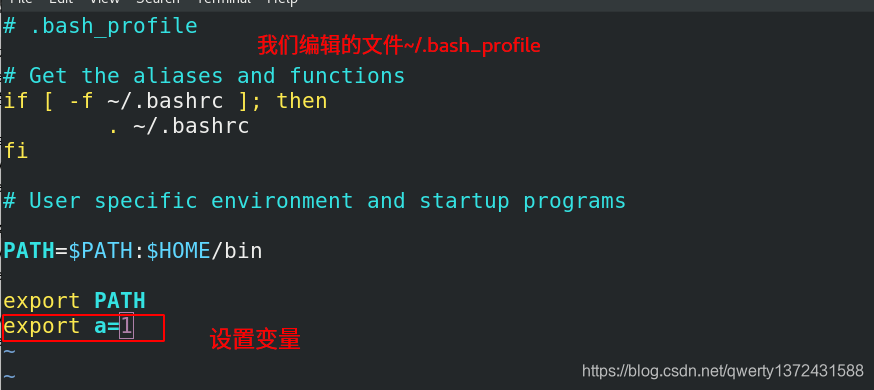
- 2)用户级别(针对特定用户生效)
- vim ~/.bash_profile
- export a=1
- 3)系统级别
- vim /etc/profile
- export a=2
- vim /etc/profile.d/westos.sh
- export b=3
- 4)变量名称
- "字符" "_" "数字"
- 不能用数字开头
- 建议:
- 变量名称短全用大写字符
- 变量名称长用_区分子类
- WESTOS
- Westos_Linux
- westoS_Linux
环境级别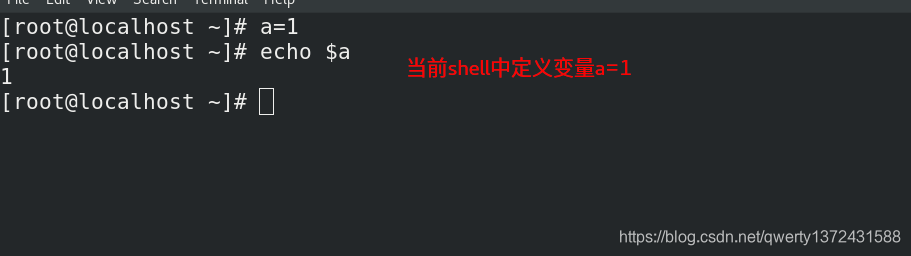

用户级别(针对当前用户)

系统级别

4. 变量的转译
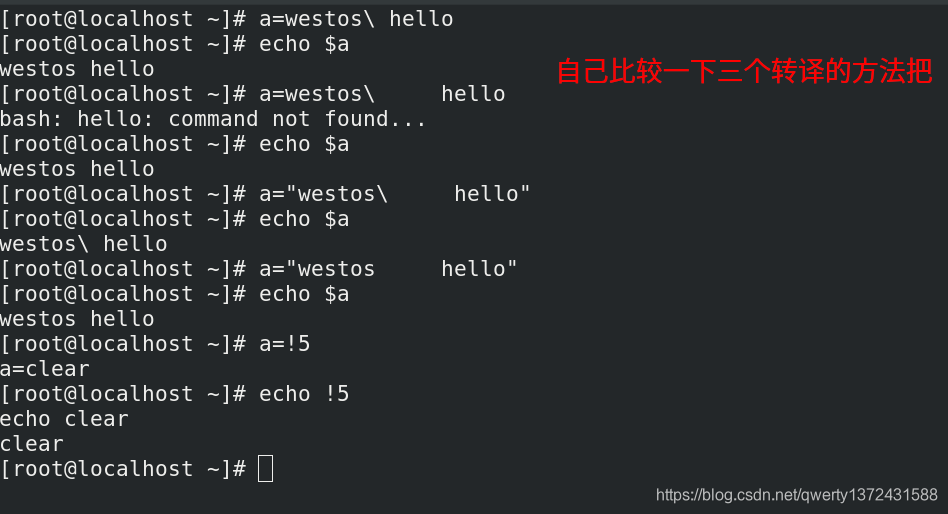
- 1)转译
- \ #转译单个字符
- "" #弱引用,批量转译个数字符 不能转译"\" "`" "$" "!"
- '' #强引用
- 2)声明
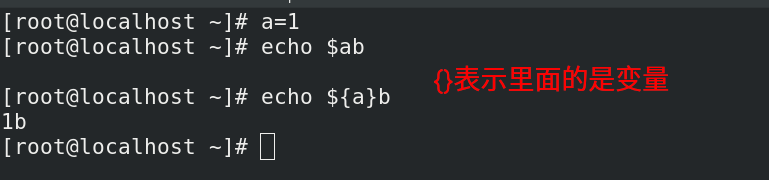
- a=1
- echo $ab
- echo ${a}b {a}表示a是变量
- $! 表示上一条运行后台进程的PID
- 3)变量的数组
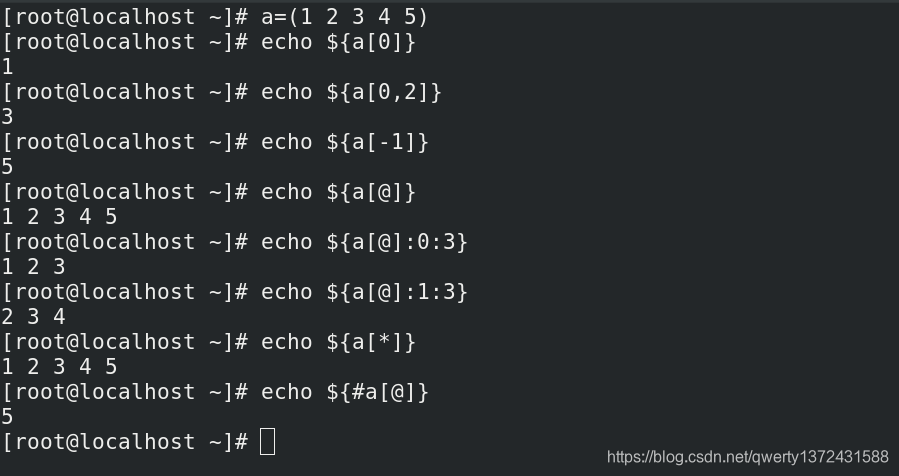
- a=(1 2 3 4 5)
- echo ${a[0]} 获取第一列元素
- echo ${a[-1]} 最后一个元素
- echo ${a[*]} 所有元素
- echo ${a[@]} 所有元素
- echo ${a[@]:0:3} 从0开始往后数三个
- echo ${#a[@]} #表示获取数组元素的个数
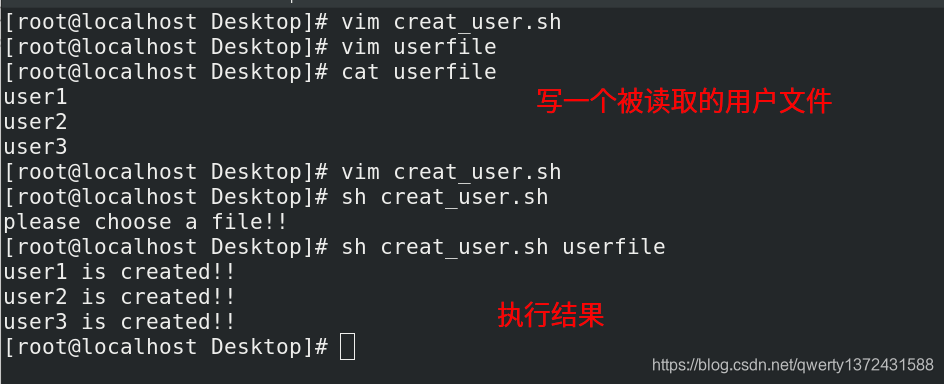
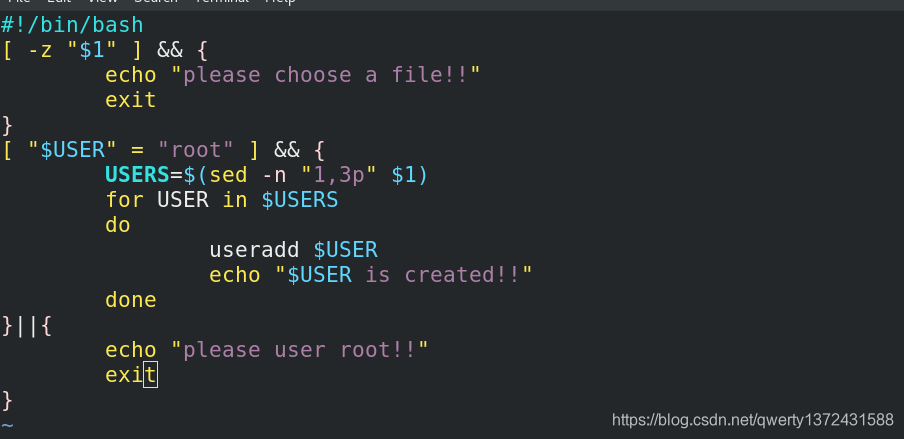
- 脚本练习
- create_user.sh userfile
- userfile用的用户会被全部建立
转译
变量
变量的数组
脚本练习
4. linux中命令的别名设定
- alias    xie='vim'             ##临时设定
- vim ~/.bashrc                  ##针对当前用户生效
- alias xie=‘vim’
- source ~/.bashrc
-
- vim /etc/bashrc                ##针对系统所有用户生效
- alias xie='vim'
- source /etc/bashrc
-
- unalias    xie                 ##删除当前环境的alias
5. 用户环境变量的更改
- 环境变量:
-	用户在操作系统时使用到的命令搜索路径

- 设定方式:
-	~/.bash_profile
-	PATH=$PATH:$HOME/bin:/mnt
-	source ~/,bash_profile
6. 利用命令的执行结果设定变量
- 1)直接利用命令执行结果
- $()|`` ##优先执行
- TEST=`hostname` TEST=$(hostname)
- echo $(TEST)
-
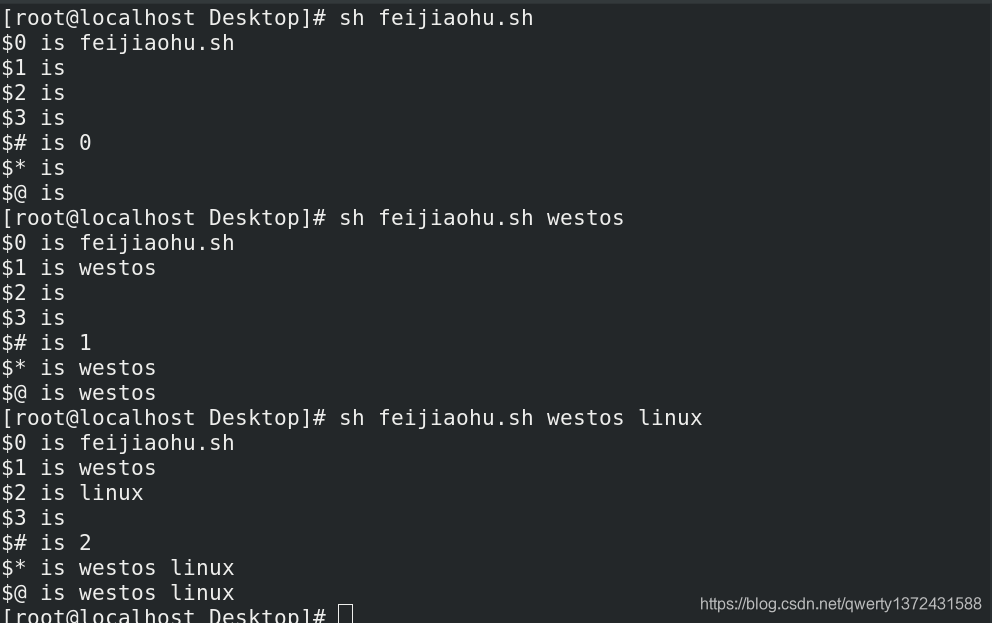
- 2)脚本中的传参
- 非交互模式:
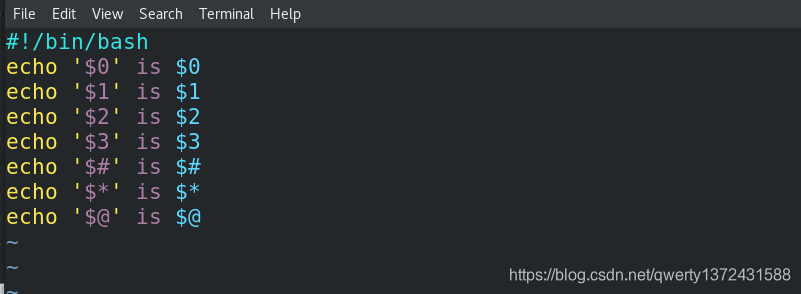
- $0 is /mnt/test.sh ##脚本本身
- $1 is westos ##执行时脚本后所输入的第一串字符
- $2 is linux ##执行时脚本后所输入的第二串字符
- $3 is redhat ##执行时脚本后所输入的第三串字符
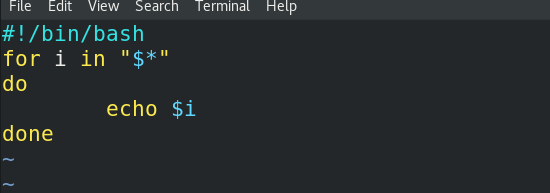
- $* is westos linux redhat ##脚本后所输入的所有字符"westos linux redhat"
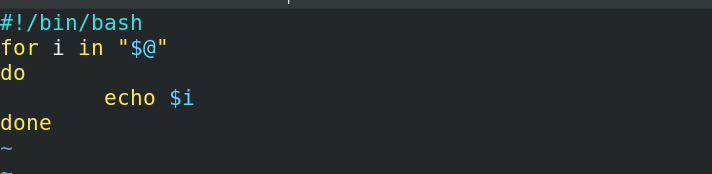
- $@ is westos linux redhat ##脚本后所输入的所有字符'westos' 'linux' 'redhat'
- $# is 3 ##脚本后所输入的字符串个数
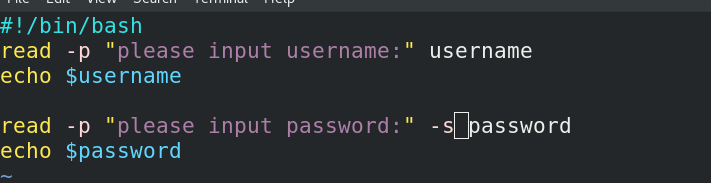
- 交互模式传参:
- read WESTOS ##对westos赋值
- read -p "please input word:" ##输出提示语
- -s ##隐藏输入内容
-
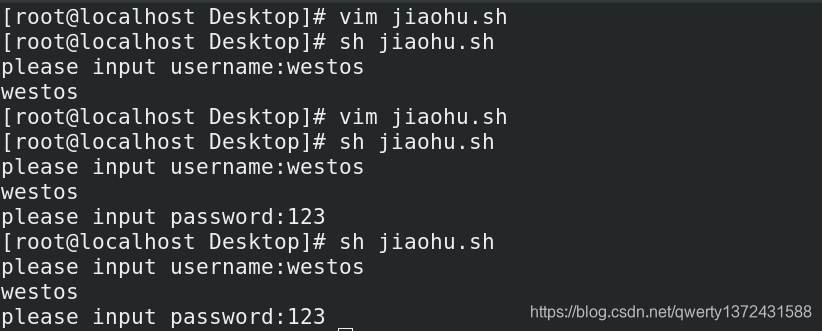
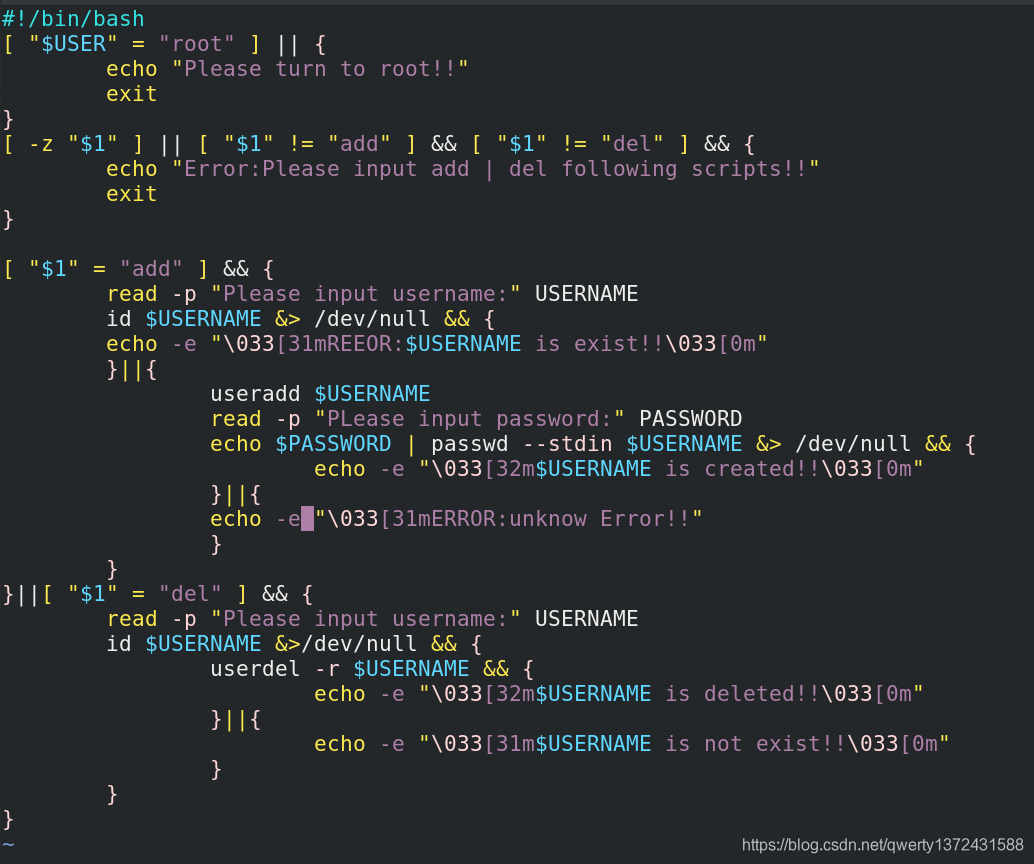
- 脚本练习
- [root@localhost Desktop]# ctrl_user.sh add \
> please input username: \
> please input password: \
> westos created \
> westos is exist \
>
- [root@localhost Desktop]# ctrl_user del \
> please input username: \
> westos is deleted \
> westos is not exist \
> crtl_user.sh haha \
> Error:Please input add | del following script !!
非交换模式


交互模式
脚本练习
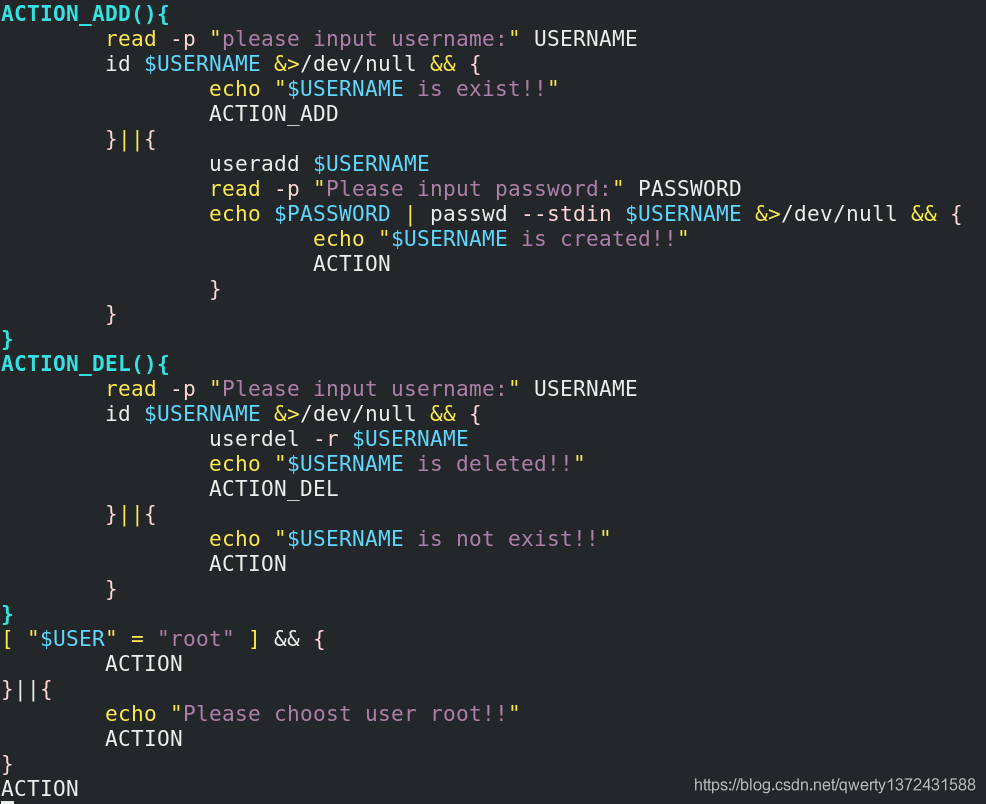
7. 脚本函数
- 定义:
- 程序的别名
- 设定方式:
- WORD()
- {
- action1
- action2
- }
- WORD 在脚本中就代表action1 action2这两个动作
- 脚本练习
- [root@localhost Desktop]# check_word.sh please \
- > please input word: westos \
- > linux \
- > please input word : linux \
- > westos \
- > please input word : exit \
- > bye \
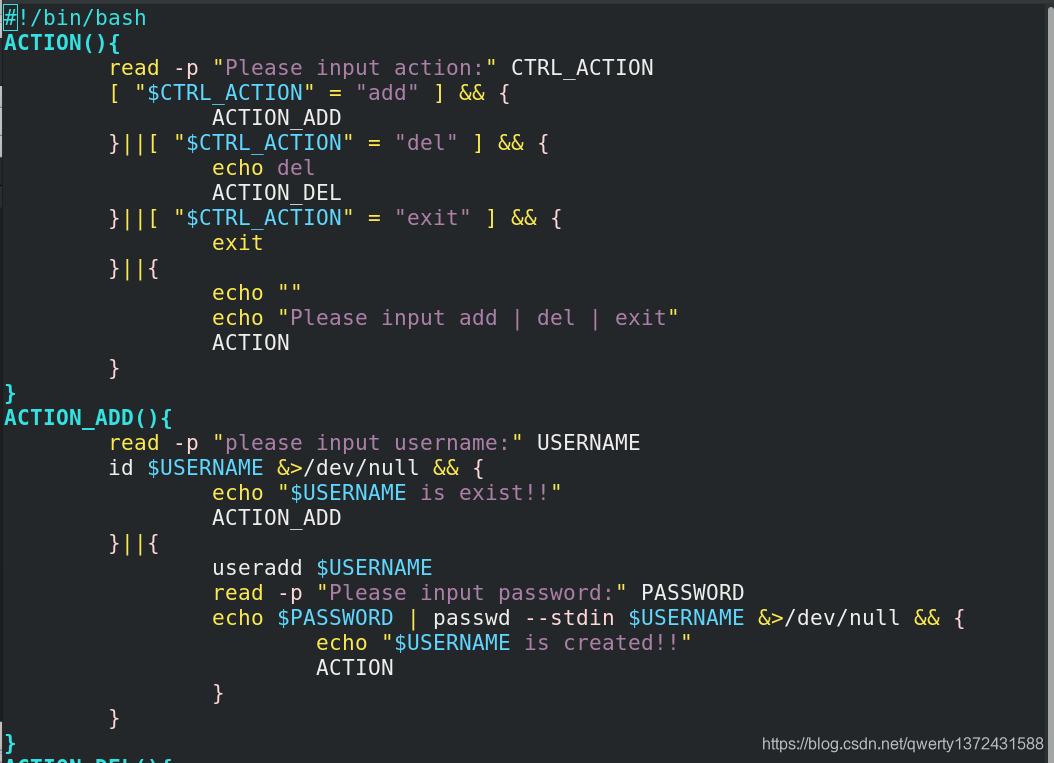
- 脚本练习2
- [root@localhost Desktop]# ctrl_user1.sh \
- > please input action:add \
- > please input username:westos \
- > please input password:westos \
- > westos is created \
- > please input action :exit \
- > please input action :del \
- > please input username :westos \
- > westos is deleted \
- > please input action :exit \
- >
脚本练习1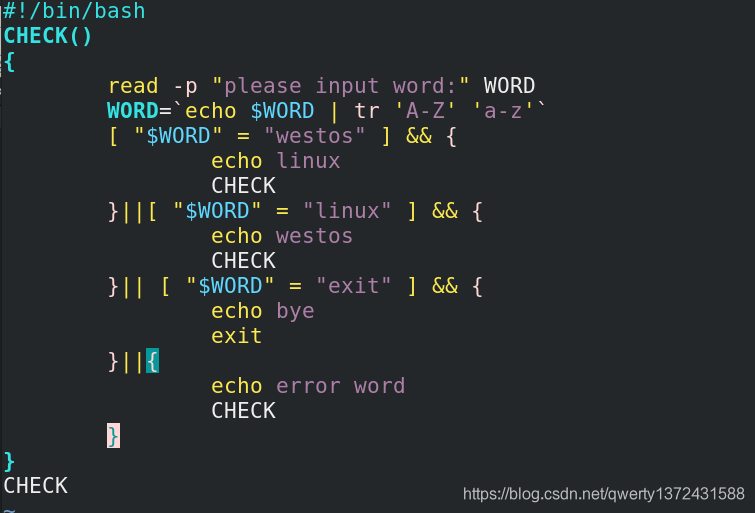
脚本练习2
版权声明:本文为qwerty1372431588原创文章,遵循CC 4.0 BY-SA版权协议,转载请附上原文出处链接和本声明。