本周学习了坦克大战的初步实现,使用unity重现坦克大战。
选项界面搭建,裁剪好图片搭至以下样式。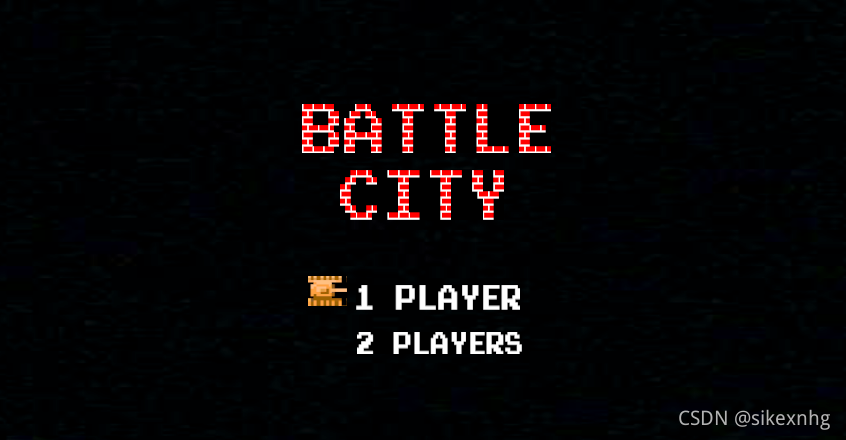
创建新场景,实现转场效果。
代码如下:
using System.Collections;
using System.Collections.Generic;
using UnityEngine;
using UnityEngine.SceneManagement;

public class zhuanchang : MonoBehaviour {

    // Use this for initialization
    void Start() {

    }

    // Update is called once per frame
    void Update()
    {
        if (Input.GetKey(KeyCode.Space))
        {
            SceneManager.LoadScene("two");
        }
    }
    public void Skip()
    {
        SceneManager.LoadScene("two");
    }
}
创建预设物,并创建boss周围的墙体。
效果如下:

代码如下:
using System.Collections;
using System.Collections.Generic;
using UnityEngine;

public class Maps : MonoBehaviour {
    //预设物
    public GameObject[] Mapss = new GameObject[5];
    public GameObject Map_0;
    public GameObject Map_1;
    public GameObject Map_2;
    public GameObject Map_3;
    //public GameObject Map_4;
    public GameObject Map_5;
    // Use this for initialization
    void Start () {
        //实例化
        GameObject.Instantiate(Map_0, new Vector3(0,-3.5f,0), transform.rotation);
        GameObject.Instantiate(Map_0, new Vector3(1, -3.5f, 0), transform.rotation);
        GameObject.Instantiate(Map_0, new Vector3(-1, -3.5f, 0), transform.rotation);
        GameObject.Instantiate(Map_0, new Vector3(1, -4.5f, 0), transform.rotation);
        GameObject.Instantiate(Map_0, new Vector3(-1, -4.5f, 0), transform.rotation);
    }

	// Update is called once per frame
	void Update () {

	}
    //生成地图
    public void cCreateMao() {
        for (int i = 0; i < 9; i++)
        {
             float num = Random.Range(-9.12f,-4.5f);
            GameObject.Instantiate(Map_0, new Vector3(num, 0, 0), transform.rotation);
        }
    }
}
暂时只弄到这里,未完待续.........
版权声明:本文为weixin_53329682原创文章,遵循CC 4.0 BY-SA版权协议,转载请附上原文出处链接和本声明。