SpringBoot快速入门
1 打印hello world
![[外链图片转存失败,源站可能有防盗链机制,建议将图片保存下来直接上传(img-wRB9xiwW-1648656987422)(F:\typoraImage\image-20220330143415180.png)]](https://code84.com/wp-content/uploads/2022/09/4e5ace5df74d47a8b041642ec04411b4.png)
导入依赖
<?xml version="1.0" encoding="UTF-8"?>
<project xmlns="http://maven.apache.org/POM/4.0.0"
         xmlns:xsi="http://www.w3.org/2001/XMLSchema-instance"
         xsi:schemaLocation="http://maven.apache.org/POM/4.0.0 http://maven.apache.org/xsd/maven-4.0.0.xsd">
    <modelVersion>4.0.0</modelVersion>

    <groupId>org.example</groupId>
    <artifactId>springboot-test</artifactId>
    <version>1.0-SNAPSHOT</version>

    <!--springboot工程需要继承的父工程-->
    <parent>
        <groupId>org.springframework.boot</groupId>
        <artifactId>spring-boot-starter-parent</artifactId>
        <version>2.6.5</version>
    </parent>

    <dependencies>
        <!--web开发的起步依赖-->
        <dependency>
            <groupId>org.springframework.boot</groupId>
            <artifactId>spring-boot-starter-web</artifactId>
        </dependency>

    </dependencies>
</project>
创建controller
package com.controller;

import org.springframework.web.bind.annotation.RequestMapping;
import org.springframework.web.bind.annotation.RestController;

/**
 * @Yanx
 * @Create 2022-03-30-14:25
 */
@RestController
public class HelloController {
    @RequestMapping("/hello")
    public String hello(){
        return "hello Spring boot";
    }
}
创建springboot引导类
package com;
import org.springframework.boot.SpringApplication;
import org.springframework.boot.autoconfigure.SpringBootApplication;

/**
 * 引导类springBoot项目的入口
 * @Yanx
 * @Create 2022-03-30-14:27
 */
@SpringBootApplication
public class HelloApplication {
    public static void main(String[] args) {
        SpringApplication.run(HelloApplication.class,args);
    }
}
访问8080 启动成功![[外链图片转存失败,源站可能有防盗链机制,建议将图片保存下来直接上传(img-82ZAaB35-1648656987423)(F:\typoraImage\image-20220330143355095.png)]](https://code84.com/wp-content/uploads/2022/09/7ee3683f05694dbe8142c1c34f057e2b.png)
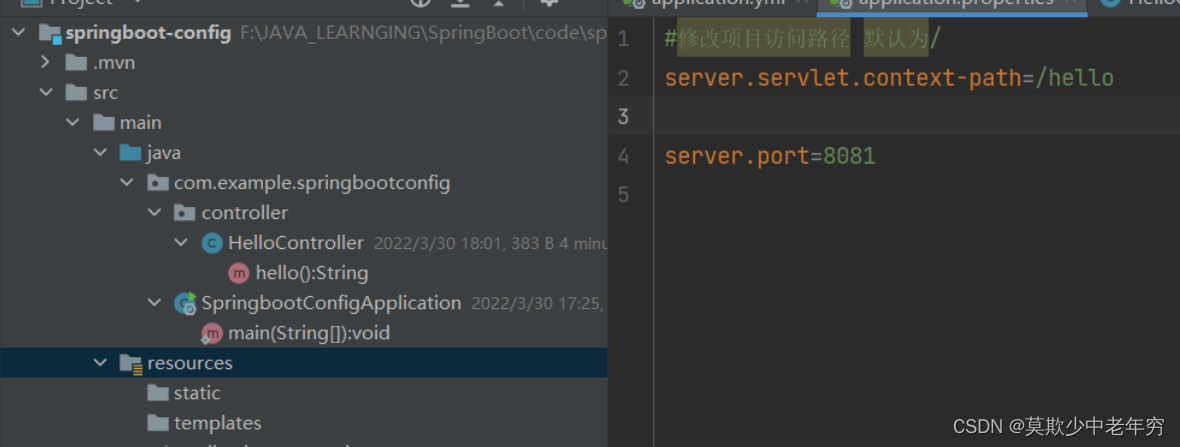
同一级目录文件下优先级:properties > yml >yaml
一 Spring Boot 配置
1 YAML 数据格式
1 对象(map)键值对的集合
person:
	name: zhangsan
#行内写法 注意空格
person:	{name: zhangsan}
2 数组:一组按次序排列的值
address:  #注意横杠空格
	- beijing
	- shanghai
#行内写法
address: [beijing,shanghai]
3 纯量:单个的,不可再分的值
#\n 表示换行
msg1: 'hello \n world' #单引号忽略转义字符
msg2: "hello \n world" #双引号识别转移字符
4 参数引用
name: lisi
person:
	name: ${name}#引用上面定义的name值
2 读取配置内容
yaml 文件内容
server:
  port: 8010

name: lisi

person:
  name: ${name} #引用上面定义的name值
  age: 20

address:
  - beijing
  - shanghai

msg1: 'hello \n world'
msg2: "hello \n world"
1 @Value
 /*===========获取对象============*/
    @Value("${name}")
    private String name;

    @Value("${person.age}")
    private int age;

    /*===========获取数组============*/
    @Value("${address[0]}")
    private String address;

    /*===========获取纯量============*/
    @Value("${msg1}")
    private String msg1;

    @Value("${msg2}")
    private String msg2;

    @RequestMapping("/hello2")
    public String hello2(){
        System.out.println(name);
        System.out.println(age);
        System.out.println(address);
        System.out.println(msg1);
        System.out.println(msg2);
        return "hello world";
    }
控制台打印
lisi
20
beijing
hello \n world
hello
 world
2 Envrionment
    @Autowired
    private Environment env;

    @RequestMapping("/hello")
    public String hello(){
        System.out.println(env.getProperty("person.name"));
        System.out.println(env.getProperty("address[0]"));
        System.out.println(env.getProperty("msg1"));
        return "hello world";
    }
控制台输出
lisi
beijing
hello \n world
3 @ConfigurationPropertis
name: lisi
person:
  name: ${name} #引用上面定义的name值
  age: 20
  address:
    - beijing
    - shanghai
@Component
@ConfigurationProperties(prefix = "person")
public class Person {
    private String name;
    private int age;
    private String[] address;

    .............
     省略 get and set toString
    .............
}
    @Autowired
    private Person person;

    @RequestMapping("/hello")
    public String hello(){
        System.out.println(person);
        String[] address = person.getAddress();
        for(String s :address){
            System.out.println(s);
        }
        return "hello world";
    }
Person{name='lisi', age=20}
beijing
shanghai
3 profile
1 profile配置方式
- 多profile文件方式:提供多个配置文件,每个代表一种环境。
application-dev.properties/yml 开发环境
application-test.properties/yml 测试环境
application-pro.properties/yml 生产环境
yml多文档方式:
- 在yml中使用—分隔不同配置
2 profile激活方式
配置文件: 再配置文件中配置:spring.profiles.active=dev
虚拟机参数:在VM options 指定:-Dspring.profiles.active=dev
命令行参数:java –jar xxx.jar --spring.profiles.active=dev
动态配置切换
激活配置![[外链图片转存失败,源站可能有防盗链机制,建议将图片保存下来直接上传(img-rHw6blVp-1648656987424)(F:\typoraImage\image-20220330165215029.png)]](https://code84.com/wp-content/uploads/2022/09/8a95451f5dc14fdf9a698e4760118e36.png)
spring.profiles.active=dev
**yaml多文档 **
---
server:
  port: 8081
spring:
  profiles: dev
---
server:
  port: 8082
spring:
  profiles: test
---
server:
  port: 8083
spring:
  profiles: pro
---
spring:
  profiles:
    active: pro
命令行参数
java -jar .\springboot-profiles-0.0.1-SNAPSHOT.jar --spring.profiles.active=pro
![[外链图片转存失败,源站可能有防盗链机制,建议将图片保存下来直接上传(img-Q68f3oO8-1648656987424)(F:\typoraImage\image-20220330171250684.png)]](https://code84.com/wp-content/uploads/2022/09/08134cbfbc96426b8a63470494d3961b.png)
4 配置加载顺序
1 内部加载顺序
Springboot程序启动时,会从以下位置加载配置文件:
- file:./config/:当前项目下的/config目录下
- file:./ :当前项目的根目录
- classpath:/config/:classpath的/config目录
- classpath:/ :classpath的根目录
加载顺序为上文的排列顺序,高优先级配置的属性会生效![[外链图片转存失败,源站可能有防盗链机制,建议将图片保存下来直接上传(img-xr0dlojT-1648656987424)(F:\typoraImage\image-20220330173405562.png)]](https://code84.com/wp-content/uploads/2022/09/3c164d2a3f33458f8391b58995173bf6.png)
![[外链图片转存失败,源站可能有防盗链机制,建议将图片保存下来直接上传(img-tU21s17H-1648656987425)(F:\typoraImage\image-20220330180400323.png)]](https://code84.com/wp-content/uploads/2022/09/23e4f7010af04d8cb7c870b0fbde2c61.png)
2 外部配置
java -jar .\springboot-profiles-0.0.1-SNAPSHOT.jar --server.port=8010
二 Spring Boot 整合框架
1 Spring Boot整合Junit
@RunWith(SpringRunner.class)
@SpringBootTest(classes = SpringbootJunitApplication.class)
public class UserServiceTest {
    @Autowired
    private UserService userService;

    @Test
    public void testAdd(){
        userService.add();
    }
}
2 Spring Boot整合Redis
1 查看redis是否启动
ps -ef |grep redis
2 开放6379端口号
firewall-cmd --add-port=6379/tcp --permanent
#重启防火墙
firewall-cmd --reload
3 配置yml
spring:
    redis:
        host: 4*.**.1*0.**
        port: 6379
        password: ********
4 导入redis依赖
        <dependency>
            <groupId>org.springframework.boot</groupId>
            <artifactId>spring-boot-starter-data-redis</artifactId>
        </dependency>
5 创建测试类测试
@SpringBootTest
class SpringbootRedisApplicationTests {

    @Autowired
    private RedisTemplate redisTemplate;

    @Test
    public void testSet() {
        //存入数据
        redisTemplate.boundValueOps("name").set("zhangsan");
    }

    @Test
    public void testGet() {
        //存入数据
        Object name = redisTemplate.boundValueOps("name").get();
        System.out.println(name);
    }
}
3 Spring Boot 整合MyBatis
1 导入依赖
        <dependency>
            <groupId>org.mybatis.spring.boot</groupId>
            <artifactId>mybatis-spring-boot-starter</artifactId>
            <version>2.2.2</version>
        </dependency>

        <dependency>
            <groupId>mysql</groupId>
            <artifactId>mysql-connector-java</artifactId>
            <scope>runtime</scope>
        </dependency>
2 创建实体类user
3 创建mapper
@Mapper
public interface UserMapper {
    @Select("select * from user")
    public List<User> findAll();
}
4 配置mysql连接
#DataSource
spring:
  datasource:
    url: jdbc:mysql://localhost:3306/t_user
    username: root
    password: *********
    driver-class-name: com.mysql.cj.jdbc.Driver
配置文件方式
mybatis:
  mapper-locations: classpath:mapper/*Mapper.xml #mapper映射路径
  type-aliases-package: domain # 别名
  # config-location # 指定mybatis的核心配置文件
@Mapper
@Repository
public interface UserXmlMapper {

    public List<User> findAll();
}
<?xml version="1.0" encoding="UTF-8" ?>
<!DOCTYPE mapper PUBLIC "-//mybatis.org//DTD Mapper 3.0//EN" "http://mybatis.org/dtd/mybatis-3-mapper.dtd">
<mapper namespace="com.example.springbootmybatis.mapper.UserXmlMapper">
    <select id="findAll" resultType="user">
        select * from user
    </select>
</mapper>
版权声明:本文为weixin_45914119原创文章,遵循CC 4.0 BY-SA版权协议,转载请附上原文出处链接和本声明。