1.LED独立按键代码部分:
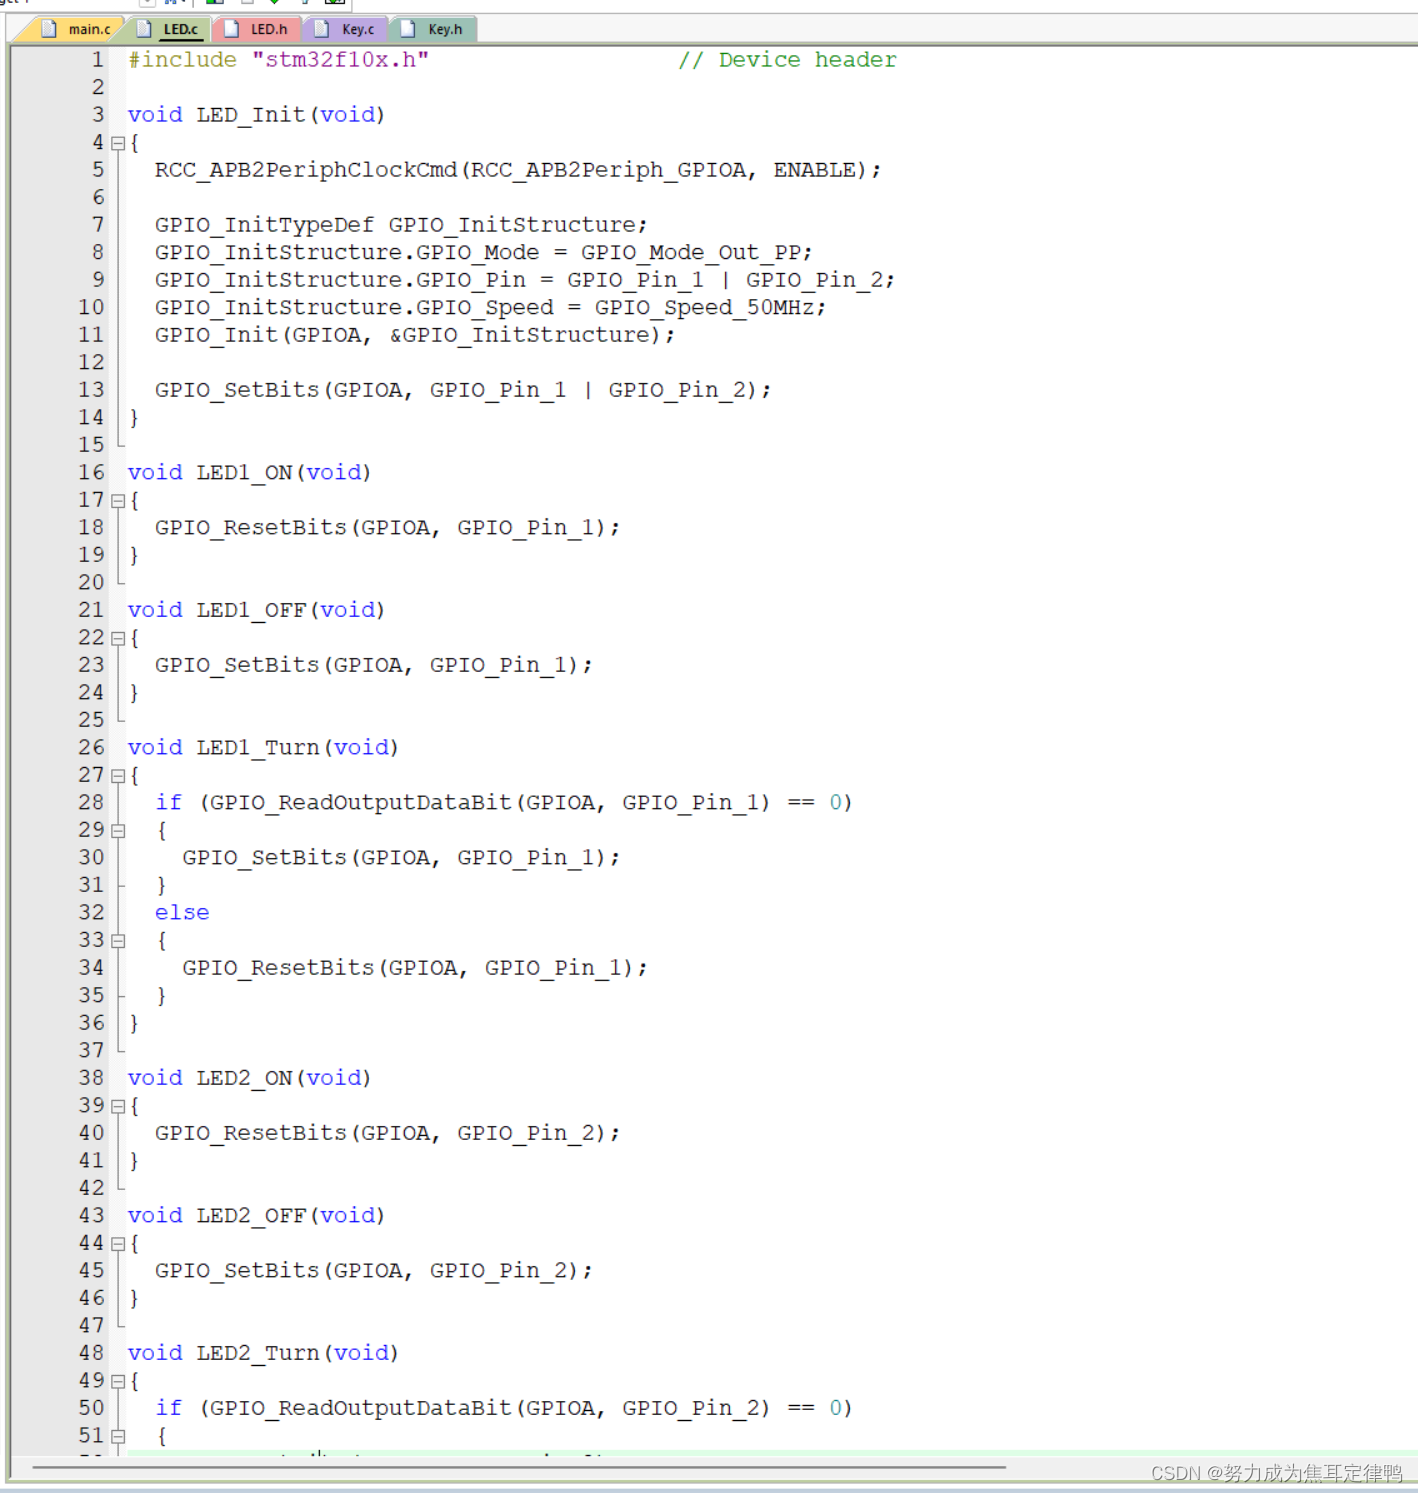
a:LED.c代码
#include "stm32f10x.h" // Device header
void LED_Init(void)//LED初始化函数
{
RCC_APB2PeriphClockCmd(RCC_APB2Periph_GPIOA,ENABLE);
GPIO_InitTypeDef GPIO_InitStructure;
GPIO_InitStructure.GPIO_Mode=GPIO_Mode_Out_PP;
GPIO_InitStructure.GPIO_Pin=GPIO_Pin_1|GPIO_Pin_2;
GPIO_InitStructure.GPIO_Speed=GPIO_Speed_50MHz;
GPIO_Init(GPIOA,&GPIO_InitStructure);
GPIO_SetBits(GPIOA,GPIO_Pin_1|GPIO_Pin_2);//此行代码是使默认变为高电平,灯不亮的情况
}
void LED1_ON(void)//打开LED1
{
GPIO_ResetBits(GPIOA,GPIO_Pin_1);
}
void LED1_OFF(void)//关闭LED1
{
GPIO_SetBits(GPIOA,GPIO_Pin_1);
}
void LED2_ON(void)//打开LED2
{
GPIO_ResetBits(GPIOA,GPIO_Pin_2);
}
void LED2_OFF(void)//关闭LED2
{
GPIO_SetBits(GPIOA,GPIO_Pin_2);
}
void LED1_Turn(void)//反转GPIO按键,按下LED1熄灭,再按点亮
{
if(GPIO_ReadOutputDataBit(GPIOA,GPIO_Pin_1)==0)//如果GPIO输出0,
{
GPIO_SetBits(GPIOA,GPIO_Pin_1);//则使用SetBits使之变为1
}
else//如果GPIO输出1,
{
GPIO_ResetBits(GPIOA,GPIO_Pin_1);//则使用SetBits使之变为0
}
}
void LED2_Turn(void)//反转GPIO按键,按下LED2熄灭,再按点亮
{
if(GPIO_ReadOutputDataBit(GPIOA,GPIO_Pin_2)==0)//如果GPIO输出0,
{
GPIO_SetBits(GPIOA,GPIO_Pin_2);//则使用SetBits使之变为1
}
else//如果GPIO输出1,
{
GPIO_ResetBits(GPIOA,GPIO_Pin_2);//则使用SetBits使之变为0
}
}

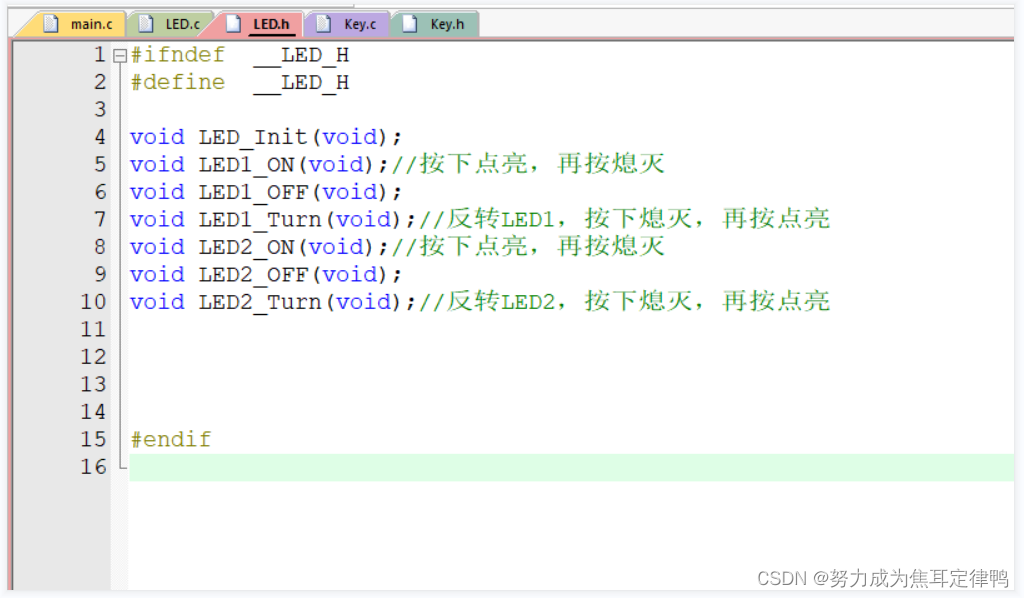
b:LED.h代码
#ifndef __LED_H
#define __LED_H
void LED_Init(void);
void LED1_ON(void);//按下点亮,再按熄灭
void LED1_OFF(void);
void LED1_Turn(void);//反转LED1,按下熄灭,再按点亮
void LED2_ON(void);//按下点亮,再按熄灭
void LED2_OFF(void);
void LED2_Turn(void);//反转LED2,按下熄灭,再按点亮
#endif
q:1483078351 v:15136037805, git为@qq1483078351a 已开源,里面有课件和代码。有问题欢迎询问,共同进步.
2.独立按键Key代码部分:
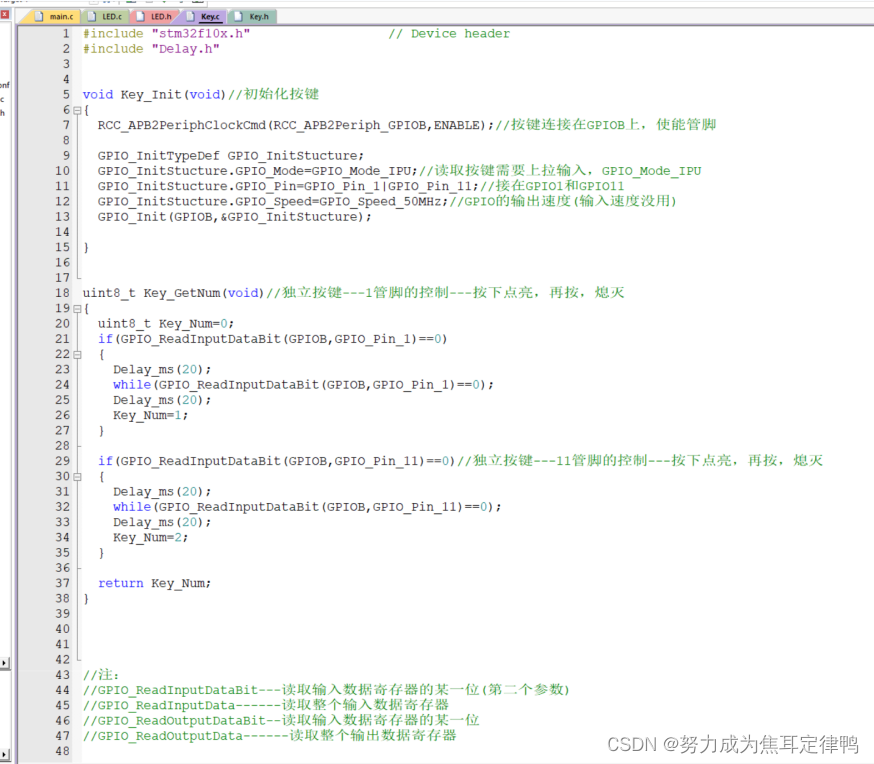
a:key.c部分
#include "stm32f10x.h" // Device header
#include "Delay.h"
void Key_Init(void)//初始化按键
{
RCC_APB2PeriphClockCmd(RCC_APB2Periph_GPIOB,ENABLE);//按键连接在GPIOB上,使能管脚
GPIO_InitTypeDef GPIO_InitStucture;
GPIO_InitStucture.GPIO_Mode=GPIO_Mode_IPU;//读取按键需要上拉输入,GPIO_Mode_IPU
GPIO_InitStucture.GPIO_Pin=GPIO_Pin_1|GPIO_Pin_11;//接在GPIO1和GPIO11
GPIO_InitStucture.GPIO_Speed=GPIO_Speed_50MHz;//GPIO的输出速度(输入速度没用)
GPIO_Init(GPIOB,&GPIO_InitStucture);
}
uint8_t Key_GetNum(void)//独立按键---1管脚的控制---按下点亮,再按,熄灭
{
uint8_t Key_Num=0;
if(GPIO_ReadInputDataBit(GPIOB,GPIO_Pin_1)==0)
{
Delay_ms(20);
while(GPIO_ReadInputDataBit(GPIOB,GPIO_Pin_1)==0);
Delay_ms(20);
Key_Num=1;
}
if(GPIO_ReadInputDataBit(GPIOB,GPIO_Pin_11)==0)//独立按键---11管脚的控制---按下点亮,再按,熄灭
{
Delay_ms(20);
while(GPIO_ReadInputDataBit(GPIOB,GPIO_Pin_11)==0);
Delay_ms(20);
Key_Num=2;
}
return Key_Num;
}
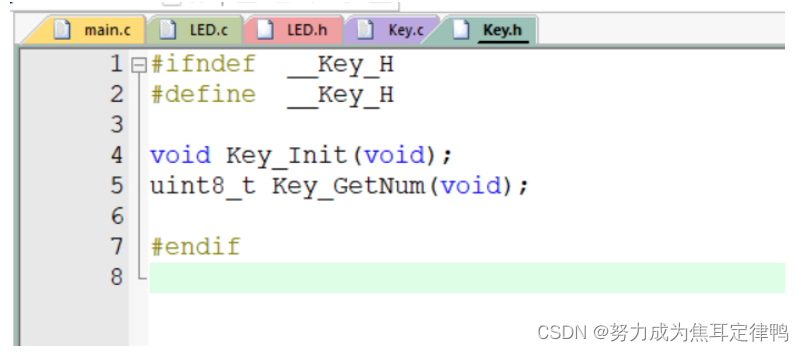
b:Key.h部分
#ifndef __Key_H
#define __Key_H
void Key_Init(void);
uint8_t Key_GetNum(void);
#endif
3.主函数main代码部分:
#include "stm32f10x.h" // Device header
#include "Delay.h"
#include "LED.h"
#include "Key.h"
int main(void)
{
uint8_t KeyNum=0;
LED_Init();//初始化LED之后灯就亮了,说明默认为低电平
Key_Init();//初始化按键
while(1)
{
KeyNum=Key_GetNum();
if(KeyNum==1)
LED1_Turn();//按键按下,LED1熄灭点亮
if(KeyNum==2)
LED2_Turn();//按键松开,LED1熄灭
}
}
4.部分库函数补充:
//注:
//GPIO_ReadInputDataBit---读取输入数据寄存器的某一位(第二个参数)
//GPIO_ReadInputData------读取整个输入数据寄存器
//GPIO_ReadOutputDataBit--读取输入数据寄存器的某一位
//GPIO_ReadOutputData------读取整个输出数据寄存器