目录
1.如何制作so文件
参考https://blog.csdn.net/yangxuan0261/article/details/52420833
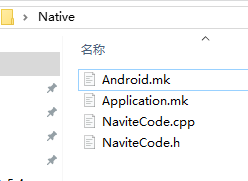
1.1 Android.mk
LOCAL_PATH := $(call my-dir)
include $(CLEAR_VARS)

LOCAL_MODULE     :=  NativeCode
LOCAL_C_INCLUDES := $(LOCAL_PATH)
LOCAL_SRC_FILES  := NaviteCode.cpp
LOCAL_LDLIBS     := -llog -landroid
LOCAL_CFLAGS    := -DANDROID_NDK

include $(BUILD_SHARED_LIBRARY)
1.2 Application.mk
APP_STL := gnustl_static
APP_CPPFLAGS := -frtti -std=c++11
APP_PLATFORM := android-19
APP_CFLAGS += -Wno-error=format-security
APP_BUILD_SCRIPT := Android.mk
APP_ABI := armeabi-v7a x86
1.3NaviteCode.cpp
    #include "NaviteCode.h"

    extern "C" {
        int MyAddFunc(int _a, int _b)
        {
            return _a + _b;
        }
    }
1.4NaviteCode.h
    #ifndef __NativeCode_H__
    #define __NativeCode_H__

    #if 0
    #define EXPORT_DLL __declspec(dllexport) //导出dll声明
    #else
    #define EXPORT_DLL
    #endif

    extern "C" {
        EXPORT_DLL int MyAddFunc(int _a, int _b);
    }

    #endif
1.5 c文件编译
如果是c文件编译,1.3 1.4省略
新建NaviteCode.c
int MyAddFunc(int _a, int _b)
{
	return _a + _b;
}
同时Android.mk文件修改一下:LOCAL_SRC_FILES := NaviteCode.c
2.编译
cmd中cd到native目录下,运行命令编译 ndk-build NDK_PROJECT_PATH=. NDK_APPLICATION_MK=Application.mk
ndk-build NDK_PROJECT_PATH=. NDK_APPLICATION_MK=Application.mk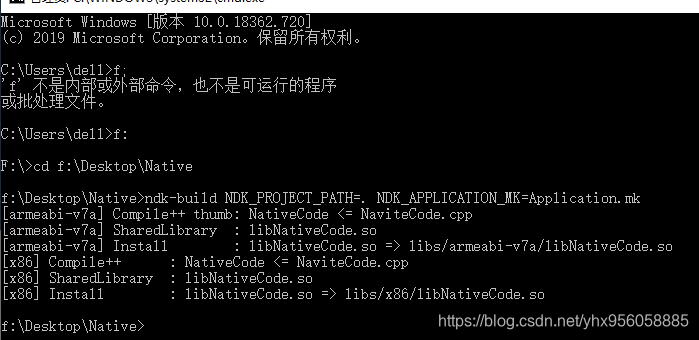
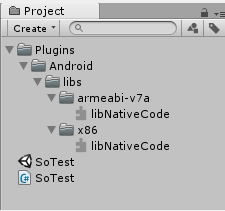
3.unity调用
复制编译出来的libs文件夹,粘贴到Unity目录Plugins/Android下面
调用代码,注意名称去掉lib前缀和扩展名,例如原so文件为“libNativeCode.so”,unity调用名称为"NativeCode",
public class testDll : MonoBehaviour {
[DllImport("NativeCode")]
public static extern int MyAddFunc(int x, int y);
// Use this for initialization
void Start () {
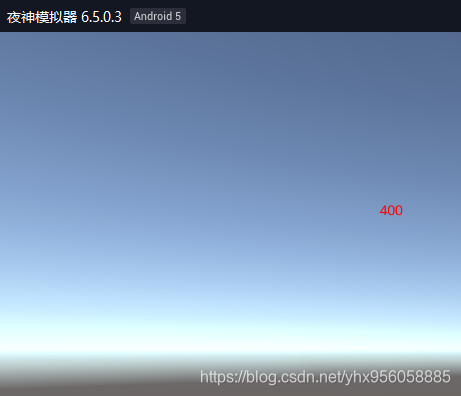
int ret = MyAddFunc(200, 200);
Debug.LogFormat("--- ret:{0}", ret);
}
}
4.测试
在编辑器模式下引用不到,一定要打包apk,在真机或者模拟器上测试
5.完整工程
https://download.csdn.net/download/yhx956058885/12346779
版权声明:本文为yhx956058885原创文章,遵循CC 4.0 BY-SA版权协议,转载请附上原文出处链接和本声明。