之前为了嵌入式学习和开发,自己摸索着应用虚拟机搭建ubuntu系统。载使用中存在诸多不便。很幸运,WIN10系统内嵌了ubuntu系统。所以,立刻抽出时间搭建WSL系统,在安装WSL系统过程中,很快也很傻瓜,这里就不赘述了。
重点是,在这个WSL系统下怎么搭建嵌入式开发环境。下面具体介绍,并对使用过程中发现的问题解决方法也会简单介绍。
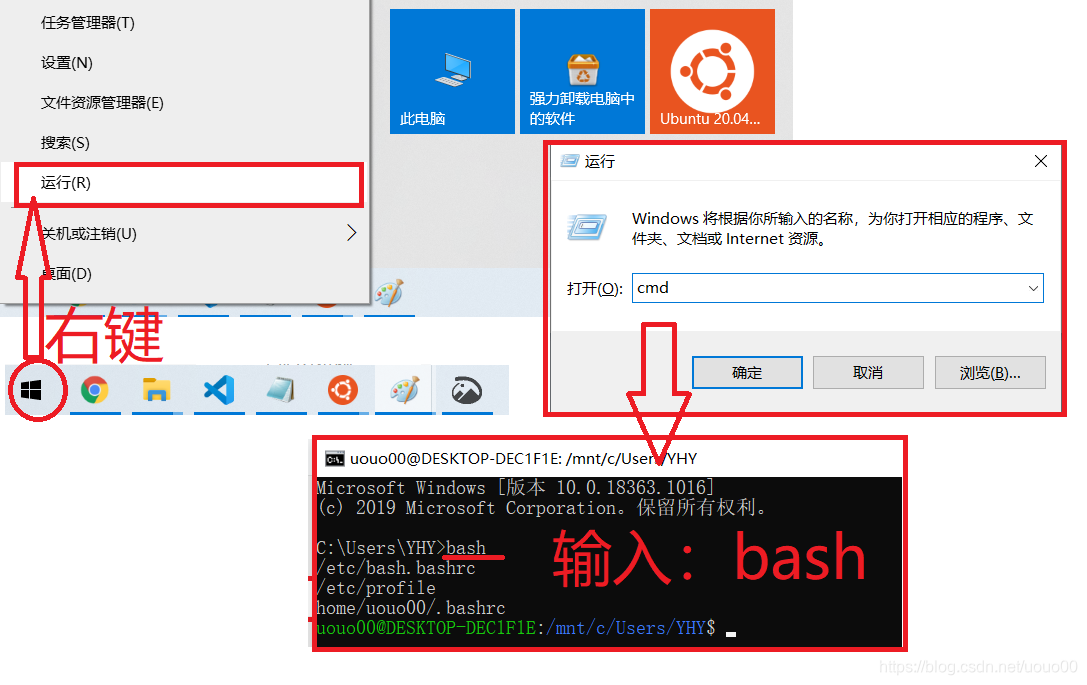
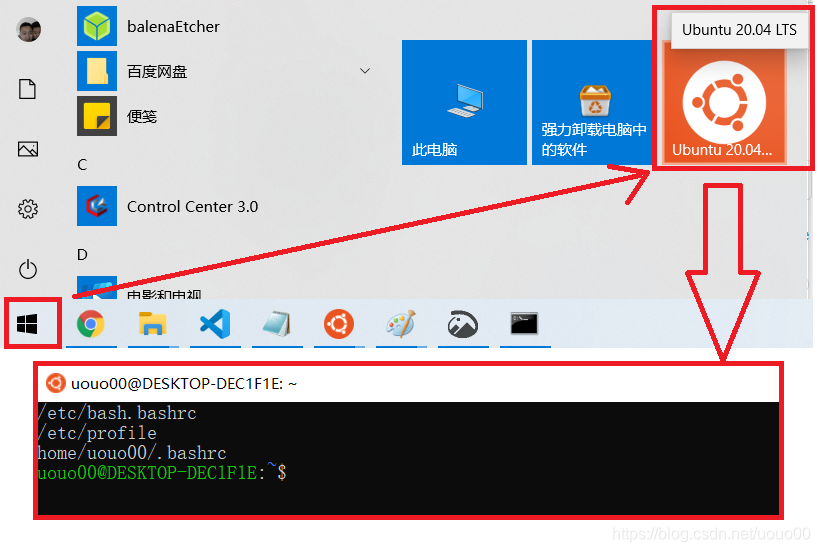
一、打开WSL终端
在WSL系统安装完成后,打开WSL有几种方式:

二、更改镜像源
1、打开镜像源列表文件 /etc/apt/sources.list,替换为:
# deb cdrom:[Ubuntu 20.04 LTS _Focal Fossa_ - Release amd64 (20200423)]/ focal main restricted

# See http://help.ubuntu.com/community/UpgradeNotes for how to upgrade to
# newer versions of the distribution.
deb http://mirrors.aliyun.com/ubuntu/ focal main restricted
# deb-src http://us.archive.ubuntu.com/ubuntu/ focal main restricted

## Major bug fix updates produced after the final release of the
## distribution.
# deb-src http://us.archive.ubuntu.com/ubuntu/ focal-updates main restricted

## N.B. software from this repository is ENTIRELY UNSUPPORTED by the Ubuntu
## team. Also, please note that software in universe WILL NOT receive any
## review or updates from the Ubuntu security team.
deb http://mirrors.aliyun.com/ubuntu/ focal universe
# deb-src http://us.archive.ubuntu.com/ubuntu/ focal universe
# deb-src http://us.archive.ubuntu.com/ubuntu/ focal-updates universe

## N.B. software from this repository is ENTIRELY UNSUPPORTED by the Ubuntu
## team, and may not be under a free licence. Please satisfy yourself as to
## your rights to use the software. Also, please note that software in
## multiverse WILL NOT receive any review or updates from the Ubuntu
## security team.
deb http://mirrors.aliyun.com/ubuntu/ focal multiverse
# deb-src http://us.archive.ubuntu.com/ubuntu/ focal multiverse
# deb-src http://us.archive.ubuntu.com/ubuntu/ focal-updates multiverse

## N.B. software from this repository may not have been tested as
## extensively as that contained in the main release, although it includes
## newer versions of some applications which may provide useful features.
## Also, please note that software in backports WILL NOT receive any review
## or updates from the Ubuntu security team.
# deb-src http://us.archive.ubuntu.com/ubuntu/ focal-backports main restricted universe multiverse

## Uncomment the following two lines to add software from Canonical's
## 'partner' repository.
## This software is not part of Ubuntu, but is offered by Canonical and the
## respective vendors as a service to Ubuntu users.
# deb http://archive.canonical.com/ubuntu focal partner
# deb-src http://archive.canonical.com/ubuntu focal partner

deb http://mirrors.aliyun.com/ubuntu/ focal-security main restricted
# deb-src http://security.ubuntu.com/ubuntu focal-security main restricted
deb http://mirrors.aliyun.com/ubuntu/ focal-security universe
# deb-src http://security.ubuntu.com/ubuntu focal-security universe
deb http://mirrors.aliyun.com/ubuntu/ focal-security multiverse
# deb-src http://security.ubuntu.com/ubuntu focal-security multiverse

# This system was installed using small removable media
# (e.g. netinst, live or single CD). The matching "deb cdrom"
# entries were disabled at the end of the installation process.
# For information about how to configure apt package sources,
# see the sources.list(5) manual.
deb http://security.ubuntu.com/ubuntu/ focal-security main multiverse universe restricted
deb http://cz.archive.ubuntu.com/ubuntu trusty main
# deb-src http://cz.archive.ubuntu.com/ubuntu trusty main
2、执行:sudo apt-get update
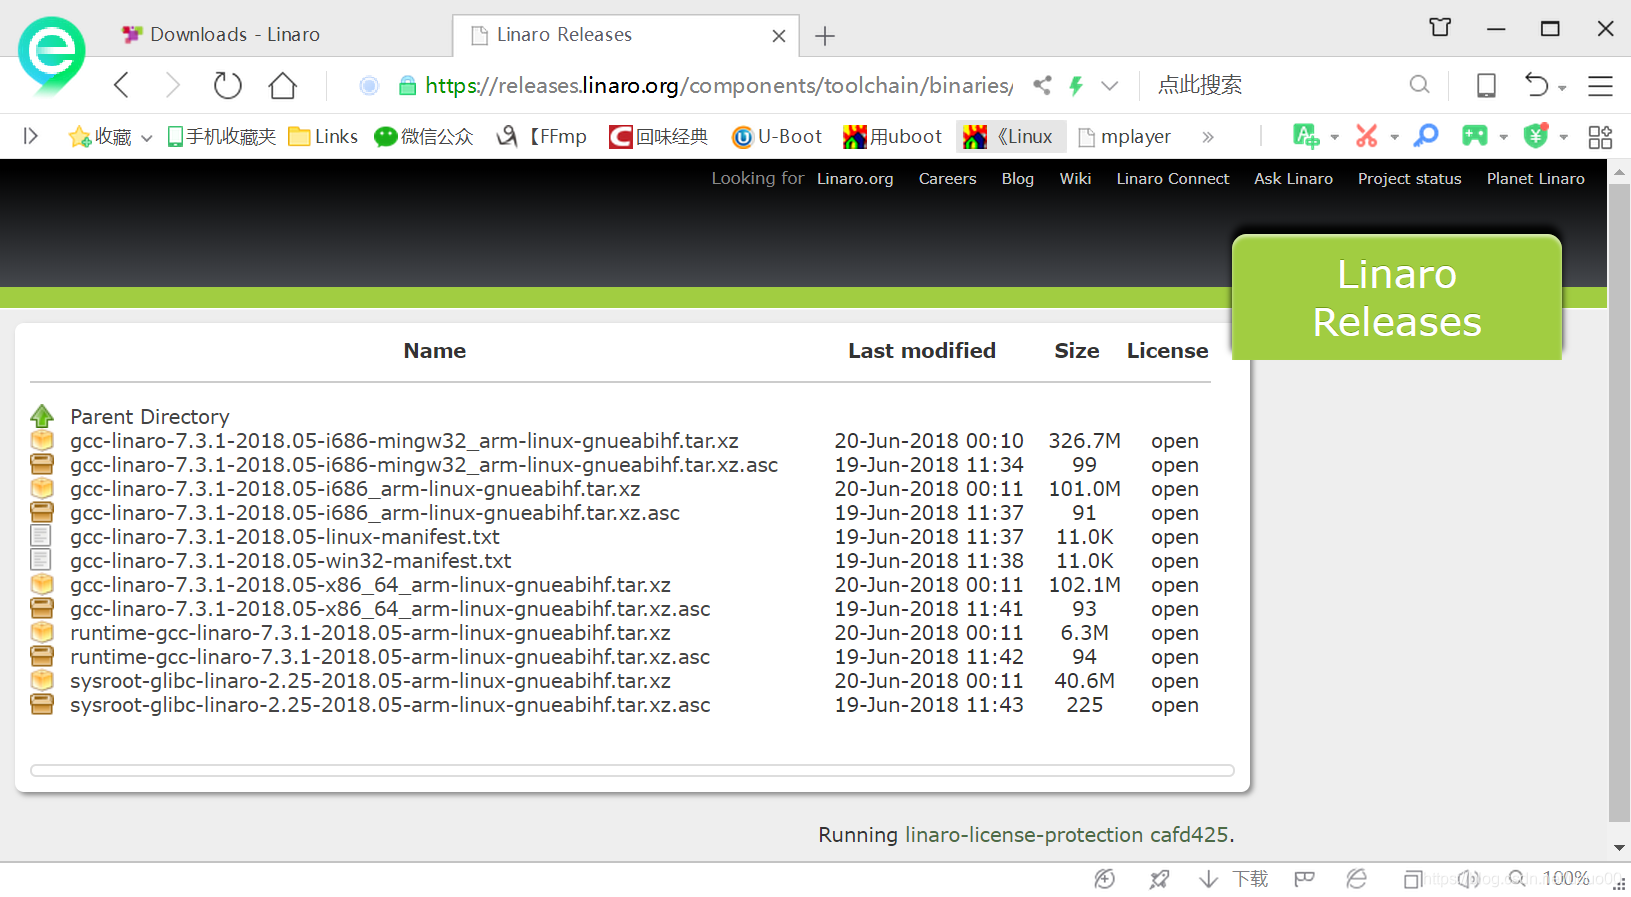
三、安装交叉编译器
需要下 4.9版本的编译器,下载地址为:
https://releases.linaro.org/components/toolchain/binaries/4.9-2017.01/arm-linux-gnueabihf/
安装下载工具:sudo apt-get install axel
使用下载工具:axel -n 50 https://releases.linaro.org/components/toolchain/binaries/4.9-2017.01/arm-linux-gnueabihf/gcc-linaro-4.9.4-2017.01-x86_64_arm-linux-gnueabihf.tar.xz
1、下载后解压:sudo tar -vxf gcc-linaro-4.9.4-2017.01-x86_64_arm-linux-gnueabihf.tar.xz
2、创建文件夹:sudo mkdir /usr/local/arm
3、拷贝到创建的文件夹:sudo cp gcc-linaro-4.9.4-2017.01-x86_64_arm-linux-gnueabihf.tar.xz /usr/local/arm/ -f
4\、在/etc/profile和~/.bashrc最后一行添加:
export PATH=$PATH:/usr/local/arm/gcc-linaro-4.9.4-2017.01-x86_64_arm-linux-gnueabihf/bin
export LD_LIBRARY_PATH=$LD_LIBRARY_PATH:/usr/local/arm/gcc-linaro-4.9.4-2017.01-x86_64_arm-linux-gnueabihf/lib
在/etc/sudoers的参数secure_path添加:usr/local/arm/gcc-linaro-4.9.4-2017.01-x86_64_arm-linux-gnueabihf/bin
5、执行命令:source ~/.bashrc
四、安装依赖
1、安装64位兼容库
如果ubuntu系统是64位的,而交叉编译器是32位的,因此需要安装兼容64位的库:lib32ncurses5 lib32z1 lib32bz2-1.0(旧版本ubuntu替换安装ia32-libs)
2、32位C++6标准库
lib32stdc++6
3、编译内核缺少的依赖包
解压缩依赖包: lzop
SSL证书依赖:libssl-dev
软件依赖包: dpkg-dev
命令lex依赖包: flex
执行make menuconfig时,需要curses字符终端处理,缺少依赖包: libncurses5-dev
语法分析器依赖包:bison
五、安装VSCODE并安装相关插件
1、默认安装VSCODE
官网地址下载:https://code.visualstudio.com/
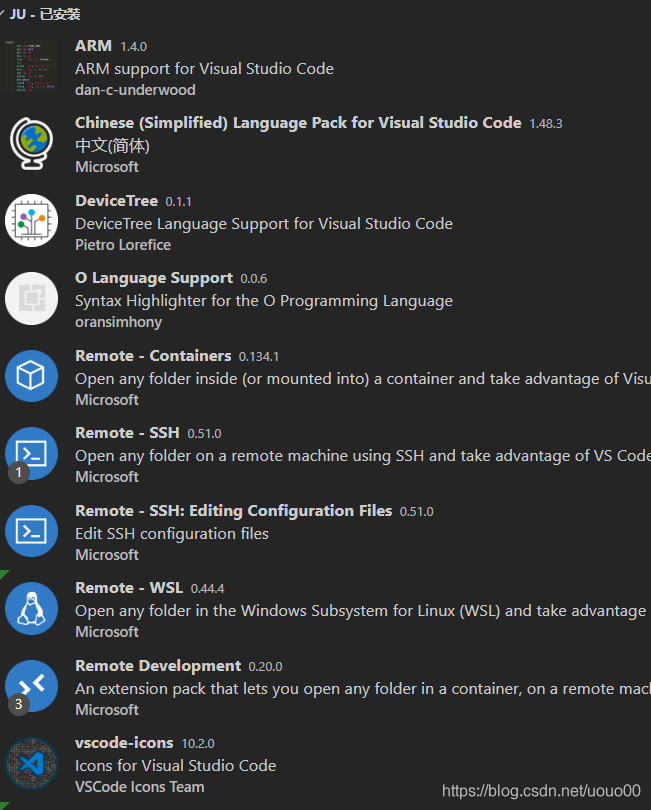
2、安装扩展插件
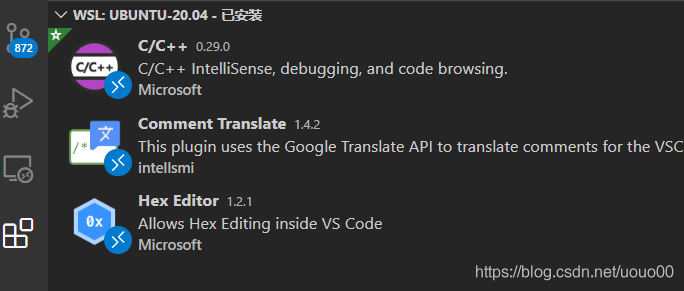
六、VSCODE打开SWL文件夹
在ubuntu 命令终端,cd进入要打开的文件夹,然后执行命令(一定要复制哦):code .
然后VSCODE就会打开文件夹。
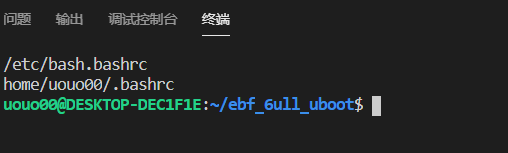
在VSCODE菜单-》终端》新终端,打开bash终端,并直接进入当前文件夹路径:
注意:当VSCODE无权限保存linux文件,通过命令ls -al查看用户是root,而VSCODE连接的用户为普通用户。可以通过chown修改文件所属用户:
sudo chown -R username filedir
chown还具有更改用户组命令:
sudo chown nowusergroup:newusergourp filedir